Deploying to Heroku with Webpack
Webpack is a static module bundler primarily used for JavaScript applications. It takes modules with dependencies and generates static assets representing those modules. This enables developers to create complex single-page applications (SPAs) that work efficiently in modern web browsers.
Heroku is a cloud application platform that enables developers to build, deploy, manage, and scale web applications. It is a Platform as a Service (PaaS) that provides a managed environment for running applications without the need for developers to manage infrastructure or servers.
In this tutorial, we will learn how to deploy a React application to Heroku using Webpack.
WebPack Core Concepts
Entry
The entry point pinpoints the module that webpack should start with when creating its internal dependency graph. By default, webpack uses ./src/index.js.
Output
The output specifies the location that webpack should use to emit bundles and how to name them. By default, webpack uses ./dist/main.js for the main output file and ./dist folder for other generated files.
Loaders
Loaders are webpack’s way of allowing developers to bundle files other than JavaScript and JSON that Webpack does not understand out of the box.
Setting Up the App
In order to continue, make sure you have the latest nodeJS and npm installed on your computer.
Create a new folder named deploy-react-webpack and navigate to the folder.
mkdir deploy-react-webpack
cd deploy-react-webpack
Initialize the project with default options.
npm init -yThis creates a package.json file.
Install the required ReactJs packages.
npm i react react-dom
Babel
Babel converts ES5 and ES6 syntax used in ReactJs to a backwards-compatible version of JavaScript that is supported by both older and newer browsers.
Install Babel:
npm i -D @babel/core babel-loader @babel/preset-env @babel/preset-reactInstall webpack and webpack-cli:
npm i -D webpack webpack-cli webpack-dev-serverConfiguring Babel
Create a new file at the project root named .babelrc.
touch .babelrcAdd the following code to the file and save.
{
  "presets": [
      "@babel/preset-env","@babel/preset-react"
   ]
}
Configure Webpack
Create a new file at the project root named webpack.config.js.
Add Components for Processing HTML
npm i html-webpack-plugin html-loader --save-devtouch webpack.config.jsAdd the following code.
const HtmlWebPackPlugin = require("html-webpack-plugin");

module.exports = {
    module: {
        rules: [
            {
                test: /\.(js|jsx)$/,
                exclude: /node_modules/,
                use: {
                    loader: "babel-loader"
                }
            },
            {
                test: /\.html$/,
                use: [
                    {
                        loader: "html-loader"
                    }
                ]
            }
        ]
    },
    plugins: [
        new HtmlWebPackPlugin({
            template: "./src/index.html",
            filename: "./index.html"
        })
    ]
};
entry tells webpack where to start when bundling your application. The test rule specifies the file extensions where the babel-loader can be used while excluding files in the node_modules.
Creating the React App
In this stage you will create the actual React app that users can interact with.
Create index.html inside src.
mkdir src
cd src
touch index.html
Add the following code to index.html.
<html lang="en">
<head>
    <meta charset="utf-8">
     <meta name="viewport" content="width=device-width,initial-scale=1, shrink-to-fit=no">
    <title>How To Deploy React Js With Babel On Heroku</title>
</head>
<body>
<div id="root"></div>
</body>
</html>
Inside src, create a file named index.js.
touch index.jsAdd the following code.
import React from 'react'
import ReactDOM from 'react-dom'
class App extends React.Component{
    render(){
        return(
            <div>
                Hello World !
            </div>
        )
    }
}
ReactDOM.render(<App/>, document.getElementById("root"));
This creates a simple React hello world component.
Replace the following code in your package.json.
"scripts": {
    "test": "echo \"Error: no test specified\" && exit 1"
},
with
"scripts": {
    "dev": "webpack serve",
    "start": "node server.js",
    "build": "webpack --mode production"
  },
The dev command is used to run the app in development mode. The start command is used by Heroku to serve files in production.
Your package.json should look like this.
{
  "name": "deploy-react-webpack",
  "version": "1.0.0",
  "description": "",
  "main": "index.js",
  "scripts": {
    "dev": "webpack serve",
    "start": "node server.js",
    "build": "webpack --mode production"
  },
  "keywords": [],
  "author": "",
  "license": "ISC",
  "dependencies": {
    "react": "^17.0.1",
    "react-dom": "^17.0.1"
  },
  "devDependencies": {
    "@babel/core": "^7.12.3",
    "@babel/preset-env": "^7.12.1",
    "@babel/preset-react": "^7.12.5",
    "@webpack-cli/serve": "^1.0.1",
    "babel-loader": "^8.1.0",
    "html-loader": "^1.3.2",
    "html-webpack-plugin": "^4.5.0",
    "webpack": "^5.4.0",
    "webpack-cli": "^4.1.0",
    "webpack-dev-server": "^3.11.0"
  }
}
Adding Express To Serve Files in Heroku
Install Express using the following command:
npm install expressCreate a file in the project root named server.js and add the following code:
var path = require('path');
var express = require('express');

var app = express();

app.use(express.static(path.join(__dirname, 'dist')));
app.set('port', process.env.PORT || 8080);

var server = app.listen(app.get('port'), function() {
  console.log('listening on port ', server.address().port);
});
Preview Project Locally
Run the following command to launch the project locally.
npm run devOpen the following link in your browser window:
http://127.0.0.1:8080/Build Project for Production
npm run buildDeploy to Heroku
Create an account on Heroku and confirm your email address.
Install Heroku CLI:
npm install -g herokuConfirm that the Heroku CLI is installed by running:
heroku --versionYou should see your Heroku CLI version.
Log in to Heroku by executing the command below.
heroku loginRunning this command will open the Heroku site on your browser, where you can log in.
Set up a Git repository in the project root.
git initIgnore Node modules in Git.
touch .gitignore
Add the following line to the file:
node_modulesgit add .git commit -m "initial commit"Create a Heroku app.
heroku createPublish to Heroku.
git push heroku master
Once the build succeeds, you can go to your Heroku apps dashboard and open your app or open the link in your console.
Once you open the link, your app should look like this:
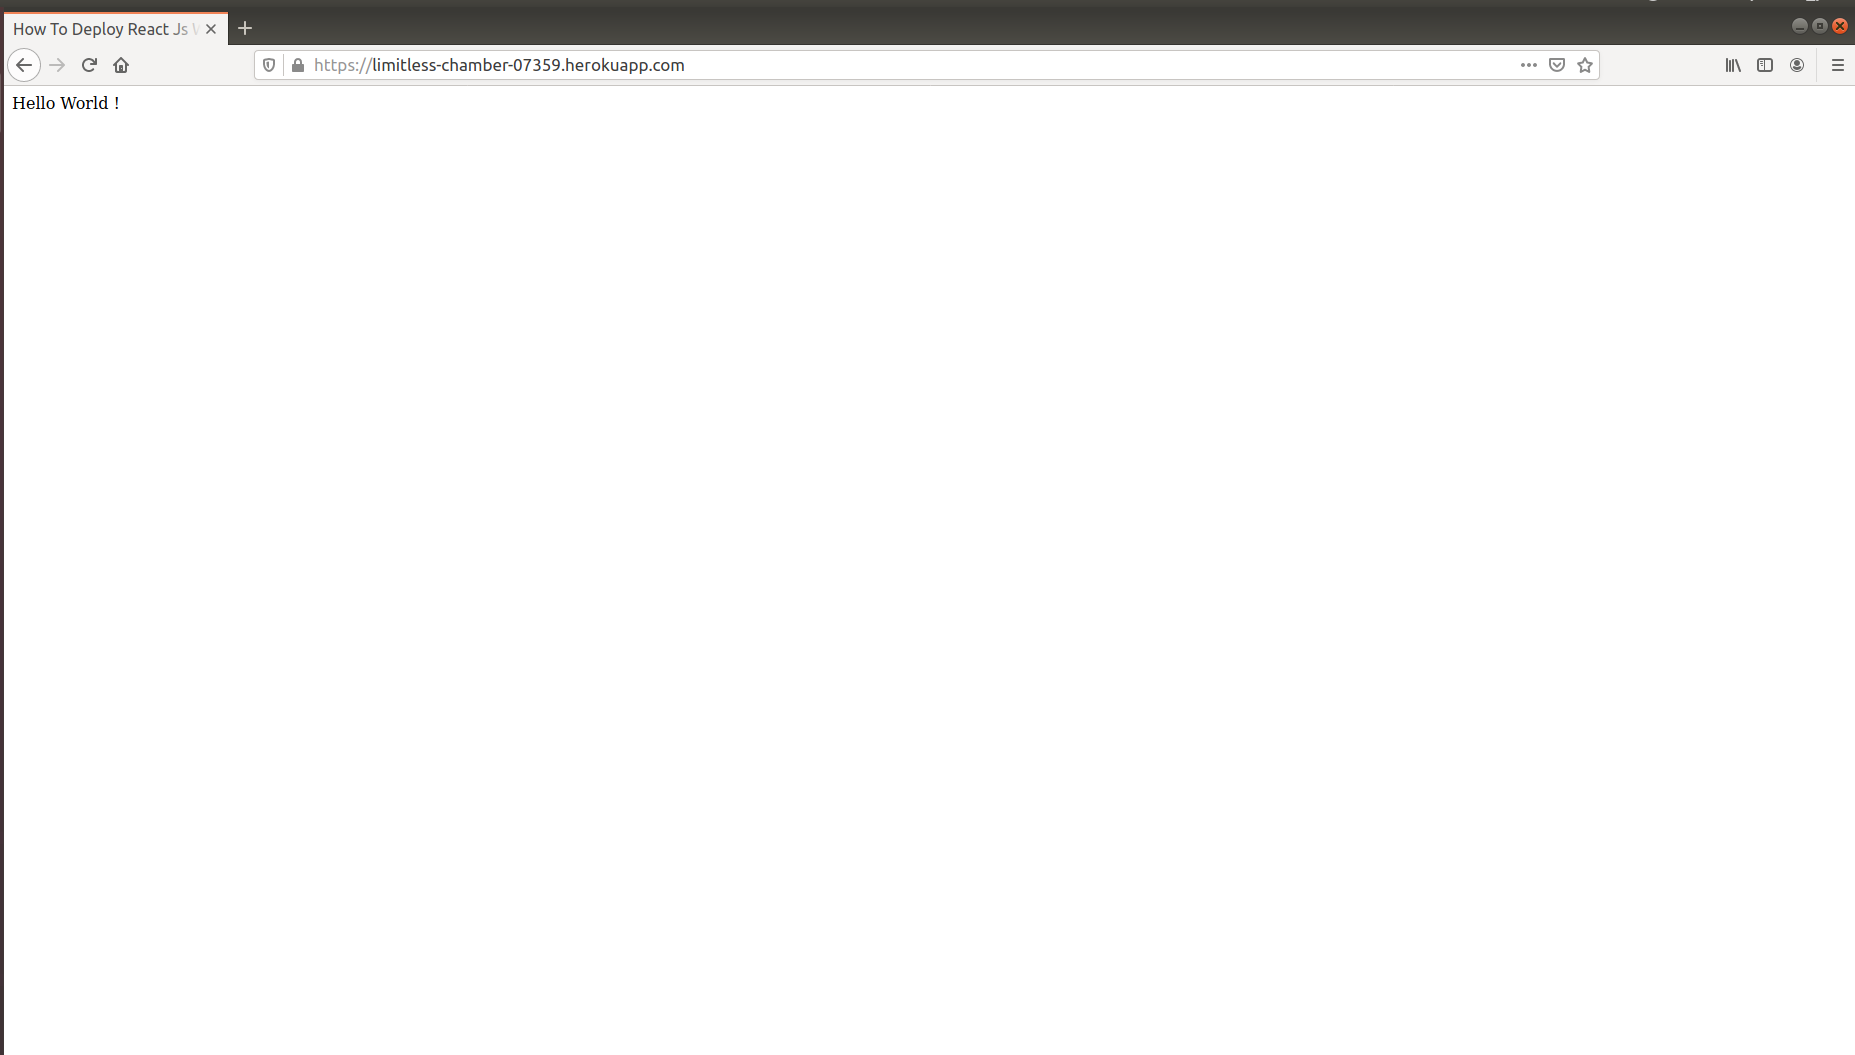
All done!
Thanks for reading !!!
#webpack #heroku