Accurate reading of Environment Variables in Angular
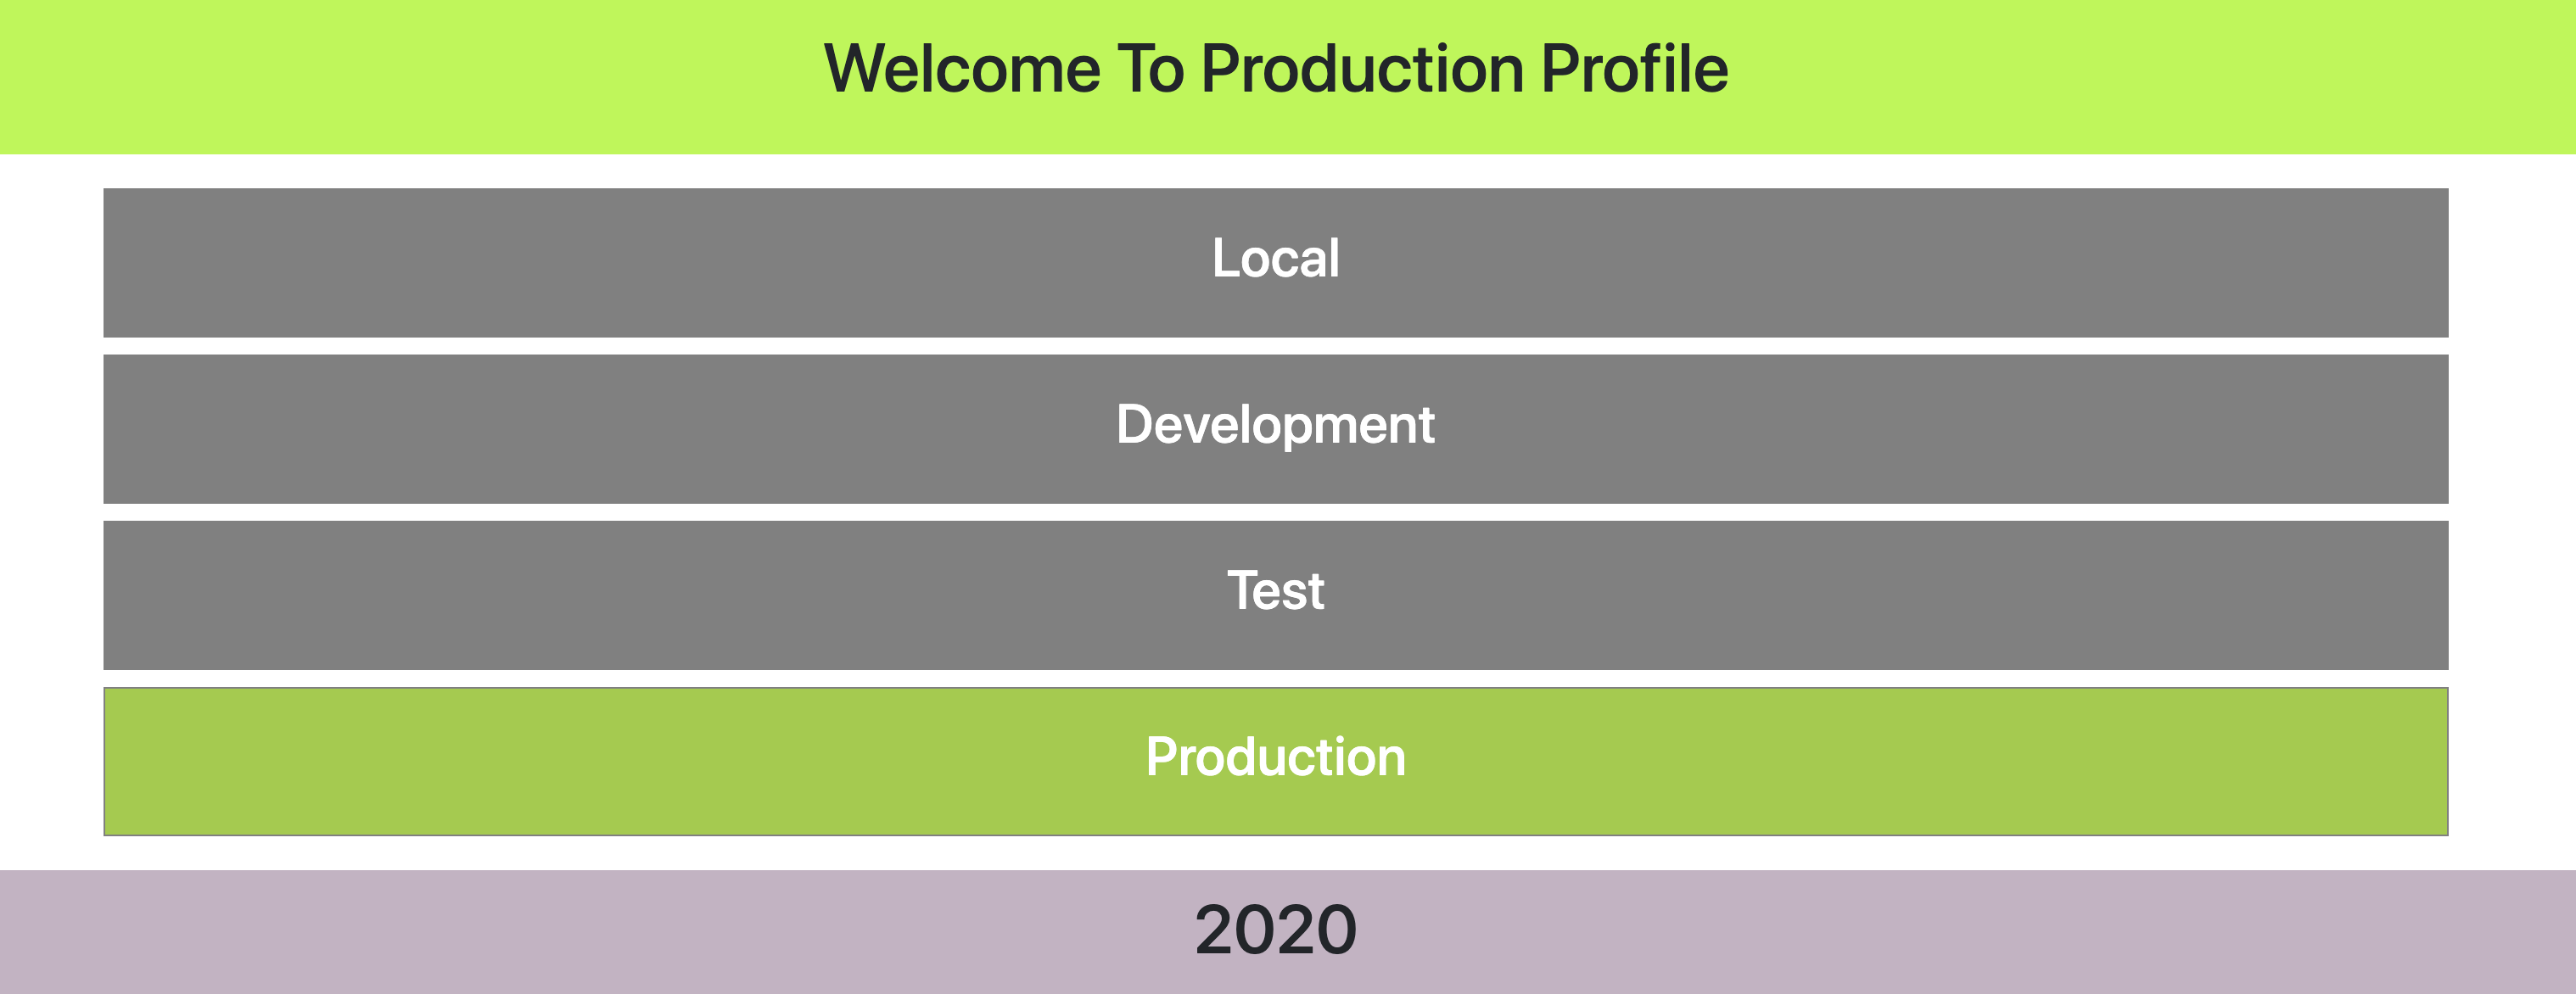
This is a simple project which demonstrates reading information based on the environment. We have a header that changes based on the environment and there are four blocks representing each environment and turns green based on the environment.
Here is the example project where you can clone and run on your machine
<span id="4c9f" class="lg js ek at kl b gm lh li r lj">// clone the project
git clone [https://github.com/bbachi/angular-environment-info.git](https://github.com/bbachi/angular-environment-info.git)</span><span id="8b35" class="lg js ek at kl b gm lk ll lm ln lo li r lj">// install dependencies and run the project
npm install</span><span id="5d8e" class="lg js ek at kl b gm lk ll lm ln lo li r lj">ng serve --configuration=local   // local environment
ng serve --configuration=dev   // dev environment
ng serve --configuration=test   // test environment
ng serve --configuration=production   // production environment</span>
Configuration
Let’s dive into the configuration and go through all the steps to set up the project. First, we need to define four environment files since we have four environments local, dev, test, and prod.
Here are the four environment files. I put these in one file for the brevity.
// environment.ts
export const environment = {
  production: false,
  environment: 'Local'
}


// environment.dev.ts
export const environment = {
    production: false,
    environment: 'Development'
};

// environment.test.ts
export const environment = {
    production: false,
    environment: 'Test'
};


// environment.prod.ts
export const environment = {
    production: true,
    environment: 'Production'
};
Environment Files
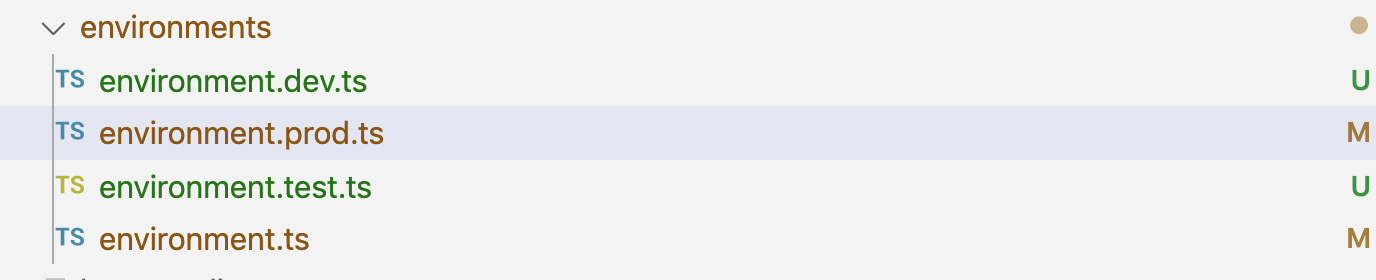
Environment Files In the Project
Once you define all the environment files, We need to configure these in the angular.json file. This CLI configuration file contains build targets where you can specify specific information for the target builds and each build target has the section called fileReplacements which allows you to replace any file with a target-specific version of that file.
Here is the angular.json configuration file. I removed all the other info and kept only build and serve related information for the brevity. You can check the complete file here.
If you look at the configurations object under build object, you can see three environments defined called production, dev, and test. You can use these build targets for the serve section with the browserTarget option. For example, if you define test object under build configuration, you need to use angular-environment-info:build:test for the browserTarget
{
  "$schema": "./node_modules/@angular/cli/lib/config/schema.json",
  "version": 1,
  "newProjectRoot": "projects",
  "projects": {
    "angular-environment-info": {
      "root": "",
      "sourceRoot": "src",
      "projectType": "application",
      "prefix": "app",
      "schematics": {},
      "architect": {
        "build": {
          "builder": "@angular-devkit/build-angular:browser",
          "options": {},
          "configurations": {
            "production": {
              "fileReplacements": [
                {
                  "replace": "src/environments/environment.ts",
                  "with": "src/environments/environment.prod.ts"
                }
              ],
            },
            "dev": {
              "fileReplacements": [
                {
                  "replace": "src/environments/environment.ts",
                  "with": "src/environments/environment.dev.ts"
                }
              ]
            },
            "test": {
              "fileReplacements": [
                {
                  "replace": "src/environments/environment.ts",
                  "with": "src/environments/environment.test.ts"
                }
              ]
            }
          }
        },
        "serve": {
          "builder": "@angular-devkit/build-angular:dev-server",
          "options": {
            "browserTarget": "angular-environment-info:build"
          },
          "configurations": {
            "production": {
              "browserTarget": "angular-environment-info:build:production"
            },
            "dev": {
              "browserTarget": "angular-environment-info:build:dev"
            },
            "test": {
              "browserTarget": "angular-environment-info:build:test"
            }
          }
        }
}
angular.json
Once this configuration is done, all you need to import the base environment file wherever you need it. Remember, you need only import the base environment file Angular will take care of replacing these based on the configuration provided in the angular.json file.
Here is an example, I am using the environment information in the header section. All I need to do is import the base environment and use it like below. You can check the complete example here.
<div class="header">
  <h1>Welcome To {{env}} Profile</h1>
</div>
import { Component, OnInit } from '@angular/core';
import { environment } from '../../environments/environment';

@Component({
  selector: 'app-header',
  templateUrl: './header.component.html',
  styleUrls: ['./header.component.css']
})
export class HeaderComponent implements OnInit {

  constructor() { }
  env: string;

  ngOnInit() {
    this.env = environment.environment;
  }

}
header
Development with different environments
We are done with all the configuration part. Once you clone the above project. All you need to run ng serve with a configuration flag.
// development
ng serve --configuration=dev

// test
ng serve --configuration=test

// production not recommended (just for demonstration purpose)
ng serve --configuration=production

// local
ng serve
Build for productions with different environments
Building projects are very similar to running them in the development mode. But, when you build the project with the ng build with the configuration flag all the code is compiled and put it inside /dist folder.
// development
ng build --configuration=dev

// test
ng build --configuration=test

// production
ng build --configuration=production

// local
ng build
You can just load index.html page under /dist/. You should change the paths of scripts generated in the index.html since we are not running any nginx or node server to serve these pages.
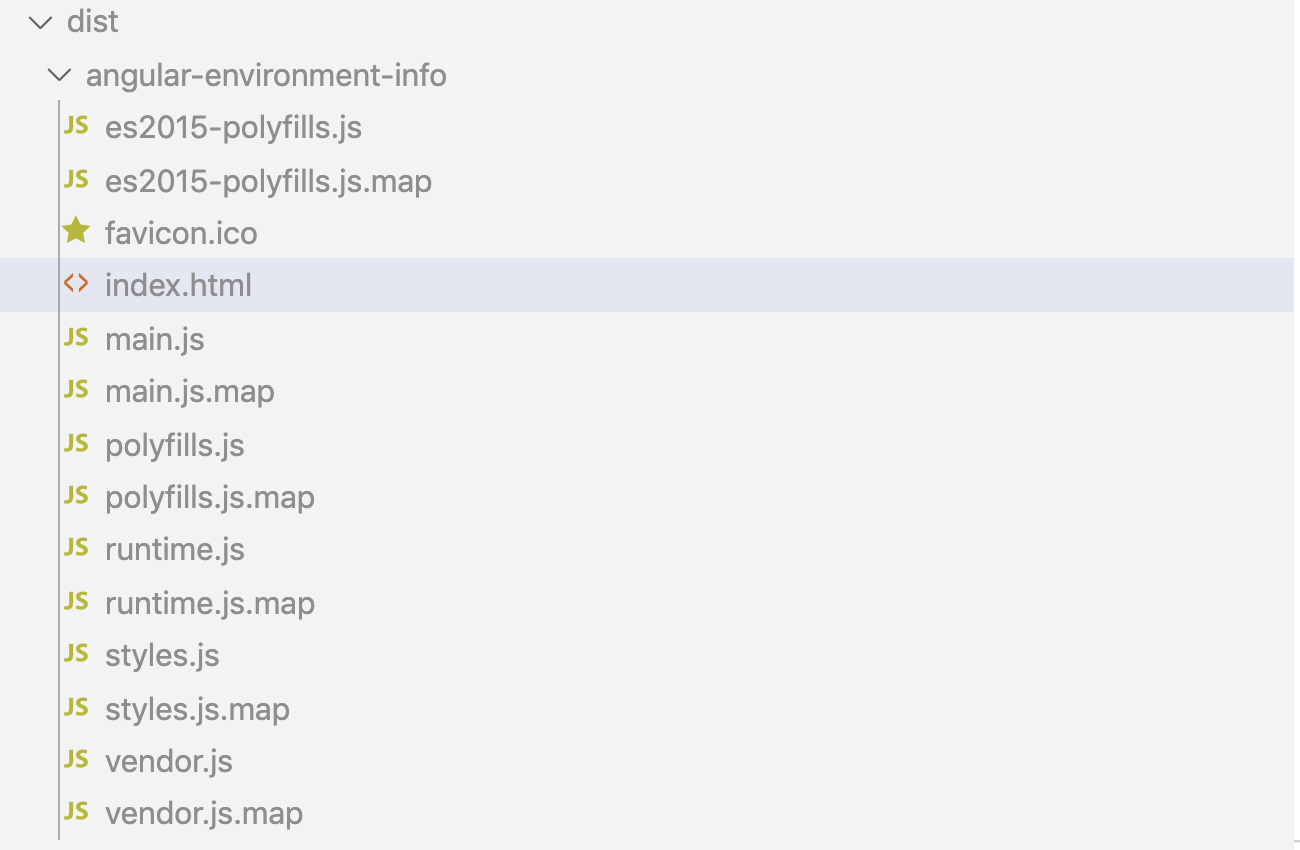
build

change the paths to load properly
Summary
- Every project has environment-specific information which can be loaded based on the environment in which we are running the application.
- Angular provides an opinionated way where we can define these environments and angular loads automatically based on the configuration provided in the angular.json
- We just need to import the base configuration file, Angular automatically replaces that with the file mentioned in the fileReplacements section of the angular.json.
- We can run the application in the development mode with the
ng serveand we can pass environment-specific information with the configuration flag. - We can build the application with the
ng buildand we can pass build targets with the configuration flag.
Conclusion
In this way, we can provide environment-specific information based on the environment in which we are running the apps. Thanks and love all
#angular #javascript #programming #webdev