HTML Cheatsheet: Everything You Need to Know to Get Started
Learn the essentials of HTML with this comprehensive cheat sheet for beginners. Covers everything from HTML elements and attributes to creating and formatting web pages, with clear examples and explanations.
HTML cheat sheet is a valuable resource for anyone working with HTML, providing quick access to common elements, attributes, tags, forms, and containers. Whether you are a beginner or an experienced developer, this cheat sheet can save you time and improve your productivity. It is an essential tool for anyone working with HTML, providing a comprehensive collection of code snippets and examples at your fingertips.
General
Page structure
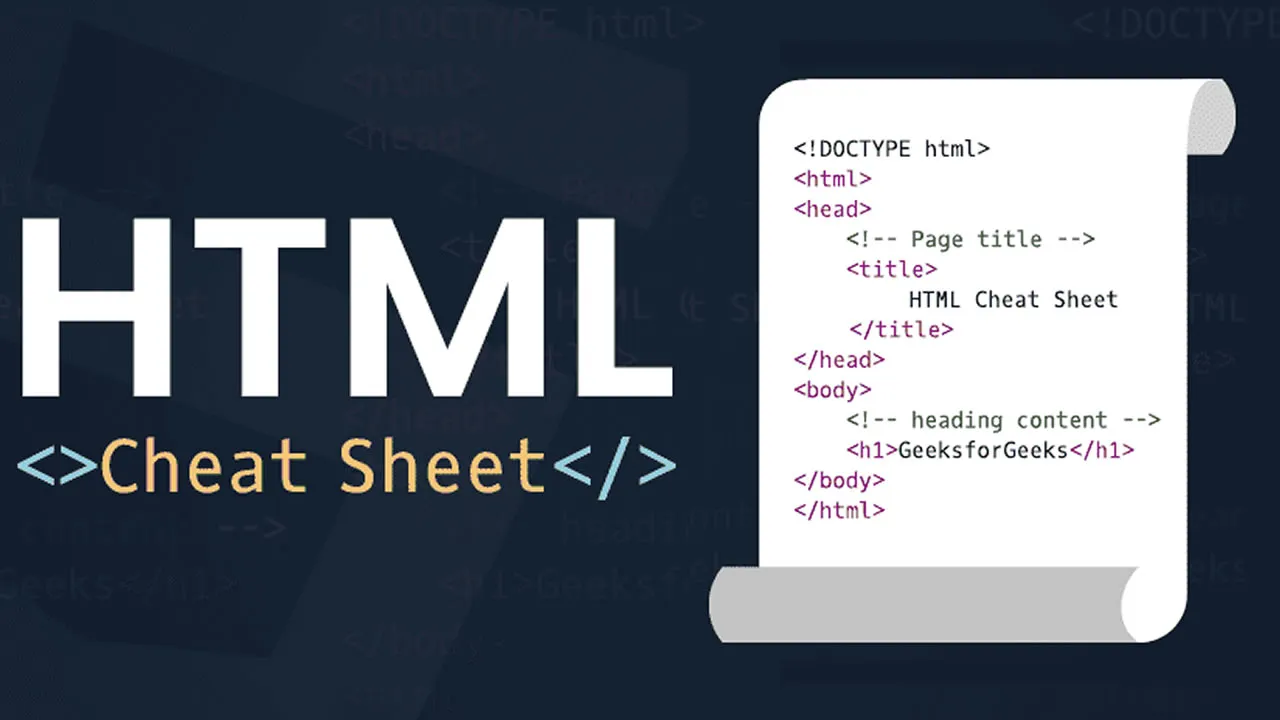
<!DOCTYPE html>
<html lang="en">
<head>
  <meta charset="UTF-8" />
  <meta http-equiv="X-UA-Compatible" content="IE=edge" />
  <meta name="viewport" content="width=device-width, initial-scale=1.0" />
  <title>SheCodes</title>
</head>
<body>

</body>
</html>Comment
<!-- this is a comment -->This code will be ignored. Comments are generally a bad idea, your code should be explicit enough as it is.
Text Tags
Headings
<h1>
  SheCodes
</h1>
<h2>
  SheCodes
</h2>
<h3>
  SheCodes
</h3>
<h4>
  SheCodes
</h4>
<h5>
  SheCodes
</h5>
<h6>
  SheCodes
</h6>
Note: Only h1, h2, h3, h4, h5, and h6 exist, you should only have one h1 on your page.
Paragraph
<p>
  SheCodes teaches busy women how to code.
</p>
Unordered Lists
<ul>
  <li>
    SheCodes Basics
  </li>
  <li>
    SheCodes Plus
  </li>
  <li>
    SheCodes Responsive
  </li>
  <li>
    SheCodes React
  </li>
</ul>
Note: <ul> can only have <li> as direct descendants.
Ordered List
<ol>
  <li>
    SheCodes Basics
  </li>
  <li>
    SheCodes Plus
  </li>
  <li>
    SheCodes Responsive
  </li>
  <li>
    SheCodes React
  </li>
</ol>
Adds numbers in front of each list item.
Note: We rarely use this one as it's hard to style.
Nested lists
<ul>
  <li>SheCodes Basics</li>
  <li>SheCodes Plus</li>
  <li>
    <strong>SheCodes Pro</strong>
    <br />
    <ul>
      <li>SheCodes Basics</li>
      <li>SheCodes Plus</li>
      <li>SheCodes Responsive</li>
      <li>SheCodes React</li>
    </ul>
  </li>
</ul>
Link
<a href="https://www.shecodes.io/">SheCodes</a>
<a href="https://www.shecodes.io/" target="_blank">SheCodes</a>
<a href="https://www.shecodes.io/" target="_blank" title="SheCodes Website">SheCodes</a>
Adds a link to the page.
Note: target="_blank" opens the link in a new window.
Mailto link
<a href="mailto:team@shecodes.io">Send us an email</a>Anchor link
<a href="#important">
  Jump to the heading below
</a>

<div id="important">
  This is a note
</div>
Link to a section on the same page
Separators
Line Break
SheCodes offers coding workshops <br />
to busy women <br />
Sign up today
Note: Inline element
Horizontal Rule
SheCodes offers coding workshops
<hr />
to busy women
<hr />
Sign up today
Note: Inline element
Attributes
Classes
<a href="https://www.shecodes.io/" class="website-url">SheCodes</a>
<div class="header important">SheCodes Workshops</div>
Classes are generally used to select elements from CSS. Name your classes using clear English words. If you want a class name to include multiple words, separate each word with a hyphen - . If you want to use multiple class names, use a space in between. Class names should be lower cased.
Ids
<a href="https://www.shecodes.io/" id="website-link">SheCodes</a>
Ids are generally used to select elements from JavaScript and can only be used once. Name your ids using clear English words. If you want an id name to include multiple words, separate each word with a hyphen -. If you want to use multiple id names, use a space in between. Id names should be lowercased.
Containers
Div
<div>SheCodes</div>
<div class="coding-workshop">SheCodes</div>
Generally used to add a class around some content and target that class from CSS. It doesn't add any styling on its own.
Note: Block element
Span
<span>SheCodes</span>
<span class="best-workshop">SheCodes</span>
Generally used to add a class around some content (especially text and images) and target that class from CSS. It doesn't add any styling on its own.
Note: Inline element
Header
<header class="page-header">
    <h1>SheCodes Workshops</h1>
</header>
It typically groups the introduction of the page or the navigation. It doesn't add any styling on its own.
Note: Block element
Footer
 <footer>
        <p>© SheCodes</p>
    </footer>
It typically groups information about the author of the section, copyright data, or links to related documents. It doesn't add any styling on its own.
Note: Block element
Section
<section class="workshop-information">
    <h2>SheCodes Pro</h2>
    <p>SheCodes Pro includes everything you need to become a professional developer...</p>
</section>
It typically groups information on a page. It's very similar to <div> but less commonly used. It doesn't add any styling on its own.
Note: Block element
Media Tags
Image
<img src="https://s3.amazonaws.com/shecodesio-production/uploads/files/000/083/182/original/cat.png?1685030491" />
<img src="https://s3.amazonaws.com/shecodesio-production/uploads/files/000/083/182/original/cat.png?1685030491" alt="Image description" />
<img src="https://s3.amazonaws.com/shecodesio-production/uploads/files/000/083/182/original/cat.png?1685030491" alt="Image description" width="400" />
Adds an image to the page.
Note: This is a self-closing tag.
Video
<video src="https://video-url"></video>
<video src="https://video-url" controls></video>
Adds a video to the page.
Audio
<audio controls src="https://url-to-audio-file.mp3"></audio>Adds audio to the page.
Form Tags
Form
<form action="/submit">
    <label for="name">Enter your name: </label>
    <input type="text" name="name" id="name" required />
    <label for="email">Enter your email: </label>
    <input type="email" name="email" id="email" required />
    <input type="submit" value="Subscribe!" />
</form>
Adds a form to the page. The action depends on where you want the form data to be sent to (usually provided by a backend developer)
Inputs
<label for="name">Name (4 to 8 characters):</label>
<input type="text" id="name" />
Creates a form text input.
Note: Self-closing tag
Button
<button class="signup-button">
  Sign up now
</button>
Adds a button to the page.
Note: Inline element
Radio inputs
<label>What pets do you have?</label>
<input type="radio" name="pet" id="cats" value="cats" checked />
<label for="cats">Cats</label>
<input type="radio" name="pet" id="dogs" value="dogs" />
<label for="dogs">Dogs</label>
<input type="radio" name="pet" id="frogs" value="frogs" />
<label for="frogs">Frogs</label>Checkbox inputs
<label>What pets do you have?</label>
      <div>
        <input type="checkbox" name="pets" id="cats" value="cats" />
        <label for="cats">Cats</label>
      </div>
      <div>
        <input type="checkbox" name="pets" id="dogs" value="dogs" />
        <label for="dogs">Dogs</label>
      </div>
      <div>
        <input type="checkbox" name="pets" id="frogs" value="frogs" />
        <label for="frogs">Frogs</label>
</div>Select element
 <label for="countries">Which country would you like to travel to?</label>
    <select id="countries">
      <option value="">Select a country</option>
      <option value="france">France</option>
      <option value="italy">Italy</option>
      <option value="usa">USA</option>
      <option value="brazil">Brazil</option>
      <option value="japan">Japan</option>
</select>Styling tags
Strong
<strong>SheCodes Workshops</strong>Makes the content bold.
Note: Inline element
Small
<small>SheCodes Workshops</small>Makes the text within it one font size smaller.
Note: Inline element
Em
<em>SheCodes Workshops</em>Makes the text italic.
Note: Inline element
CSS in HTML
Internal CSS
<head>
  <style>
    body {
      background: #f8f5ff;
    }

    h1 {
      color: purple;
      text-align: center;
    }
  </style>
</head>
Add a style element inside your <head> to include CSS in your HTML file. You should ideally have a maximum of 1 style element on your page. You don't need a style element if you're using external CSS.
External CSS
<head>
    <link rel="stylesheet" href="style.css" />
</head>
Link to an external CSS file, add multiple link tags to link to multiple CSS files.
Note: Link is a self-closing tag
JavaScript in HTML
Internal JavaScript
<body>
  <h1>
    SheCodes
  </h1>
  <script>
    alert("Hello SheCodes");
  </script>
</body>
Add your script tag to the bottom of your body. Anything inside script is JavaScript.
External JavaScript
<body>
  <h1>
    SheCodes
  </h1>
  <script src="app.js"></script>
</body>
Link to your external JavaScript file at the bottom of your body. The script element doesn't include any content but needs to be closed. It is not a self-closing tag.
SEO
Title element
<title>The title of your website - Brand</title>Determine the document's title that will be shown in a browser’s title bar or a page's tab More info
Meta description
<head>
  <meta name="description"  content="This is an example of a meta description. This will often show up in search results." />
</head>Table
Table structure
   <table>
      <thead>
        <tr>
          <th>First name</th>
          <th>Last name</th>
          <th>Nationality</th>
        </tr>
      </thead>
      <tbody>
        <tr>
          <td>Matt</td>
          <td>Delac</td>
          <td>French</td>
        </tr>
        <tr>
          <td>Amanda</td>
          <td>Smith</td>
          <td>American</td>
        </tr>
      </tbody>
</table>#html