In this article, we’ll learn what custom directives are and how they are similar to Vue’s core directives.
Directives in Vue
A directive generally is some special token in the markup that tells the library to do something to a DOM element. In Vue, the concept of directive is drastically simpler than that in Angular. A Vue directive can only appear in the form of a prefixed HTML attribute. The syntax looks like this:
<element
 prefix-directiveId=”[argument:] expression [| filters…]”>
</element>
Directives, are like HTML attributes that are added inside code templates. Let us see a simple example of a directive:
<div v-text=”hello”> </div>
Here the prefix is v which is the default. The directive ID is text and the expression is message. This directive instructs Vue to update the div’s textContent whenever the hello property on the Vue instance changes.
We have a host of directives in vue: v-model, v-bind, v-show, v-on, v-if that ships with the core library. Vue also allows developers to create their own custom directives to meet custom use cases.
Introducing Custom Directives
So what if you wanted to do something or achieve an action that is not yet explicitly defined by any core Vue directive. Vue allows you to create your own custom directive where you can then specify the action you want. They can come in handy in very large Vue applications where some actions abstracted to only a HTML element is needed throughout a Vue component.
How to Create Custom Directives
Let us say we have a form input element in our user interface we want to highlight but we want to achieve this without a placeholder. We can decide to create a custom directive to put it in auto-focus once the interface is inserted in the DOM. There are two ways to create custom directives:
- Globally so it can be available to all components from a central location.
// Register a global custom directive called `v-focus`
Vue.directive(‘focus’, {
 // When the bound element is inserted into the DOM…
 inserted: function (el) {
  // Focus the element
  el.focus()
  }
})
- Locally in any component of choice as every Vue component accepts a directive option.
directives: {
 focus: {
  // directive definition
  inserted: function (el) {
   el.focus()
   }
  }
}
Hook Functions
Hook functions (which should not be mistaken for hooks in Vue) are functions that can be defined inside a custom directive. They are all optional but most people just use the bind and the inserted functions. Here is the comprehensive list from the official documentation:
bind: called only once, when the directive is first bound to the element. This is where you can do one-time setup work.inserted: called when the bound element has been inserted into its parent node. This only guarantees parent node presence, not necessarily in-document.update: called after the containing component’s VNode has updated, but possibly before its children have updated. The directive’s value may or may not have changed, but you can skip unnecessary updates by comparing the binding’s current and old values .componentUpdated: called after the containing component’s VNode and the VNodes of its children have updated.unbind: called only once, when the directive is unbound from the element.
Directive Hook Arguments
There are generally three arguments passed into custom directive hooks:
el: The element the directive is bound to. This can be used to directly manipulate the DOM.vnode: The virtual node produced by Vue’s compiler. See the VNode API for full details.binding: An object containing the following properties.
name: The name of the directive, without thev-prefix.value: The value passed to the directive. For example inv-my-directive="1 + 1", the value would be2.oldValue: The previous value, only available inupdateandcomponentUpdated. It is available whether or not the value has changed.expression: The expression of the binding as a string. For example inv-my-directive="1 + 1", the expression would be"1 + 1".arg: The argument passed to the directive, if any. For example inv-my-directive:foo, the arg would be"foo".modifiers: An object containing modifiers, if any. For example inv-my-directive.foo.bar, the modifiers object would be{ foo: true, bar: true }.
Let us see a demonstration of how they are used.
Demo
Prerequisites
For this Demo, you would need the following up and running in your machine:
- Node and therefore Node Package Manager.
- Vue global installation.
- Vue CLI installation.
We would build two custom directives, the first would be the auto-focus custom directive we already used for illustration at the start, then we would build more directives that show custom made style manipulations of HTML elements.
1. Creating Auto-focused input element
We can achieve this using the Inserted function hook
- create a new Vue application with the Vue CLI like this:
vue create custom-directives
- Follow the prompt and configure your simple application.
- Or download this canvas application I use for easily creating Vue tutorials
- Change directory to the downloaded folder and ensure node modules are properly installed in your machine with this command:
npm install
- Copy the sample code below, your Test.vue HTML template should look like this:
<template>
<div id="container">
<h2>Typing Spree Game</h2>
<input v-focus type="text" id="container" v-model="value">
<p>{{ value }}</p>
<h3>Ecosystem</h3>
<ul>
<li><a href="#" target="_blank" rel="noopener">vue-r</a></li>
<li><a href="#" target="_blank" rel="noopener">vuex</a></li>
<li><a href="#" target="_blank" rel="noopener">vue-dev</a></li>
<li><a href="#" target="_blank" rel="noopener">vue-loa</a></li>
<li><a href="#" target="_blank" rel="noopener">awesome</a></li>
</ul>
</div>
</template>
- The Script section where the directive is defined should look like this:
<script>
export default {
name: 'Test',
props: {
value: ''
},
directives: {
focus: {
// directive definition
inserted: function (el) {
el.focus()
}
}
}
}
</script>
his Directive definition can also be done globally in the Main.js file with the global syntax already shown at the start of this tutorial.* Run the application in development
npm run serve
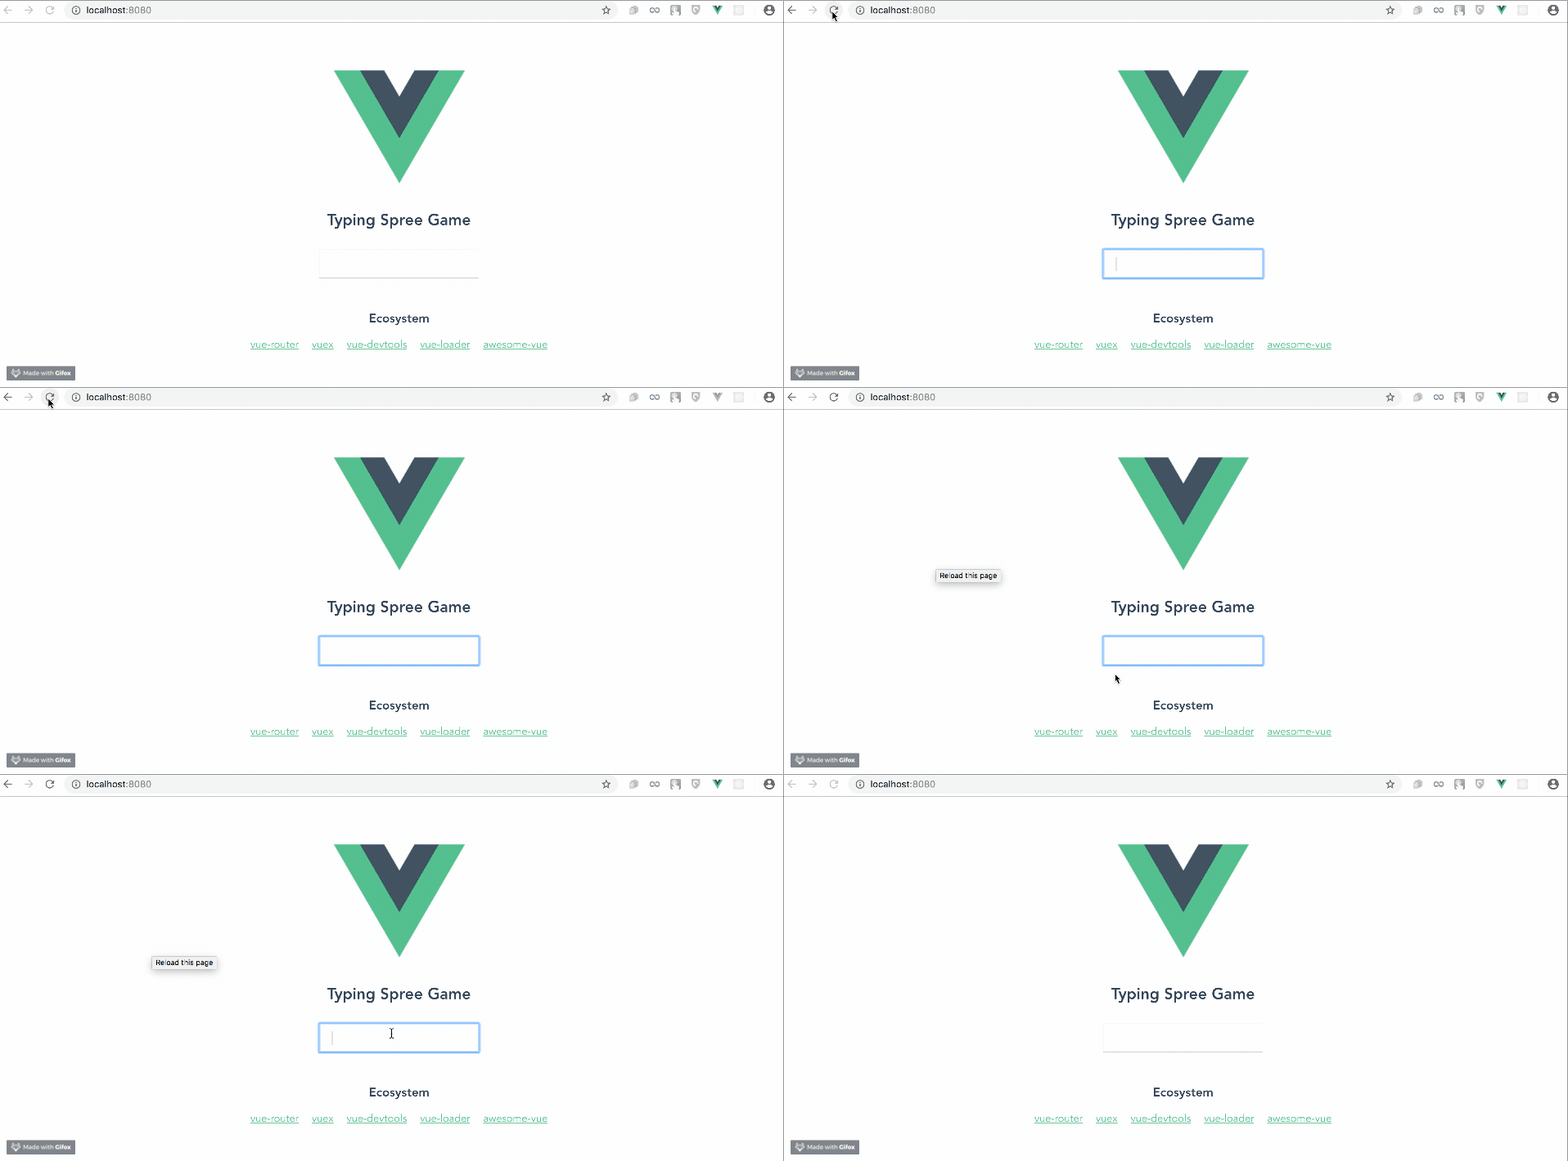
- Your application should look like this

The Auto-focus Custom Directive
You can see that the input element is automatically in focus mode as the page loads.
2. Custom Directives for Styling
In the gif above, we see all the list items under Ecosystems in green. What if we want each one of them to render a random colour instead, custom directives can come in handy here.
- Add a second directive to the list of directives like so:
export default {
name: 'Test',
props: {
value: ''
},
directives: {
// directive 1
focus: {
// directive definition
inserted: function (el) {
el.focus()
}
},
//directive 2
rand: {
// directive definition
bind(el){
el.style.color = "#" + Math.random().toString().slice(2,8)
}
}
}
}
this binds a random hexadecimal code concatenated with the hash symbol which forms CSS colour codes to the element.
- Use the v-rand on the list items to render the different colours on each:
https://gist.github.com/viclotana/49fae754c7707abf7d6573fbf3a8bc8b#file-test3-vue
- work on the scoped styles to make the list items more obvious:
<style scoped>
h3 {
margin: 40px 0 0;
}
ul {
list-style-type: none;
padding: 0;
}
li {
display: inline-block;
margin: 0 10px;
font-size: 25px;
}
a {
color: #42b983;
}
input {
font-size: 18px;
width: 20%;
padding: 10px 18px;
margin: 8px 0;
box-sizing: border-box;
}
</style>
- the application in development
npm run serve
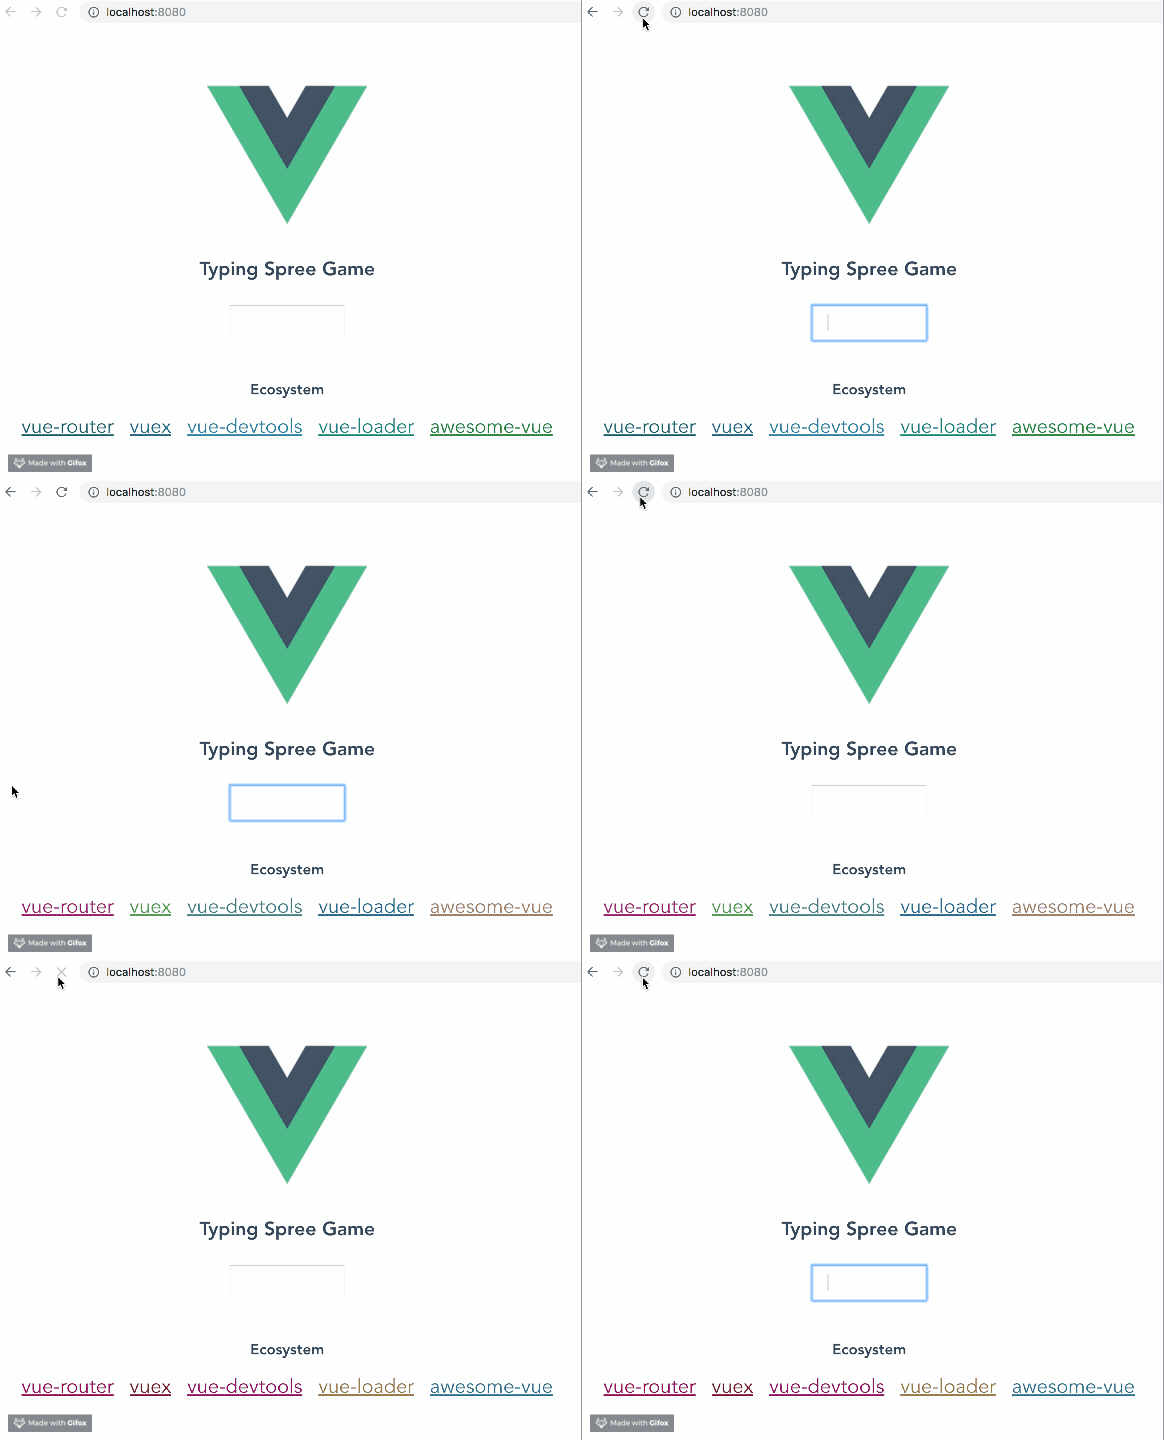
- Your application should now look like this:

The list items each change colour on refresh
The Final Custom Directive Repository of this Tutorial can be found here
Conclusion
In this article, we learnt what custom directives are and how they are similar to Vue’s core directives. We also saw the syntax and how they are defined and used them on two distinct use cases with the bind and the inserted hook functions. Have you tried using Custom Directives? What other use case can make you consider using them, you can reply down in the comments.
#vue-js #javascript #web-development
