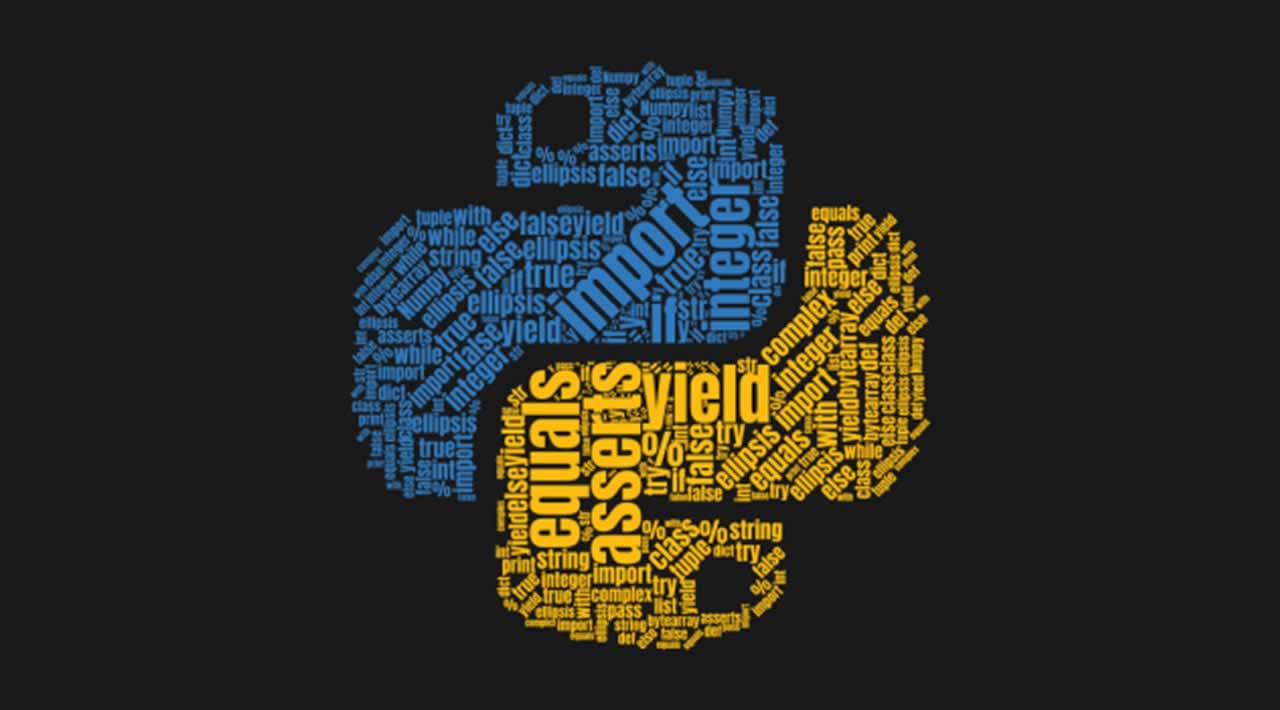
How to Create Simple Word Clouds in Python
A creative way to visualize your data and send the right message to everyone
By reading this article, you’ll learn to create your own word cloud in Python. We’ll be using an easy-to-use module called wordcloud. Based on the official documentation, this module has the following advantages:
- Filling all available space
- Being able to use arbitrary masks
- Having a simple yet efficient algorithm that can be easily modified
- Being in Python
There are five sections in this piece:
- The setup
- Basic usage
- Examples
- Command line
- Conclusion
Let’s get started.
1. The setup
You can easily install the module via pip install. It’s highly recommended to create a virtual environment before you run the installation.
pip install wordcloud
For Anaconda users, you can install it directly from conda-forge.
conda install -c conda-forge wordcloud
You’ll need the following dependencies as well. Kindly check if you have them installed.
- NumPy
- Pillow
- Matplotlib
Let’s move onto the next section to kick-start your project.
2. Basic Usage
First and foremost, let’s import the necessary module.
from wordcloud import WordCloud, ImageColorGenerator
import matplotlib.pyplot as plt
from PIL import Image
import numpy as np
WordCloud— base class to generate the word-cloud imageImageColorGenerator— base class to recolor the words in the word-cloud image
We’ll need a few sentences of text as input for the word cloud. I’ll be using the following text as an example input for this tutorial, but feel free to use any text you prefer.
The Harry Potter series, written by J.K. Rowling, is perhaps the most popular set of novels of the modern era. With seven books and many blockbuster films to its name, the series has amassed about 15 billion dollars in sales. How did this phenomenon become what it is? For those scratching their heads, the reason can be broken down into several areas: Rowling garnered a generous initial contract for her book, separate book covers were created for both teens and adults, midnight releases/promotions/pre-orders made the public more fanatic about the series, and fan blogs were rampant. In fact, these are just a few of the main reasons why the Harry Potter took off the way it did.\n\nThe first book in the series, “Harry Potter and the Philosopher’s Stone,” was rejected 12 times before it was picked up by Bloomsbury—a small publisher in England. At the time, Rowling was living on benefits as a single mother, so receiving this contract was her first step to success. However, getting a book contract does not ensure the success of a book. The story was adored by children and adults alike, and this had much to do with the popularity of the initial book and the series as a whole (Rappaport, Sarah).\n\nIn light of this, her publisher made separate covers for young readers and adults. According to BusinessInsider.com, “Adults love reading the Harry Potter books, but few want to be seen toting around a child’s book. To make it easier for adults, Bloomsbury Publishing, the British publishing house that first bought the rights to Rowling’s books, published a second version of the books with “adult” (i.e., less colorful and more boring) book covers” (Aquino, Judith). This made it easier for a full range of ages to enjoy the series. This is not an easy feat for young adult fiction.\n\nAnother factor that worked like a charm was that when the Harry Potter series became an obvious success, the publisher, and Rowling herself through her own website for the books, conducted midnight releases, special promotions, and pre-ordering to engage readers even more. According to BusinessInsider.com, “Starting with the fourth book, Harry Potter and the Goblet of Fire, crowds of people wearing black robes, ties and round-frame glasses began showing up at bookstores for midnight release parties in 2000. Customers who feared their local bookstore would run out of copies responded by pre-ordering over 700,000 copies prior to the July 8, 2000 release date, according to Gunelius. The seventh and final book in the Harry Potter series became the fastest-selling book in history, reports The New York Times, with more than 11 million copies sold during the first 24 hours in three markets alone” (Aquino, Judith). The fandom around the books created more lucrative opportunities for the series.\n\nAlso, based on fans, blogs were created that were dedicated to the story, details, plot, characters, and much more about the series. In the beginning, Rowling did not have too much in the way of advertising, and the fans did a lot of work for her. According to HubSpot, “The fans took over and created many viral campaigns on her behalf talking about the excitement they had over upcoming releases. Harry Potter is often a trending topic on Twitter, Facebook events and page are abundant and thousands of bloggers create posts on their behalf. These promotions are more genuine because they come from the source, the fans, instead of the person who makes a profit” (Leist, Rachel). This organic advertising propelled the Harry Potter novel series into being the most successful one ever.\n\nNow that Rowling has sold millions of copies of her Harry Potter books and has seen each one adapted into films, merchandise, fan art, and more, we can safely say that this series is a global phenomenon. Through an initial contract, advertising for both teens and adults, special releases and parties, and organic advertising from fans via the internet, Harry Potter and his universe took over as the most successful bestselling book of all time. \n
Save it in a text file. In this case, I named it example.txt. Write the following code to read the text and store it into a variable.
text = ""
with open('example.txt', encoding='utf-8') as f:
    text = ''.join(f.readlines())
Next up, we’re going to create and initialize a WordCloud object
wc = WordCloud()
It accepts quite a few number of parameters, but the most commonly used are as follows:
font_path— font path to the font that’ll be used (OTF or TTF). Defaults to theDroidSansMonopath on a Linux machine. If you’re on another OS or don’t have this font, you need to adjust this path.width— width of the canvas. The default value is400.height— height of the canvas. The default value is200.max_words— the maximum words allowed. The default is200.background_color— background color for the word-cloud image. The default isblack.mask— input an image to be used as a mask
Once you’ve created a WordCloud object, you can call the built-in generate function to generate a word cloud. We’ll pass in the text variable as an input to the function.
wc.generate(text)
You can choose to save it in an image file.
wc.to_file('output.png')
Or you can display it in Jupyter Notebook via the functions in Matplotlib.
plt.imshow(wc, interpolation='bilinear')
plt.axis("off")
plt.show()
You should see the following image:

Let’s set the max_font_size to a different value.
wc = WordCloud(max_font_size=40).generate(text)
plt.imshow(wc, interpolation='bilinear')
plt.axis("off")
plt.show()
The result is as follows:

Note: The arrangement of the text isn’t fixed and will be slightly different on each run. That’s all you need to code to create your own custom word cloud. Kindly proceed to the next section to see some example use cases.
3. Examples
In this section, we’re going to explore the available functions and other use cases in-depth.
Masked word cloud
You can pass a black vector image with a white background as a mask to the WordCloud object. It’ll be used to mask out and restrict the text within the black boundary. I’ll be using the following image. Who’s that Pokémon?

Use the Pillow module to open the image and convert it to a NumPy array. Remember to set the background color to white so you can visualize it better.
custom_mask = np.array(Image.open("krabby.png"))
wc = WordCloud(background_color="white", mask=custom_mask)
wc.generate(text)

plt.imshow(wc, interpolation='bilinear')
plt.axis("off")
plt.show()
The following result will be outputted to the console.

You can add in a contour to serve as the stroke or border for the word cloud. Modify the second line to include the following parameters:
wc = WordCloud(background_color="white", mask=custom_mask, contour_width=3, contour_color='steelblue')
contour_width— if themaskisn’tNoneand thecontour_width> 0, draw the mask contourcontour_color—maskcontour color
Once you run the code, you should see the following output.

Image-colored word cloud
If you’d like to use the colors of the masked image to highlight the text, you can do so via the recolor function. Let’s test it out with the following image.

You can reuse the previous code and add two more lines of code.
custom_mask = np.array(Image.open("colored_krabby.png"))
wc = WordCloud(background_color="white", mask=custom_mask)
wc.generate(text)

image_colors = ImageColorGenerator(custom_mask)
wc.recolor(color_func=image_colors)

plt.imshow(wc, interpolation='bilinear')
plt.axis("off")
plt.show()
The end result is as follows.

Frequency-based word cloud
In the event where the dataset is in the form of a dictionary instead of a large chunk of text, it’s recommended to call the generate_from_frequencies function instead.
However, unlike the original generate function, stop words won’t be eliminated from the final result. Hence, you should manually remove them on your own before passing the dictionary as an input parameter.
The original tutorial is based on a multidict module, but I’ll just use the readily available Counter module to create the frequencies dictionary.
Import the following modules:
import re
from collections import Counter
Let’s read the text again, and convert the results to a Counter object.
words = re.findall(r'\w+', open('example.txt', encoding='utf-8').read().lower())
words_counter = Counter(words)
Create a WordCloud object, and call the generate_from_frequencies function.
wc = WordCloud(background_color="white", mask=custom_mask)
wc.generate_from_frequencies(words_counter)

plt.imshow(wc, interpolation="bilinear")
plt.axis("off")
plt.show()
You should see the following output.

4. Command Line
This module also comes with command-line options you can execute to create your own word cloud. Simply call wordcloud_cli in the command line. The usage is pretty straightforward. The following example reads the text from example.txt and outputs the result to output.png.
wordcloud_cli --text example.txt --imagefile output.png
You can check the full list and the explanation via the following code:
wordcloud_cli --help
The console will show the following output:

5. Conclusion
Let’s recap what we’ve learned today. We started off with a simple installation of the wordcloud module via pip install.
Then, we proceeded to learn the basic code required to create our own word cloud. We wrote code to read a text file, created a WordCloud object, and displayed the result using Matplotlib.
After that, we explored a few different use cases and examples further. This includes creating a masked word cloud, a colored-image word cloud, and a frequencies-based word cloud.
Lastly, we checked out the additional feature of the module, which is the command line option. This allows us to run the word-cloud generation via the command line.
Thanks for reading, and I hope you enjoyed this piece.
#python #word cloud #programming #tutorial