If you’ve been following WWDC20, then you totally understand how huge this edition of WWDC has been for the whole Apple ecosystem, users, and developers. With the announcement of iOS 14, many handy features are on their way to spice up the iOS experience. One of such features is Widgets.
I know this doesn’t sound new for Android users, but this definitely is great news for iOS users. Now, developers can create widgets of their applications by making use of the new WidgetKit framework. As of now, it is in Beta and available in Xcode 12 Beta and above.
Note: You will need Xcode 12 Beta or above to be able to create Widgets.
Now, let’s start writing our very first widget for iOS. For that, let’s create a new SwiftUI project. I’m naming it CountrySelector. This application will display the flags of some countries and when the user taps on any flag, the details of that particular country will be displayed in the widget of the application.
Sneak peek of how the widgets will look like. In the screenshot, the medium sized and large sized widgets are shown.
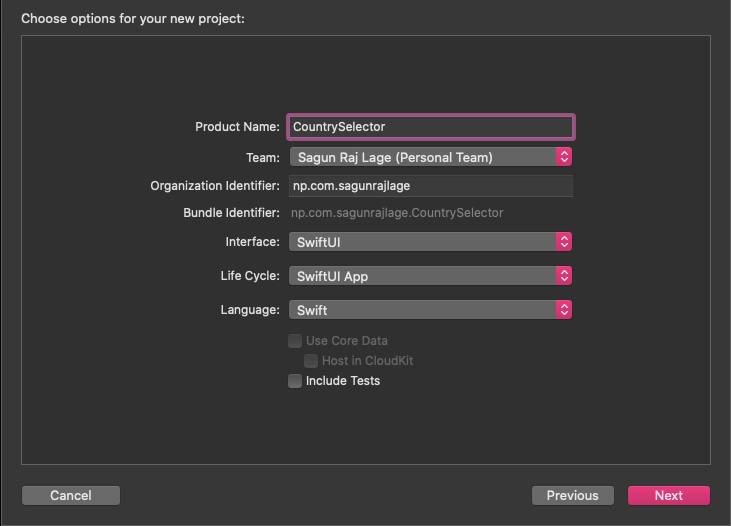
Creating a new SwiftUI project
After creating your project, the project structure will look something like this:
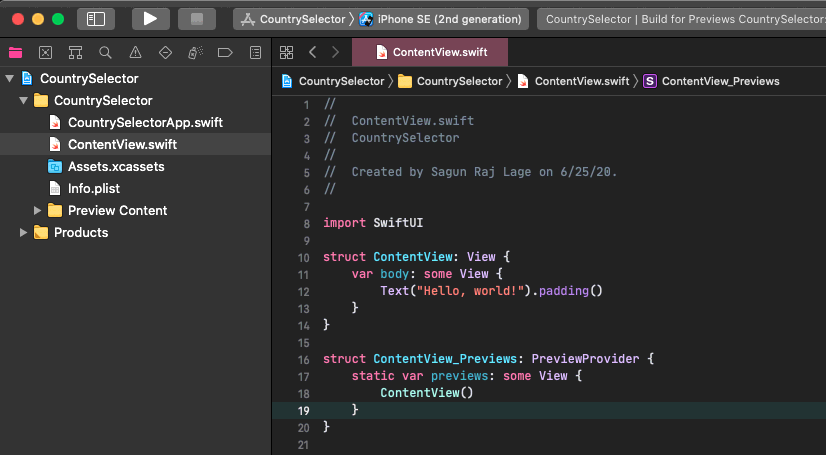
Project structure
First, let’s create a model, Country. It will be a struct that will hold a country’s details like name, flag and continent. Let’s make it conform to Codable and Identifiable protocols since we want to perform encode-decode operations and later perform an iteration using ForEachrespectively. Since we made our model conform to Identifiable, we will be asked to add an id property, which is a computed property returning the value of name, in the model. Hence, after adding everything, the final code will look like this:
import Foundation

	struct Country: Codable, Identifiable {
	    let name: String
	    let flag: String
	    let continent: String
	    var id: String { name }
	}
After that, let’s go to ContentView.swift file and add some dummy country data there. So, above the body property of ContentView, create an array, countries and write the following:
let countries = [Country(name: "Nepal", flag: "🇳🇵", continent: "Asia"),
Country(name: "USA", flag: "🇺🇸", continent: "North America"),
Country(name: "United Kingdom", flag: "🇬🇧", continent: "Europe"),
Country(name: "France", flag: "🇫🇷", continent: "Europe"),
Country(name: "China", flag: "🇨🇳", continent: "Asia"),
Country(name: "India", flag: "🇮🇳", continent: "Asia"),
Country(name: "Australia", flag: "🇦🇺", continent: "Australia")]
Now, our dummy data are ready. It’s time to show the dummy data in our view. For that, let’s create a new view, CountryView. We will use this view to display the country flags.
In CountryView.swift, we can get rid of CountryView_Previews struct if we do not want to see previews. You can remove previews from other views as well.
In CountryView, let’s add a variable, country, of Country type. It will be used to store and display the data sent from ContentView. Then, we can remove Text("Hello, World!") from the view and add the following line:
Text(country.flag)
    .font(.largeTitle)
    .background(Color.gray)
    .clipShape(Circle())
To sum up, the overall code will look like this:
import SwiftUI

	struct CountryView: View {
	    let country: Country

	    var body: some View {
	        Text(country.flag)
	            .font(.largeTitle)
	            .background(Color.gray)
	            .clipShape(Circle())
	    }
	}

	// You can remove this if you don't need previews
	struct CountryView_Previews: PreviewProvider {
	    static var previews: some View {
	        CountryView(country: Country(name: "Nepal", flag: "🇳🇵", continent: "Asia"))
	    }
	}
And the preview will show something like the view shown below:
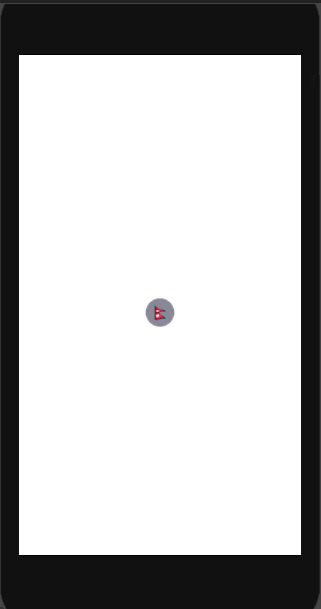
Cheers! We’ve made our CountryView. Now, let’s use it in ContentView. First, remove the “Hello, world!” text there and add the following code:
HStack {
    ForEach(countries) { country in
        CountryView(country: country)
            .onTapGesture {
                self.selectCountry(country)
            }
    }
}
#widget #programming #swift #swiftui #ios