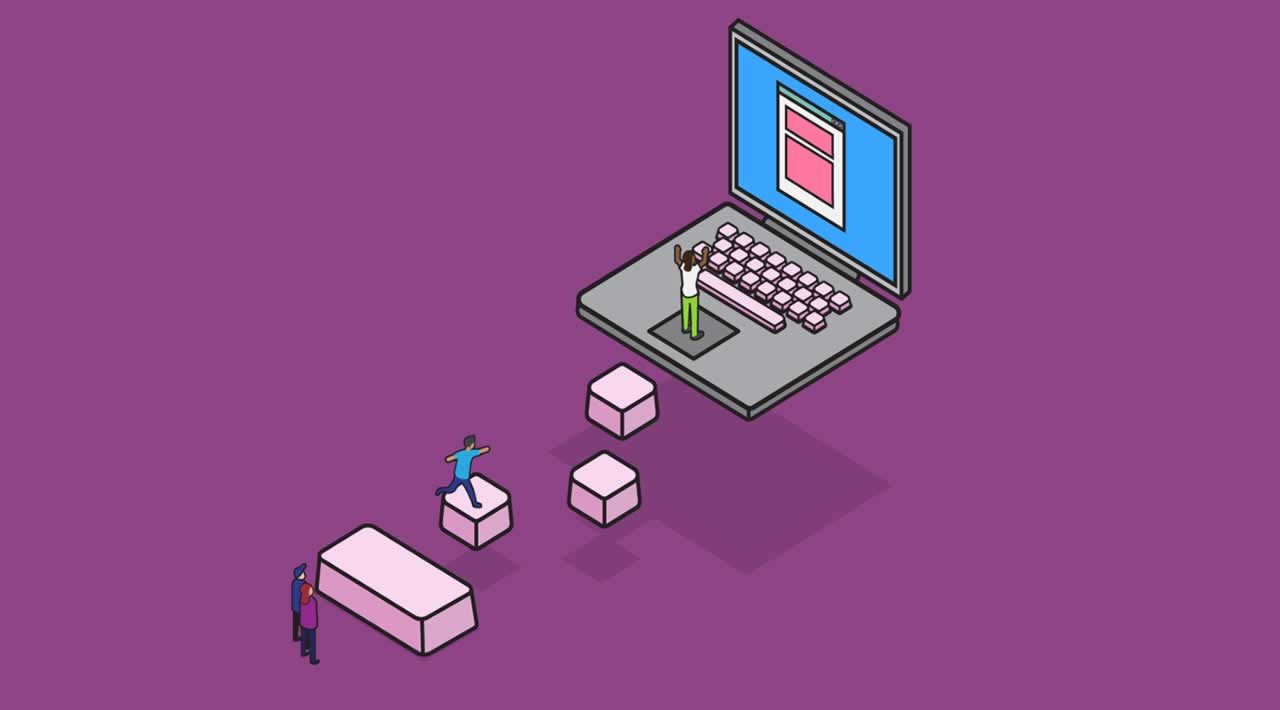
A practical guide to learning front end development for beginners: Please note that these are just the first steps into the front-end universe. It will help you get started but it’s not intended to be a complete guide.
I started my coding journey in spring 2018, a bit less than one year ago. I earned some programming skills since that time but still, I understand there are many more things to learn ahead. Anyway, I decided to gather these tips in a single place to help future developers on their path. This article is the guide I would have liked to have found when I started my journey.
Before Starting
If you decided to study on your own, there is a lot of information on the Internet and it’s hard to wrap your head around everything. It’s important to have a structured plan and avoid wasting time by jumping from one resource to another.
Please note that these are just the first steps into the front-end universe. It will help you get started but it’s not intended to be a complete guide.
As a disclaimer, please note that the following resources are not an advertisement. I mention them because they helped me at some point and I personally recommend them. Most of them are free, otherwise, it will be specified.

Photo by [Mikito
Tateisi](https://unsplash.com/@tateisimikito?utm_source=medium&utm_medium=referral) “https://unsplash.com/@tateisimikito?utm_source=medium&utm_medium=referral)”)
on Unsplash](https://unsplash.com?utm_source=medium&utm_medium=referral) “https://unsplash.com?utm_source=medium&utm_medium=referral)”)
As a starting point, I recommend signing up on freeCodeCamp.And I will base the rest on their curriculum. I consider it to be a great resource for various reasons:
- Curriculum. This can be your main path. It’s a well-structured overview of the things you should learn and provides a good learning curve.
- Exercises. They are bite-sized so you can easily keep up the pace by doing a couple of them every day and keeping your heat map green.
- Projects. After completion of every chapter, you will build 5 projects to get your certification. It’s ideal to get some practice and consolidate your knowledge.
- Community. It’s more than just a learning platform. There is a forum, blog, and YouTube channel where developers of different levels share their knowledge and where you can find inspiration.
- It’s free. Money can be critical for many people and here, in any case, you won’t spend anything except time.
Now we are all set to start! 🚀

Photo by [Braden
Collum](https://unsplash.com/@bradencollum?utm_source=medium&utm_medium=referral) “https://unsplash.com/@bradencollum?utm_source=medium&utm_medium=referral)”)
on Unsplash](https://unsplash.com?utm_source=medium&utm_medium=referral) “https://unsplash.com?utm_source=medium&utm_medium=referral)”)
Responsive Web Design
The first section encompasses the very basics of how to build static sites and apply styles to them.
The Basics
Basic HTML and HTML5andBasic CSS sections are the fundamentals of the modern Internet. Applied Visual Design, Applied Accessibility, and Responsive Web Design Principleswill teach you the basics of writing good websites. Don’t rush and step carefully, those are the main building blocks in your knowledge.
You can complement your studies with a great guide on Interneting Is Hard.
Next, you are going to learn powerful layout techniques like CSS Flexbox and CSS Grid**.** Before moving on, complete this short guide to get an overview of different layout techniques that people used before the Flexbox-Grid era. It’s unlikely that you will ever need to use them, but it’s always good to be aware and appreciate the technologies we have today.
CSS Flexbox
I fell in love with Flexbox because of its simplicity and power. A lot of different properties may confuse you at first, so my suggestion is to put a cheat sheet near your computer so you can always easily look them up. Additionally, bookmark this interactive Flexbox cheat sheet.
And finally, practice by playing the addictive Flexbox Froggygame. 🐸
CSS Grid
The Grid is more advanced and flexible but in most cases, Flexbox is quite enough. Anyway, you will have another powerful tool in your arsenal. Especially, if it’s that easy to understand when you grow your crops in Grid Garden.🥕
Practice
Before moving on to the final projects, I recommend you to do this:
- Curriculum. This can be your main path. It’s a well-structured overview of the things you should learn and provides a good learning curve.
- Exercises. They are bite-sized so you can easily keep up the pace by doing a couple of them every day and keeping your heat map green.
- Projects. After completion of every chapter, you will build 5 projects to get your certification. It’s ideal to get some practice and consolidate your knowledge.
- Community. It’s more than just a learning platform. There is a forum, blog, and YouTube channel where developers of different levels share their knowledge and where you can find inspiration.
- It’s free. Money can be critical for many people and here, in any case, you won’t spend anything except time.
Now you are ready to get your first certification! 🎉
Go and build your final projects and share them 😉

Photo by [Jake
Ingle](https://unsplash.com/@ingle_jake?utm_source=medium&utm_medium=referral) “https://unsplash.com/@ingle_jake?utm_source=medium&utm_medium=referral)”)
on Unsplash](https://unsplash.com?utm_source=medium&utm_medium=referral) “https://unsplash.com?utm_source=medium&utm_medium=referral)”)
Javascript Algorithms And Data Structures
Now you know how to build static websites and it’s time to learn JavaScript.
freeCodeCamp’s JavaScript section is great but I highly advise you to look at javascript.infoas an additional reference. This is the best resource that provides comprehensive information for everything related to JavaScript.
More recommendations
- Curriculum. This can be your main path. It’s a well-structured overview of the things you should learn and provides a good learning curve.
- Exercises. They are bite-sized so you can easily keep up the pace by doing a couple of them every day and keeping your heat map green.
- Projects. After completion of every chapter, you will build 5 projects to get your certification. It’s ideal to get some practice and consolidate your knowledge.
- Community. It’s more than just a learning platform. There is a forum, blog, and YouTube channel where developers of different levels share their knowledge and where you can find inspiration.
- It’s free. Money can be critical for many people and here, in any case, you won’t spend anything except time.
Algorithms
This is my favorite part of the certification. I remember how challenging they were when I just started to solve them. I could think about possible solutions all day. This is a great way to learn JavaScript and how to think like a programmer.
As a little help, I advise you to watch JavaScript Cardio Sessions by Traversy Media.
For more practice, I highly recommend you to sign up on CodeWars and set an initial goal to achieve 6kyu. It’s very helpful because when you complete any challenge, you can look through other people’s solutions and discover new tricks, approaches, and ideas.
To find other 100DaysOfCode challengers including me, go to your Account Settings and type in #100DaysOfCode into the Clan field.
Before proceeding to the final projects, you have to be prepared for the final boss, the Cash Register. 😈
After you beat it I can say that…
…now you know how to work with JavaScript! 🎉

Photo by [Pankaj
Patel](https://unsplash.com/@pankajpatel?utm_source=medium&utm_medium=referral) “https://unsplash.com/@pankajpatel?utm_source=medium&utm_medium=referral)”)
on Unsplash](https://unsplash.com?utm_source=medium&utm_medium=referral) “https://unsplash.com?utm_source=medium&utm_medium=referral)”)
Sticking things together
Now it’s time to take the Javascript30 challenge by Wes Bos. This is the best way to learn how HTML, CSS, and JavaScript work together, polish your knowledge of fundamentals, and understand the DOM. Building these little projects was a great experience and really fun for me!
Front End Libraries
From this point, you are becoming a real front end developer 😎
Bootstrap
The most popular CSS framework. Build a couple of websites along with guides on YouTube. Get used to Bootstrap’s famous column grid layout.
jQuery
Despite some people saying jQuery is dead, it will be always helpful when the solution in pure JavaScript is quirky and using a JS framework is too much. This will be another great tool in your arsenal. Build a couple of little apps with it for practice.
Sass
I didn’t fully appreciate CSS frameworks until I saw their real power. I wanted to learn advanced CSS techniques and bought an amazing Advanced CSS and Sasscourse (paid) by Jonas Schmedtmann. Highly recommended if you want to polish your CSS skills and understand the workflow. I’m still happy that I found it.
React & Redux
This is the main part of the Front End Libraries section. React is a great choice as your first JavaScript library to learn.
Frankly, it’s hard to understand how to work with it in freeCodeCamp’s format since you can’t build anything from scratch and some things work under the hood. So take a course on React and Redux, and take your time to understand their ideas and tools.
Now you can build anything you want 🎉

Photo by
rawpixel](https://unsplash.com/@rawpixel?utm_source=medium&utm_medium=referral) “https://unsplash.com/@rawpixel?utm_source=medium&utm_medium=referral)”)
on Unsplash](https://unsplash.com?utm_source=medium&utm_medium=referral) “https://unsplash.com?utm_source=medium&utm_medium=referral)”)
Moving further
You are a real front-end developer now and have enough skills to build great web applications. Maybe you are curious what to do next and the answer is as simple as “Build, build, build!”. Your current task is to create a portfolio for yourself and get more practice.
Here are some tips for you on what to do next:
- Curriculum. This can be your main path. It’s a well-structured overview of the things you should learn and provides a good learning curve.
- Exercises. They are bite-sized so you can easily keep up the pace by doing a couple of them every day and keeping your heat map green.
- Projects. After completion of every chapter, you will build 5 projects to get your certification. It’s ideal to get some practice and consolidate your knowledge.
- Community. It’s more than just a learning platform. There is a forum, blog, and YouTube channel where developers of different levels share their knowledge and where you can find inspiration.
- It’s free. Money can be critical for many people and here, in any case, you won’t spend anything except time.
If one of these resources doesn’t work for you, it’s okay. Don’t get frustrated, what works for someone doesn’t necessarily have to work for every single person.
I hope this guide will help you with your learning, and hopefully save you time 😉
#web-development #javascript #angular #node-js #php