In this article, we will see how we can use a Raspberry Pi, an LCD screen, and a few lines of code to monitor the weather outside or for a specific location.
Because this is a Do It Yourself (DIY) project, there are some prerequisites that we need for this device.
Prerequisites
- Raspberry Pi 3 (or higher)
- LCD Screen
- Connection Wires
- Potentiometer (Optional)
- Breadboard (Optional)
How to Build It
As soon as we have everything we need we can start. Let’s take it step by step.
Step I - Base Configuration
The first step consists of the basic setup and a verification of all the components.
For this demo, we will use ClimaCell Weather API as a weather data provider, as they have a large number of indicators, including air quality indicators, for us to use.
To use their API we must open an account on their platform and get an API key, which we’ll use to sign our requests.
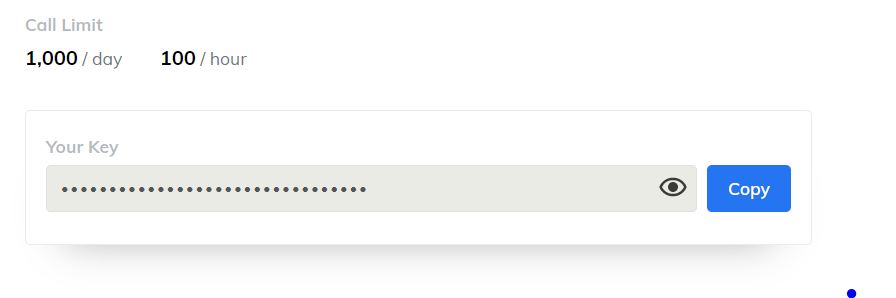
ClimaCell API Limit
The account is free to open and it comes with a 100-hour limit of API calls, which is more than enough for our project.
As soon as we have this API key, we can move to the hardware configuration and connect the LCD screen to our Raspberry Pi. You should turn the Raspberry Pi off while you make the wire connection.
#node #raspberry pi