Angular is a web framework for building mobile and desktop applications. Its first version, AngularJS, was one of the first JavaScript MVC frameworks to dominate the web landscape. Developers loved it, and it rose to popularity in the early 2010s. AngularJS 1.0 was released on June 14, 2014. Angular 9 was recently released, giving Angular quite a successful run in the land of web frameworks.
Spring Boot is one of the most popular frameworks for developing Java applications and REST APIs. It also has first-class support for Kotlin!
Spring Boot 1.0 was released on April 1, 2014, and revolutionized the way Java developers write Spring apps. Instead of writing a lot of boilerplate XML or JavaConfig with annotations, Spring Boot introduced the idea of pre-configured starters with smart defaults.
Long story short, they’re a match made in heaven!

Table of Contents
- What’s New In Angular 9?
- What’s New in Spring Boot 2.2?
- Create an Angular 9 App
- Add Angular Authentication using OpenID Connect
- Create a Spring Boot 2.2 App
- Secure Spring Boot with Spring Security, OAuth 2.0, and OIDC
- Spring Boot as an OAuth 2.0 Resource Server
- Add a Notes REST API with Spring Data REST
- Add a CORS Filter for Angular
- Add a Notes CRUD Feature in Angular
- Fix the Note Edit Feature
- Lock Down Spring Boot with Recommended Security Practices
What’s New In Angular 9?
Angular 9’s most prominent new feature is Ivy. Ivy is Angular’s new compiler and renderer. The renderer is the engine that takes your components and templates and translates them into instructions that manipulate the DOM. Ivy is an internal component, so you don’t interact with it directly. However, it can have a significant impact on your code, yielding much smaller JavaScript bundles and increasing performance.
Simply put: upgrading to Angular 9 will make your web apps faster!
Other notable features in Angular 9 include:
-
Enhancements to Angular CLI to support internationalization (i18n).
-
Type-safe improvements to
TestBedfor unit testing.
To use Angular CLI’s i18n feature, you simply need to add the i18n attribute to your text elements, then run ng xi18n to extract your localizable text into a file.
TestBed.inject(Component) is the new way to get references to components in tests. TestBed.get(Component) is deprecated.
What’s New in Spring Boot 2.2?
Spring Boot 2.2 was released in September 2019 and focuses on performance improvements and reduced memory usage. It adds Java 13 support, RSocket support, and the ability to group health indicators. Grouping indicators can be useful if you’re deploying to Kubernetes and want different groups for “liveness” and “readiness” probes.
In this post, I’ll show you how to build a CRUD application with Angular 9 and Spring Boot 2.2. Along the way, I’ll do my best to weave in security tips and how to make your apps more secure.
Prerequisites:
To install Node and Java on a Mac, Linux, or Windows Subsystem for Linux (WSL), you can use Homebrew.
brew install node
brew tap AdoptOpenJDK/openjdk
brew cask install adoptopenjdk11
You can also use SDKMAN! to install Java 11.
sdk install java 11.0.5.hs-adpt
You can refer to the table of contents below for the steps in this tutorial.
Create an Angular 9 App
To create an Angular 9 app, you first need to install Angular CLI.
npm install -g @angular/cli@9.0.2
Then create a directory on your hard-drive called angular-spring-boot. Open a terminal window and navigate to this directory. Run ng new to create an Angular application.
ng new notes --routing --style css
This process will take a minute or two to complete, depending on your internet speed and hardware. Once it’s finished, navigate into the directory and run ng serve.
ng serve
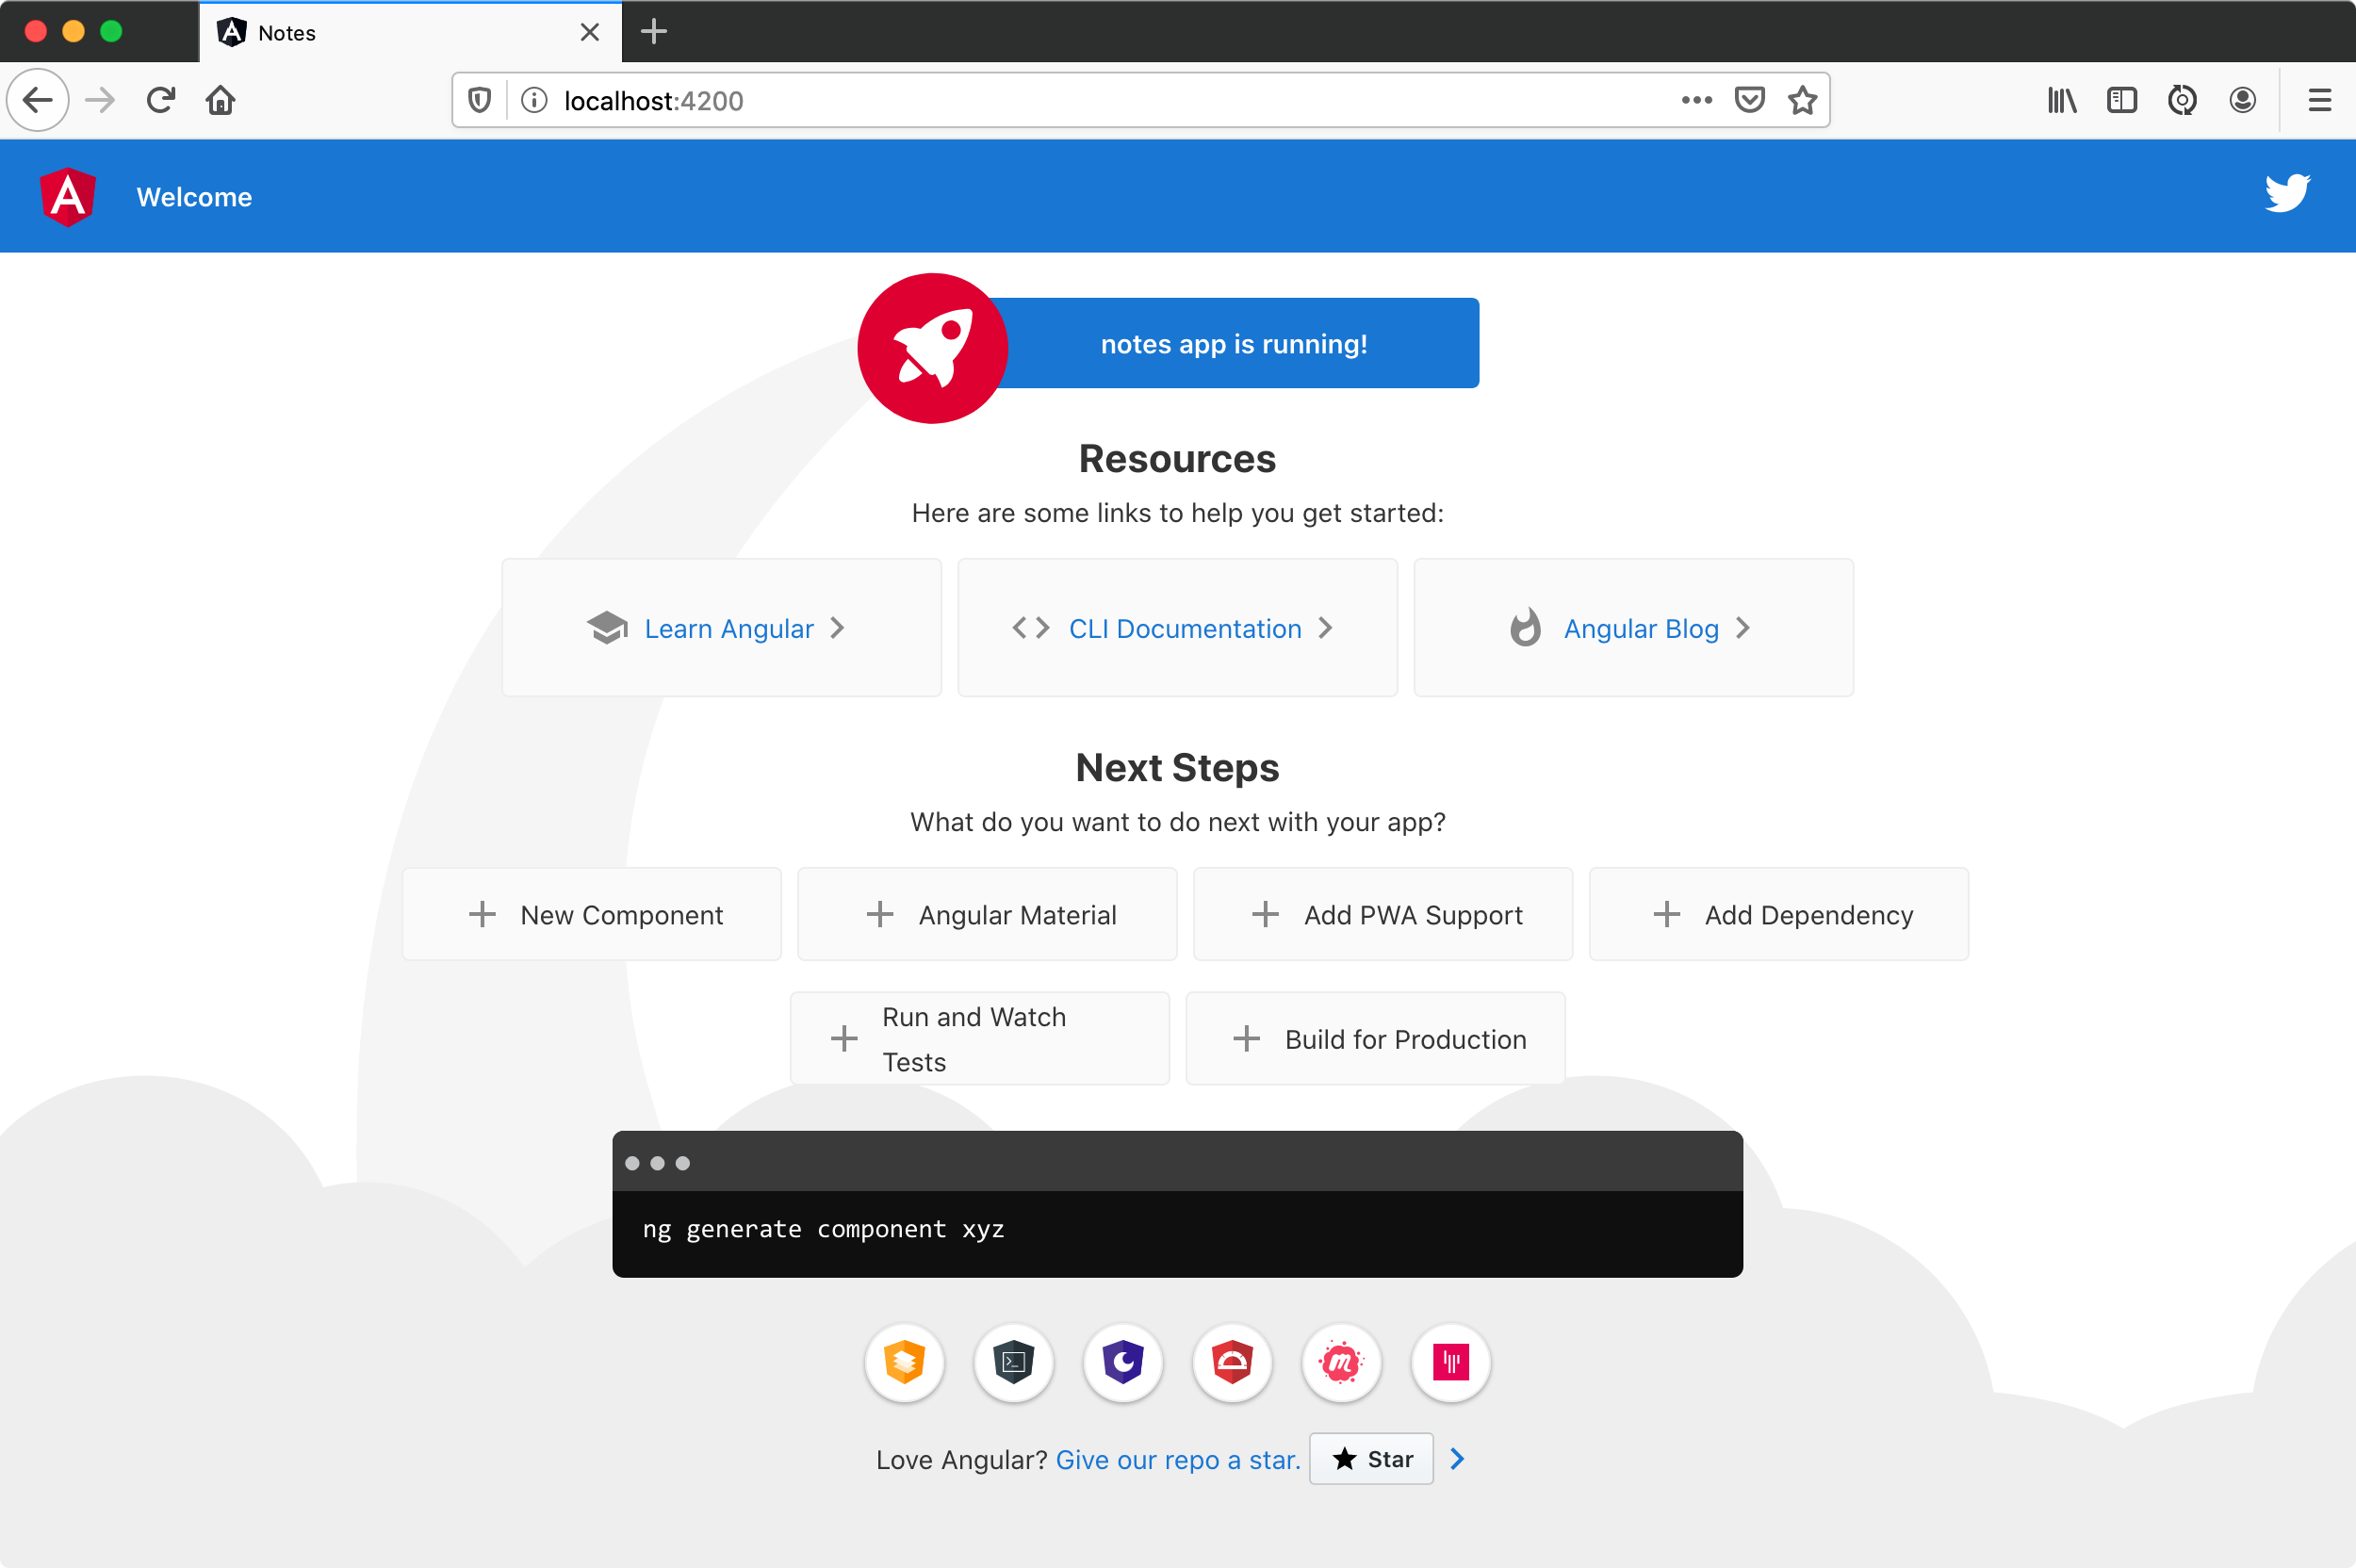
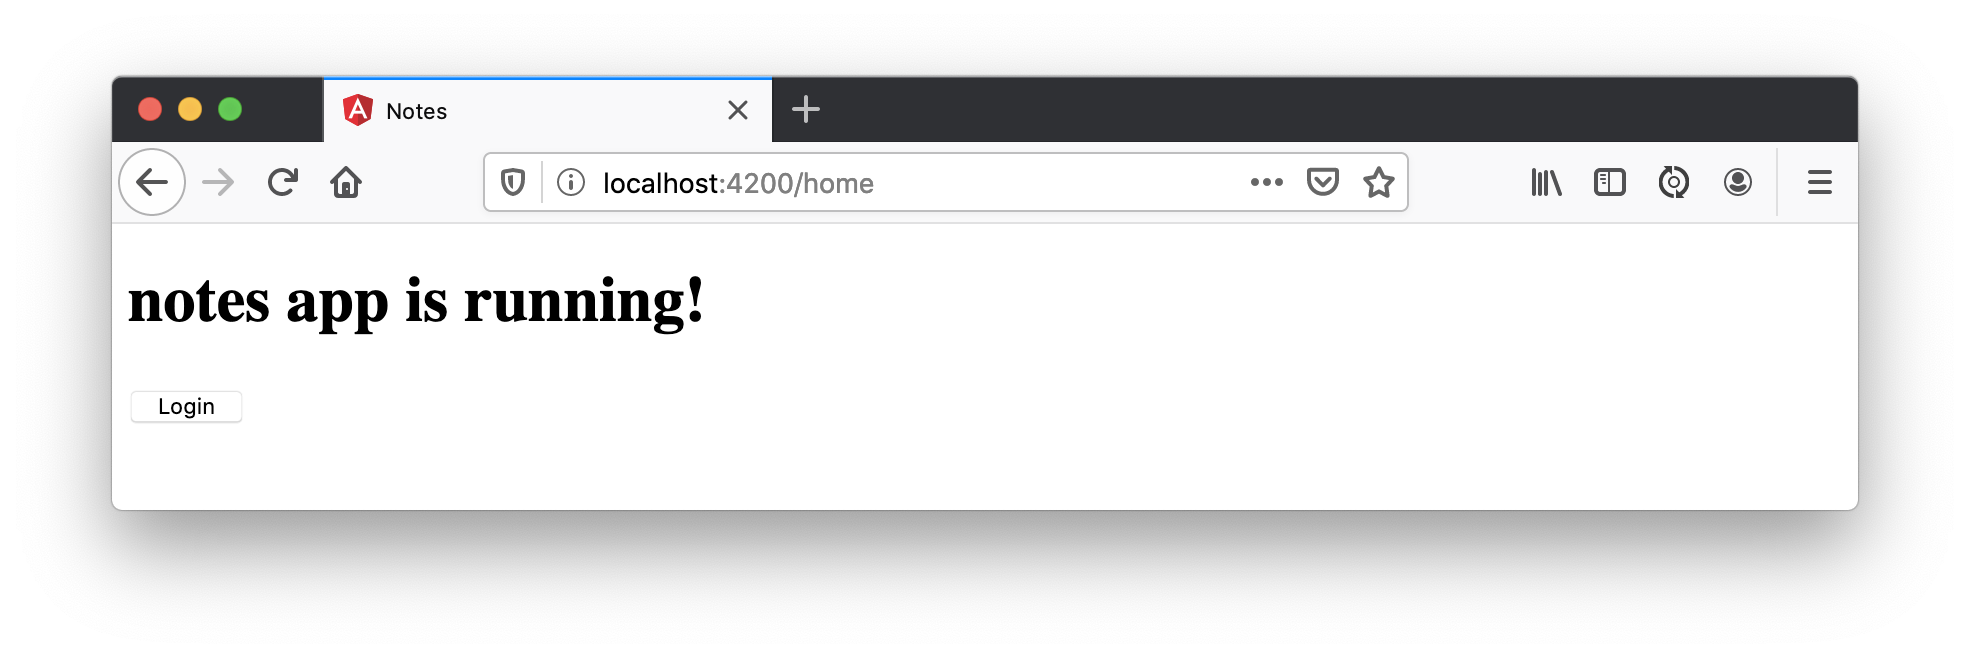
Open your browser to [http://localhost:4200](http://localhost:4200), and you’ll see the default homepage.
Stop the ng serve process using Ctrl+C in your terminal.
Add Angular Authentication using OpenID Connect
OpenID Connect (also called OIDC) is an identity later based on the OAuth 2.0 specification. It leverages JSON Web Tokens (JWT) to provide an ID token and other features like discoverability and a /userinfo endpoint.
Okta has Authentication and User Management APIs that reduce development time with instant-on, scalable user infrastructure. Okta’s intuitive API and expert support make it easy for developers to authenticate, manage, and secure users + roles in any application.
To add OIDC login support to your Angular 9 app, you’ll first need an free Okta developer account. After you’ve created your account and logged in to your Okta dashboard, create a new OIDC app using the following steps:
-
Navigate to Applications > Add Application
-
Select Single-Page App and click Next
-
Provide a name (e.g.,
Angular 9) and change the Login redirect URI to[http://localhost:4200/implicit/callback](http://localhost:4200/implicit/callback) -
Click Done
Your app’s settings should resemble the following.
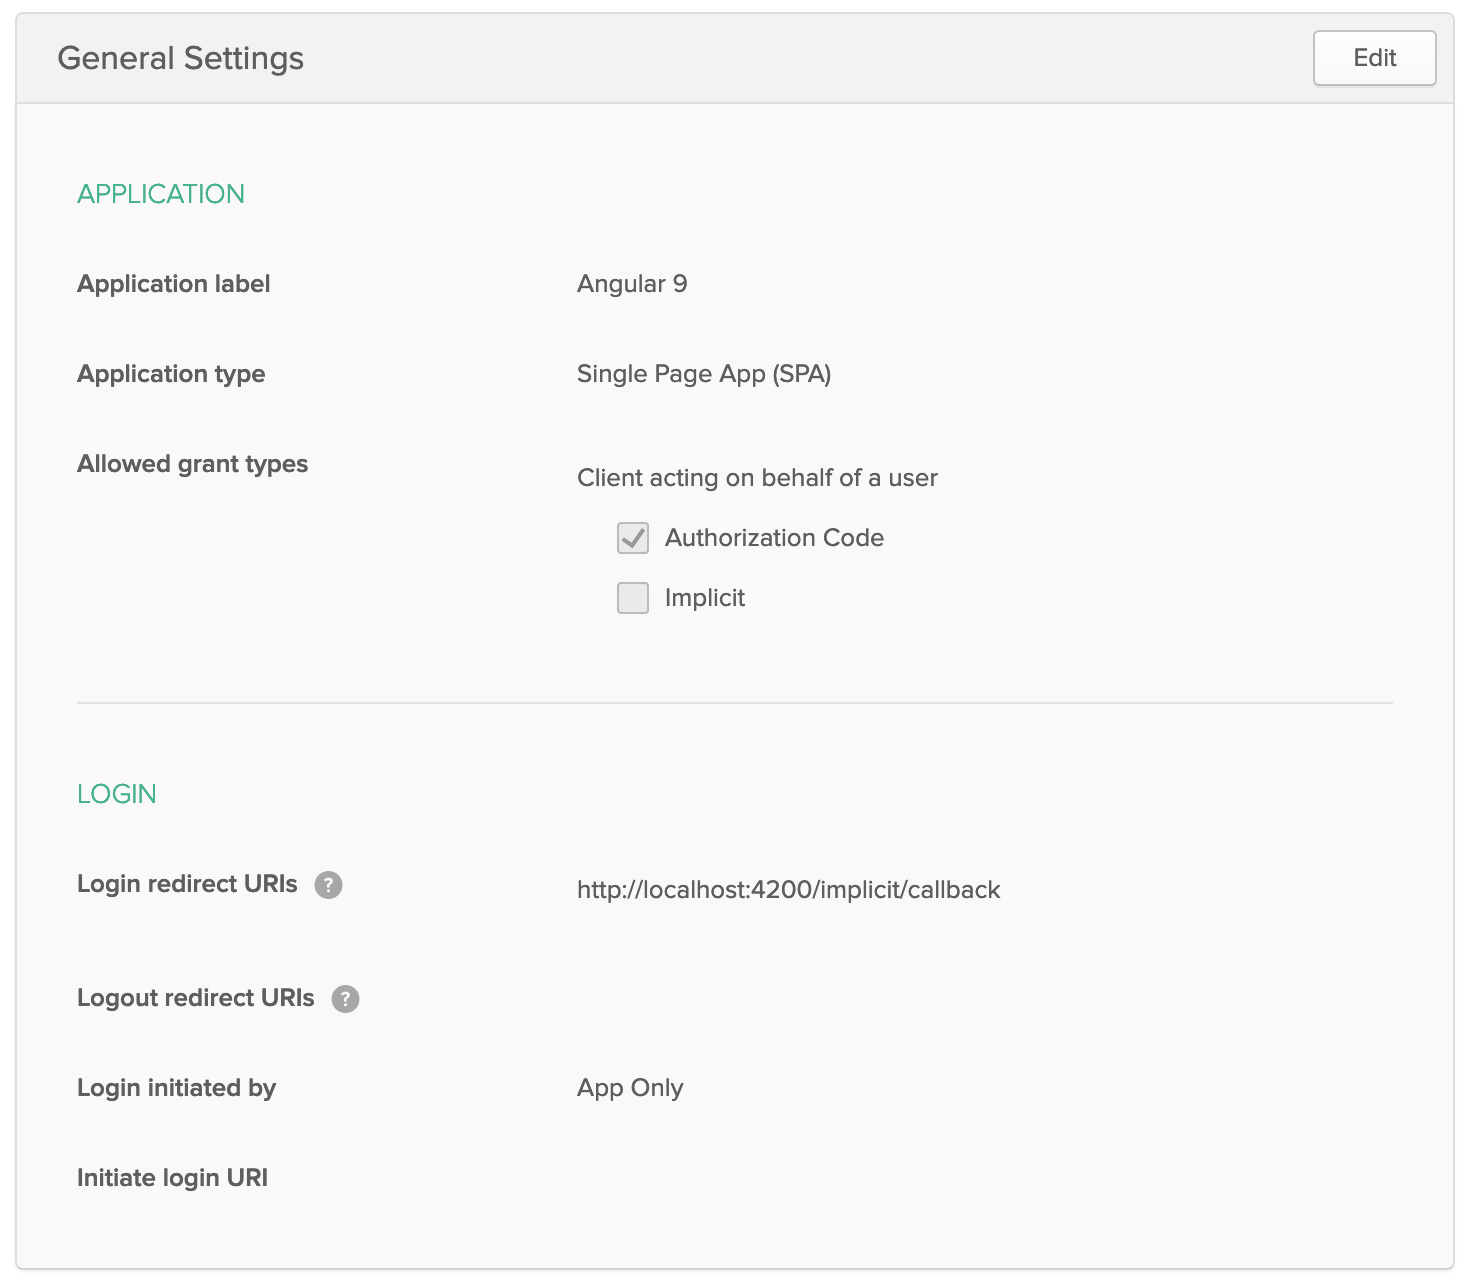
At the bottom of the screen, you’ll see your app’s Client ID. You might also notice that Use PKCE is selected. This setting provides the maximum level of security you can currently have for single-page apps when using OIDC for auth.
Copy your client ID and your issuer URI (from API > Authorization Servers) into the following command.
ng add @oktadev/schematics --issuer=$issuer --clientId=$clientId
This command adds Okta’s Angular SDK and configures OIDC authentication for your app.
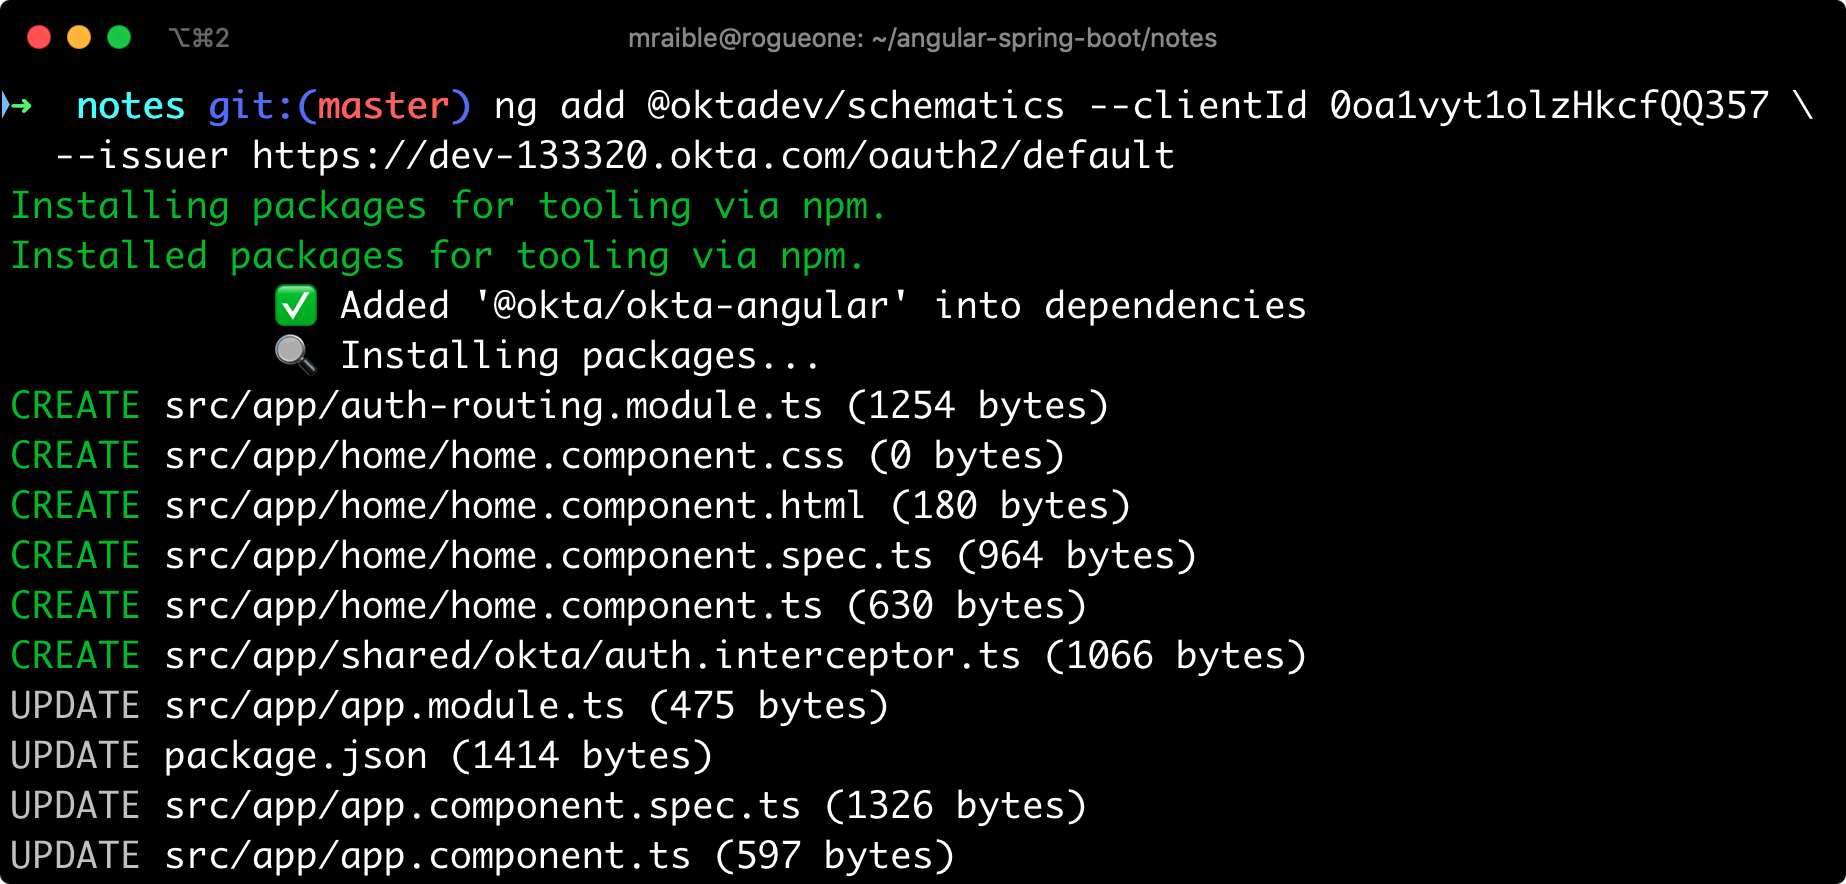
It creates a home.component.ts that has authentication logic, as well as a template that renders login and logout buttons.
import { Component, OnInit } from '@angular/core';
import { OktaAuthService } from '@okta/okta-angular';

@Component({
  selector: 'app-home',
  templateUrl: './home.component.html',
  styleUrls: ['./home.component.css']
})
export class HomeComponent implements OnInit {
  isAuthenticated: boolean;

  constructor(public oktaAuth: OktaAuthService) {
  }

  async ngOnInit() {
    this.isAuthenticated = await this.oktaAuth.isAuthenticated();
    // Subscribe to authentication state changes
    this.oktaAuth.$authenticationState.subscribe(
      (isAuthenticated: boolean)  => this.isAuthenticated = isAuthenticated
    );
  }
}
src/app/home/home.component.html
<div>
  <button *ngIf="!isAuthenticated" (click)="oktaAuth.loginRedirect()">Login</button>
  <button *ngIf="isAuthenticated" (click)="oktaAuth.logout()">Logout</button>
</div>
There’s also an HttpInterceptor created to add an access token to outgoing HTTP requests.
src/app/shared/okta/auth.interceptor.ts
import { HttpEvent, HttpHandler, HttpInterceptor, HttpRequest } from '@angular/common/http';
import { Observable, from } from 'rxjs';
import { OktaAuthService } from '@okta/okta-angular';
import { Injectable } from '@angular/core';

@Injectable()
export class AuthInterceptor implements HttpInterceptor {

  constructor(private oktaAuth: OktaAuthService) {
  }

  intercept(request: HttpRequest<any>, next: HttpHandler): Observable<HttpEvent<any>> {
    return from(this.handleAccess(request, next));
  }

  private async handleAccess(request: HttpRequest<any>, next: HttpHandler): Promise<HttpEvent<any>> {
    // Only add an access token to whitelisted origins
    const allowedOrigins = ['http://localhost'];
    if (allowedOrigins.some(url => request.urlWithParams.includes(url))) {
      const accessToken = await this.oktaAuth.getAccessToken();
      request = request.clone({
        setHeaders: {
          Authorization: 'Bearer ' + accessToken
        }
      });
    }
    return next.handle(request).toPromise();
  }
}
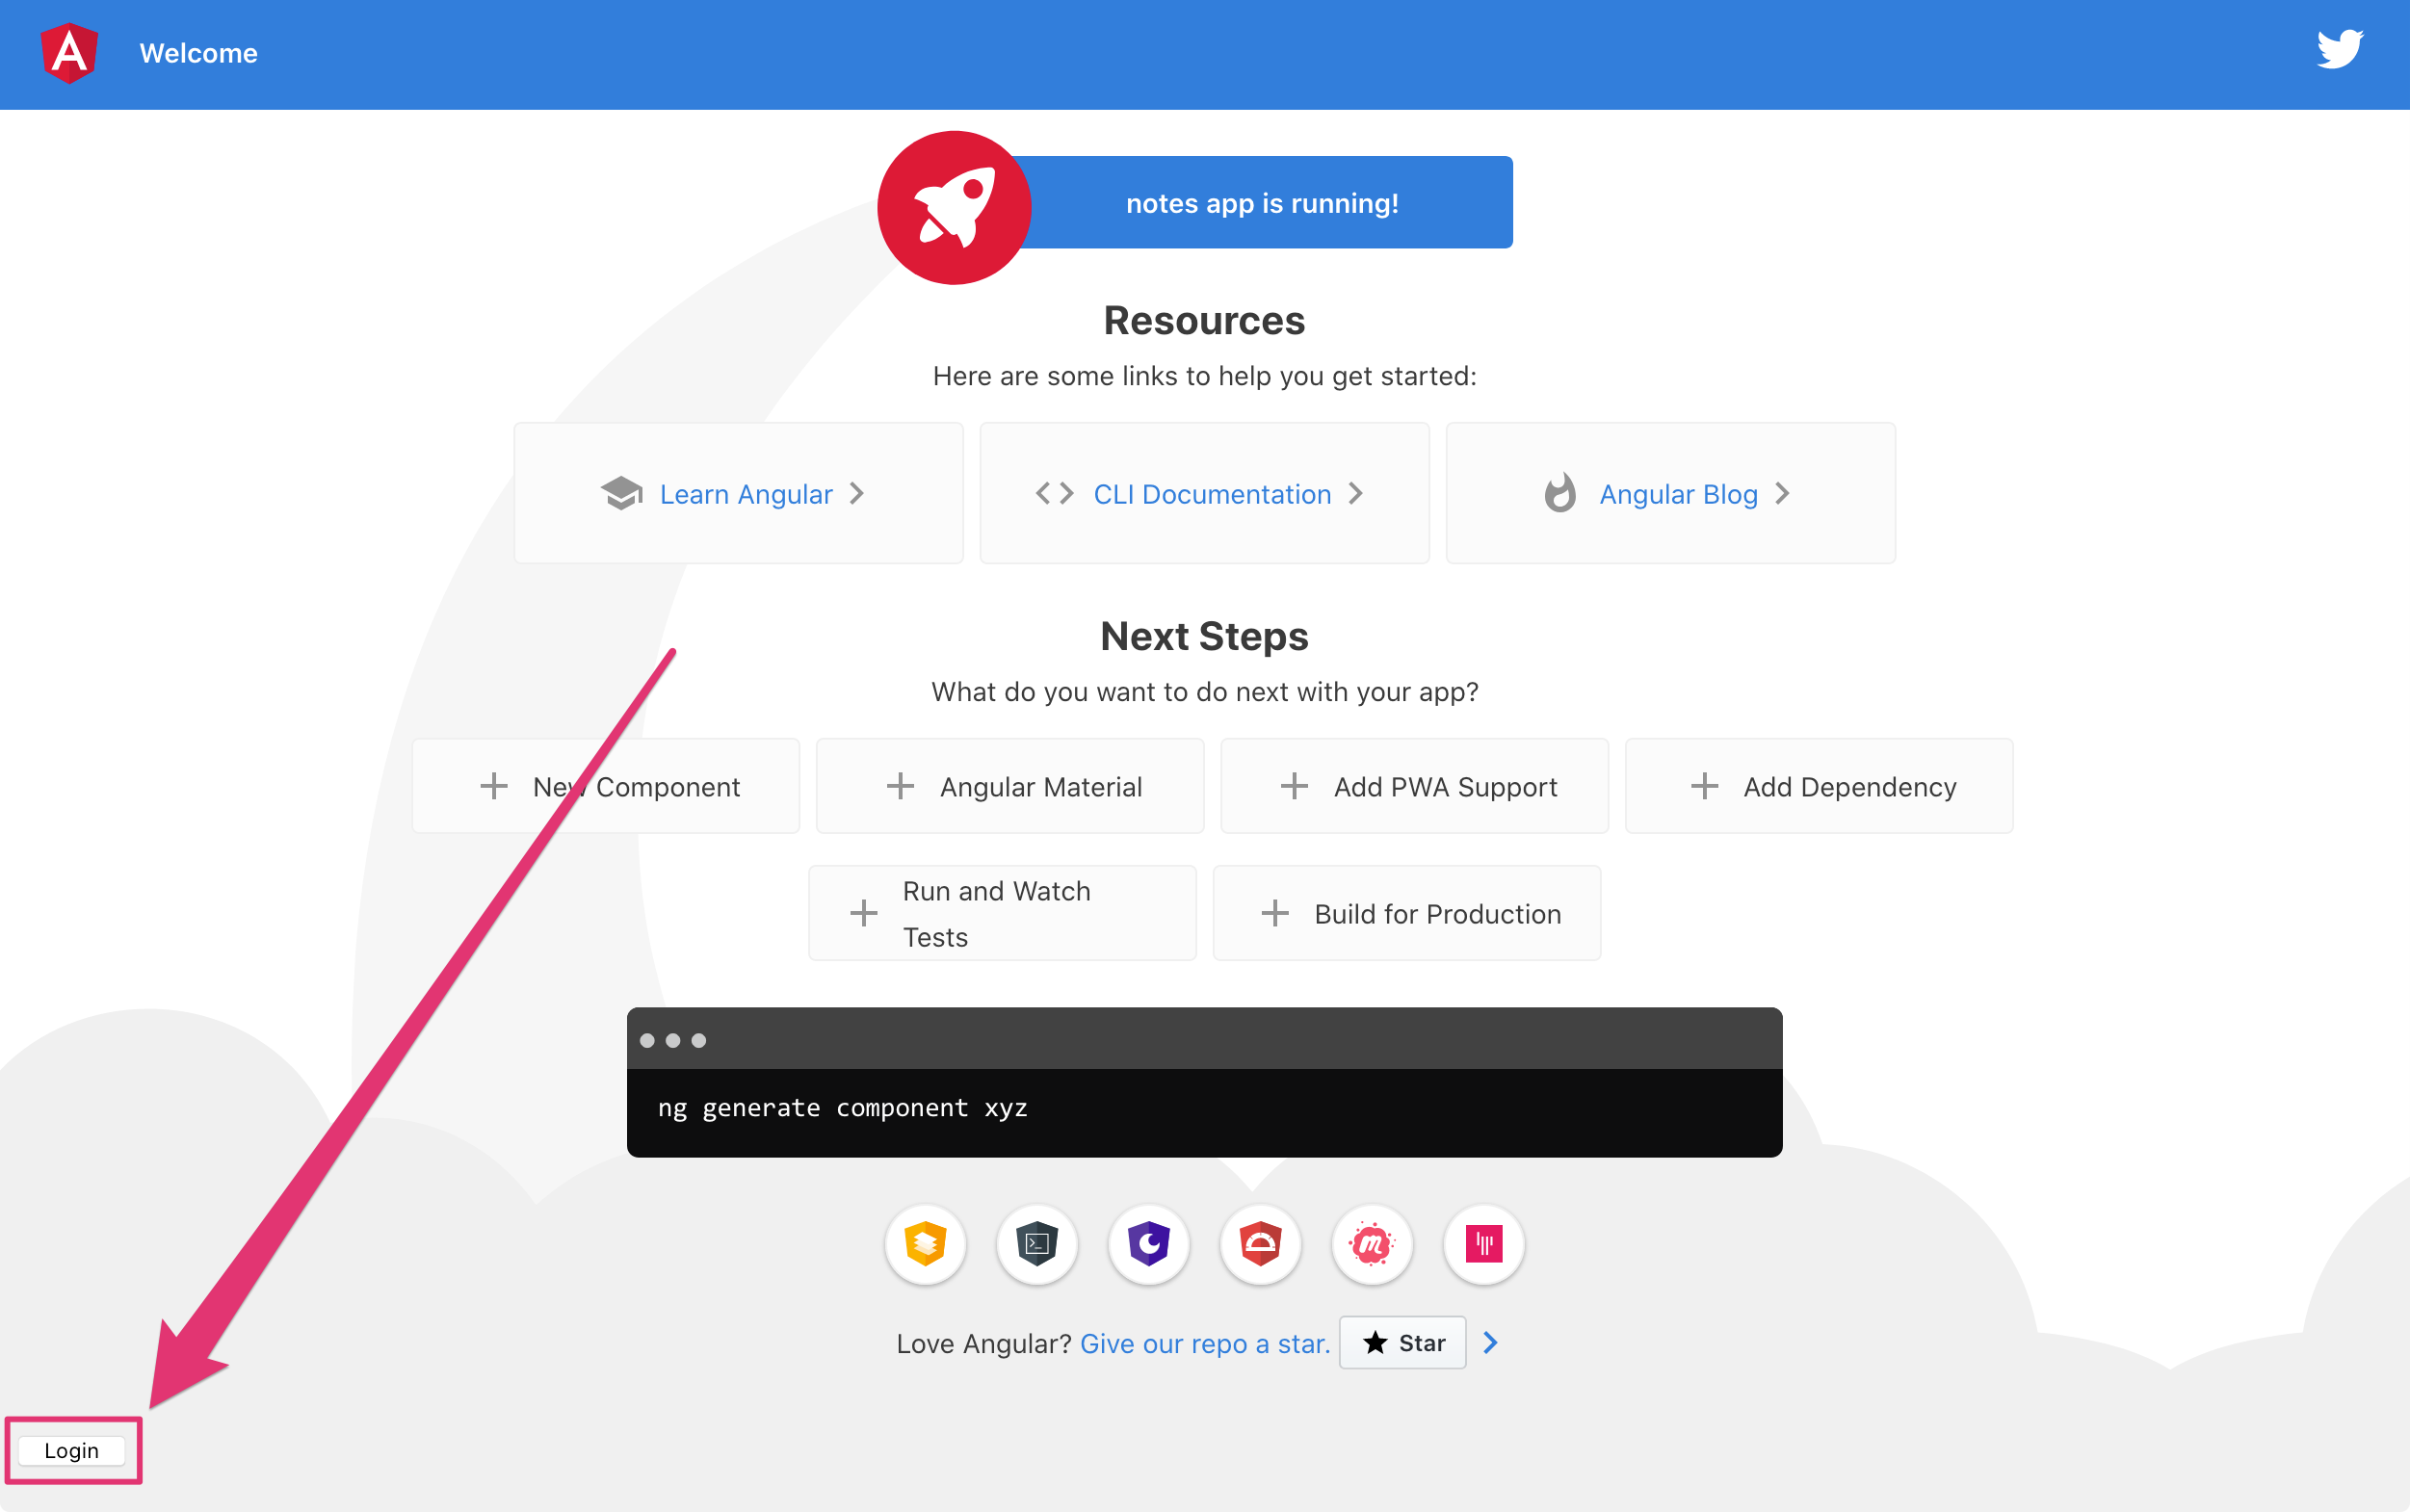
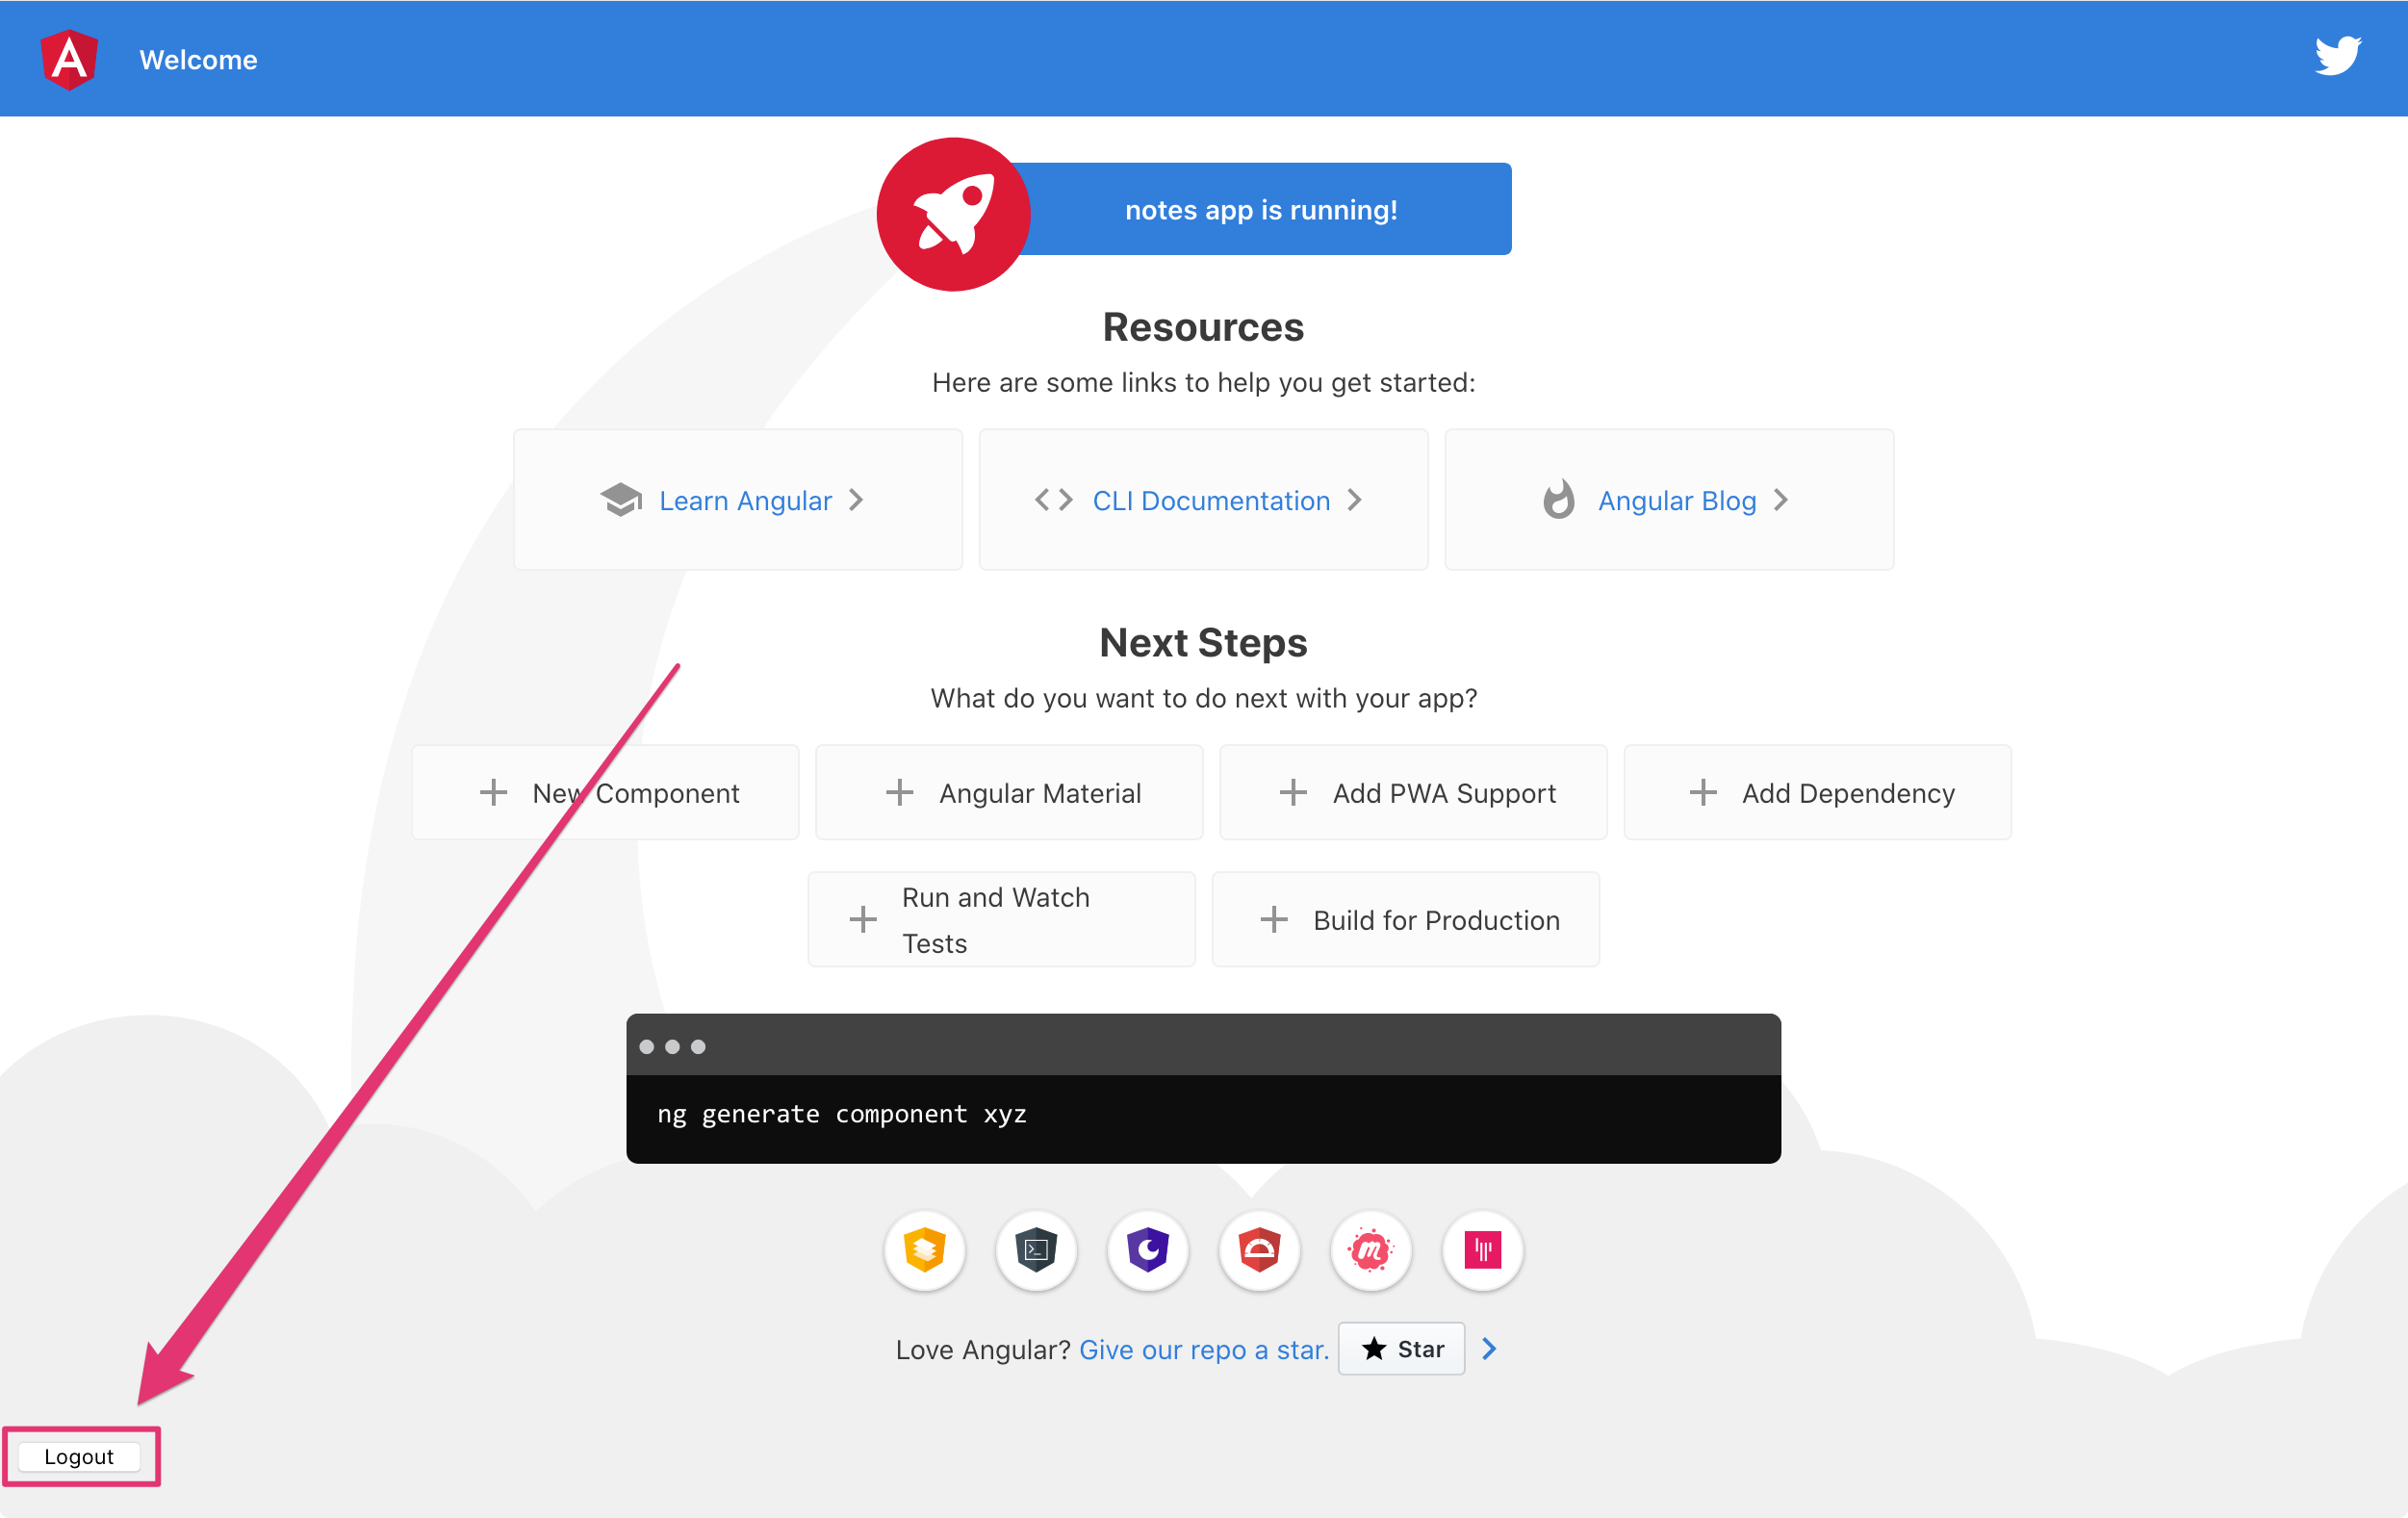
Start your app again using ng serve, open a private/incognito window to [http://localhost:4200](http://localhost:4200), and you’ll see a Login button in the bottom left.
Click on it, and you’ll be redirected to Okta to log in.
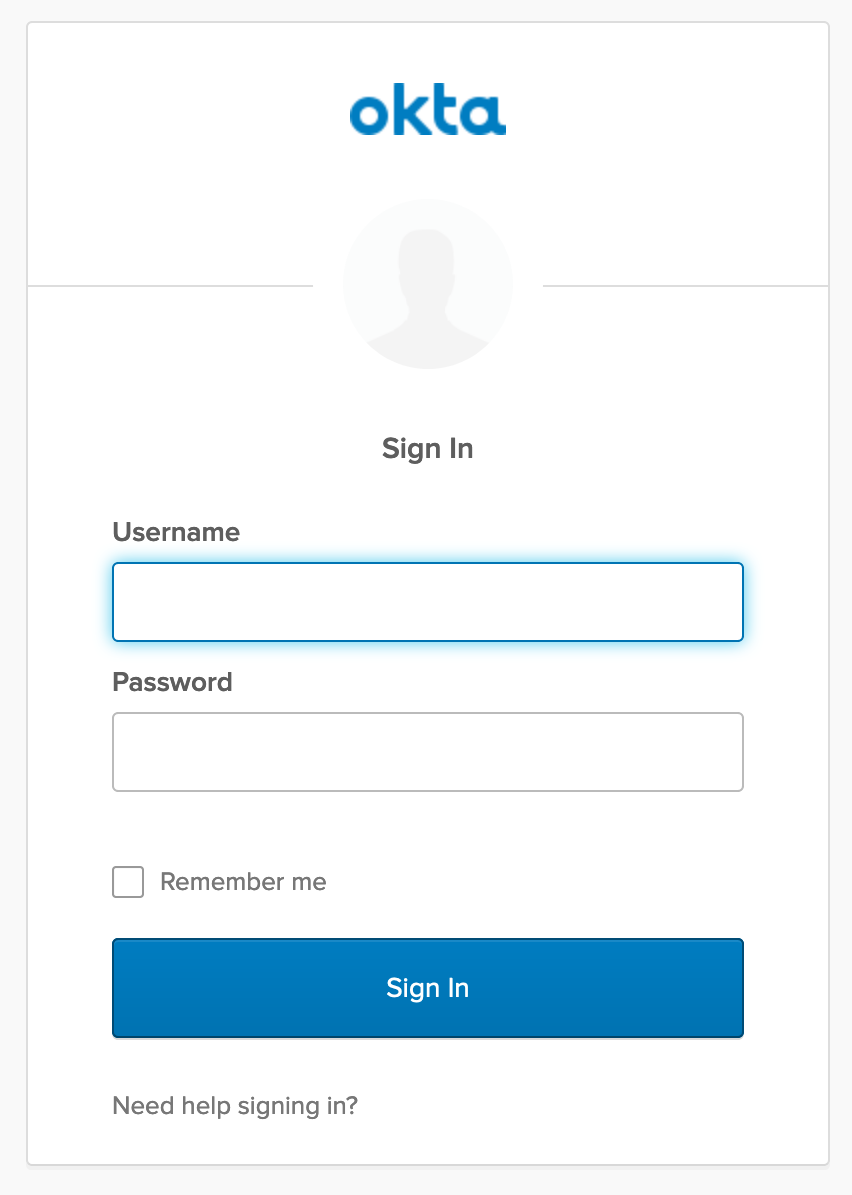
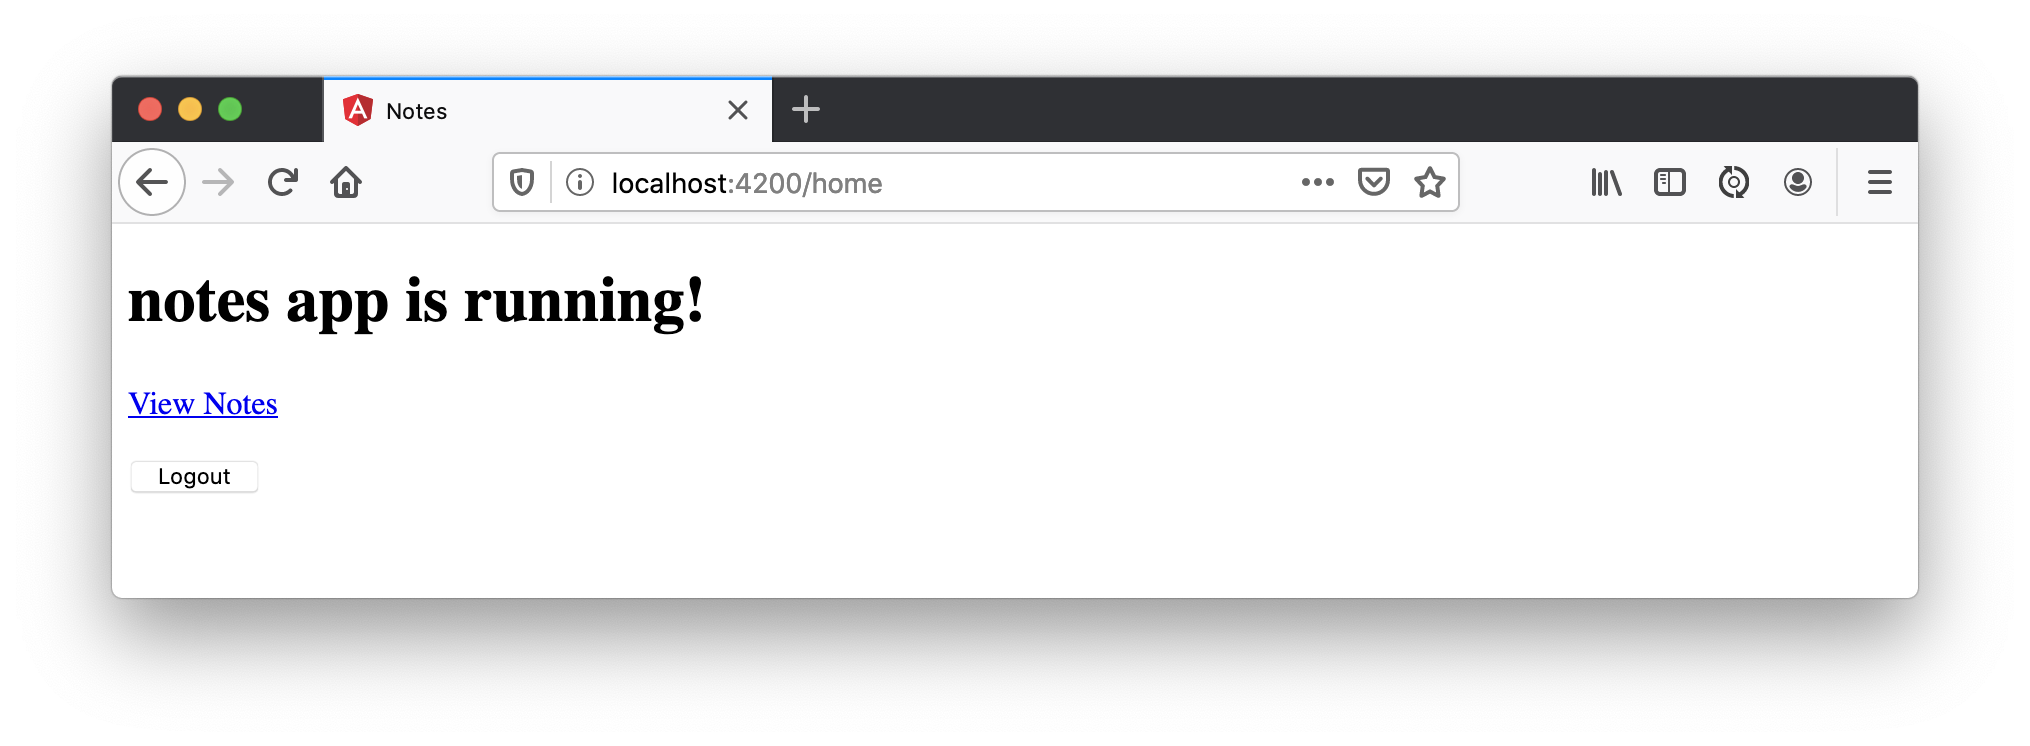
Enter valid credentials, and you’ll be redirected back to your app. There will now be a Logout button, indicating that you’ve authenticated successfully.
Now that you’ve created a secure Angular 9 app let’s create a Spring Boot app to serve up data with a REST API.
Create a Spring Boot 2.2 App
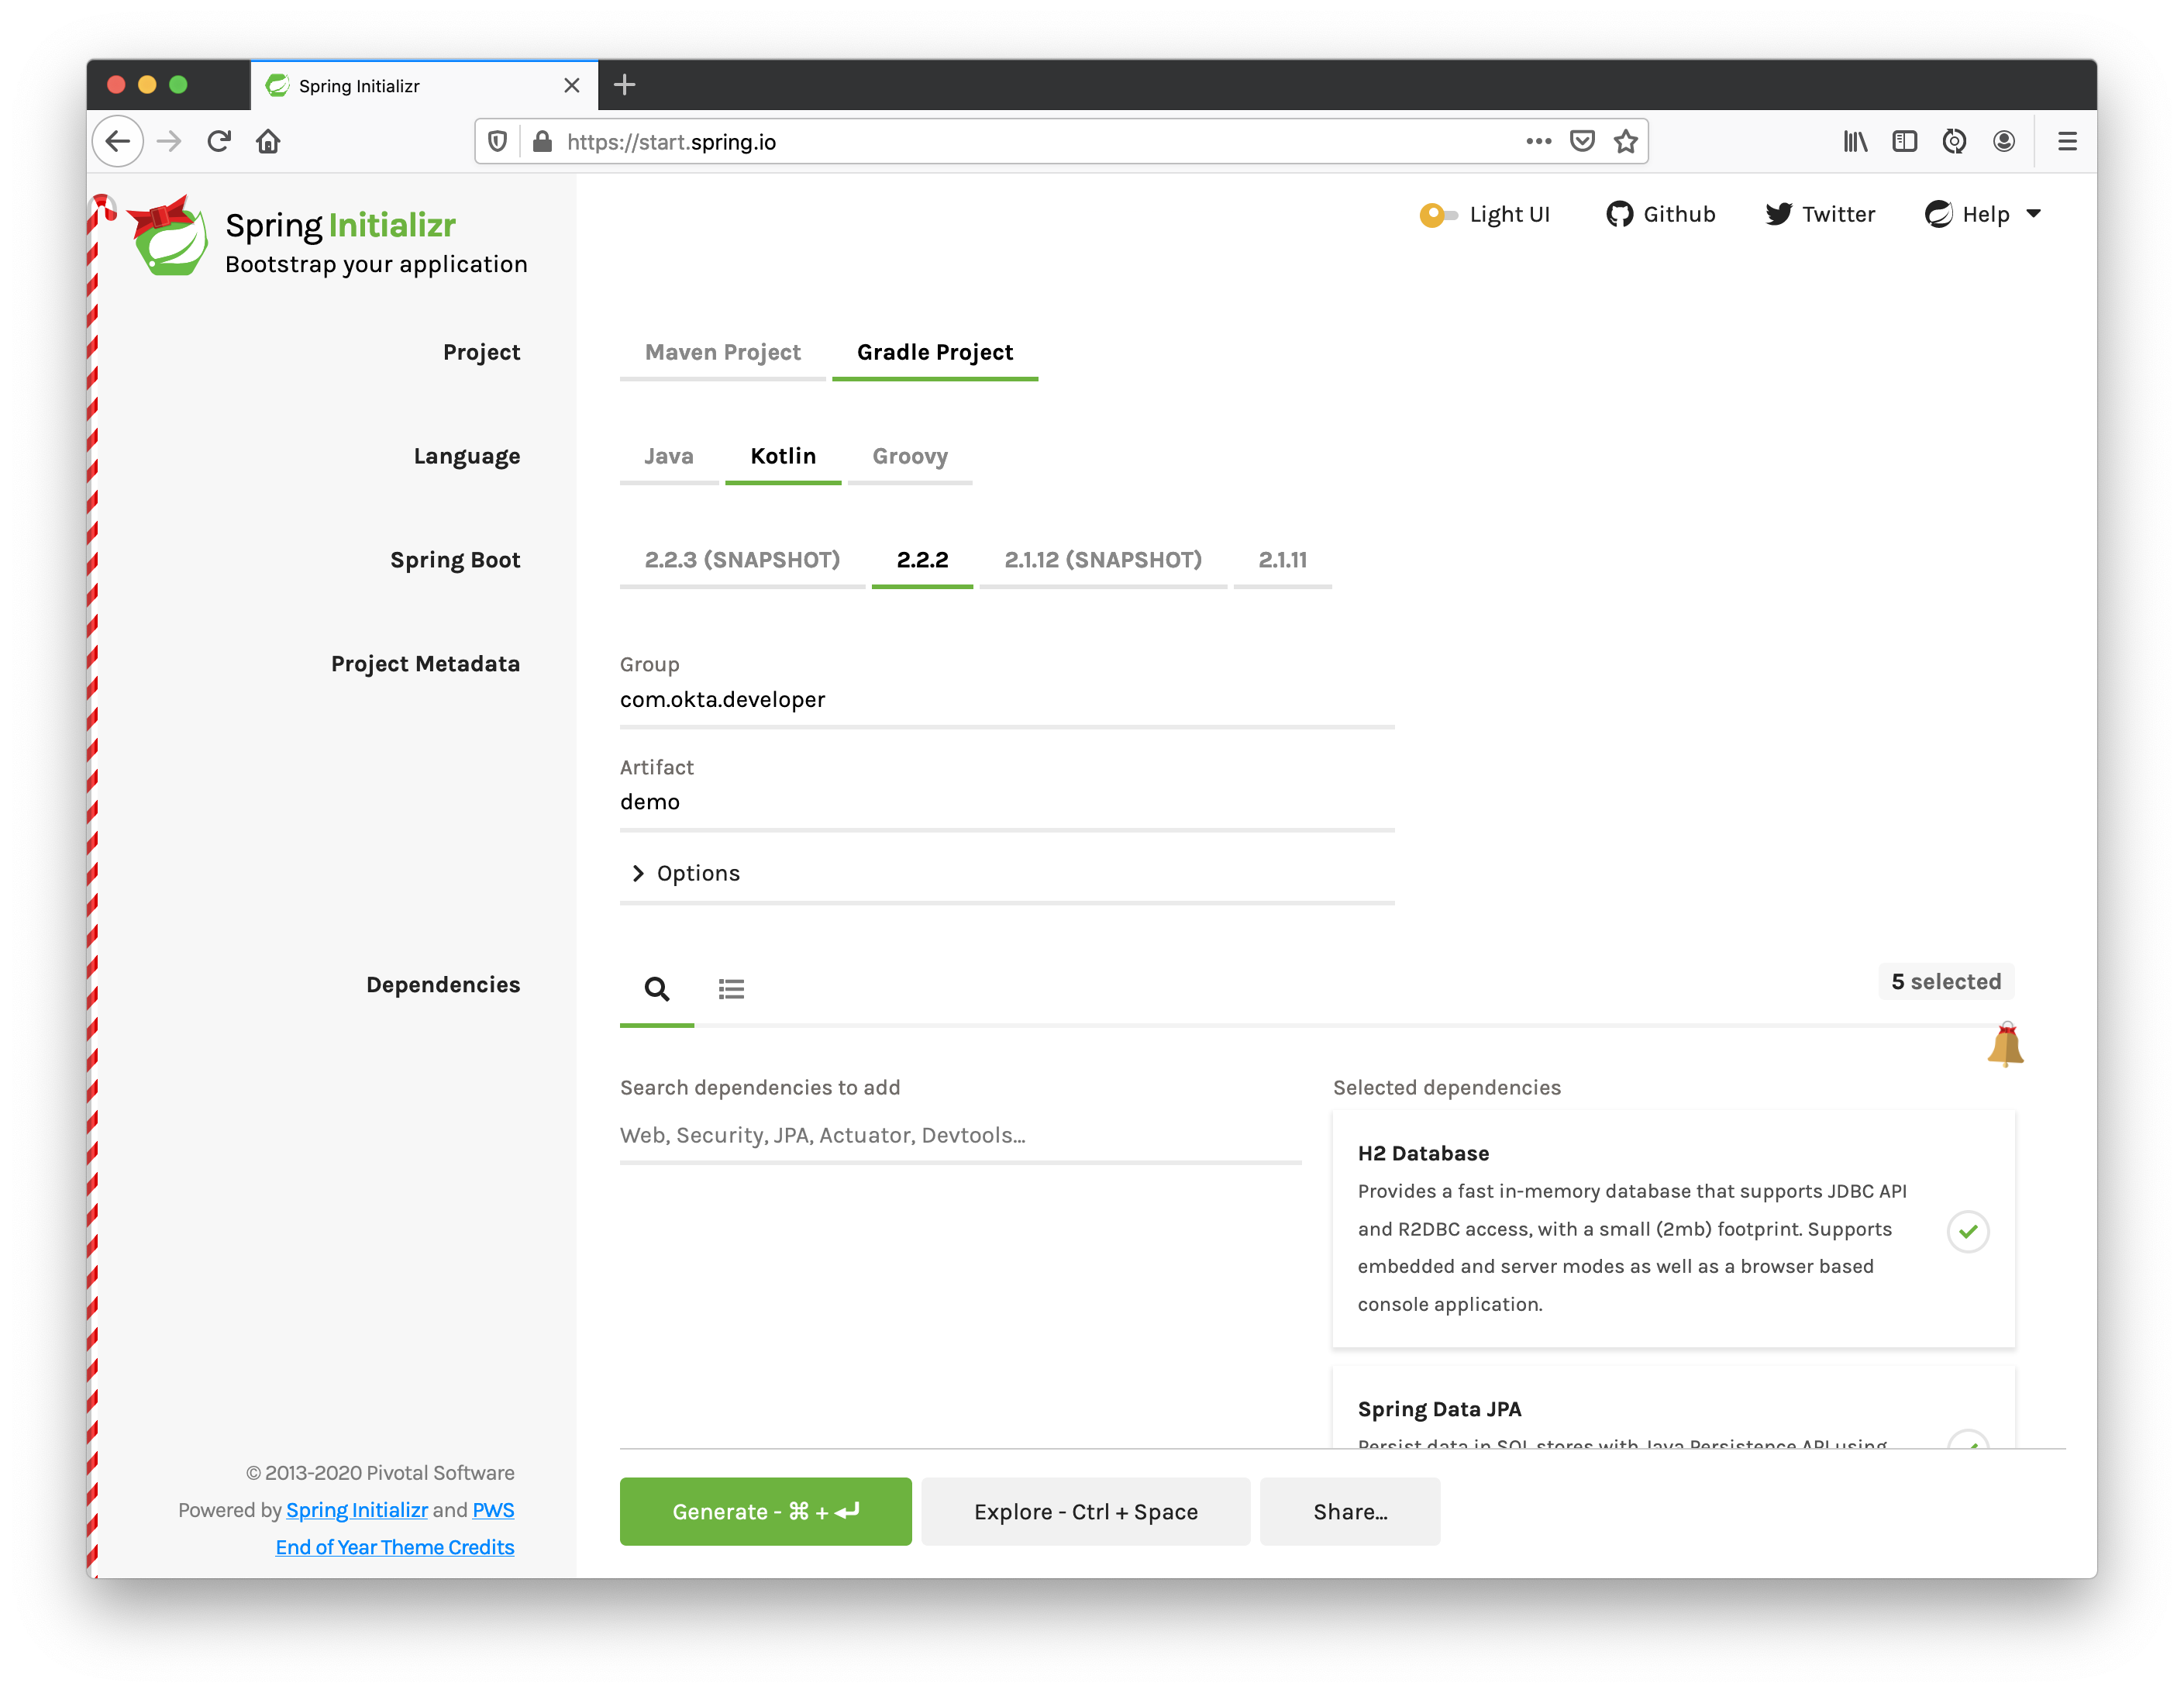
The good folks at Pivotal created start.spring.io to help you create Spring Boot apps quickly with minimal fuss. This site is a Spring Boot app that has a REST API you can talk to with HTTPie.
Kotlin is an intriguing language for Spring developers because it reduces boilerplate code and allows succinct, effective code. Kotlin is 100% interoperable with Java, so you can continue to use the Java libraries and frameworks you know and love. Not only that, but Spring has first-class support for Kotlin.
Create a new Spring Boot app that uses Java 11, Kotlin, Gradle, and has the necessary dependencies to create a secure CRUD API.
http https://start.spring.io/starter.zip javaVersion==11 language==kotlin \
artifactId==notes-api groupId==com.okta.developer packageName==com.okta.developer.notes \
type==gradle-project dependencies==h2,data-jpa,data-rest,okta,web -d
Run this command in a terminal, and a notes-api.zip file will be downloaded. Expand it into the angular-spring-boot/notes-api directory.
unzip notes-api.zip -d angular-spring-boot/notes-api
You can also use start.spring.io in your browser to create this same app.
Secure Spring Boot with Spring Security, OAuth 2.0, and OIDC
Because you selected Okta as a dependency, you’ll need to create an OIDC app for it to authenticate with Okta. You could use the client ID from your Angular app, but if you ever want to allow people to log in to your Spring Boot app, it’ll need its own OIDC app.
Log in to your Okta dashboard, then:
- Go to Applications > Add Application
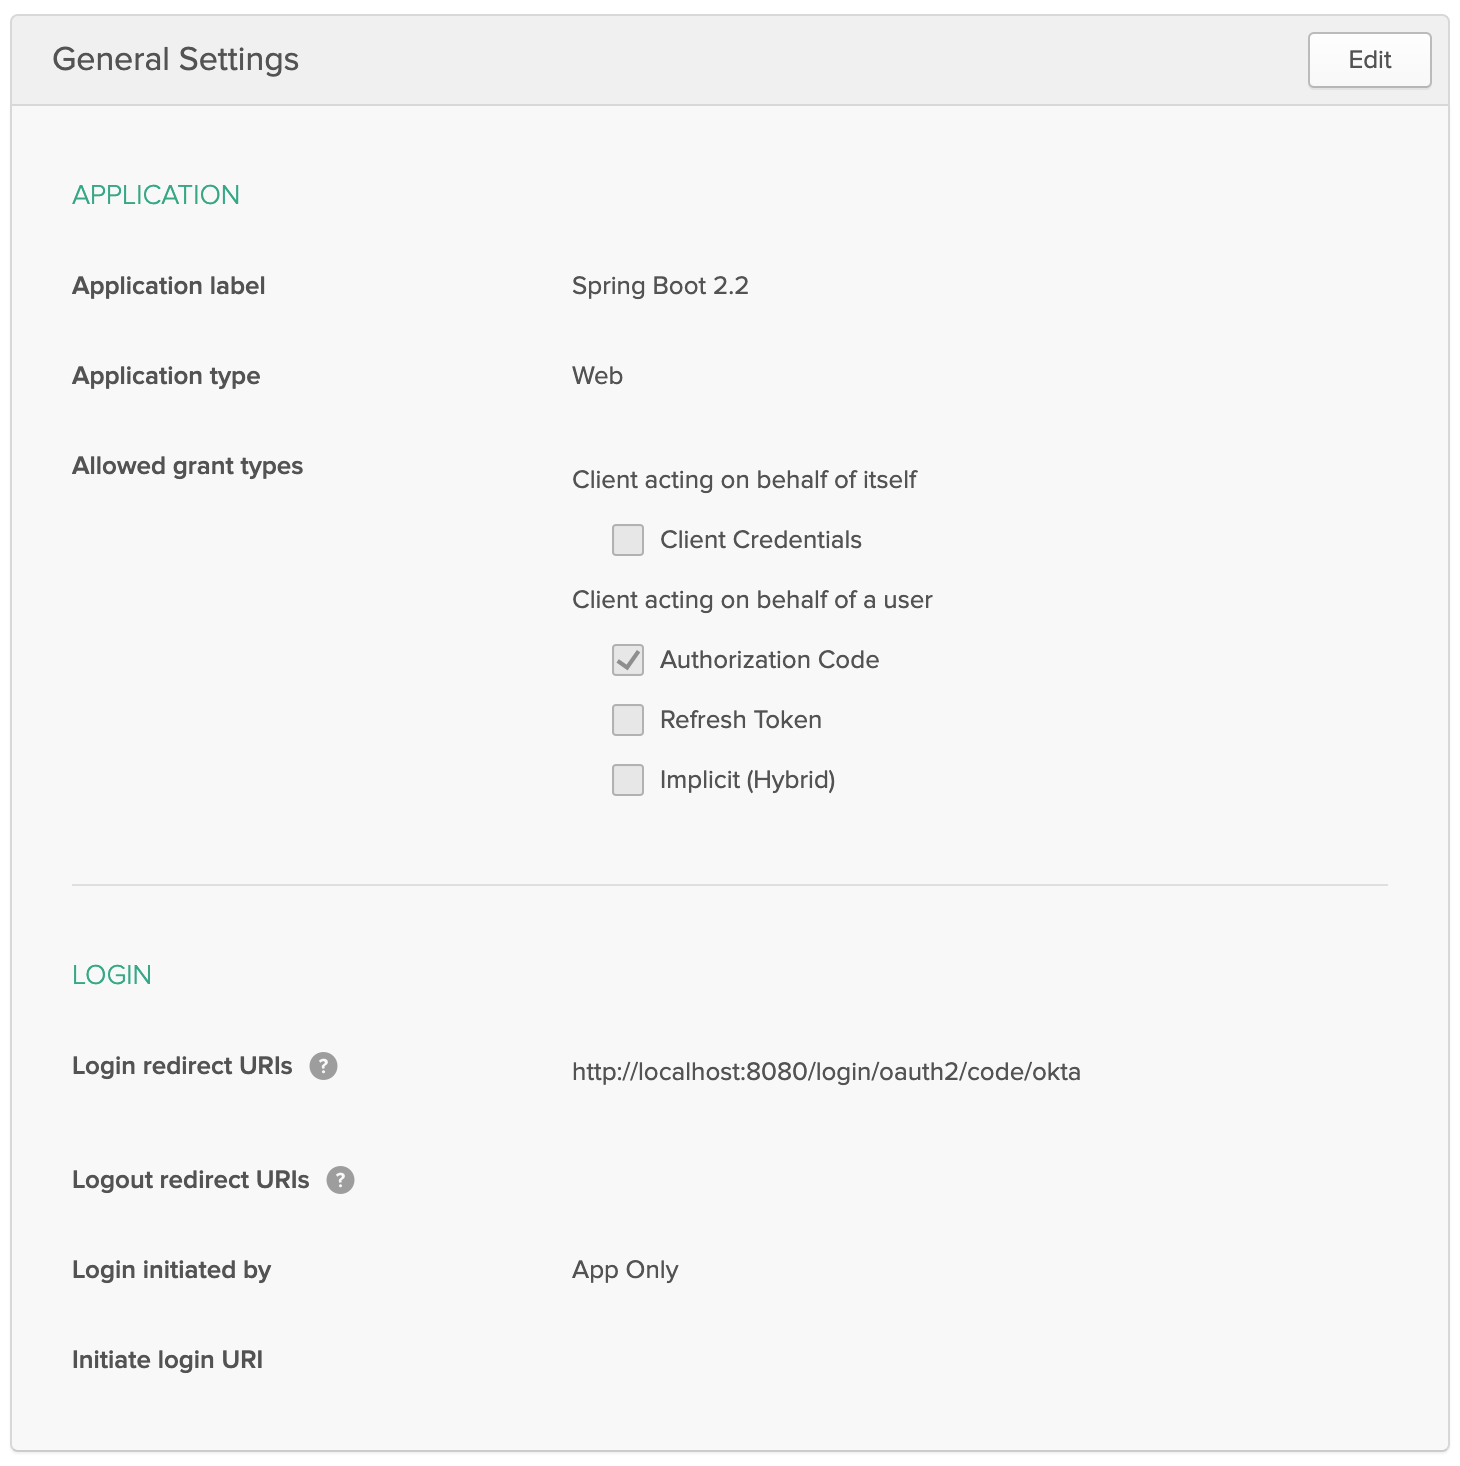
- Select Web and click Next
- Give it a name like
Spring Boot 2.2and change the Login redirect URI to[http://localhost:8080/login/oauth2/code/okta](http://localhost:8080/login/oauth2/code/okta) - Click Done
Your app’s settings should look as follows.
You could copy your app’s OIDC settings to src/main/resources/application.properties:
okta.oauth2.issuer=https://{yourOktaDomain}/oauth2/default
okta.oauth2.client-id={yourClientId}
okta.oauth2.client-secret={yourClientSecret}
However, you should never store secrets in source control! To prevent you from checking secrets in, you can use git-secrets.
For this example, copy your settings into a new okta.env file and ignore *.env in your notes-api/.gitignore file.
export OKTA_OAUTH2_ISSUER=https://{yourOktaDomain}/oauth2/default
export OKTA_OAUTH2_CLIENT_ID={yourClientId}
export OKTA_OAUTH2_CLIENT_SECRET={yourClientSecret}
After replacing the {…} placeholders with your values, run source okta.env to set these environment variables.
Then start your app using ./gradlew bootRun. Open [http://localhost:8080](http://localhost:8080) in a browser, and you’ll be redirected to Okta to sign in.
Spring Boot as an OAuth 2.0 Resource Server
Your Spring Boot API is now secure, but it’s not configured to look for an Authorization header with an access token in it. You need to write some code to make your Spring Boot API an OAuth 2.0 resource server.
Create a SecurityConfiguration.kt class in the same directory as DemoApplication.kt:
package com.okta.developer.notes

import org.springframework.security.config.annotation.web.builders.HttpSecurity
import org.springframework.security.config.annotation.web.configuration.EnableWebSecurity
import org.springframework.security.config.annotation.web.configuration.WebSecurityConfigurerAdapter

@EnableWebSecurity
class SecurityConfiguration : WebSecurityConfigurerAdapter() {
    override fun configure(http: HttpSecurity) {
        //@formatter:off
        http
            .authorizeRequests().anyRequest().authenticated()
                .and()
            .oauth2Login()
                .and()
            .oauth2ResourceServer().jwt()
        //@formatter:on
    }
}
The
oauth2Login()configuration is not necessary for this example to work. It’s only needed if you want to require authentication from a browser.
Add a Notes REST API with Spring Data REST
Start by creating a new Note entity in src/main/kotlin/…/notes/DemoApplication.kt.
package com.okta.developer.notes

import com.fasterxml.jackson.annotation.JsonIgnore
import org.springframework.boot.autoconfigure.SpringBootApplication
import org.springframework.boot.runApplication
import javax.persistence.Entity
import javax.persistence.GeneratedValue
import javax.persistence.Id

@SpringBootApplication
class DemoApplication

fun main(args: Array<String>) {
    runApplication<DemoApplication>(*args)
}

@Entity
data class Note(@Id @GeneratedValue var id: Long? = null,
                var title: String? = null,
                var text: String? = null,
                @JsonIgnore var user: String? = null)
Kotlin’s data classes are built to hold data. By adding the data keyword, your class will get equals(), hashCode(), toString(), and a copy() function. The Type? = null syntax means the arguments are nullable when creating a new instance of the class.
Create a NotesRepository for persisting the data in your notes. Add the following lines of code just below your Note entity.
@RepositoryRestResource
interface NotesRepository : JpaRepository<Note, Long>
The extends syntax differs from Java and is a lot more concise (a colon instead of extends). If your IDE doesn’t automatically add imports, you’ll need to add the following at the top of the file.
import org.springframework.data.jpa.repository.JpaRepository
import org.springframework.data.rest.core.annotation.RepositoryRestResource
To automatically add the username to a note when it’s created, add a RepositoryEventHandler that is invoked before creating the record.
@Component
@RepositoryEventHandler(Note::class)
class AddUserToNote {

    @HandleBeforeCreate
    fun handleCreate(note: Note) {
        val username: String =  SecurityContextHolder.getContext().getAuthentication().name
        println("Creating note: $note with user: $username")
        note.user = username
    }
}
The imports for this class are:
import org.springframework.data.rest.core.annotation.HandleBeforeCreate
import org.springframework.data.rest.core.annotation.RepositoryEventHandler
import org.springframework.security.core.context.SecurityContextHolder
import org.springframework.stereotype.Component
Create a DataInitializer.kt class that populates the database with some default data on startup.
package com.okta.developer.notes

import org.springframework.boot.ApplicationArguments
import org.springframework.boot.ApplicationRunner
import org.springframework.stereotype.Component

@Component
class DataInitializer(val repository: NotesRepository) : ApplicationRunner {

    @Throws(Exception::class)
    override fun run(args: ApplicationArguments) {
        listOf("Note 1", "Note 2", "Note 3").forEach {
            repository.save(Note(title = it, user = "user"))
        }
        repository.findAll().forEach { println(it) }
    }
}
Restart your Spring Boot app, and you should see the following printed to your console on startup.
Note(id=1, title=Note 1, text=null, user=user)
Note(id=2, title=Note 2, text=null, user=user)
Note(id=3, title=Note 3, text=null, user=user)
Create a UserController.kt class (in the same directory as DemoApplication.kt) and use it to filter notes by the currently logged-in user. While you’re at it, add a /user endpoint that returns the user’s information.
package com.okta.developer.notes

import org.springframework.security.core.annotation.AuthenticationPrincipal
import org.springframework.security.oauth2.core.oidc.user.OidcUser
import org.springframework.web.bind.annotation.GetMapping
import org.springframework.web.bind.annotation.RestController
import java.security.Principal

@RestController
class UserController(val repository: NotesRepository) {

    @GetMapping("/user/notes")
    fun notes(principal: Principal): List<Note> {
        println("Fetching notes for user: ${principal.name}")
        val notes = repository.findAllByUser(principal.name)
        if (notes.isEmpty()) {
            return listOf()
        } else {
            return notes
        }
    }

    @GetMapping("/user")
    fun user(@AuthenticationPrincipal user: OidcUser): OidcUser {
        return user;
    }
}
The findAllByUser() method doesn’t exist on NotesRepository, so you’ll need to add it. Thanks to Spring Data JPA, all you need to do is add the method definition to the interface, and it will handle generating the finder method in the implementation.
interface NotesRepository : JpaRepository<Note, Long> {
    fun findAllByUser(name: String): List<Note>
}
To prevent conflicting paths with the REST endpoints created by @RepositoryRestResource, set the base path to /api in application.properties.
spring.data.rest.base-path=/api
Restart your Spring Boot app, navigate to [http://localhost:8080/user](http://localhost:8080/user), and you’ll see a whole plethora of details about your account. Opening [http://localhost:8080/api/notes](http://localhost:8080/api/notes) will show the default notes entered by the DataInitializer component.
Add a CORS Filter for Angular
In order for your Angular app (on port 4200) to communicate with your Spring Boot app (on port 8080), you have to enable CORS (cross-origin resource sharing). You can do this by giving your DemoApplication a body and defining a corsFilter bean inside it.
import org.springframework.boot.web.servlet.FilterRegistrationBean
import org.springframework.context.annotation.Bean
import org.springframework.core.Ordered
import org.springframework.web.cors.CorsConfiguration
import org.springframework.web.cors.UrlBasedCorsConfigurationSource
import org.springframework.web.filter.CorsFilter

@SpringBootApplication
class DemoApplication {

    @Bean
    fun simpleCorsFilter(): FilterRegistrationBean<CorsFilter> {
        val source = UrlBasedCorsConfigurationSource()
        val config = CorsConfiguration()
        config.allowCredentials = true
        config.allowedOrigins = listOf("http://localhost:4200")
        config.allowedMethods = listOf("*");
        config.allowedHeaders = listOf("*")
        source.registerCorsConfiguration("/**", config)
        val bean = FilterRegistrationBean(CorsFilter(source))
        bean.order = Ordered.HIGHEST_PRECEDENCE
        return bean
    }
}
Restart your Spring Boot app after adding this bean.
To see how your final DemoApplication file should look, you can view the completed version in GitHub.
Now that your API is working, it’s time to develop a UI for it with Angular 9!
Add a Notes CRUD Feature in Angular
Angular Schematics is a workflow tool that allows you to manipulate any project that has a package.json. Angular CLI is based on Schematics. OktaDev Schematics uses Schematics to update and add new files to projects. There’s even an Angular CRUD schematic!
Angular CRUD allows you to generate CRUD (create, read, update, and delete) screens and associated files from JSON.
In your Angular notes app, install angular-crud using npm:
npm i -D angular-crud@1.0.0
Then create a src/app/note directory.
mkdir -p src/app/note
Then, create a model.json file in it that defines metadata that’s used when generating files.
{
  "title": "Notes",
  "entity": "note",
  "api": {
    "url": "http://localhost:8080/api/notes"
  },
  "filter": [
    "title"
  ],
  "fields": [
    {
      "name": "id",
      "label": "Id",
      "isId": true,
      "readonly": true,
      "type": "number"
    },
    {
      "name": "title",
      "type": "string",
      "label": "Title"
    },
    {
      "name": "text",
      "type": "string",
      "label": "Text"
    }
  ]
}
Run the command below to generate CRUD screens.
ng g angular-crud:crud-module note
You will see the following output.
CREATE src/app/note/note-filter.ts (44 bytes)
CREATE src/app/note/note.module.ts (659 bytes)
CREATE src/app/note/note.routes.ts (346 bytes)
CREATE src/app/note/note.service.spec.ts (607 bytes)
CREATE src/app/note/note.service.ts (1744 bytes)
CREATE src/app/note/note.ts (69 bytes)
CREATE src/app/note/note-edit/note-edit.component.html (1097 bytes)
CREATE src/app/note/note-edit/note-edit.component.spec.ts (978 bytes)
CREATE src/app/note/note-edit/note-edit.component.ts (1493 bytes)
CREATE src/app/note/note-list/note-list.component.html (1716 bytes)
CREATE src/app/note/note-list/note-list.component.spec.ts (978 bytes)
CREATE src/app/note/note-list/note-list.component.ts (1091 bytes)
UPDATE src/app/app.module.ts (540 bytes)
This schematic creates a NotesModule, routes, a service to communicate with the API, and list/edit screens for viewing and editing notes. If you look at the src/app/note/note.routes.ts file, you’ll see the routes it creates.
import { Routes } from '@angular/router';
import { NoteListComponent } from './note-list/note-list.component';
import { NoteEditComponent } from './note-edit/note-edit.component';

export const NOTE_ROUTES: Routes = [
  {
    path: 'notes',
    component: NoteListComponent
  },
  {
    path: 'notes/:id',
    component: NoteEditComponent
  }
];
Add a link to the NoteListComponent in src/app/home/home.component.html.
<div>
  <button *ngIf="!isAuthenticated" (click)="oktaAuth.loginRedirect()">Login</button>
  <p><a routerLink="/notes" *ngIf="isAuthenticated">View Notes</a></p>
  <button *ngIf="isAuthenticated" (click)="oktaAuth.logout()">Logout</button>
</div>
Change src/app/app.component.html to be as simple as it can be.
<h1>{{ title }} app is running!</h1>

<router-outlet></router-outlet>
If you want
npm testto pass after modifying this template, you’ll need to changeapp.component.spec.tsto look forquerySelector('h1')instead ofquerySelector('.content span').
Run ng serve (and make sure your Spring Boot app is running too).
Log in, and you should see a View Notes link.
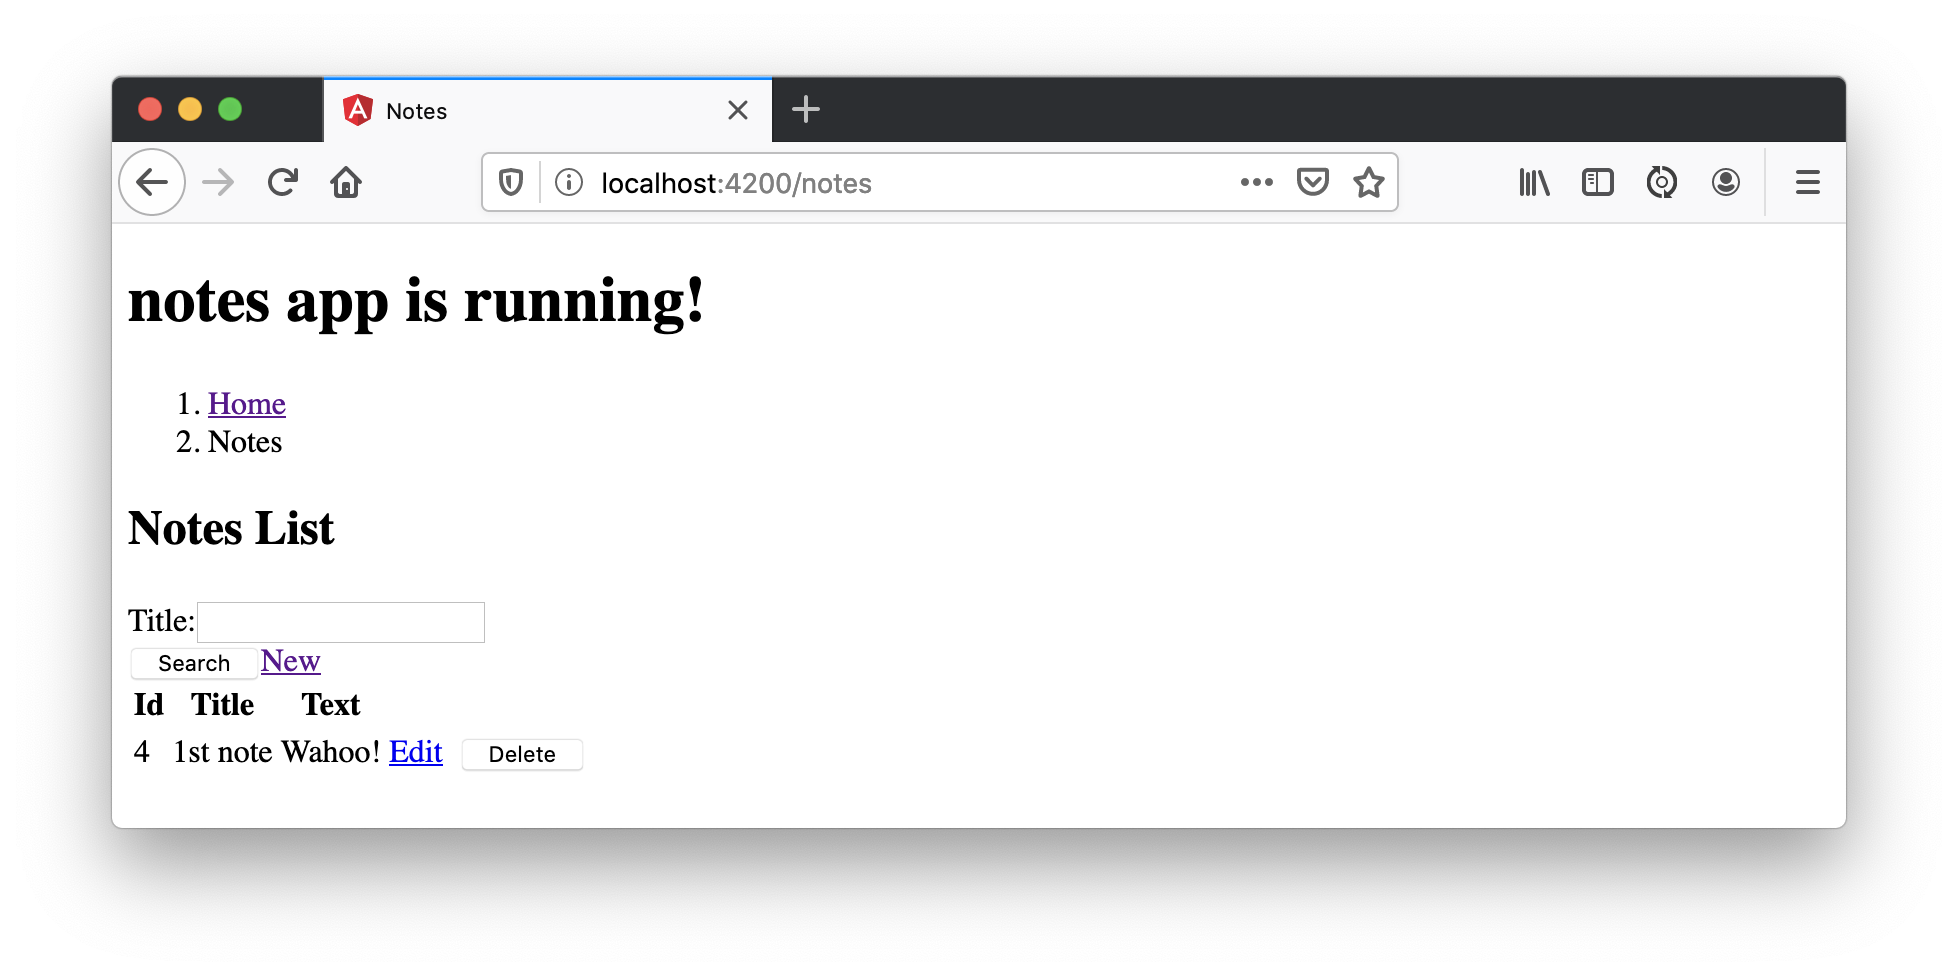
Click on the link, and you’ll see a list screen like the one below. No notes are displayed because you haven’t created any notes that are tied to your user.
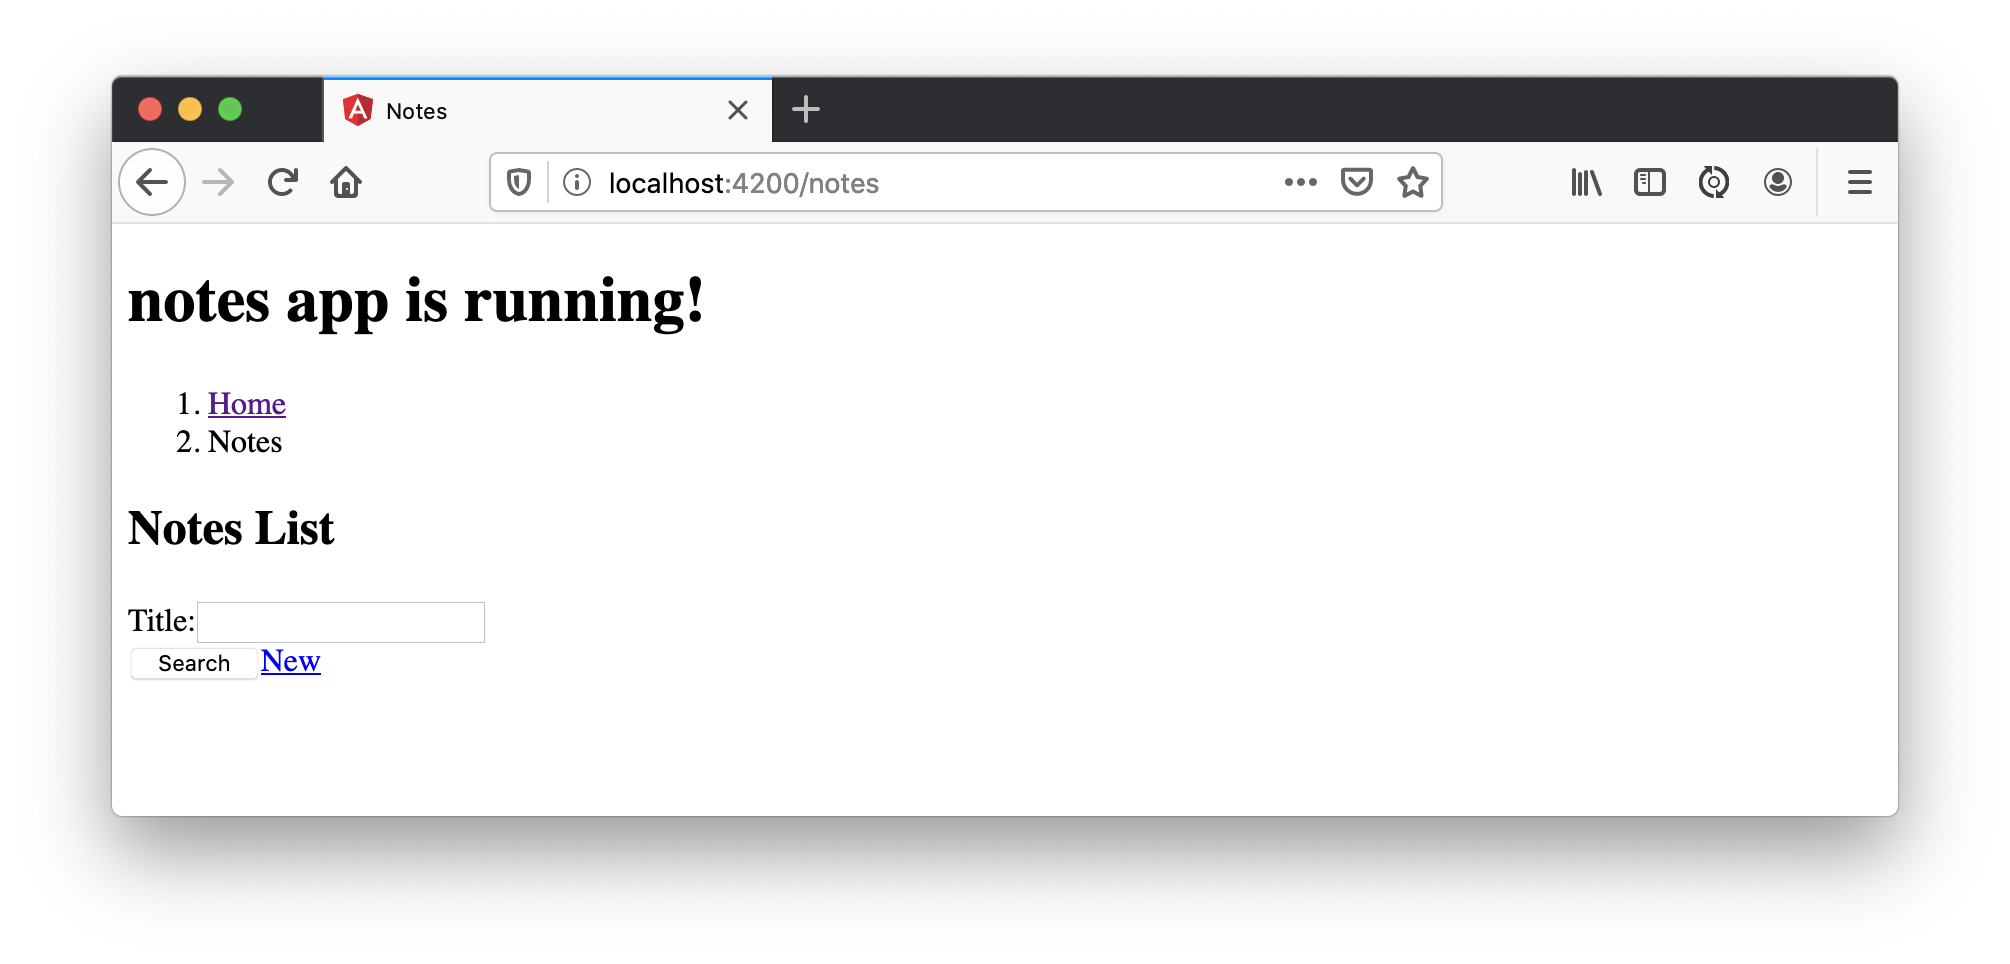
Click on the New link to add a new note.
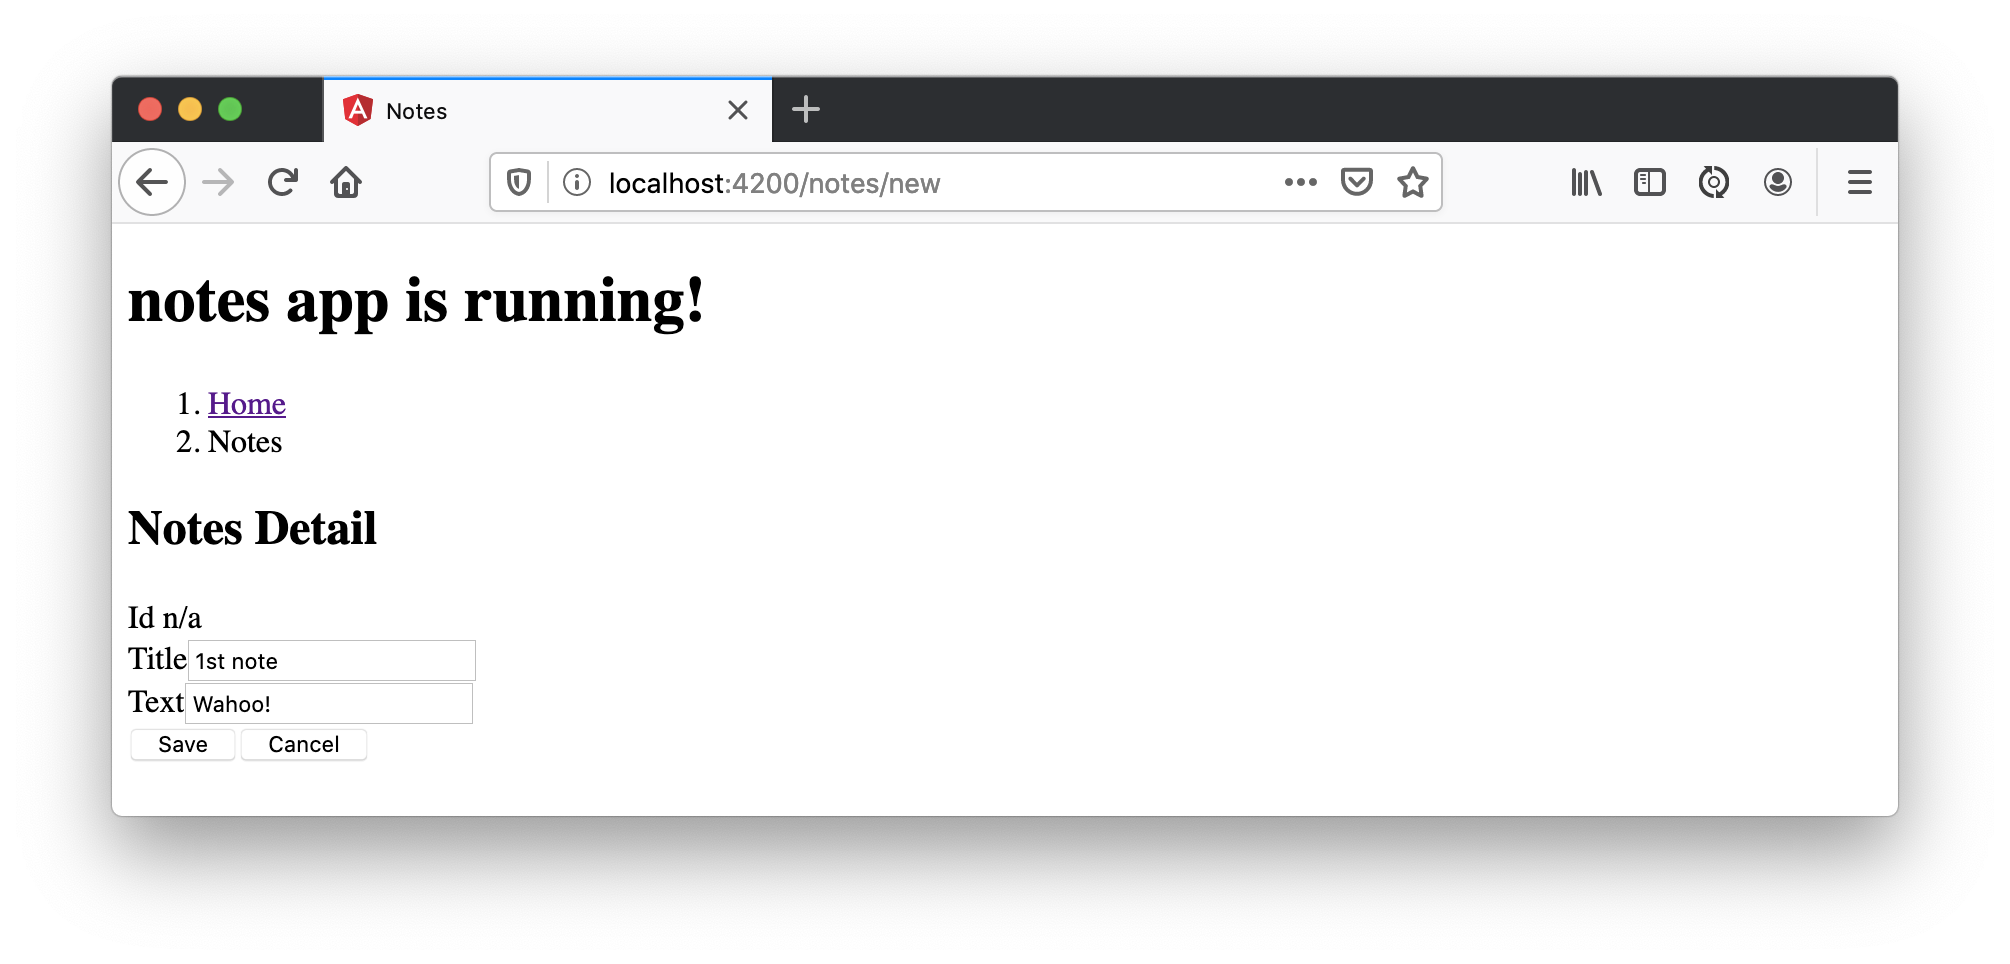
Add a new note, and you’ll see a message like this in your backend console.
Creating note: Note(id=null, title=1st note, text=Wahoo!, user=null) with user: matt.raible@okta.com
You still won’t see notes in the list. You need to change the NoteService to call the /user/notes endpoint to get your notes.
find(filter: NoteFilter): Observable<Note[]> {
  const params = {
    title: filter.title,
  };
  const userNotes = 'http://localhost:8080/user/notes';
  return this.http.get<Note[]>(userNotes, {params, headers});
}
Now you’ll see your notes listed. Nice work!
You might be wondering how the NoteListComponent works. It loads the user’s notes from the NoteService when the component initializes, and also contains select() and delete() methods. The reason it’s able to talk to your secured Spring Boot API is that the aforementioned AuthInterceptor adds an access token to the request.
src/app/note/note-list/note-list.component.ts
import { Component, OnInit } from '@angular/core';
import { NoteFilter } from '../note-filter';
import { NoteService } from '../note.service';
import { Note } from '../note';

@Component({
  selector: 'app-note',
  templateUrl: 'note-list.component.html'
})
export class NoteListComponent implements OnInit {

  filter = new NoteFilter();
  selectedNote: Note;
  feedback: any = {};

  get noteList(): Note[] {
    return this.noteService.noteList;
  }

  constructor(private noteService: NoteService) {
  }

  ngOnInit() {
    this.search();
  }

  search(): void {
    this.noteService.load(this.filter);
  }

  select(selected: Note): void {
    this.selectedNote = selected;
  }

  delete(note: Note): void {
    if (confirm('Are you sure?')) {
      this.noteService.delete(note).subscribe(() => {
          this.feedback = {type: 'success', message: 'Delete was successful!'};
          setTimeout(() => {
            this.search();
          }, 1000);
        },
        err => {
          this.feedback = {type: 'warning', message: 'Error deleting.'};
        }
      );
    }
  }
}
The Edit link in this component’s template links to the NoteEditComponent.
<a [routerLink]="['../notes', item.id ]" class="btn btn-secondary">Edit</a>
The NoteEditComponent has methods for loading a note, saving a note, and canceling.
import { Component, OnInit } from '@angular/core';
import { ActivatedRoute, Router } from '@angular/router';
import { NoteService } from '../note.service';
import { Note } from '../note';
import { map, switchMap } from 'rxjs/operators';
import { of } from 'rxjs';

@Component({
  selector: 'app-note-edit',
  templateUrl: './note-edit.component.html'
})
export class NoteEditComponent implements OnInit {

  id: string;
  note: Note;
  feedback: any = {};

  constructor(
    private route: ActivatedRoute,
    private router: Router,
    private noteService: NoteService) {
  }

  ngOnInit() {
    this
      .route
      .params
      .pipe(
        map(p => p.id),
        switchMap(id => {
          if (id === 'new') { return of(new Note()); }
          return this.noteService.findById(id);
        })
      )
      .subscribe(note => {
          this.note = note;
          this.feedback = {};
        },
        err => {
          this.feedback = {type: 'warning', message: 'Error loading'};
        }
      );
  }

  save() {
    this.noteService.save(this.note).subscribe(
      note => {
        this.note = note;
        this.feedback = {type: 'success', message: 'Save was successful!'};
        setTimeout(() => {
          this.router.navigate(['/notes']);
        }, 1000);
      },
      err => {
        this.feedback = {type: 'warning', message: 'Error saving'};
      }
    );
  }

  cancel() {
    this.router.navigate(['/notes']);
  }
}
Fix the Note Edit Feature
One of the problems with the NoteEditComponent is it assumes the API returns an ID. Since Spring Data REST uses HATEOS by default, it returns links instead of IDs. You can change this default to return IDs by creating a RestConfiguration class in your Spring Boot app. You might notice you can also configure the base path in this class, instead of in application.properties.
package com.okta.developer.notes

import org.springframework.context.annotation.Configuration
import org.springframework.data.rest.core.config.RepositoryRestConfiguration
import org.springframework.data.rest.webmvc.config.RepositoryRestConfigurer

@Configuration
class RestConfiguration : RepositoryRestConfigurer {
   override fun configureRepositoryRestConfiguration(config: RepositoryRestConfiguration?) {
       config?.exposeIdsFor(Note::class.java)
       config?.setBasePath("/api")
   }
}
Another option is to modify the Angular side of things. Since the ID is passed into the NoteEditComponent, you can set it as a local variable, then set it on the note after it’s returned. Here’s a diff of what changes need to be made in notes/src/app/note/note-edit/note-edit.component.ts.
--- a/notes/src/app/note/note-edit/note-edit.component.ts
+++ b/notes/src/app/note/note-edit/note-edit.component.ts
@@ -30,11 +29,13 @@ export class NoteEditComponent implements OnInit {
        map(p => p.id),
        switchMap(id => {
          if (id === 'new') { return of(new Note()); }
+          this.id = id;
          return this.noteService.findById(id);
        })
      )
      .subscribe(note => {
          this.note = note;
+          this.note.id = +note.id;
          this.feedback = {};
        },
        err => {
@@ -47,6 +48,7 @@ export class NoteEditComponent implements OnInit {
    this.noteService.save(this.note).subscribe(
      note => {
        this.note = note;
+        this.note.id = +this.id;
        this.feedback = {type: 'success', message: 'Save was successful!'};
        setTimeout(() => {
          this.router.navigate(['/notes']);
In the final example for this post, I opted to return IDs from my Spring Boot API.
Lock Down Spring Boot with Recommended Security Practices
- Use HTTPS in Production
- Enable Cross-Site Request Forgery (CSRF) Protection
- Use a Content Security Policy (CSP) to Prevent XSS Attacks
- Use OpenID Connect for Authentication
You’ve already implemented #4 with Okta, but what about the others?
You can use mkcert to generate local, valid TLS certificates. To force HTTPS, you just need to configure Spring Security. I like just to do it in production, so I don’t need to install certificates in development.
CSRF protection and a CSP can be configured with Spring Security.
Modify your SecurityConfiguration class with these security enhancements.
class SecurityConfiguration : WebSecurityConfigurerAdapter() {
    override fun configure(http: HttpSecurity) {
        //@formatter:off
        http
            .authorizeRequests().anyRequest().authenticated()
                .and()
            .oauth2Login()
                .and()
            .oauth2ResourceServer().jwt()

        http.requiresChannel()
            .requestMatchers(RequestMatcher {
                r -> r.getHeader("X-Forwarded-Proto") != null
            }).requiresSecure() (1)

        http.csrf()
            .csrfTokenRepository(CookieCsrfTokenRepository.withHttpOnlyFalse()); (2)

        http.headers()
            .contentSecurityPolicy("script-src 'self'; report-to /csp-report-endpoint/"); (3)
       //@formatter:on
    }
}
| 1 | Force HTTPS in production |
| 2 | Configure the CSRF Cookie so it can be read by JavaScript |
| 3 | Configure a CSP that only allows local scripts |
Angular’s HttpClient has built-in support for the client-side half of the CSRF protection. It’ll read the cookie sent by Spring Boot and return it in an X-XSRF-TOKEN header. You can read more about this in Angular’s Security docs.
In this particular example, the CSP won’t be used since Angular is a separate app. However, if you were to include the Angular app in your Spring Boot artifact, it’d come in handy.
Once you’ve deployed your Spring Boot app to a public URL, you can test your CSP headers are working with securityheaders.com.
#angular #springboot #spring-boot #web-development