React is one of the most popular JavaScript frameworks ever created, and I believe that it’s one of the best tools out there.
The goal of this handbook is to provide a starter guide to learning React.
At the end of the book, you’ll have a basic understanding of:
- What React is and why it’s so popular
- How to install React
- React Components
- React State
- React Props
- Handling user events in React
- Lifecycle events in a React component
These topics will be the base upon which you will build in other more advanced React tutorials.
This book is especially written for JavaScript programmers who are new to React. So let’s get started.
What is React?
React is a JavaScript library that aims to simplify the development of visual interfaces.
Developed at Facebook and released to the world in 2013, it drives some of the most widely used apps, powering Facebook and Instagram among countless other applications.
Its primary goal is to make it easy to reason about an interface and its state at any point in time. It does this by dividing the UI into a collection of components.
You might experience some initial difficulties when learning React. But once it “clicks”, I guarantee it’s going to be one of the best experiences you ever have. React makes many things easier, and its ecosystem is filled with great libraries and tools.
React in itself has a very small API, and you basically need to understand 4 concepts to get started:
- Components
- JSX
- State
- Props
We’ll explore all of these in this book, and we’ll leave the more advanced concepts to other tutorials. I will give you some pointers in the last section about how to move forward.
And you can download this handbook in PDF / ePub / Mobi format for free.
Summary of the handbook
- How much JavaScript you need to know to use React
- Why should you learn React?
- How to install React
- React Components
- Introduction to JSX
- Using JSX to compose a UI
- The difference between JSX and HTML
- Embedding JavaScript in JSX
- Managing state in React
- Component Props in React
- Data flow in a React application
- Handling user events in React
- Lifecycle events in a React component
- Where to go from here
How much JavaScript you need to know to use React
Before jumping straight into React, you should have a good understanding of some core JavaScript concepts.
You don’t have to be a JavaScript expert, but I think you need a good overview of:
- Variables
- Arrow functions
- Work with objects and arrays using Rest and Spread
- Object and array destructuring
- Template literals
- Callbacks
- ES Modules
If those concepts sound unfamiliar, I’ve provided you with some links to find out more about those subjects.
Why should you learn React?
I highly recommend that any Web developer has at least a basic understanding of React.
That’s because of a few reasons.
- React is very popular. As a developer, it’s quite likely that you’re going to work on a React project in the future. Perhaps an existing project, or maybe your team will want you to work on a brand new app based on React.
- A lot of tooling today is built using React at the core. Popular frameworks and tools like Next.js, Gatsby, and many others use React under the hood.
- As a frontend engineer, React is probably going to come up in a job interview.
Those are all good reasons, but one of the main reasons I want you to learn React is that it’s great.
It promotes several good development practices, including code reusability and component-driven development. It is fast, it is lightweight, and the way it makes you think about the data flow in your application perfectly suits a lot of common scenarios.
How to install React
There are a few different ways to install React.
To start with, I highly recommend one approach, and that’s using the officially recommended tool called create-react-app.
create-react-app is a command line application, aimed at getting you up to speed with React in no time.
You start by using npx, which is an easy way to download and execute Node.js commands without installing them.
See my npx guide here: https://flaviocopes.com/npx/
npx comes with npm (since version 5.2). If you don’t have npm installed already, do it now from https://nodejs.org (npm is installed with Node).
If you are unsure which version of npm you have, run npm -v to check if you need to update.
Tip: check out my OSX terminal tutorial at https://flaviocopes.com/macos-terminal/ if you’re unfamiliar with using the terminal. It applies to Mac and Linux.
When you run npx create-react-app <app-name>, npx is going to download the most recent create-react-app release, run it, and then remove it from your system.
This is great because you will never have an outdated version on your system, and every time you run it, you’re getting the latest and greatest code available.
Let’s start then:
npx create-react-app todolist
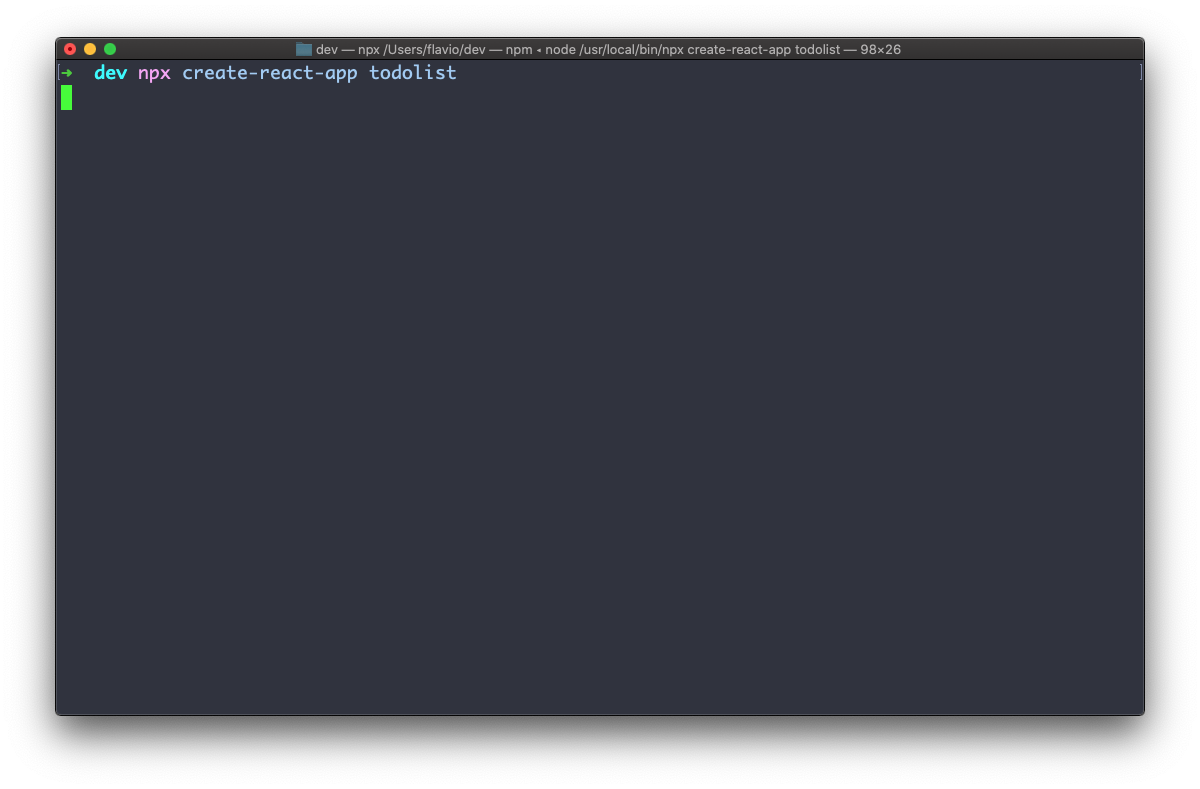
This is when it finished running:
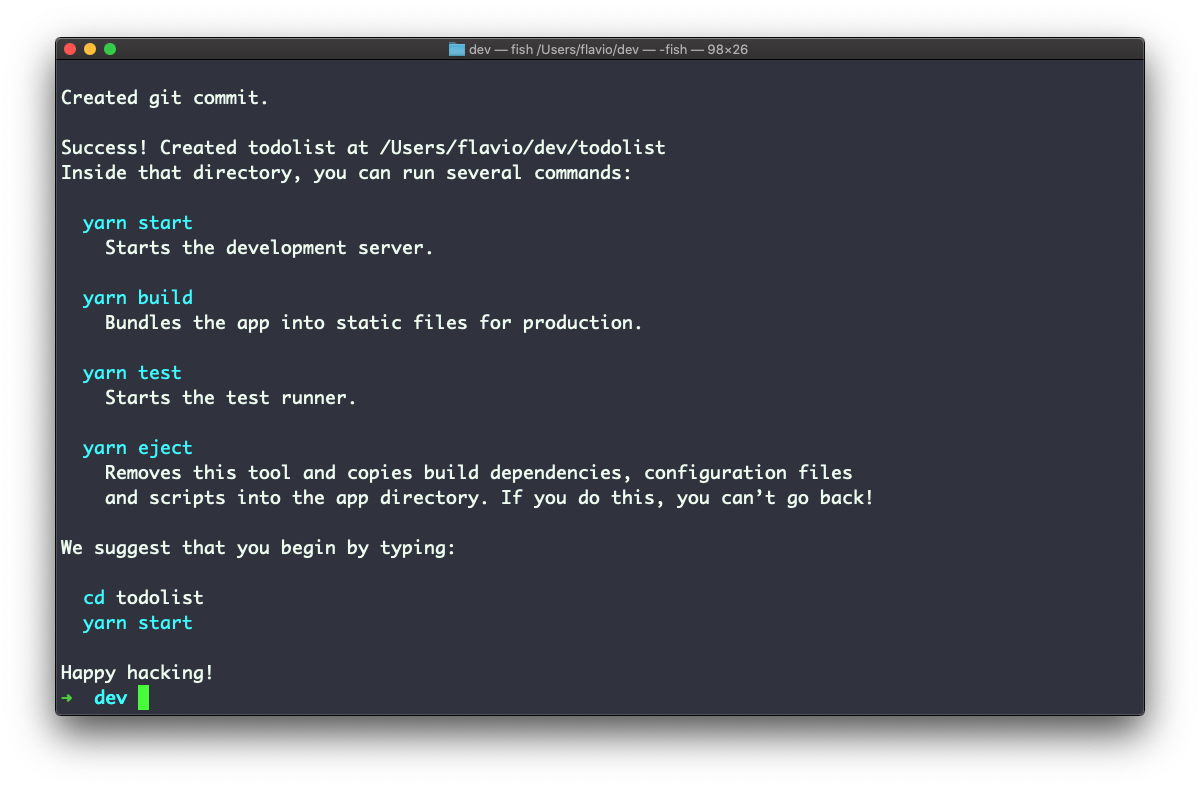
create-react-app created a file structure in the folder you told it to (todolist in this case), and initialized a Git repository.
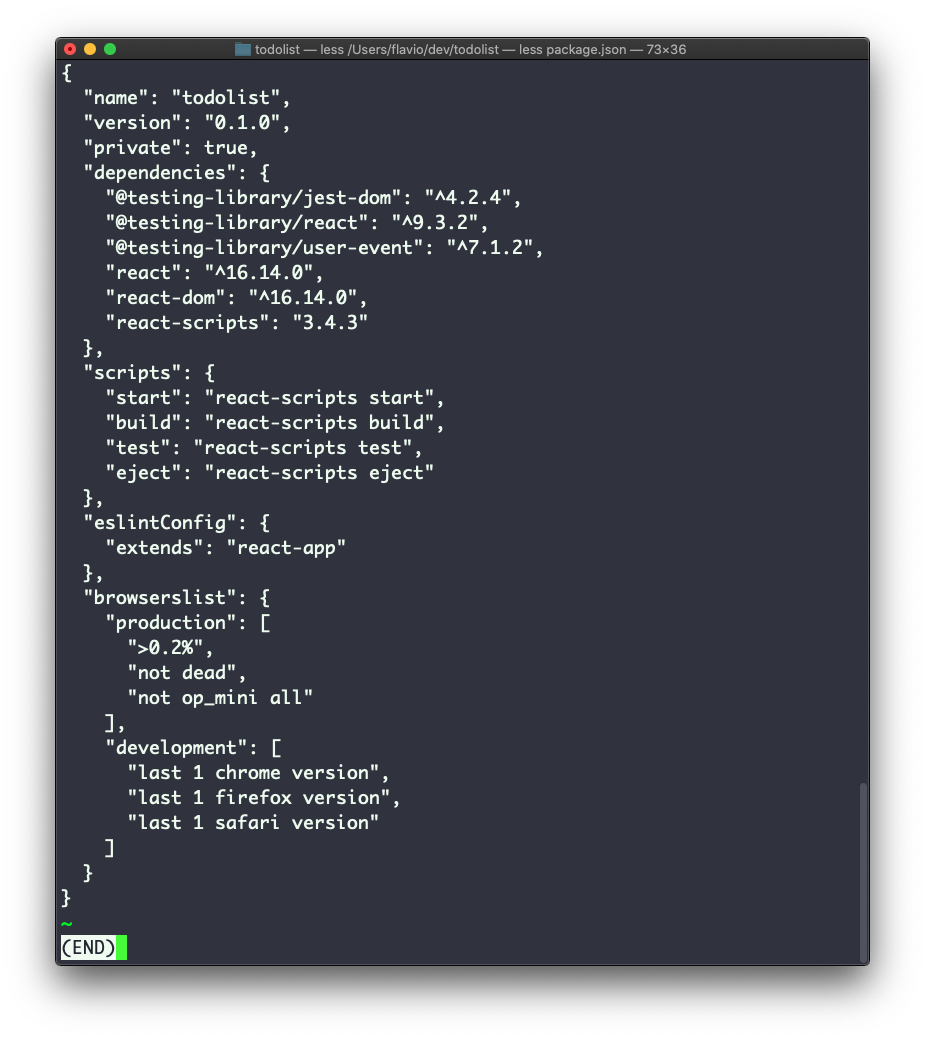
It also added a few commands in the package.json file:
So you can immediately start the app by going into the newly created application folder and running npm start.
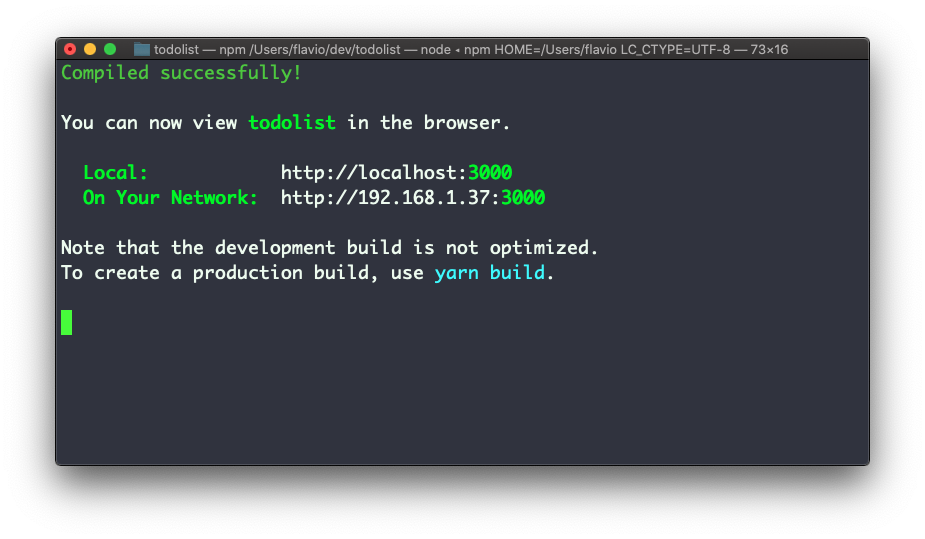
By default this command launches the app on your local port 3000, and it opens your browser showing you the welcome screen:
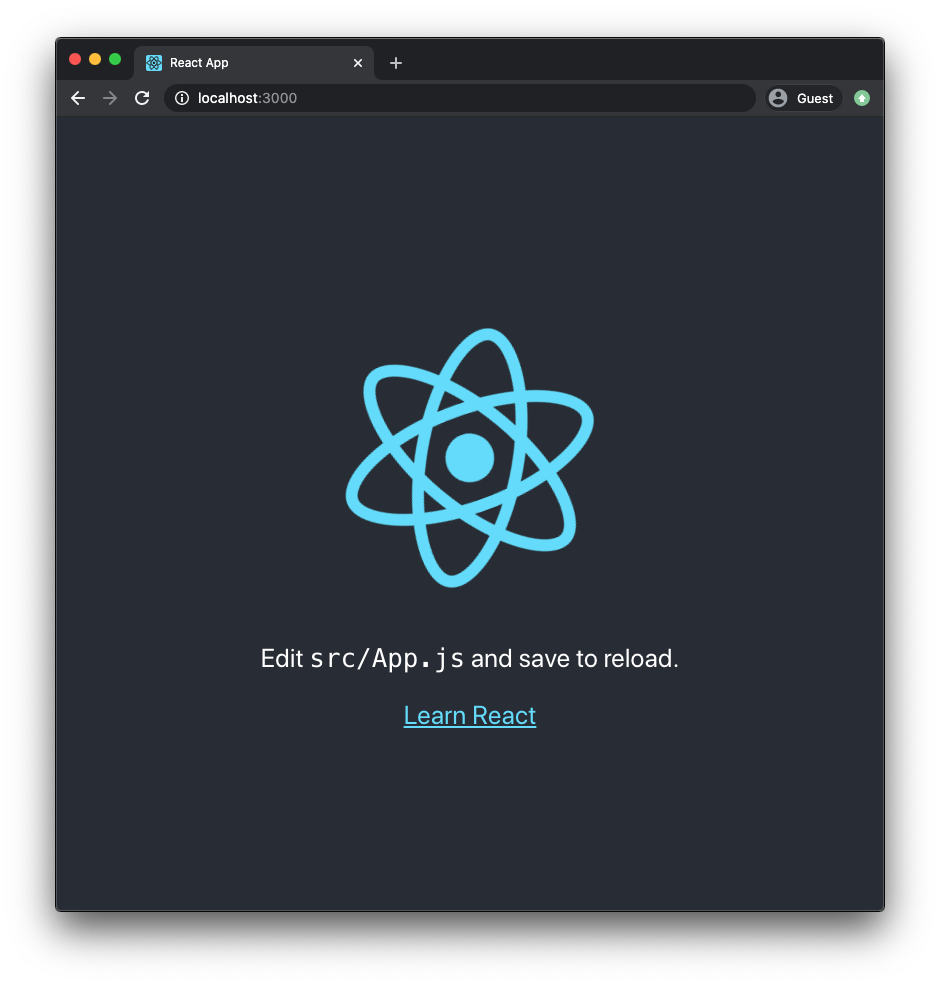
Now you’re ready to work on this application!
React Components
In the last section you saw how to create your first React application.
This application comes with a series of files that do various things, mostly related to configuration, but there’s one file that stands out: App.js.
App.js is the first React Component you meet.
Its code is this:
import React from 'react'
import logo from './logo.svg'
import './App.css'

function App() {
  return (
    <div className="App">
      <header className="App-header">
        <img src={logo} className="App-logo" alt="logo" />
        <p>
          Edit <code>src/App.js</code> and save to reload.
        </p>
        <a
          className="App-link"
          href="https://reactjs.org"
          target="_blank"
          rel="noopener noreferrer"
        >
          Learn React
        </a>
      </header>
    </div>
  )
}

export default App
An application built using React, or one of the other popular frontend frameworks like Vue and Svelte for example, is built using dozens of components.
But let’s start by analyzing this first component. I’m going to simplify this component code like this:
import React from 'react'
import logo from './logo.svg'
import './App.css'

function App() {
  return /* something */
}

export default App
You can see a few things here. We import some things, and we export a function called App.
The things we import in this case are a JavaScript library (the react npm package), an SVG image, and a CSS file.
create-react-appis set up in a way that allows us to import images and CSS to use in our JavaScript, but this is not something you need to care about now. What you need to care about is the concept of a component
App is a function that, in the original example, returns something that at first sight looks quite strange.
It looks like HTML but it has some JavaScript embedded into it.
That is JSX, a special language we use to build a component’s output. We’ll talk more about JSX in the next section.
In addition to defining some JSX to return, a component has several other characteristics.
A component can have its own state, which means it encapsulates some variables that other components can’t access unless this component exposes this state to the rest of the application.
A component can also receive data from other components. In this case we’re talking about props.
Don’t worry, we’re going to look in detail at all those terms (JSX, State and Props) soon.
Introduction to JSX
We can’t talk about React without first explaining JSX.
In the last section you met your first React component, the App component defined in the default application built by create-react-app.
Its code was this:
import React from 'react'
import logo from './logo.svg'
import './App.css'

function App() {
  return (
    <div className="App">
      <header className="App-header">
        <img src={logo} className="App-logo" alt="logo" />
        <p>
          Edit <code>src/App.js</code> and save to reload.
        </p>
        <a
          className="App-link"
          href="https://reactjs.org"
          target="_blank"
          rel="noopener noreferrer"
        >
          Learn React
        </a>
      </header>
    </div>
  )
}

export default App
We previously ignored everything that was inside the return statement, but in this section we’re going to talk about it.
We call JSX everything wrapped inside the parentheses returned by the component:
<div className="App">
  <header className="App-header">
    <img src={logo} className="App-logo" alt="logo" />
    <p>
      Edit <code>src/App.js</code> and save to reload.
    </p>
    <a
      className="App-link"
      href="https://reactjs.org"
      target="_blank"
      rel="noopener noreferrer"
    >
      Learn React
    </a>
  </header>
</div>
This looks like HTML, but it’s not really HTML. It’s a little different.
And it’s a bit strange to have this code inside a JavaScript file. This does not look like JavaScript at all!
Under the hood, React will process the JSX and it will transform it into JavaScript that the browser will be able to interpret.
So we’re writing JSX, but in the end there’s a translation step that makes it digestible to a JavaScript interpreter.
React gives us this interface for one reason: it’s easier to build UI interfaces using JSX.
Once you get more familiar with it, of course.
In the next section we’ll talk about how JSX lets you easily compose a UI, then we’ll look at the differences with “normal HTML” that you need to know.
Using JSX to compose a UI
As introduced in the last section, one of the main benefits of JSX is that it makes it very easy to build a UI.
In particular, in a React component you can import other React components, and you can embed them and display them.
A React component is usually created in its own file, because that’s how we can easily reuse it (by importing it) in other components.
But a React component can also be created in the same file of another component, if you plan to only use it in that component. There’s no “rule” here, you can do what feels best to you.
I generally use separate files when the number of lines in a file grows too much.
To keep things simple let’s create a component in the same App.js file.
We’re going to create a WelcomeMessage component:
function WelcomeMessage() {
  return <p>Welcome!</p>
}
See? It’s a simple function that returns a line of JSX that represents a p HTML element.
We’re going to add it to the App.js file.
Now inside the App component JSX we can add <WelcomeMessage /> to show this component in the user interface:
import React from 'react'
import logo from './logo.svg'
import './App.css'

function WelcomeMessage() {
  return <p>Welcome!</p>
}

function App() {
  return (
    <div className="App">
      <header className="App-header">
        <img src={logo} className="App-logo" alt="logo" />
        <p>
          Edit <code>src/App.js</code> and save to reload.
        </p>
        <WelcomeMessage />
        <a
          className="App-link"
          href="https://reactjs.org"
          target="_blank"
          rel="noopener noreferrer"
        >
          Learn React
        </a>
      </header>
    </div>
  )
}

export default App
And here’s the result. Can you see the “Welcome!” message in the screen?
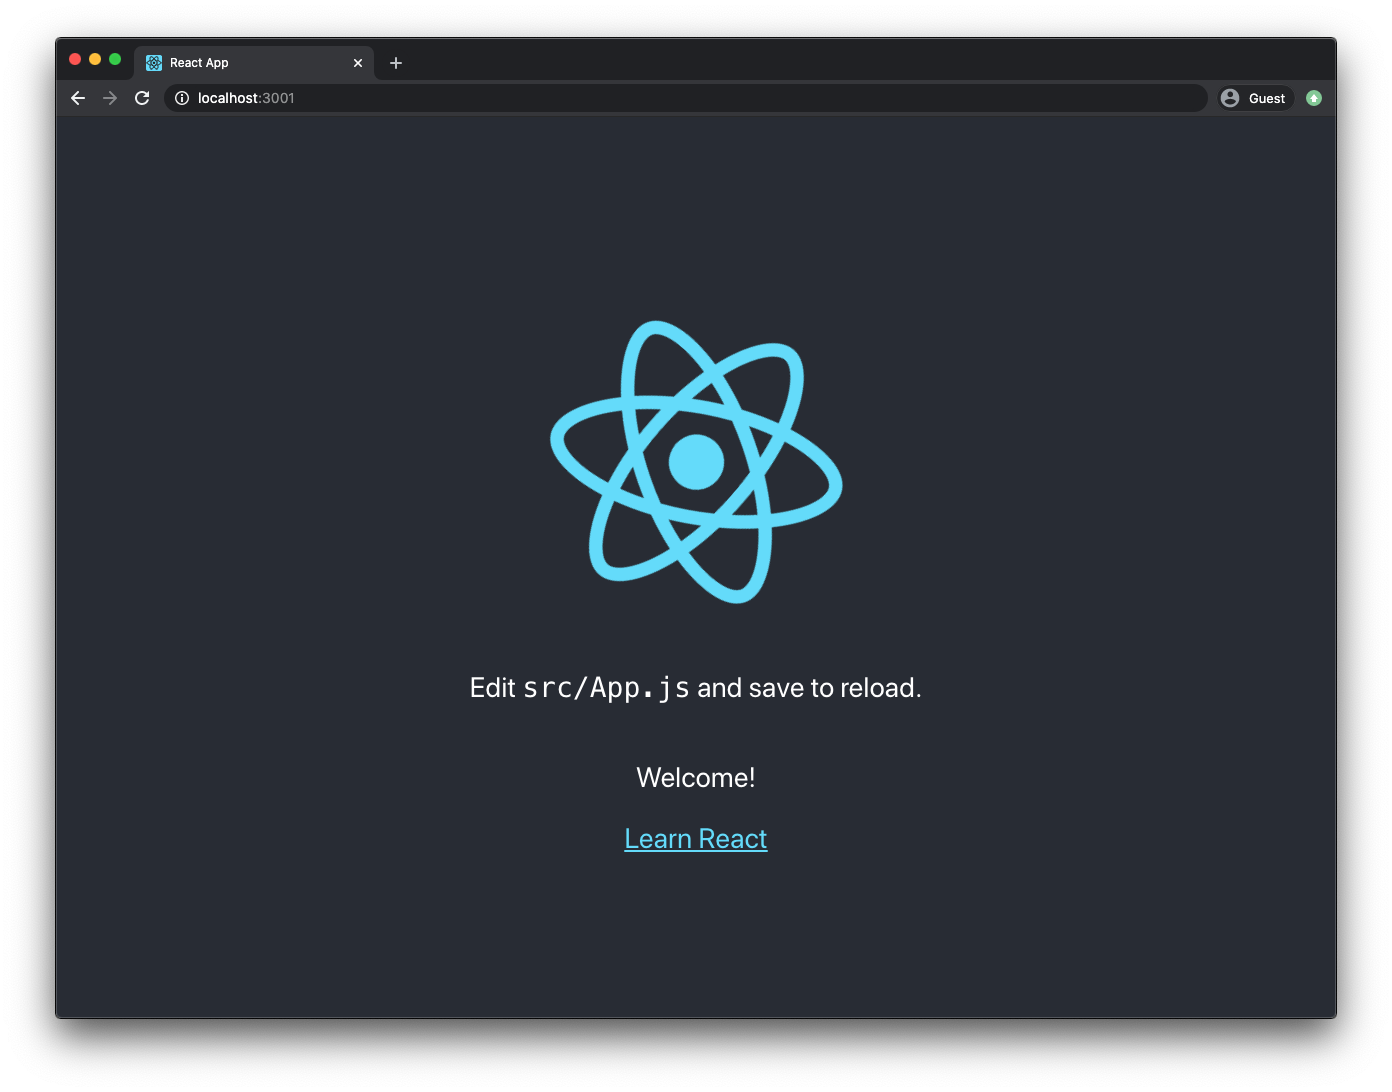
We say that WelcomeMessage is a child component of App, and App is its parent componnet.
We’re adding the <WelcomeMessage /> component as if it was part of the HTML language.
That’s the beauty of React components and JSX: we can compose an application interface and use it like we’re writing HTML.
With some differences, as we’ll see in the next section.
#react #javascript #web-development #programming #developer