How to get your Dash app online in 7 very straightforward steps
You’ve built your app, it’s working great when you run it on your own machine, but now you want to quite literally say ‘hello world’.
Well, you’ve come to the right place.
The Seven Stages of Deployment
- Create a paid account at pythonanywhere.com.
- Buy the domain name you’re interested in at godaddy.com.
- Clone your repository into a bash console on pythonanywhere.com.
- Edit your WSGI file (web server gateway interface, easier to say WSGI right?).
- Point pythonanywhere.com to the domain name you bought.
- Change your CNAME record at godaddy.com.
- Set up domain forwarding.
Skip to the Fourth Bit
I’m going to assume you can do steps one to three on your own and also like this song.
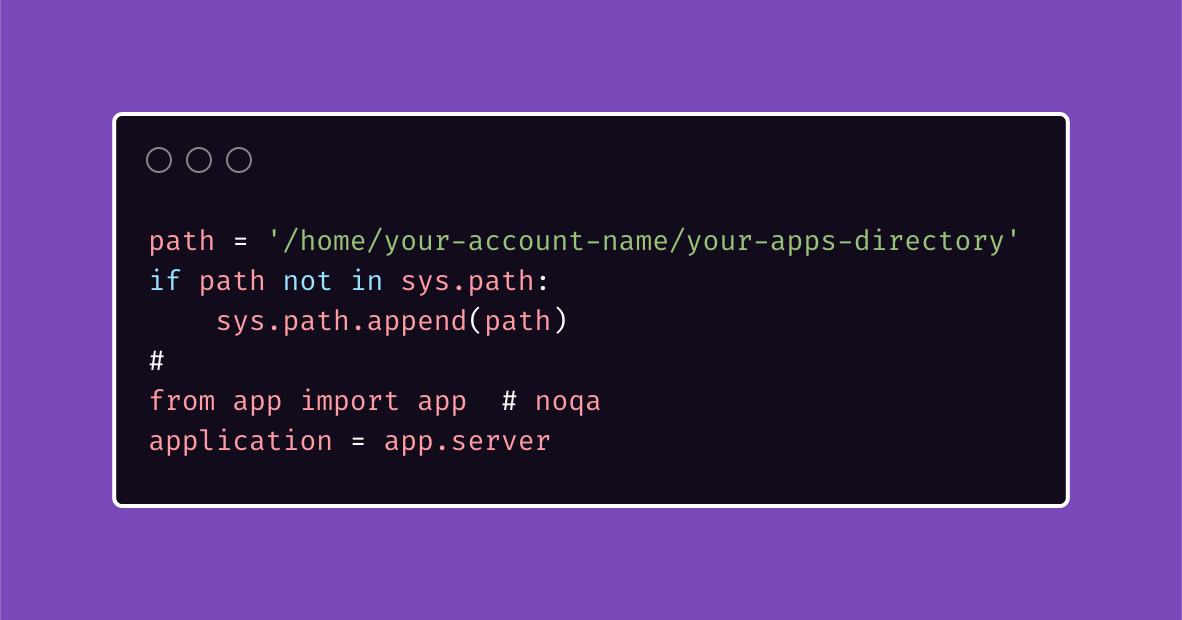
In your pythonanywhere.com account, hit the web tab and in the code section, specify the directory the source code was in your bash console where you cloned the github repository. This should also be the working directory.
Next, click the link to your WSGI file. In that file, uncomment the specified section — for me this was lines 107–12.
#programming #deployment #python #web-hosting #dash
1.60 GEEK