Introduction
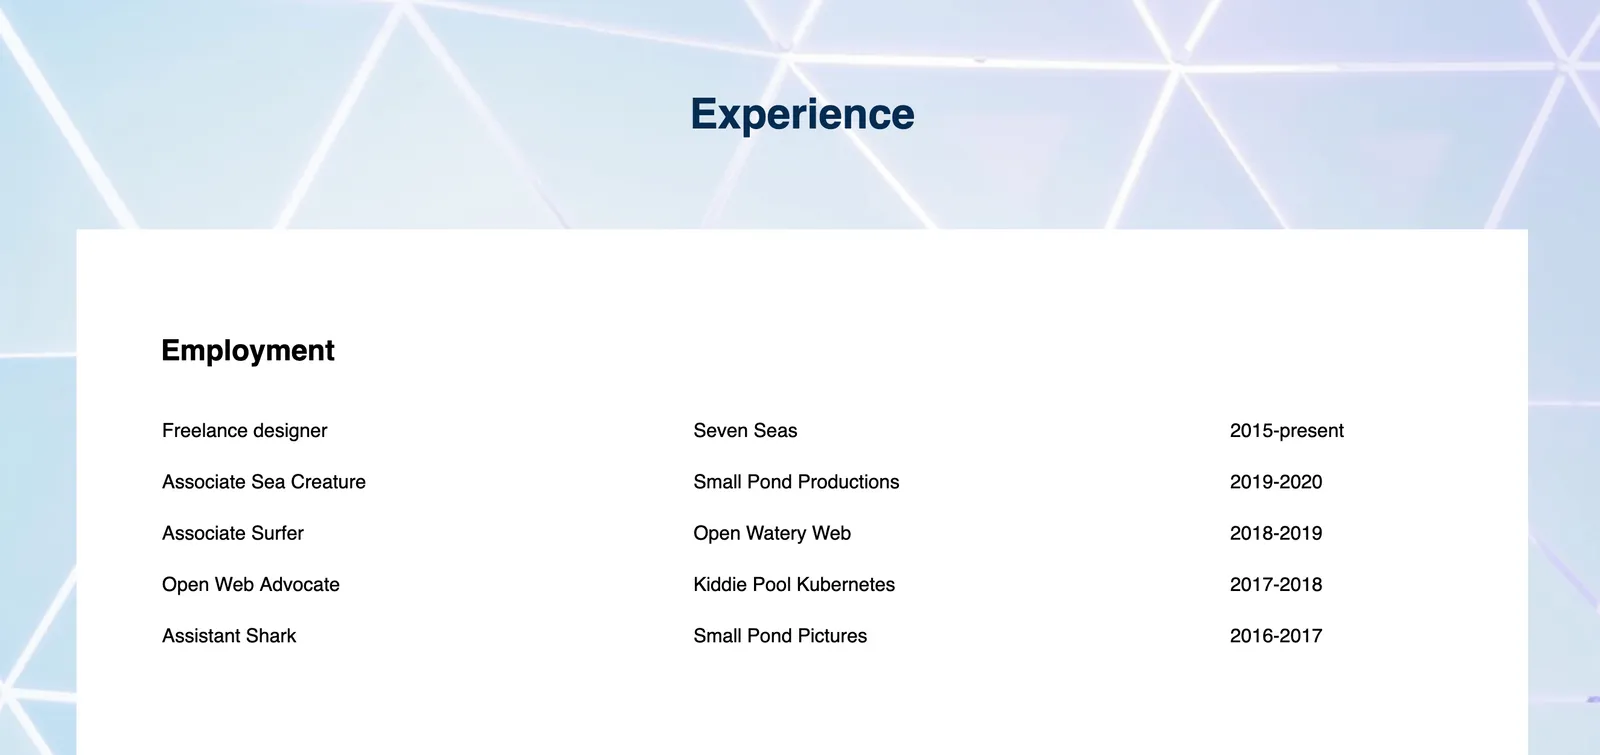
In this tutorial, you will recreate the “Employment” section of the demonstration website (or fourth section) using HTML tables and CSS classes. Feel free to switch out Sammy’s information with your own if you wish to personalize the size. The methods you use here can be applied to other CSS/HTML website projects.

To build this section, you will add and style a section heading, add and style a wide column, and add and style an HTML table inside of the column.
Prerequisites
To follow this tutorial, make sure you have set up the necessary files and folders as instructed in a previous tutorial in this series How To Set Up You CSS and HTML Practice Project.
Creating a Section Break and Section Title
To get started, create a class that will add space between the content in the prior “Projects" section and this “Employment" section. Add the following CSS comments and CSS ruleset to the bottom of your styles.css file:
styles.css
. . .

/* Section 4 */

/* Add space between sections */
.section-break {
  margin:50px;
  height:500px;
}
Copy
In this code snippet you have added a CSS comment labeling the CSS rulesets for “Section 4” and a CSS comment explaining the purpose of the section-break class. You will assign this class to an empty <div> in the index.html file, which will give it a height of 500 pixels and a margin of 50 pixels. Though the <div> will be invisible, it’s height will act as a section break by pushing subsequent content 500 pixels down the page.
#css