In this post, you will learn about how to setup/install MLFlow right from your Jupyter Notebook and get started tracking your machine learning projects. This would prove to be very helpful if you are running an enterprise-wide AI practice where you have a bunch of data scientists working on different ML projects. MLFlow will help you track the score of different experiments related to different ML projects.
Install MLFlow Using Jupyter Notebook
In order to install/set up MLFlow and do a quick POC, you could get started right from within your Jupyter notebook. Here are the commands to get set up. MLFlow could be installed with the simple command: pip install mlflow. Within Jupyter notebook, this is what you would do:
Java
1
#
2
## Install MLFLow using PIP Install
3
#
4
!pip install mlflow
5
#
6
## Check whether MLFlow installed by accessing its version
7
#
8
!mlflow --version
Executing the above commands would set up MLFlow and print its version. It printed this for me: mlflow, version 1.11.0
The next step is to start MLFlow UI. Here is the command to get started with MLFlow UI from within Jupyter Notebook
Java
1
#
2
## Mlflow UI
3
#
4
!mlflow ui
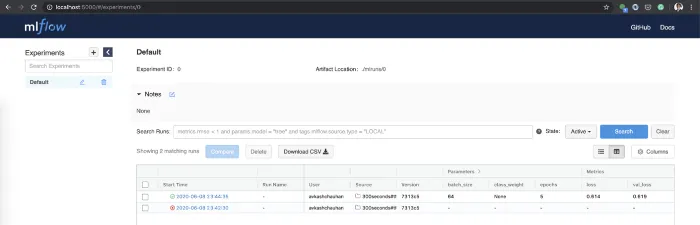
You could as well execute the command, **mlflow ui, **in the command prompt and it would start the server at URL such as http://127.0.0.1:5000/. This is how the MLFlow UI would look:
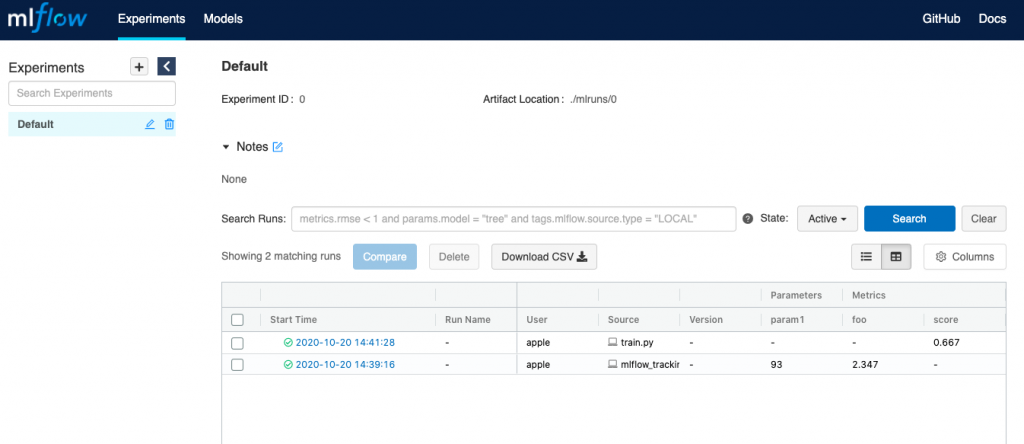 Fig 1. MLFlow UI Application
The next step is to run some experiments in form of training a model. The goal is to track the model runs in MLFlow UI.
Run Experiments/Train Model and Track Using MLFlow UI
In order to get started with training the model and tracking the model scores/experiment outcomes using MLFlow, I would suggest you take a look at this POC.
Download the MLFlow sample code from this MLFlow GitHub page: https://github.com/mlflow/mlflow. You can train a simple logistic regression model using the code given below. This can be found in the following folder in the downloaded code (examples/sklearn_logistic_regression/train.py).
Java
1
import numpy as np
2
from sklearn.linear_model import LogisticRegression
3
4
import mlflow
5
import mlflow.sklearn
6
7
if __name__ == "__main__":
8
X = np.array([-2, -1, 0, 1, 2, 1]).reshape(-1, 1)
9
y = np.array([0, 0, 1, 1, 1, 0])
10
lr = LogisticRegression()
11
lr.fit(X, y)
12
score = lr.score(X, y)
13
print("Score: %s" % score)
14
mlflow.log_metric("score", score)
15
mlflow.sklearn.log_model(lr, "model")
16
print("Model saved in run %s" % mlflow.active_run().info.run_uuid)
All this is required to be done is to add the below code to your machine learning model training code and execute with Python. This would make sure that MLflow runs can be recorded to local file. You could as well record the MLFlow runs on remote server. To log ML project runs remotely, you will need to set the MLFLOW_TRACKING_URI environment variable to the tracking server’s URI. The code below is executed from within Jupyter notebook.
#tutorial #ai #ai artificial intelligence #mlflow