Motivation
As an international student studying in China, I’ve always been fascinated by the diversity of Chinese culture and history. Calligraphy (書) is considered as one of the four ancient Chinese arts, along with stringed musical instruments (琴), the board game “Go” (棋), and painting (畫). Calligraphy has also contributed to the development of many forms of art in China, such as ornate paperweights, ink stones, and seal carving.
There are multiple styles of calligraphy, which mainly belong to different dynasties. Each of them has its way of shaping and arranging the character. For this project, I picked four styles:
- Seal Script (篆書 zhuanshu)
- Cursive Script (草書 caoshu)
- Clerical Script (隸書 lishu)
- Standard Script (楷書 kaishu)
If you are interested, you can read more about these different styles here.

The Chinese character for dragon (龍) written in 4 different calligraphy styles
Collecting the Data
To build a calligraphy classifier, we’re going to need some examples of each style. However, I did some online search and could not find a decently made dataset for various calligraphy styles. So, I decided to create the dataset myself. Fortunately, creating my own dataset isn’t that hard, thanks to Google Images’ search functionality and some JavaScript snippets. Here’s how:
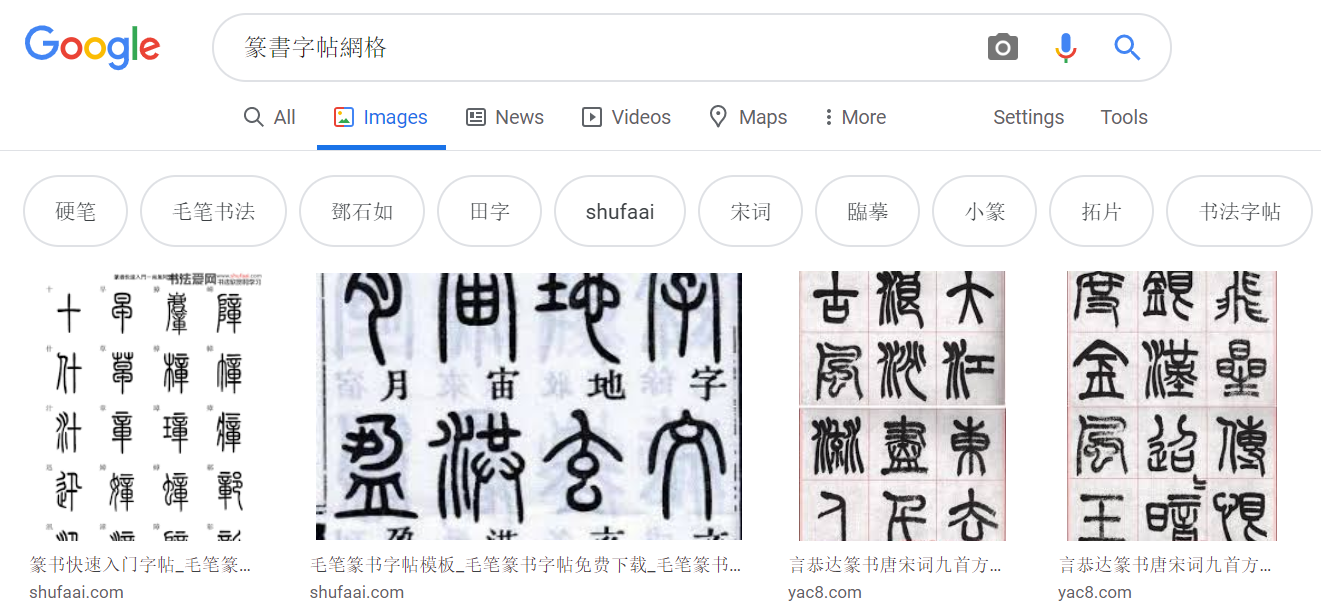
Search results for ‘zhuanshu’
- Suppose you want to search for the ‘zhuanshu’ style. Go to Google Images and search for “篆書字帖網格”, this will give you the most relevant results.
- Scroll down and click the ‘Show more results’ button to view more images.
- Here’s where the magic happens. Press
Ctrl+Shift+Jin Windows/Linux andCmd+Opt+Jin Mac to bring up the JavaScript console window. The following code snippet will retrieve the URLs of each of the images:
let urls = Array.from(document.querySelectorAll('.rg_i')).map(el=> el.hasAttribute('data-src')?el.getAttribute('data-src'):el.getAttribute('data-iurl'));
	let hiddenElement = document.createElement('a');
	hiddenElement.href = 'data:text/csv;charset=utf-8,' + encodeURI(urls.filter((value, index, arr) => { return value != null}).join('\n'));
	hiddenElement.target = '_blank';
	hiddenElement.download = 'download.csv';
	hiddenElement.click();
view raw
google_images_scraper.js hosted with ❤ by GitHub
4. If successfully run, a CSV file containing the URLs for the images in your search results will be downloaded. By default, the filename is download.csv but you might want to rename the file from to zhuanshu.csv
5. Repeat the above steps for other styles. You might also want to put them into different folders and put them all inside a folder called train
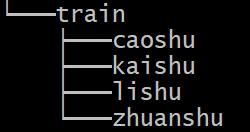
Folder tree structure
6. Finally, you can use fast.ai’s download_images function to download the images:
path = Path('<path>')

	for file, folder in [('caoshu.csv', 'caoshu'), ('kaishu.csv', 'kaishu'),
	                     ('lishu.csv', 'lishu'), ('zhuanshu.csv', 'zhuanshu')]:
	    dest = path/folder  # path + '/' + folder
	    dest.mkdir(parents=True, exist_ok=True)
	    download_images(path/file, dest)
view raw
download_images.py hosted with ❤ by GitHub
Alternatively, you can go to Baidu Images and use this snippet to automatically download the images you searched for.
Preparing the Data
We can import, split, and transform the data using fast.ai’s powerful ImageDataBunch object. After running the following code, our data is ready to be fitted into a model:
np.random.seed(42)

	data = ImageDataBunch.from_folder(
	    path,
	    valid_pct=0.2,
	    ds_tfms=get_transforms(do_flip=False),
	    size=224,
	    num_workers=4
	)

	data.normalize(imagenet_stats)
view raw
import_split_transform.py hosted with ❤ by GitHub
Note that we split the data into training and validation set with an 80:20 ratio. The images are also resized to 224 pixels, which is usually a good value for image recognition tasks. Now that we have our data is imported, let’s look at some of the images:
data.show_batch(rows=3, figsize=(9,10))
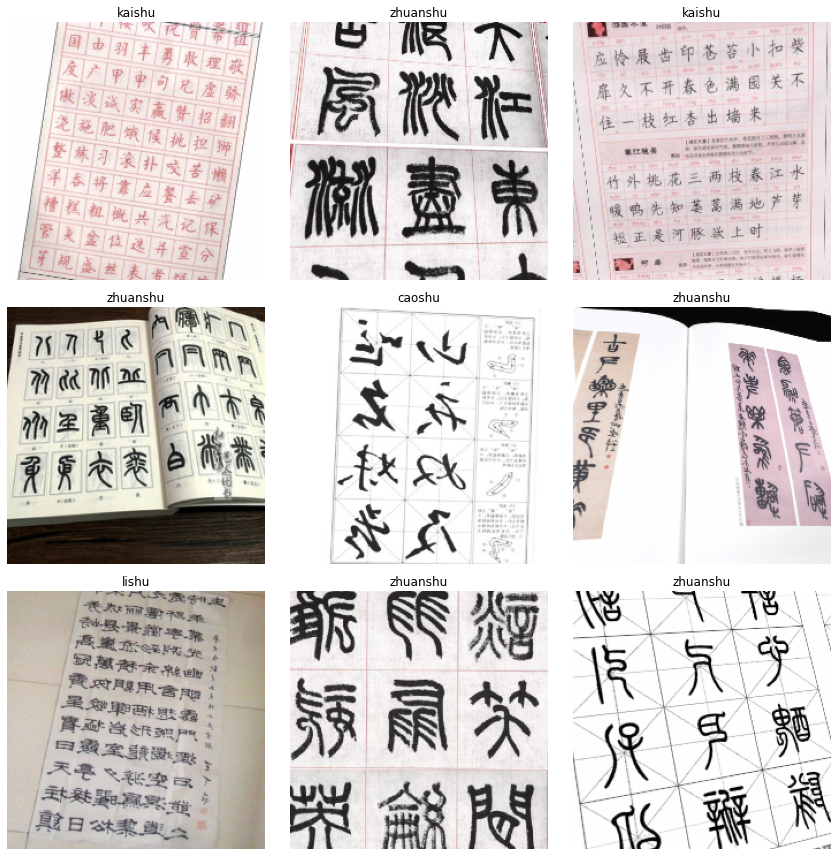
A batch of images in the dataset
As we can see above, our dataset is rather ‘dirty’. Some of the images are not well-aligned and not properly cropped. But let’s quickly build the model and see how it performs.
Building the Model
We will be applying transfer learning and use ResNet-50 as our model. Run the following code to download the model along with the pre-trained weights:
learn = cnn_learner(data, models.resnet50, metrics=accuracy)
To train the layers, we can either use the fit or fit_one_cycle method. The fit method is the “normal” way of training a neural net with a constant learning rate. On the other hand, the fit_one_cycle method uses the ‘1 cycle policy’, which basically changes the learning rate over time to achieve better results.
#deep-learning #transfer-learning #machine-learning #art #data-science #deep learning