Build a 3D Application with React and Three.js
Learn how to build a 3D application with React and Three.js. Three.js is a JavaScript library for creating and displaying interactive 3D graphics. React is a JavaScript library for building user interfaces. Together, they can be used to create powerful and immersive 3D applications.
What if we want to touch the world of 3D and leverage the power of WebGL with Three.js?
Probably we want to use it together with React. The common pattern of starting anything with React is to type “react + anything” into a Google to find some wrappers. But that’s not the case with Three.js. Let’s find out why.
React wrappers for Three.js have 2 issues:
- They could easily become stale at some moment of time: for example, 2 most popular React wrappers by date (react-three and react-three-renderer) are outdated and only work with React 15
- They don’t use plain Three.js code: you should translate it into declarative React components that might sound like a good idea in general but not for our case because you can’t just copy-paste the code from StackOverflow or Three.js examples that match your use case.
So, let’s try to avoid above-mentioned downsides and start the React integration with pure Three.js without any additional npm packages. I will try to use as little code as possible to keep things short and simple.
Stage 1: Import Three.js into the app
import React, { Component } from "react";
import ReactDOM from "react-dom";
import * as THREE from "three";
class App extends Component {
  render() {
    return (

    )
  }
}
const rootElement = document.getElementById("root");
ReactDOM.render(, rootElement);
We have just imported the Three.js npm package that is named “three” but have nothing to show except for a blank page. Stand by.
Step 2: Copy-paste pure Three.js code into componentDidMount method
import React, { Component } from "react";
import ReactDOM from "react-dom";
import * as THREE from "three";
class App extends Component {
  componentDidMount() {
    // === THREE.JS CODE START ===
    var scene = new THREE.Scene();
    var camera = new THREE.PerspectiveCamera( 75, window.innerWidth/window.innerHeight, 0.1, 1000 );
    var renderer = new THREE.WebGLRenderer();
    renderer.setSize( window.innerWidth, window.innerHeight );
    document.body.appendChild( renderer.domElement );
    var geometry = new THREE.BoxGeometry( 1, 1, 1 );
    var material = new THREE.MeshBasicMaterial( { color: 0x00ff00 } );
    var cube = new THREE.Mesh( geometry, material );
    scene.add( cube );
    camera.position.z = 5;
    var animate = function () {
      requestAnimationFrame( animate );
      cube.rotation.x += 0.01;
      cube.rotation.y += 0.01;
      renderer.render( scene, camera );
    };
    animate();
    // === THREE.JS EXAMPLE CODE END ===
  }
  render() {
    return (

    )
  }
}
const rootElement = document.getElementById("root");
ReactDOM.render(, rootElement);
Voila! At this stage we already have a green cube on the screen:
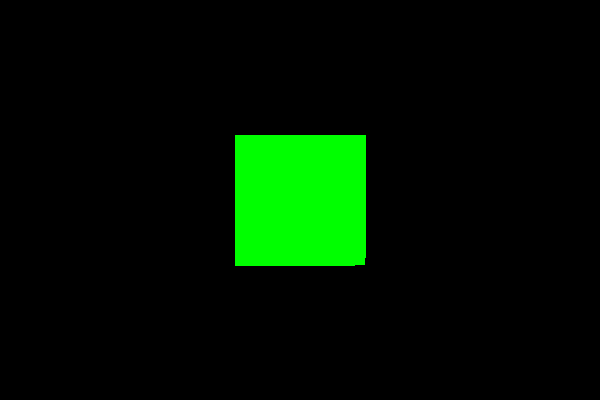
360-degree rotation cube: Click here for a live demo
The magic here is just a copy-paste of Three.js sample code from an official “Creating a scene” tutorial script without any modifications into a componentDidMount() method of the App Component.
It looks great but if we check the page markup it becomes obvious that the canvas is actually mounted at the document body and not inside of React. That happens because of the document.body.appendChild( renderer.domElement ) line in the example code. Let’s fix that.
Step 3: Add a ref to tell where Three.js should mount the scene
import React, { Component } from "react";
import ReactDOM from "react-dom";
import * as THREE from "three";
class App extends Component {
  componentDidMount() {
    var scene = new THREE.Scene();
    var camera = new THREE.PerspectiveCamera( 75, window.innerWidth/window.innerHeight, 0.1, 1000 );
    var renderer = new THREE.WebGLRenderer();
    renderer.setSize( window.innerWidth, window.innerHeight );
    // document.body.appendChild( renderer.domElement );
    // use ref as a mount point of the Three.js scene instead of the document.body
    this.mount.appendChild( renderer.domElement );
    var geometry = new THREE.BoxGeometry( 1, 1, 1 );
    var material = new THREE.MeshBasicMaterial( { color: 0x00ff00 } );
    var cube = new THREE.Mesh( geometry, material );
    scene.add( cube );
    camera.position.z = 5;
    var animate = function () {
      requestAnimationFrame( animate );
      cube.rotation.x += 0.01;
      cube.rotation.y += 0.01;
      renderer.render( scene, camera );
    };
    animate();
  }
  render() {
    return (
       (this.mount = ref)} />
    )
  }
}
const rootElement = document.getElementById("root");
ReactDOM.render(, rootElement);
We simply attach the Three.js renderer to the React Element utilizing a ref. If we check the page markup, we’ll see that Three.js canvas is inside of the React App so everything is fine now.
Here is a link to the final result
Code: https://codesandbox.io/s/81qjyxonm8
Live demo: https://81qjyxonm8.codesandbox.io/
Congratulations! We have successfully completed a basic Three.js integration that works with the latest React and allows to experiment with any plain Three.js example in 3 easy steps. I hope you enjoyed the post, stay tuned!
#reactjs #three-js #javascript
