Creating Price Range Slider using JavaScript, HTML and CSS
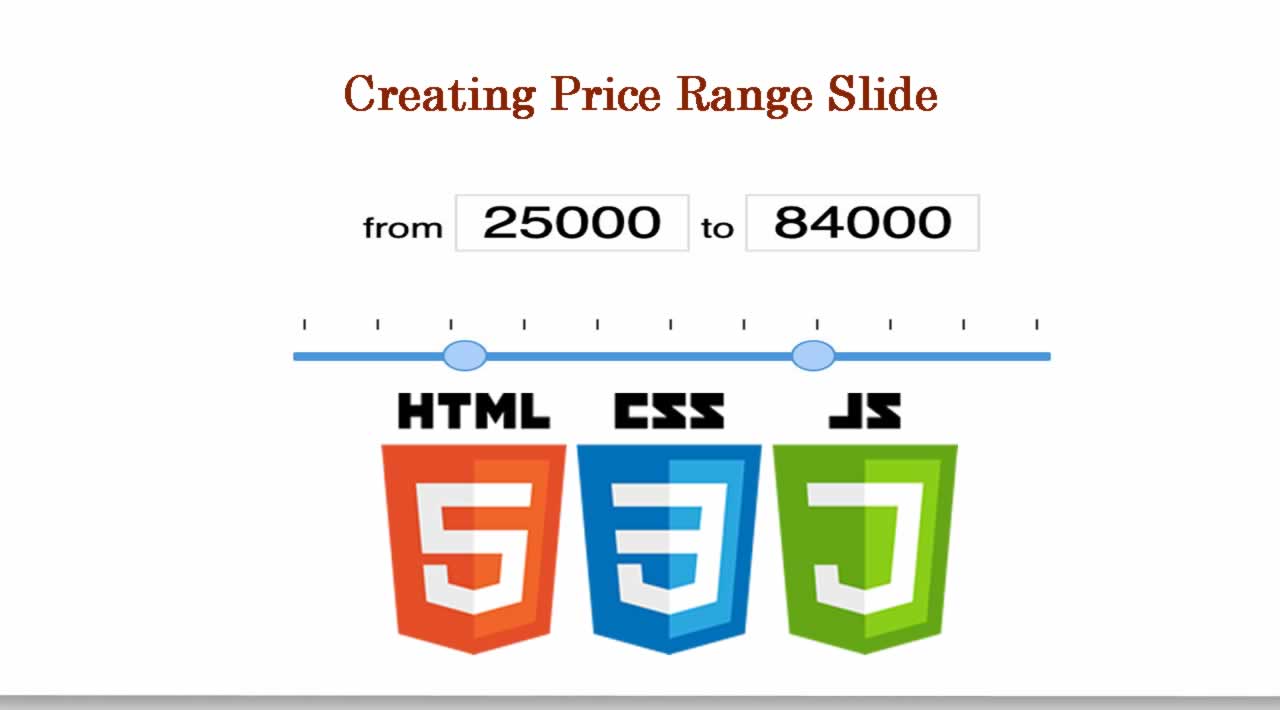
Today you will learn to create price between min and max range slider. Basically, here is a range slider with two handles, using one you can choose the minimum value and using another you can select the maximum value. You also can put numbers in the text input fields, then the slider also will move.
So, Today I am sharing JavaScript Price Range Slider With HTML CSS. Here I have used jQuery for creating this program, as you know it is a JS library that’s why I am putting this in JavaScript category. Basically, this is basic HTML range input but CSS styled the design and jQuery changing the values on the slide and putting number manually.
If you are thinking now how this dual handle range slider actually is, then see the preview given below.
Preview Of Min and Max Price Between Slider
See this video preview to getting an idea of how this dual handle range looks like.
Now you can see this visually, you also can see it live by pressing the button given above. If you like this, then get the source code of its.
JavaScript Price Range Slider With HTML CSS Source Code
Before sharing source code, let’s talk about it. First, I have placed two number input and two range input using < HTML input type=“” tag >. Also I have put minimum and maximum values in the inputs. Now I have created a line with the dotted points as you can see in the preview, for creating that I have used SVG.
Now using CSS I have placed all the elements on the right place. For styling the input elements I have put values on input[type=#]: tag, and fill colors, give styles, etc. Creating two handles or thumbs I have created two input and override them on each other. To styling, the thumb used ::-webkit-slider-thumb to style the element (info).
jQuery here fetches the values of range using querySelectorAll command and stored in variables. Now it detects the actions and changes HTML and CSS values according to them. Left all other things you will understand after getting the codes, I can’t explain all in writing. For creating this program you have to create 3 files. First for HTML, second for CSS, and the third for JavaScript. Follow the steps to creating this without any error.
index.html
Create an HTML file named ‘index.html‘ and put these codes given below.
<html lang="en" >
<head>
  <meta charset="UTF-8">
  <title>Price Range Slider | Webdevtrick.com</title>
  <link rel="stylesheet" href="https://cdnjs.cloudflare.com/ajax/libs/normalize/5.0.0/normalize.min.css">
<link rel="stylesheet" href="./style.css">
</head>
<body>

<div class="price-slider"><span>from
    <input type="number" value="5000" min="0" max="120000"/>	to
    <input type="number" value="50000" min="0" max="120000"/></span>
  <input value="25000" min="0" max="120000" step="500" type="range"/>
  <input value="50000" min="0" max="120000" step="500" type="range"/>
  <svg width="100%" height="24">
    <line x1="4" y1="0" x2="300" y2="0" stroke="#212121" stroke-width="12" stroke-dasharray="1 28"></line>
  </svg>
</div>

<script src='https://cdnjs.cloudflare.com/ajax/libs/jquery/3.1.0/jquery.min.js'></script>
<script  src="function.js"></script>

</body>
</html>
style.css
Now create a CSS file named ‘style.css‘ and put these codes given below.
body {
  display: flex;
  height: 100vh;
}
input {
  box-shadow: 0;
  outline: 0;
}
.price-slider {
  width: 300px;
  margin: auto;
  text-align: center;
  position: relative;
  height: 6em;
}
.price-slider svg,
.price-slider input[type=range] {
  position: absolute;
  left: 0;
  bottom: 0;
}
input[type=number] {
  border: 1px solid #ddd;
  text-align: center;
  font-size: 1.6em;
  -moz-appearance: textfield;
}
input[type=number]::-webkit-outer-spin-button,
input[type=number]::-webkit-inner-spin-button {
  -webkit-appearance: none;
}
input[type=number]:invalid,
input[type=number]:out-of-range {
  border: 2px solid #e60023;
}
input[type=range] {
  -webkit-appearance: none;
  width: 100%;
}
input[type=range]:focus {
  outline: none;
}
input[type=range]:focus::-webkit-slider-runnable-track {
  background: #1da1f2;
}
input[type=range]:focus::-ms-fill-lower {
  background: #1da1f2;
}
input[type=range]:focus::-ms-fill-upper {
  background: #1da1f2;
}
input[type=range]::-webkit-slider-runnable-track {
  width: 100%;
  height: 5px;
  cursor: pointer;
  animate: 0.2s;
  background: #1da1f2;
  border-radius: 1px;
  box-shadow: none;
  border: 0;
}
input[type=range]::-webkit-slider-thumb {
  z-index: 2;
  position: relative;
  box-shadow: 0px 0px 0px #000;
  border: 1px solid #1da1f2;
  height: 18px;
  width: 18px;
  border-radius: 25px;
  background: #a1d0ff;
  cursor: pointer;
  -webkit-appearance: none;
  margin-top: -7px;
}
input[type=range]::-moz-range-track {
  width: 100%;
  height: 5px;
  cursor: pointer;
  animate: 0.2s;
  background: #1da1f2;
  border-radius: 1px;
  box-shadow: none;
  border: 0;
}
input[type=range]::-moz-range-thumb {
  z-index: 2;
  position: relative;
  box-shadow: 0px 0px 0px #000;
  border: 1px solid #1da1f2;
  height: 18px;
  width: 18px;
  border-radius: 25px;
  background: #a1d0ff;
  cursor: pointer;
}
input[type=range]::-ms-track {
  width: 100%;
  height: 5px;
  cursor: pointer;
  animate: 0.2s;
  background: transparent;
  border-color: transparent;
  color: transparent;
}
input[type=range]::-ms-fill-lower,
input[type=range]::-ms-fill-upper {
  background: #1da1f2;
  border-radius: 1px;
  box-shadow: none;
  border: 0;
}
input[type=range]::-ms-thumb {
  z-index: 2;
  position: relative;
  box-shadow: 0px 0px 0px #000;
  border: 1px solid #1da1f2;
  height: 18px;
  width: 18px;
  border-radius: 25px;
  background: #a1d0ff;
  cursor: pointer;
}
function.js
The final step, create a JavaScript file named ‘function.js‘ and put the codes.
(function() {

  var parent = document.querySelector(".price-slider");
  if(!parent) return;

  var
    rangeS = parent.querySelectorAll("input[type=range]"),
    numberS = parent.querySelectorAll("input[type=number]");

  rangeS.forEach(function(el) {
    el.oninput = function() {
      var slide1 = parseFloat(rangeS[0].value),
        	slide2 = parseFloat(rangeS[1].value);

      if (slide1 > slide2) {
		[slide1, slide2] = [slide2, slide1];
      }

      numberS[0].value = slide1;
      numberS[1].value = slide2;
    }
  });

  numberS.forEach(function(el) {
    el.oninput = function() {
		var number1 = parseFloat(numberS[0].value),
		number2 = parseFloat(numberS[1].value);

      if (number1 > number2) {
        var tmp = number1;
        numberS[0].value = number2;
        numberS[1].value = tmp;
      }

      rangeS[0].value = number1;
      rangeS[1].value = number2;

    }
  });

})();
That’s It. Now you have successfully created JavaScript Price Range Slider With HTML CSS, Min and Max Price Between slider. If you have any doubt or question comment down below.
Thanks For Visiting, Keep Visiting
#javascript #html #css #jquery #web-development