I really like Microsoft’s strategy in recent years, it makes development easier by using VS Code, .Net Core, and Azure cloud. This post details the process of developing an Azure function and SQL Database app using .net core with VS Code on a Mac laptop and deploying it to the Azure cloud.
At the end of this post, you can find the repo link of the sample project.
The Extensions for VS Code
The first thing we should do is to set up our development environment, that is, the VS code. Therefore, you should install these two extensions: Azure Functions Extension and NuGet Package Manager .
With the help of Azure Functions Extension, we can quickly create, debug, manage, and deploy serverless apps directly from VS Code.
By using the NuGet Package Manager Extension, we can add a new package easily in VS Code.
Since we will use .Net Core 3.1 and dependency injection in our .NET Azure Functions app, therefore, we need some extra Nuget packages.
Dependency Injection And the EntityFramework Core
After installing these extensions in VS Code, then we should create the Azure Functions project via the Azure Functions Extension.
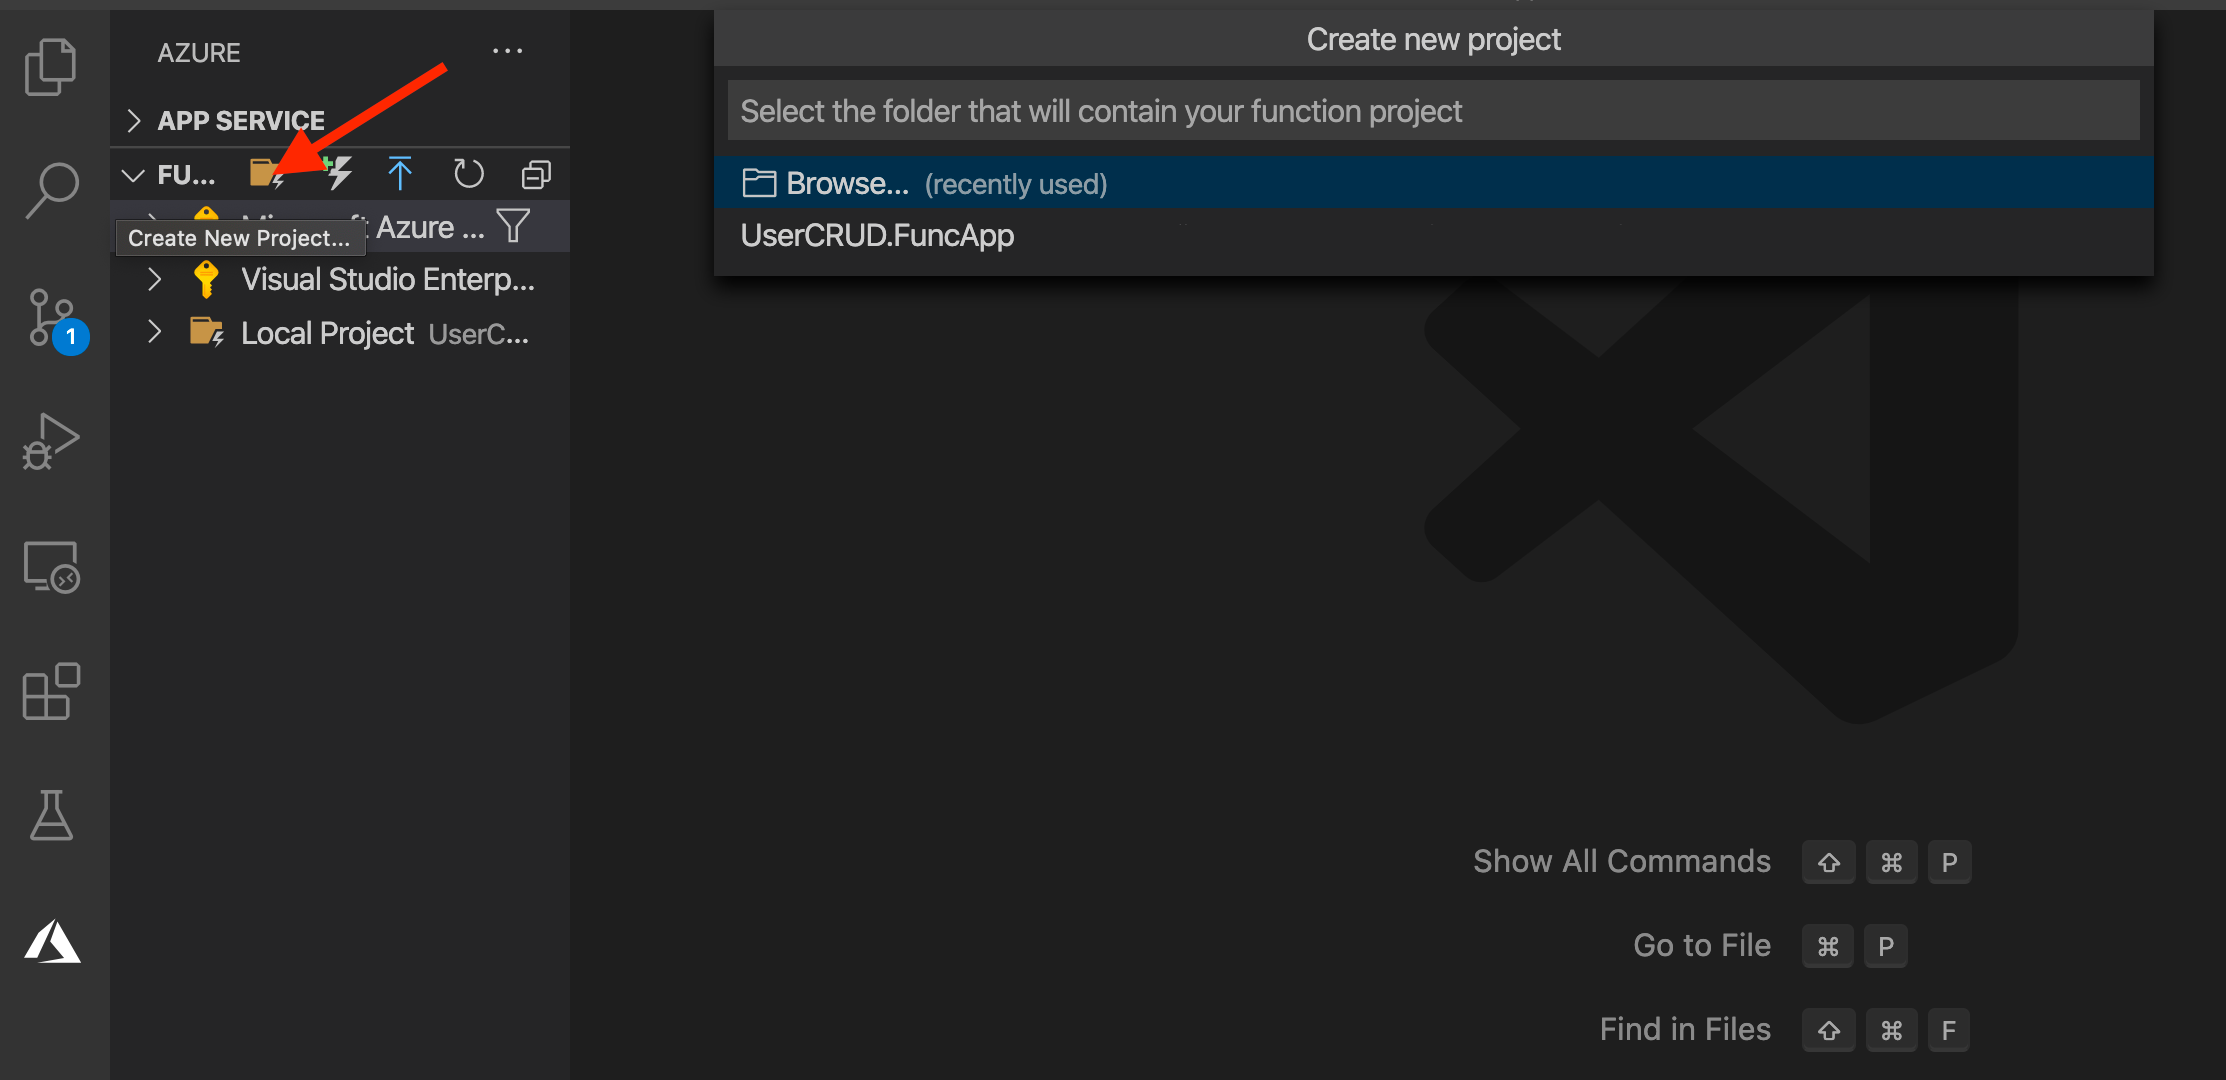
By using the Azure Functions Extension, you can select the programming language you use and the template of the function. Now we set up our project.
Since Azure Functions 2.x., Azure Functions support the dependency injection and the dependency injection in Azure Functions is built on the .NET Core dependency injection features.
In order to use dependency injection, we must install two Nuget packages:
- Microsoft.Azure.Functions.Extensions
- Microsoft.NET.Sdk.Functions
#azure #cloud #sql #programming #vscode #function