How To Build Angular project with Node-js and VS Code
**Step 1 **- Download Node.js from the (link) and then install Node.js.
Step **2 **- Download VS Code from this (link) and install.
Step 3 - Check the version of Node, to run command on cmd.
node -v
Step 4 - Open VS Code in your system and run a command to install npm “install npm -2 @angular/cli” Then wait and install the complete package (Library) from the service.
Step 5:- After completing the installation, open VS Code in your system and select a folder to click on the Folder then open this folder in VS Code and then
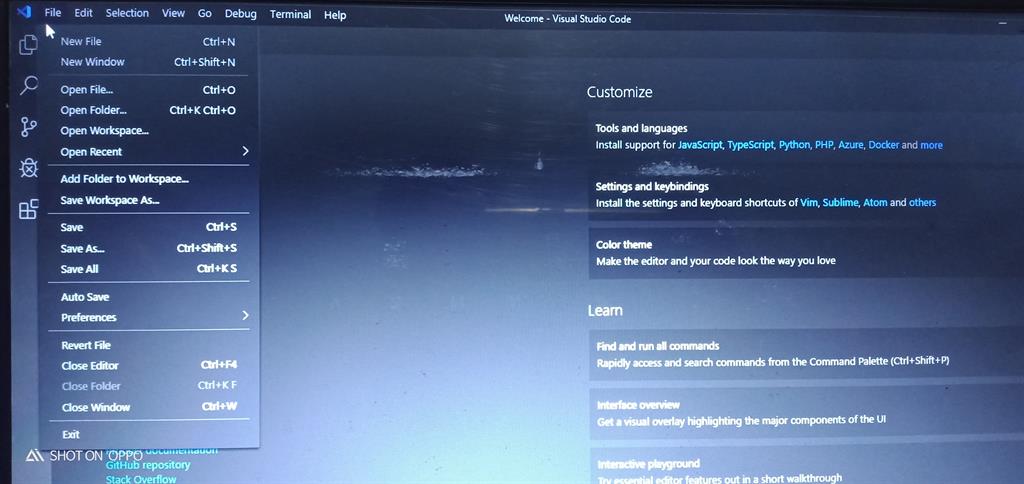
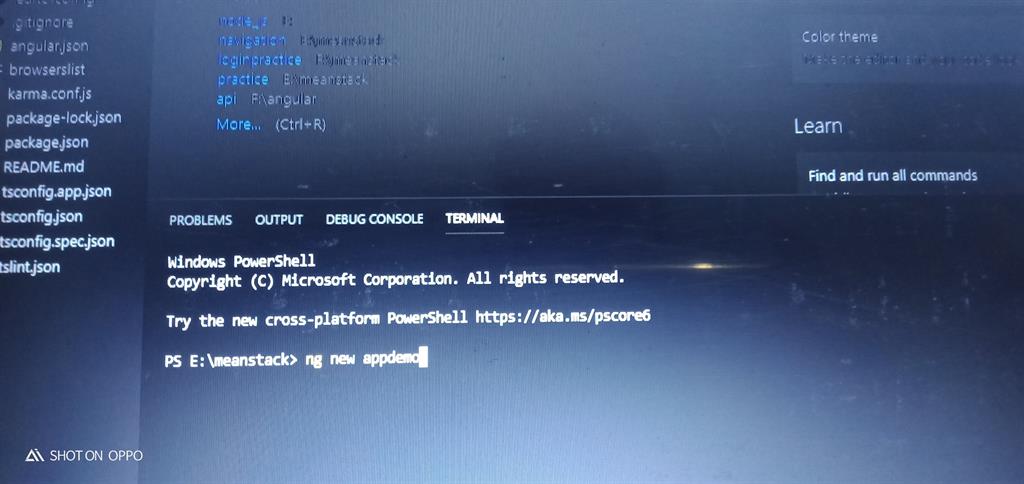
Step 6:- Open a new terminal and run the command “ ng new projectname ( ng new demo )”
ng new demo
and enter
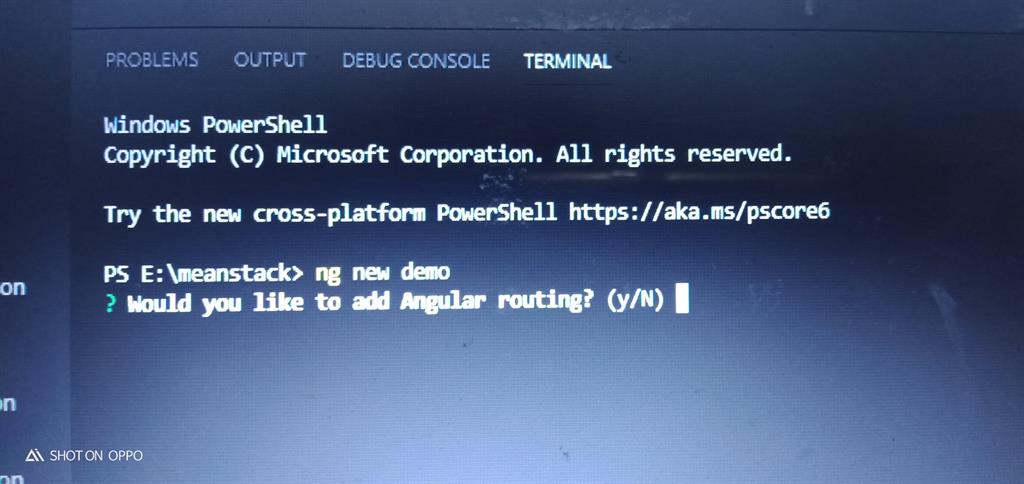
Step 7- After running “ ng new demo ” it will show an option to add the routing file on your project. Give your answer as Y/N ( Y stands for yes and N stand for no) and then enter
Step 8 - After selecting the routing it will show an option to select the stylesheet format.

Step 9 - After selecting the stylesheet format, it will take 0-10 minutes to create project. Because it downloads the package from the server it takes more time.
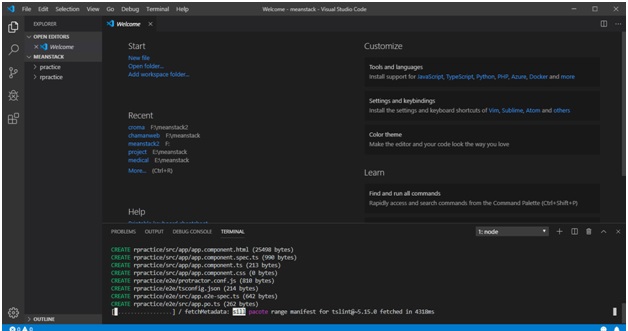
When it is completed it will be shown like this
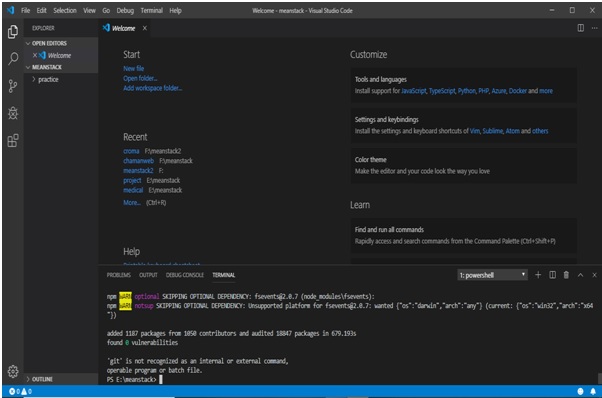
**Step 10 **- Now go to the File option and select open folder then select your folder where you want to store your project and then select project and open in vs code. And open new terminal and write command
ng serve
Step 11 - Now run your project, open Chrome browser, and type localhost:4200, and press enter key
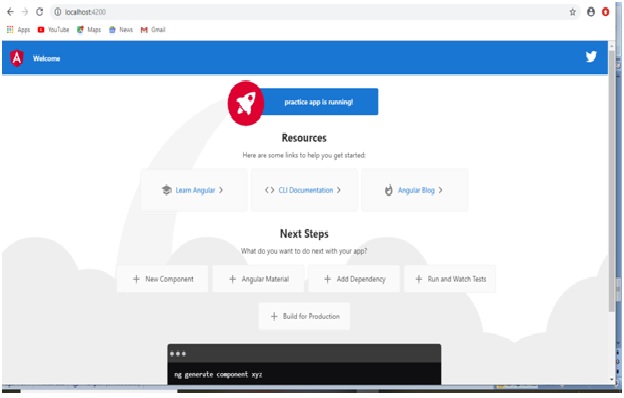
Step 12- There is a second way to compile and run your project direct. Run command in terminal
ng serve -o
By this command you don’t need to open the browser, your project will run directly.
Thank you for reading!
#angular #node-js #vscode
