In order to train Deep Learning models, preparing and curating datasets is usually a very important step. In this story, I show how you can use **Audacity **a “free, open-source, cross-platform audio software” to label your data.
Table of content
- Spectrogram Representation
- Creating Labels
- Exporting Labels
- Loading Data on Python
1. Spectrogram Representation
The first step, right after installing Audacity and importing an audio file, is to change to spectrogram representation as shown in the image below.

Viewing the spectrogram in Audacity. Print screen by the author.
You can then adjust the spectrogram settings in the same menu and the scale of visualization by right-clicking on the scale. In the example below, I’m selecting “Mel” option for the scale. You can read more about the meaning of Mel Spectrograms in this story by Dalya Gartzman.
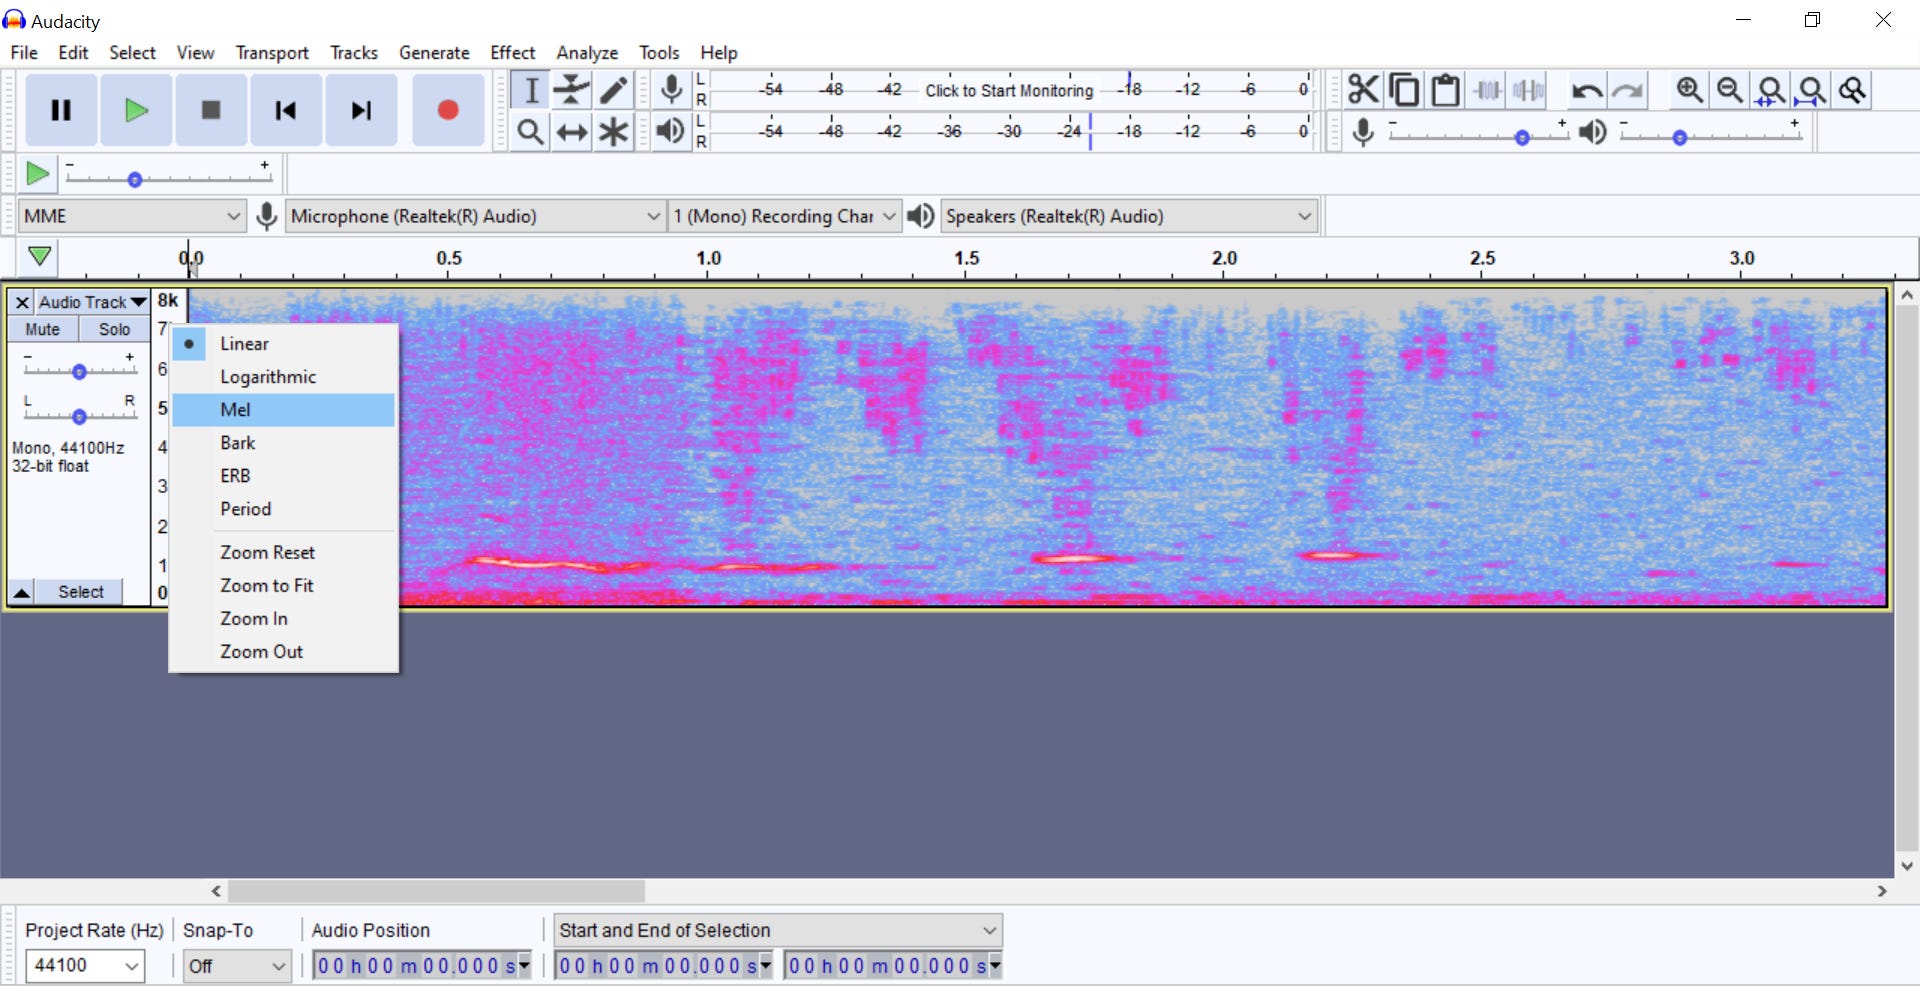
Changing the scale to Mel. Image by the author.
2. Creating Labels
To create the labels first go Edit > Labels > Add Label at Selection and check the keyboard shortcut (Ctrl+B in Windows) so that you don’t need to go back to the menu every time.

Finding the option to add a label. Image by the author.
Now that you know the keyboard shortcut select a region in the spectrogram that you want to label (click and drag) and then use the shortcut to ‘Add Label at Selection’. A label track will appear and you can type the name for your label. You can repeat this process to add as many labels as needed!

Creating the labels. Image by the author.
Note: It helps to play the clip as you are labelling. You can use the ‘space bar’ to play and pause.
#audio #data-science #python #towards-data-science #deep-learning #deep learning