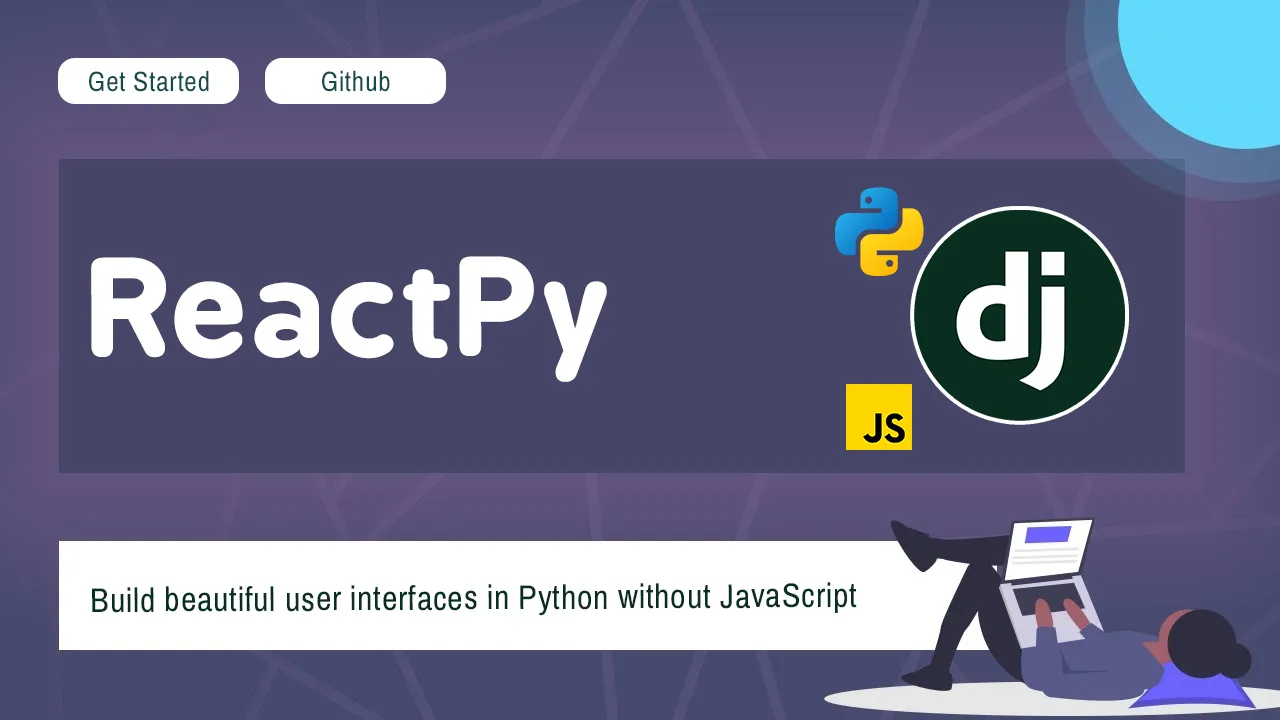
ReactPy: Build beautiful user interfaces in Python without JavaScript
ReactPy
ReactPy is a library for building user interfaces in Python without Javascript. ReactPy interfaces are made from components that look and behave similar to those found in ReactJS. Designed with simplicity in mind, ReactPy can be used by those without web development experience while also being powerful enough to grow with your ambitions.
| Supported Backends | |
|---|---|
| Built-in | External |
| Flask, FastAPI, Sanic, Tornado | Django, Jupyter, Plotly-Dash |
At a Glance
To get a rough idea of how to write apps in ReactPy, take a look at this tiny Hello World application.
from reactpy import component, html, run

@component
def hello_world():
    return html.h1("Hello, World!")

run(hello_world)
ReactPy
ReactPy is a library for building user interfaces in Python without Javascript. ReactPy interfaces are made from components which look and behave similarly to those found in ReactJS. Designed with simplicity in mind, ReactPy can be used by those without web development experience while also being powerful enough to grow with your ambitions.
At a Glance
To get a rough idea of how to write apps in ReactPy, take a look at the tiny “hello world” application below:
main.py
from reactpy import component, html, run


@component
def App():
    return html.h1("Hello, world!")


run(App)
🚀 result
Hint
Try clicking the 🚀 result tab to see what this displays!
So what exactly does this code do? First, it imports a few tools from reactpy that will get used to describe and execute an application. Then, we create an App function which will define the content the application displays. Specifically, it displays a kind of HTML element called an h1 section heading. Importantly though, a @component decorator has been applied to the App function to turn it into a component. Finally, we run a development web server by passing the App component to the run() function.
Note
See Running ReactPy in Production to learn how to use a production-grade server to run ReactPy.
Learning ReactPy
This documentation is broken up into chapters and sections that introduce you to concepts step by step with detailed explanations and lots of examples. You should feel free to dive into any content that seems interesting. While each chapter assumes knowledge from those that came before, when you encounter a concept you’re unfamiliar with you should look for links that will help direct you to the place where it was originally taught.
Chapter 1 - Getting Started
If you want to follow along with examples in the sections that follow, you’ll want to start here so you can install ReactPy. This section also contains more detailed information about how to run ReactPy in different contexts. For example, if you want to embed ReactPy into an existing application, or run ReactPy within a Jupyter Notebook, this is where you can learn how to do those things.

Read More
Install ReactPy and run it in a variety of different ways - with different web servers and frameworks. You’ll even embed ReactPy into an existing app.
Chapter 2 - Creating Interfaces
ReactPy is a Python package for making user interfaces (UI). These interfaces are built from small elements of functionality like buttons text and images. ReactPy allows you to combine these elements into reusable “components”. In the sections that follow you’ll learn how these UI elements are created and organized into components. Then, you’ll use this knowledge to create interfaces from raw data:
main.py
from reactpy import component, html, run


@component
def DataList(items, filter_by_priority=None, sort_by_priority=False):
    if filter_by_priority is not None:
        items = [i for i in items if i["priority"] <= filter_by_priority]
    if sort_by_priority:
        items = sorted(items, key=lambda i: i["priority"])
    list_item_elements = [html.li({"key": i["id"]}, i["text"]) for i in items]
    return html.ul(list_item_elements)


@component
def TodoList():
    tasks = [
        {"id": 0, "text": "Make breakfast", "priority": 0},
        {"id": 1, "text": "Feed the dog", "priority": 0},
        {"id": 2, "text": "Do laundry", "priority": 2},
        {"id": 3, "text": "Go on a run", "priority": 1},
        {"id": 4, "text": "Clean the house", "priority": 2},
        {"id": 5, "text": "Go to the grocery store", "priority": 2},
        {"id": 6, "text": "Do some coding", "priority": 1},
        {"id": 7, "text": "Read a book", "priority": 1},
    ]
    return html.section(
        html.h1("My Todo List"),
        DataList(tasks, filter_by_priority=1, sort_by_priority=True),
    )


run(TodoList)
🚀 result
Read More
Learn to construct user interfaces from basic HTML elements and reusable components.
Chapter 3 - Adding Interactivity
Components often need to change what’s on the screen as a result of an interaction. For example, typing into the form should update the input field, clicking a “Comment” button should bring up a text input field, clicking “Buy” should put a product in the shopping cart. Components need to “remember” things like the current input value, the current image, the shopping cart. In ReactPy, this kind of component-specific memory is created and updated with a “hook” called use_state() that creates a state variable and state setter respectively:
main.py
import json
from pathlib import Path

from reactpy import component, hooks, html, run

HERE = Path(__file__)
DATA_PATH = HERE.parent / "data.json"
sculpture_data = json.loads(DATA_PATH.read_text())


@component
def Gallery():
    index, set_index = hooks.use_state(0)

    def handle_click(event):
        set_index(index + 1)

    bounded_index = index % len(sculpture_data)
    sculpture = sculpture_data[bounded_index]
    alt = sculpture["alt"]
    artist = sculpture["artist"]
    description = sculpture["description"]
    name = sculpture["name"]
    url = sculpture["url"]

    return html.div(
        html.button({"on_click": handle_click}, "Next"),
        html.h2(name, " by ", artist),
        html.p(f"({bounded_index + 1} of {len(sculpture_data)})"),
        html.img({"src": url, "alt": alt, "style": {"height": "200px"}}),
        html.p(description),
    )


run(Gallery)
data.json🚀 result
In ReactPy, use_state, as well as any other function whose name starts with use, is called a “hook”. These are special functions that should only be called while ReactPy is rendering. They let you “hook into” the different capabilities of ReactPy’s components of which use_state is just one (well get into the other later).
Read More
Learn how user interfaces can be made to respond to user interaction in real-time.
Chapter 4 - Managing State
Read More
Under construction 🚧
Chapter 5 - Escape Hatches
Read More
Under construction 🚧
Chapter 6 - Understanding ReactPy
Read More
Under construction 🚧
Resources
Follow the links below to find out more about this project.
- Try ReactPy (Jupyter Notebook)
- Documentation
- GitHub Discussions
- Discord
- Contributor Guide
- Code of Conduct
Download details:
Author: reactive-python
Source: https://github.com/reactive-python/reactpy
License: MIT license