In the second and final part of this tutorial, we’ll finish up by adding FaunaDB to our stack and integrating it in the Svelte/Sapper site.
If you remember from the first part, here’s the plan:
- Clone template repository
- Build/run/push back
- Deploy to Netlify
- Add FaunaDB & posts
- Glueing it together
We already tackled 1, 2 and 3. Let’s go!
4. Add FaunaDB to the mix
Faunadb is a serverless database. It starts with a free account, and very generous limits. It’s fast, global and easy to implement.
Sign up for free, then follow the short onboarding tutorial — highly recommended.
When you’re ready, let’s create a new database. For this tutorial, we’ll use the same name (sapper-cms) again. Do not check the box for demo data, we don’t need that.
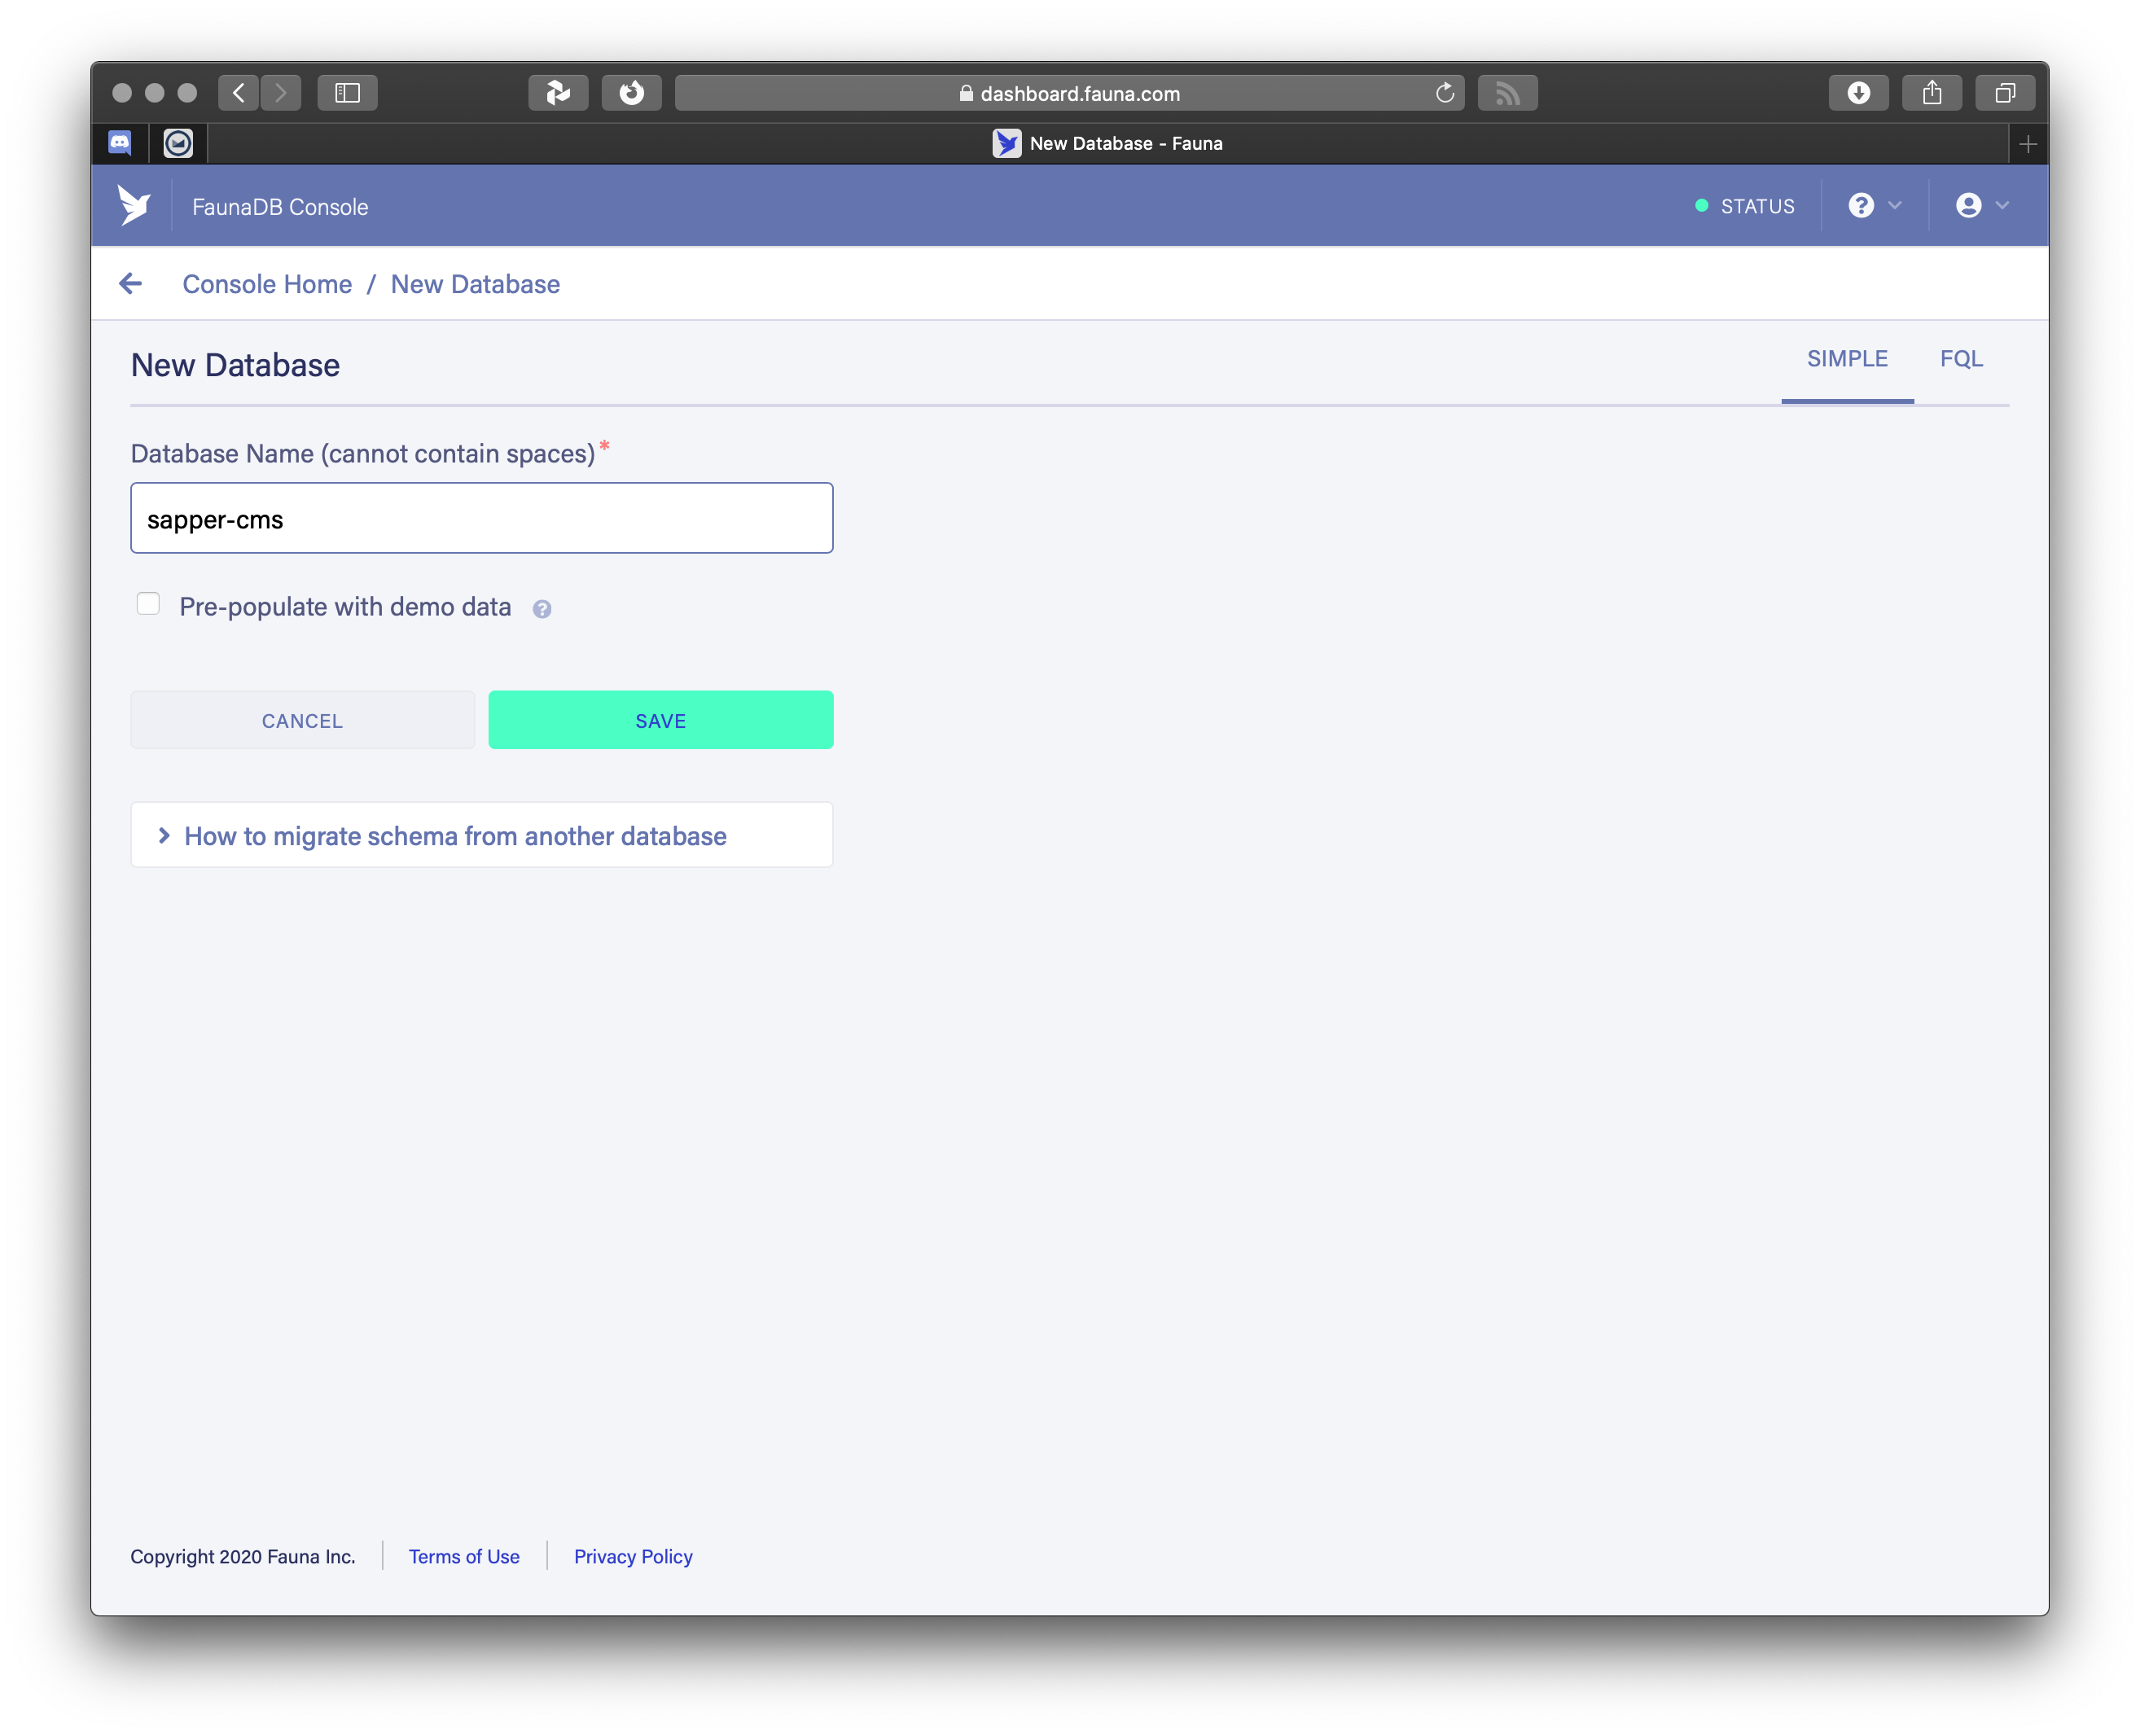
Create new database in FaunaDB
Next we need a table to hold our blog posts. Tables are called Collections here, so click on New Collection and give it the name posts. Don’t change the History Days and TTL options, we don’t need it.
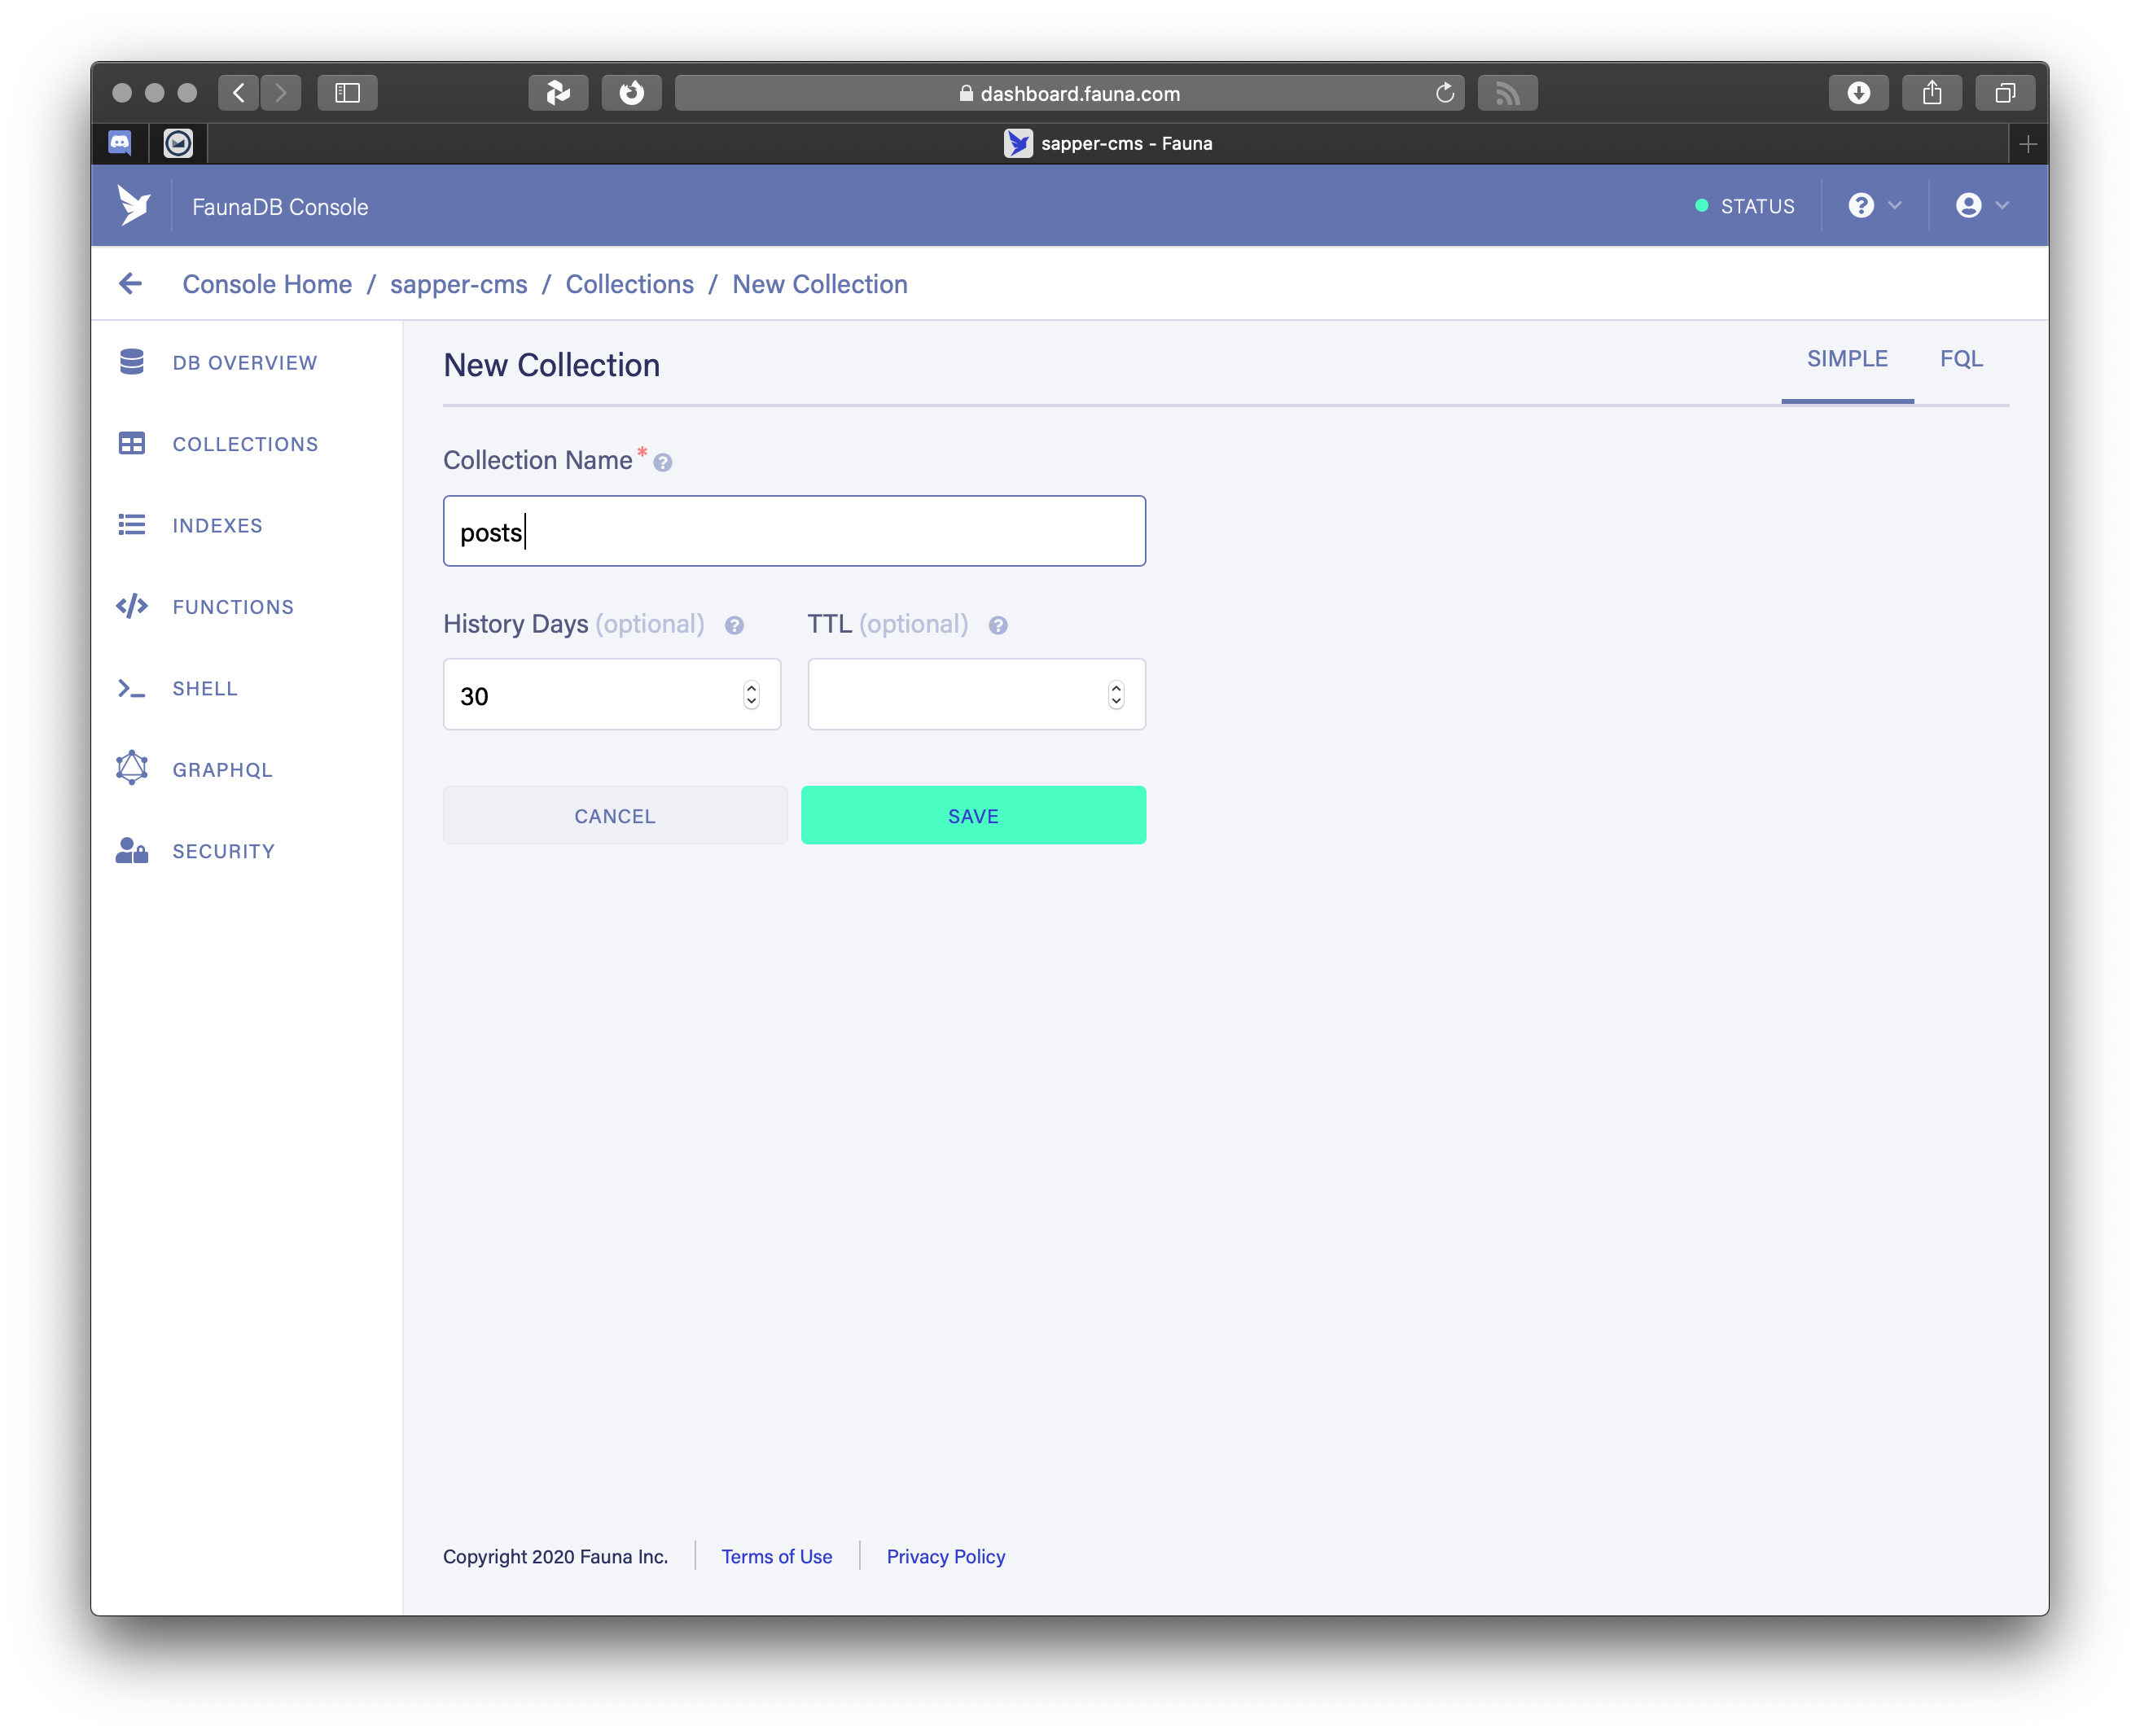
Adding a new collection (table) to our database
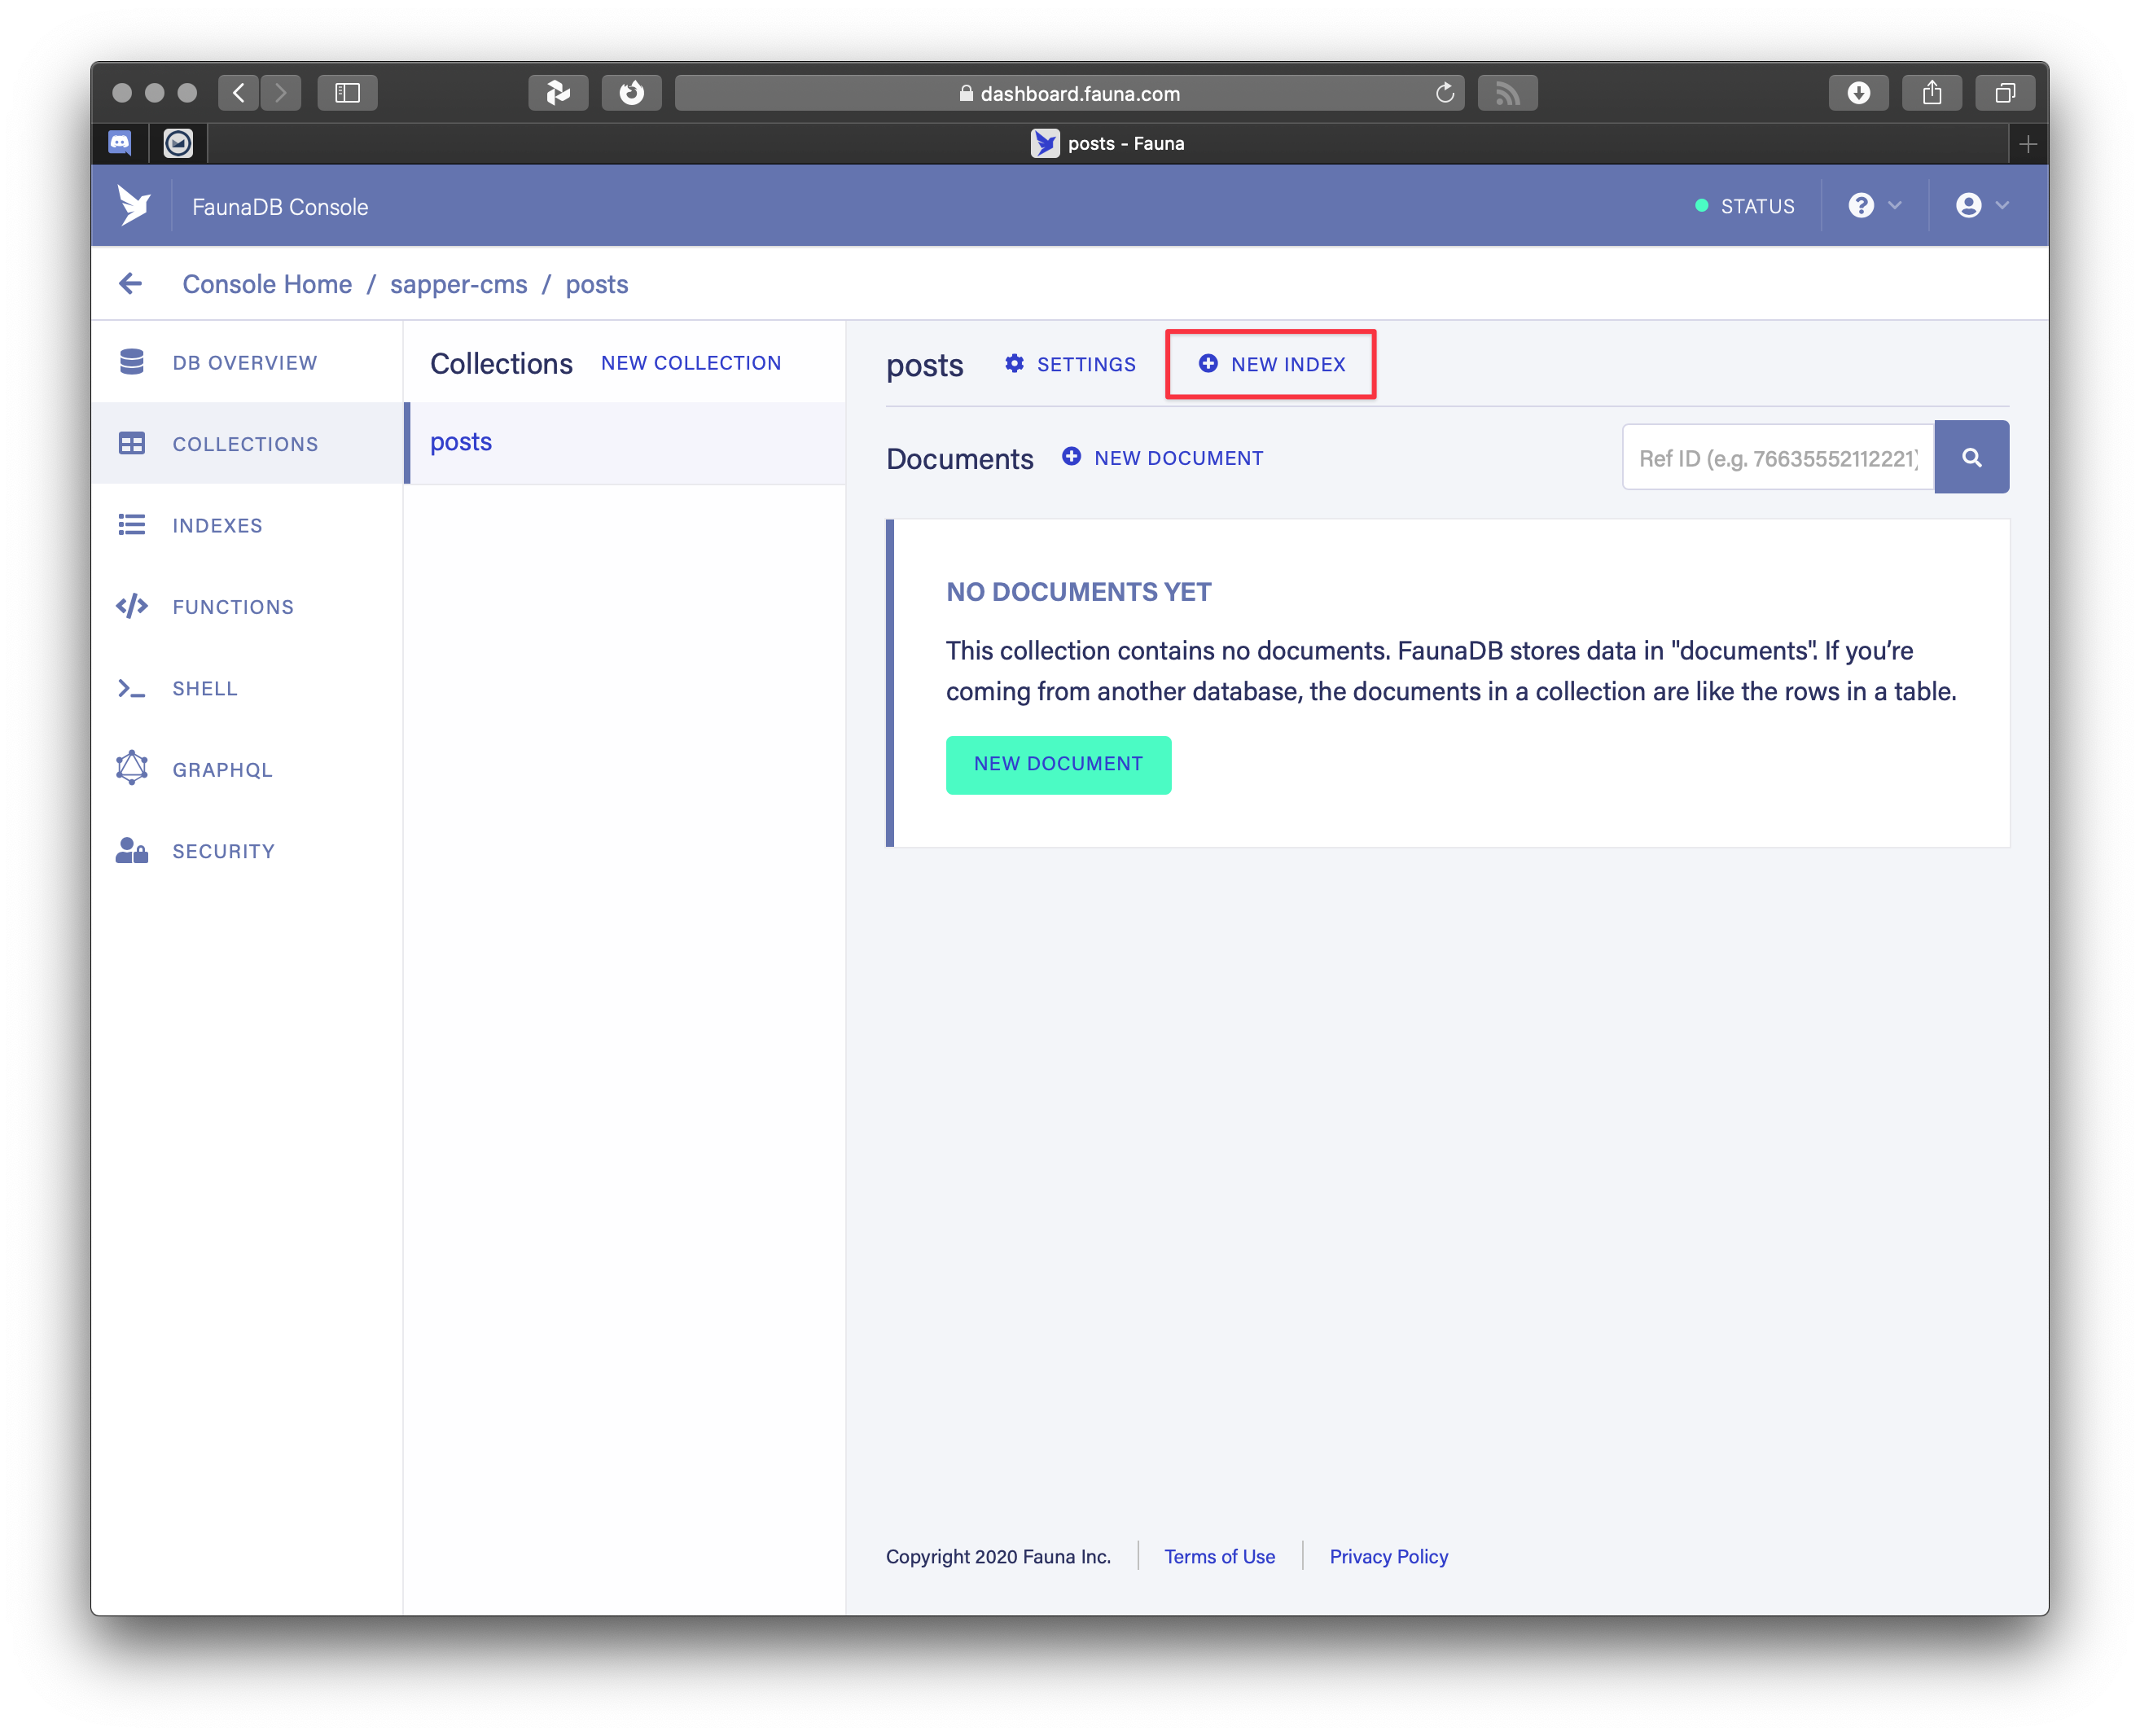
Now we have a new collection without any documents (=rows in a table) and no indexes.
To add a new document, we can use the web interface of FaunaDB, but ultimately that is not what we want. At some point in time we want this to happen behind the scenes.
On the other hand, adding an index is something that happens usually only when setting up the database, so we can already do it from here.
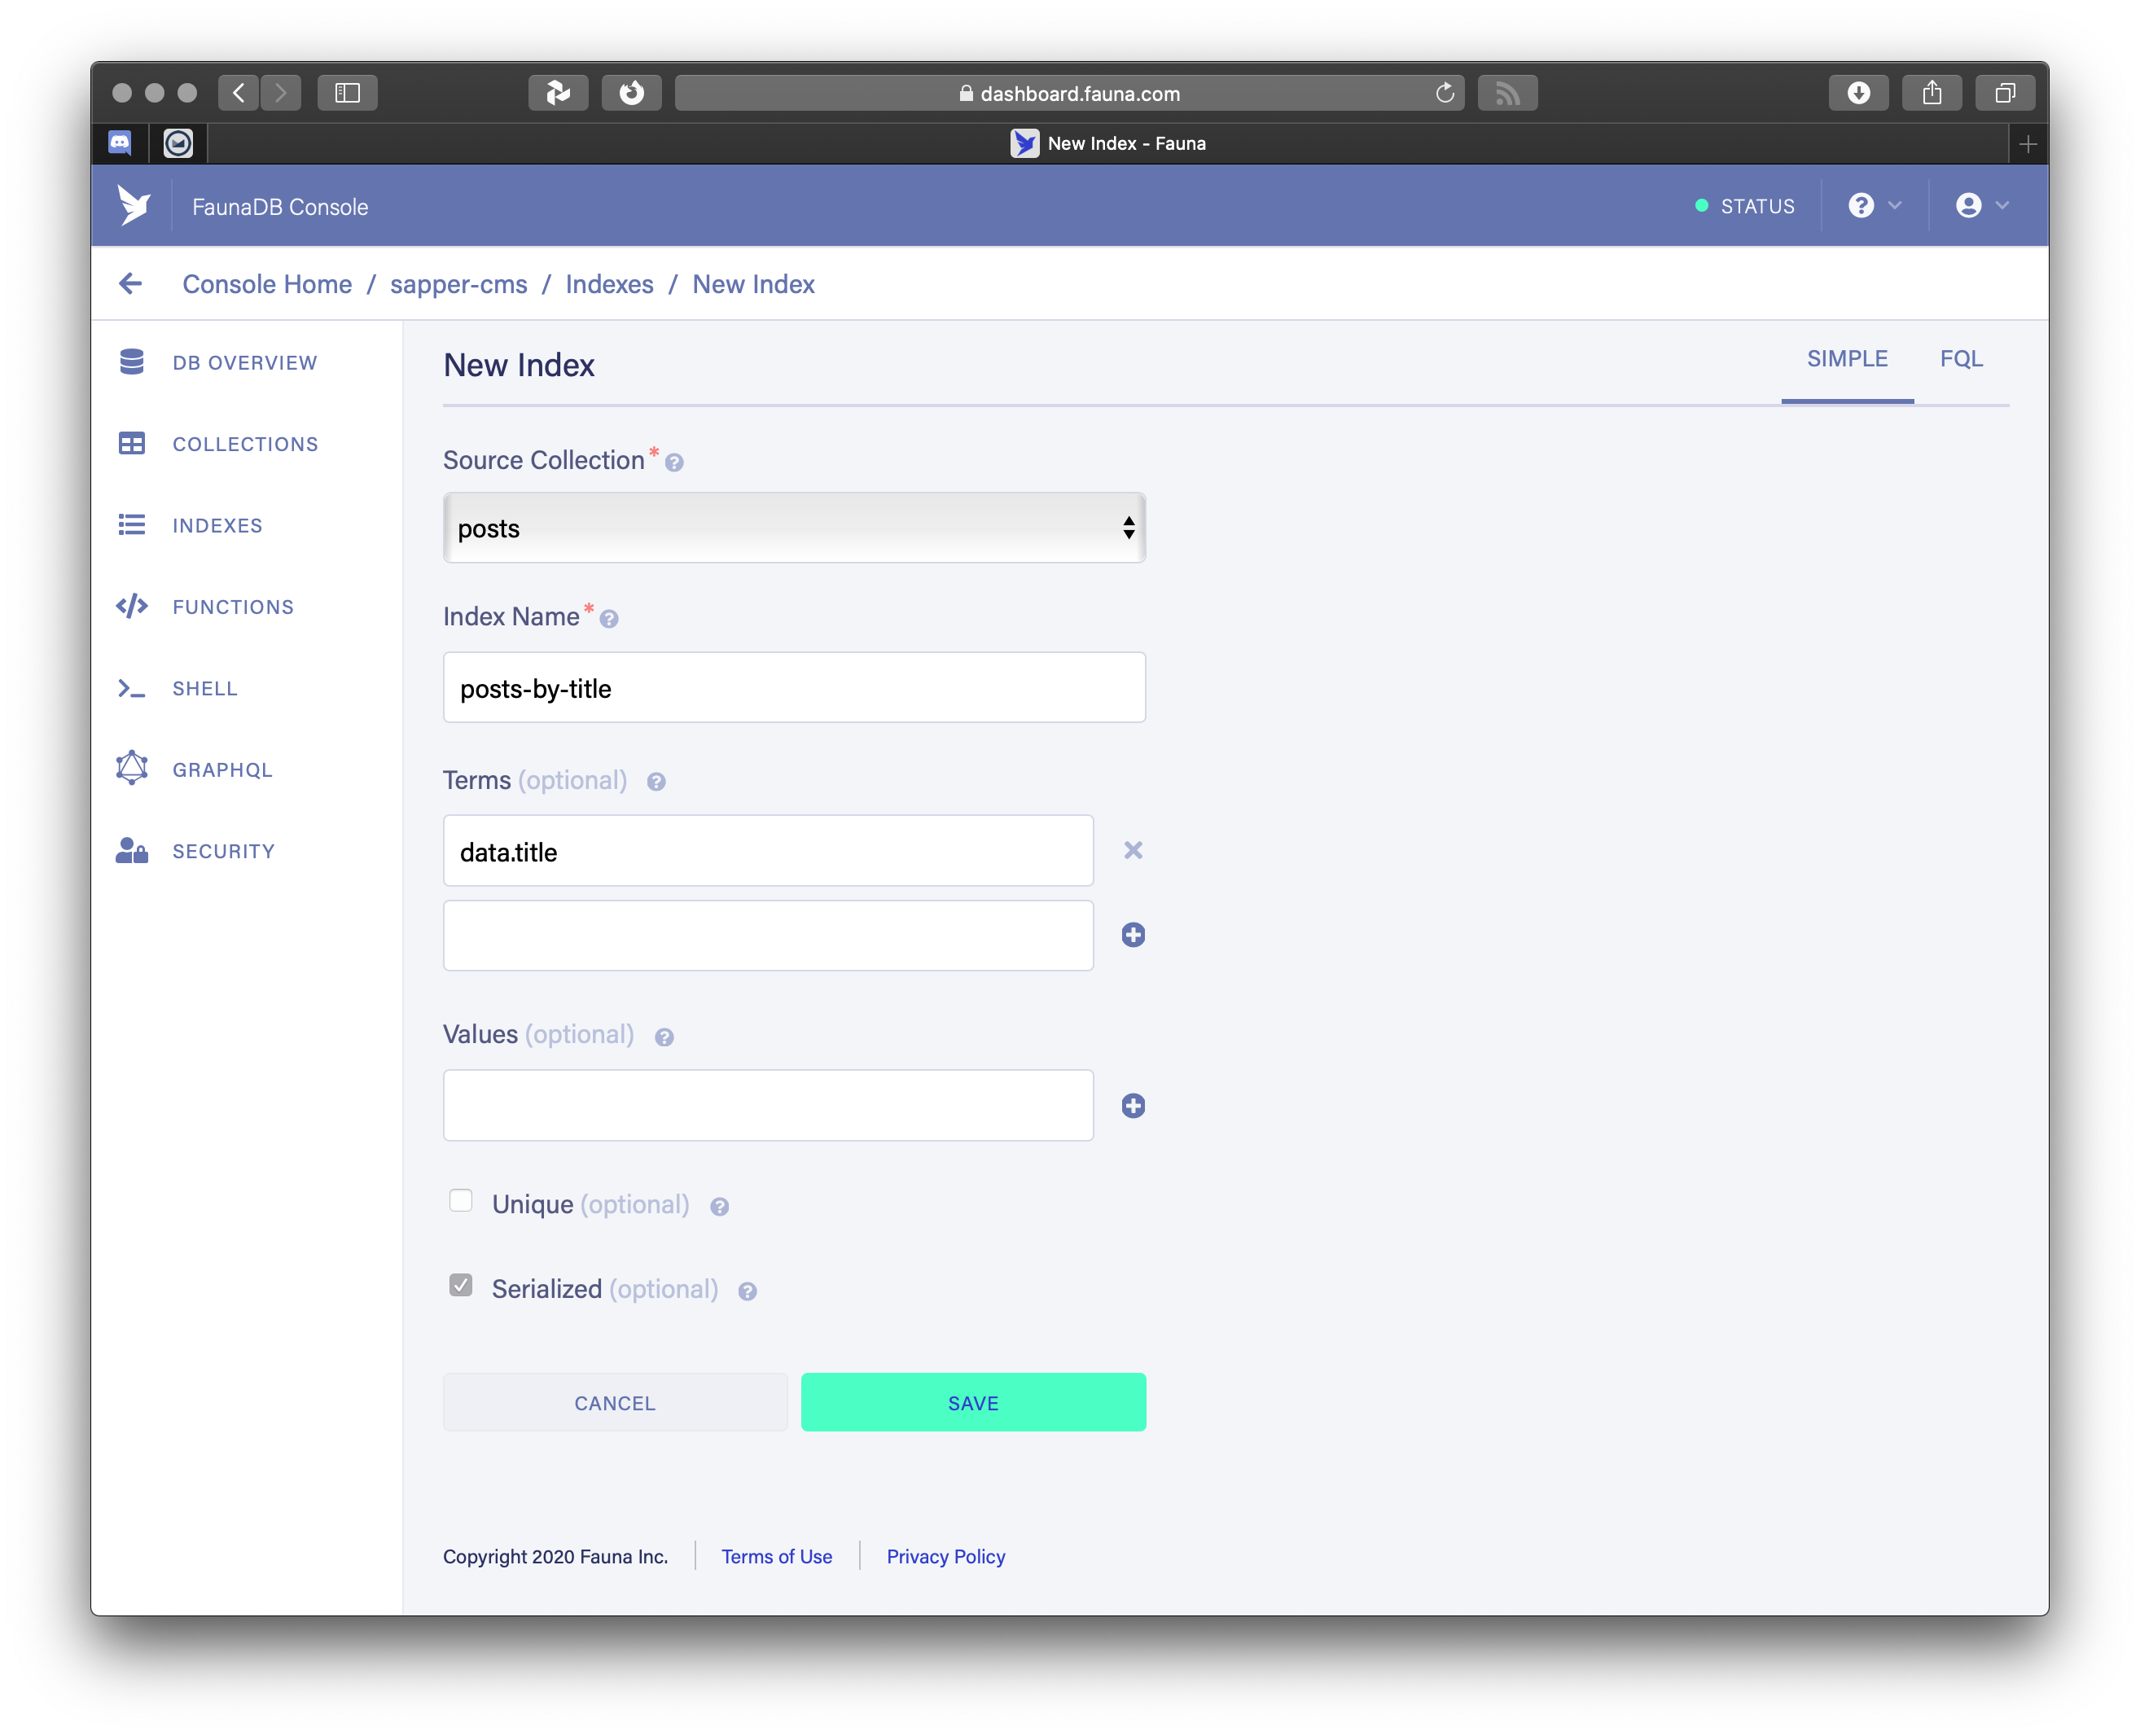
In the New Index dialog, give a name like posts-by-title, and fill in the first edit box of Terms with title. It will change into data.title when you save it.
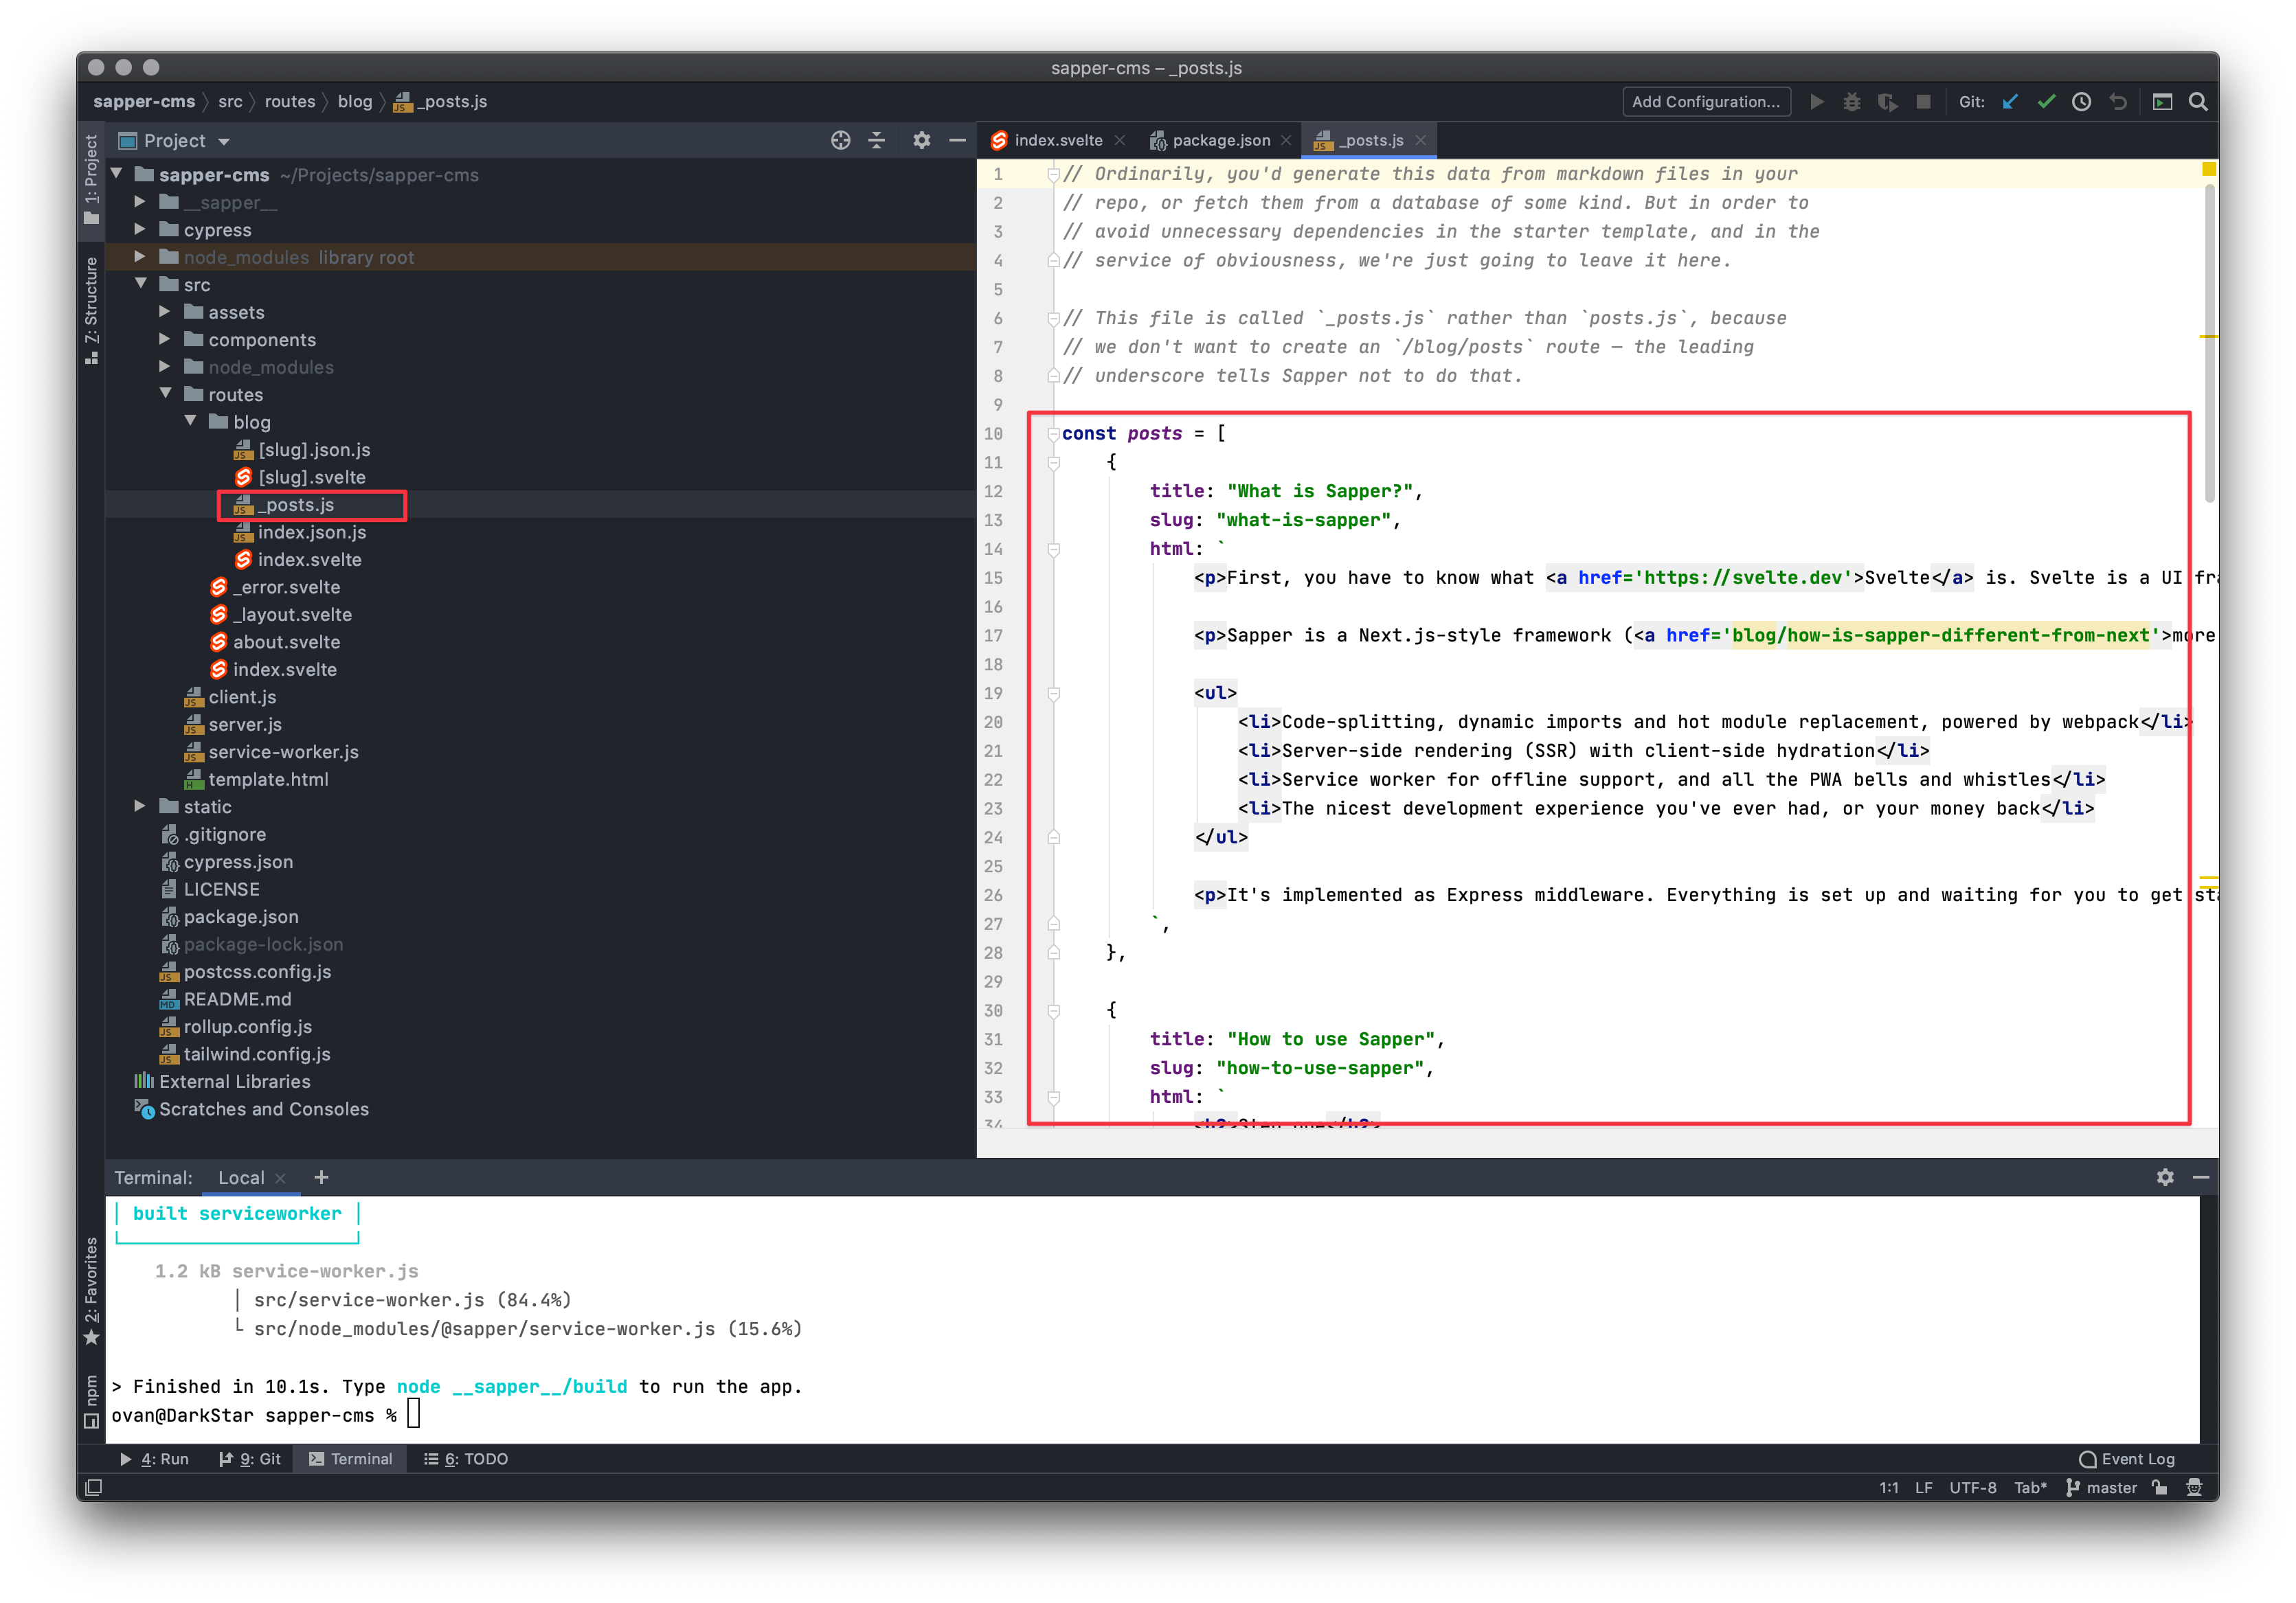
Now comes the hardest part. Programmatically adding the data from our blogposts to our new collection. Open the file /src/routes/blog/_posts.js and you’ll see that the blog posts from our site are stored in there as some kind of js format.
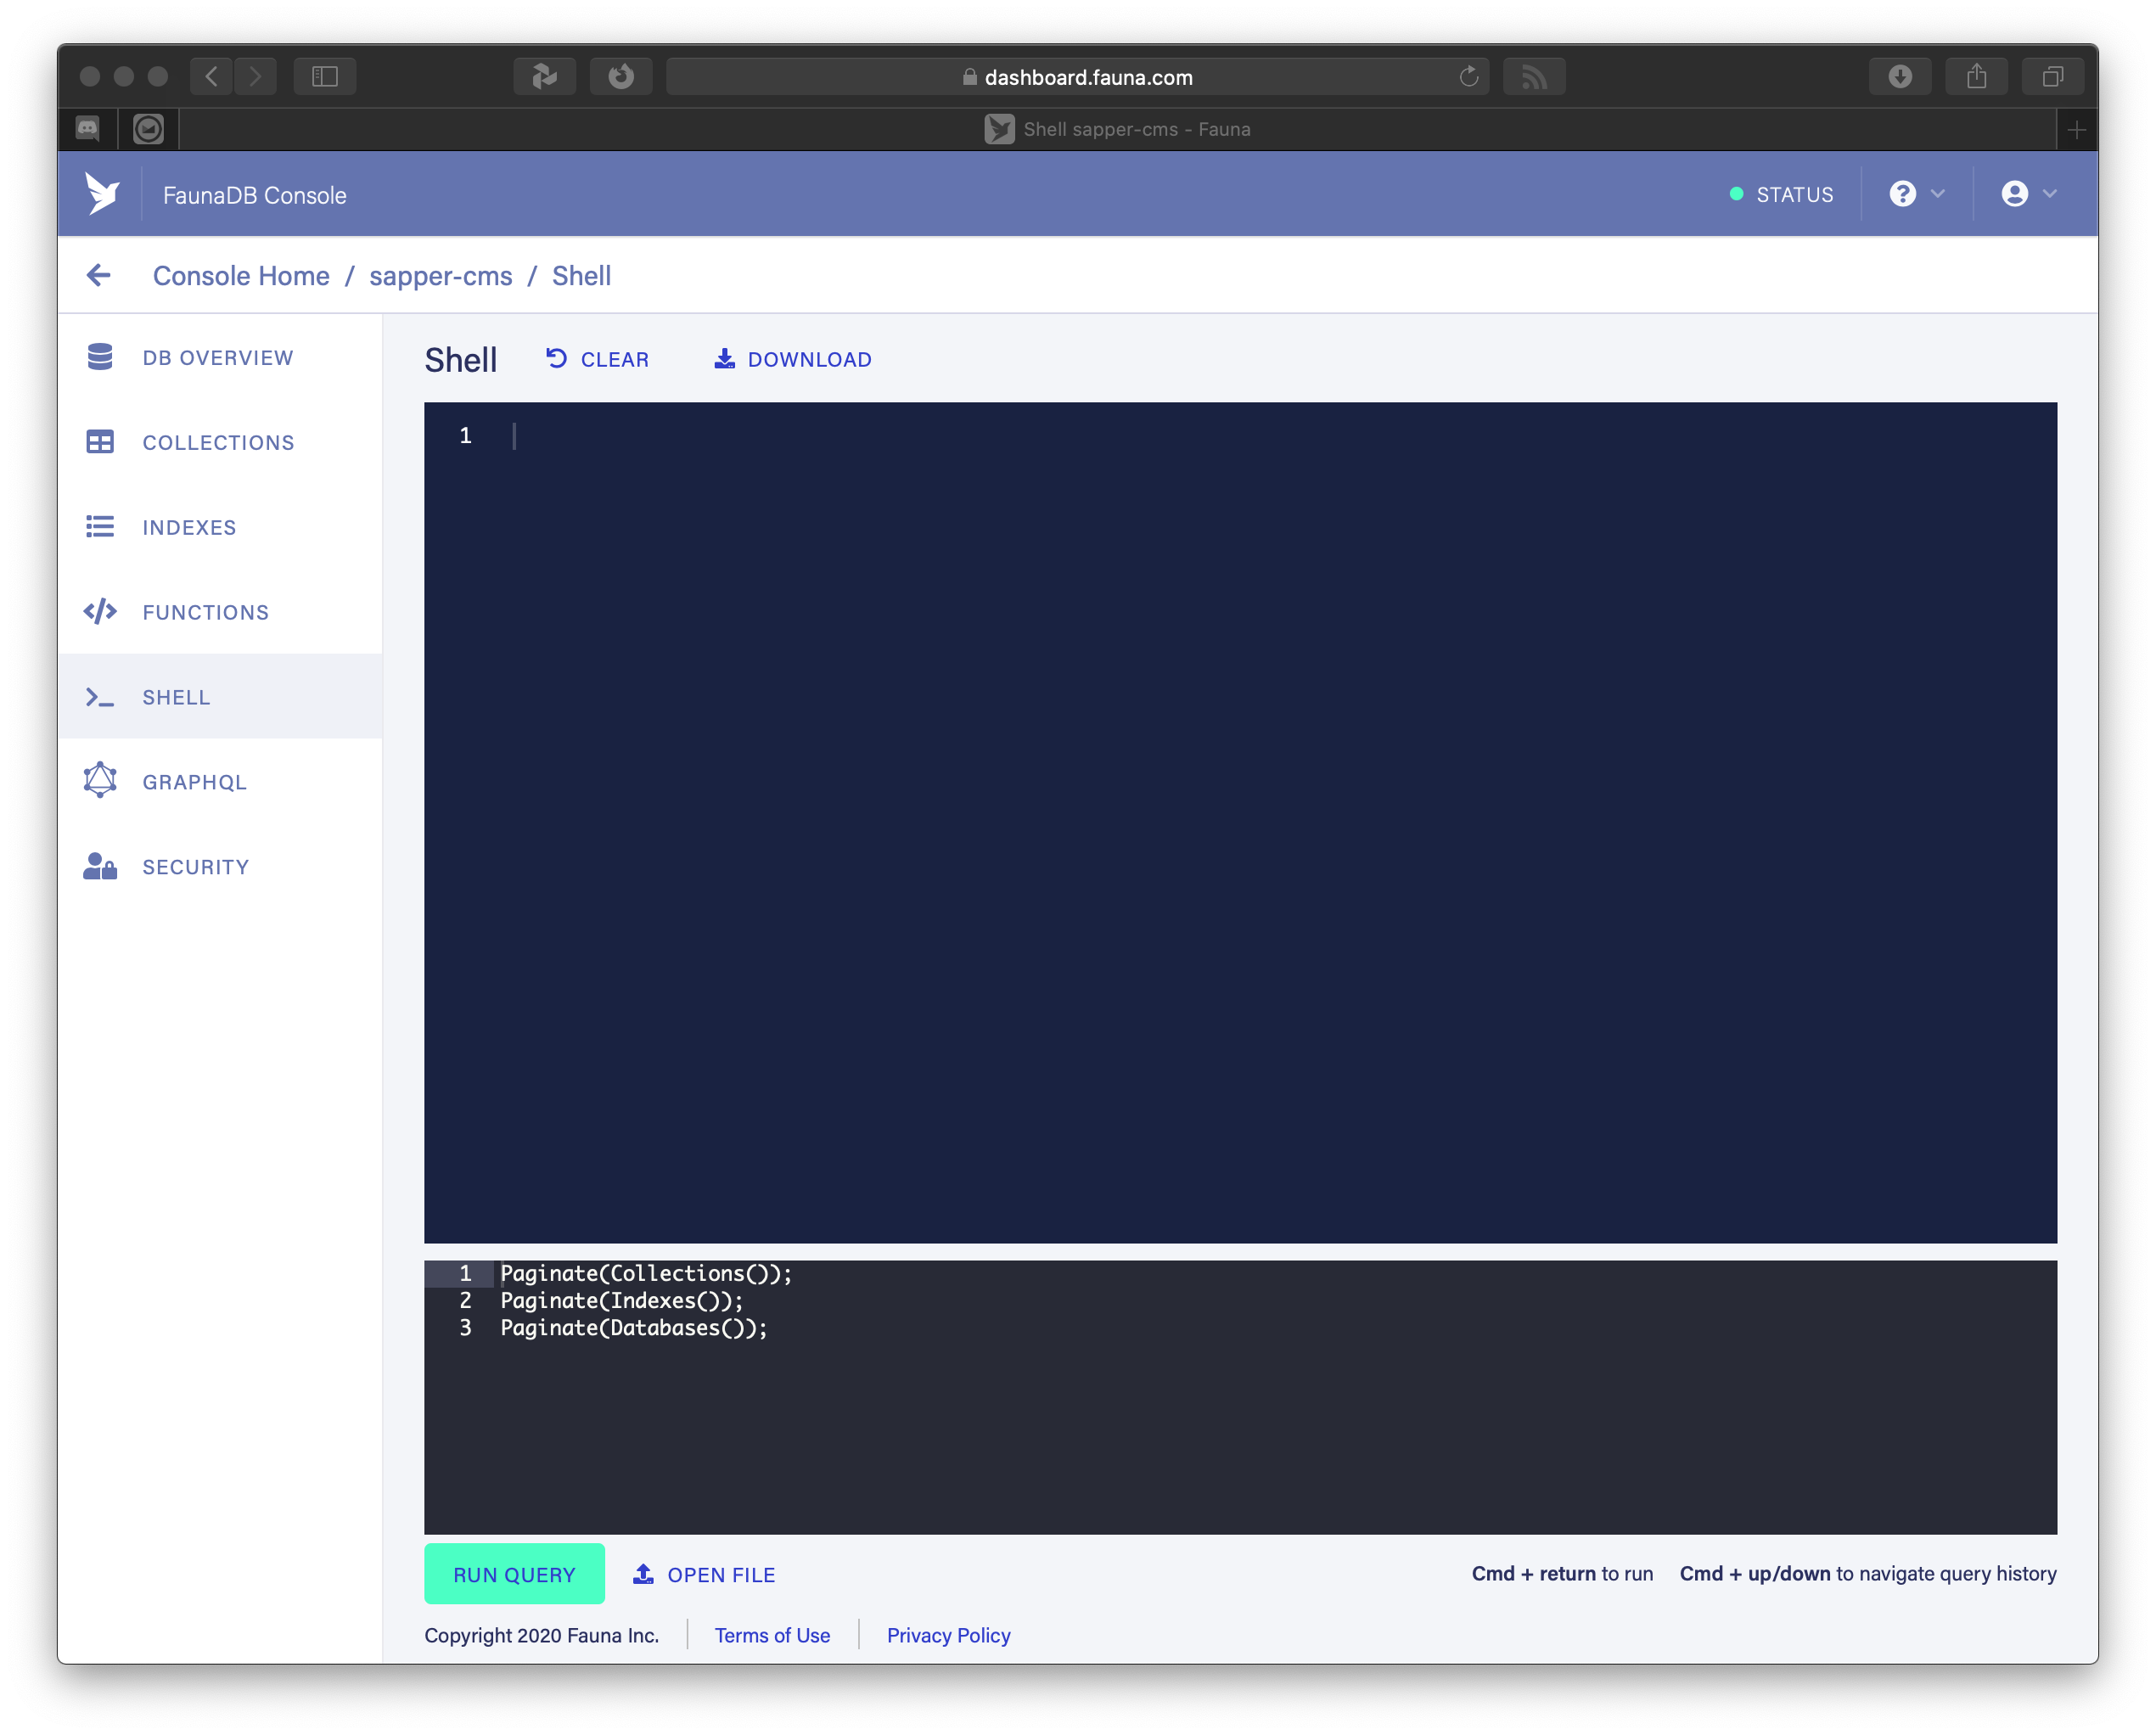
Unfortunately we’ll need to massage this a bit until we can use it for FaunaDB: On the left side in the FaunaDB Console you can click on Shell. This opens a black terminal at the bottom and a blue results window on top of it. Click on [Run Query] to execute whatever is in the terminal.
It took me a bit of digging in the FaunaDB online help to find the correct usage of functions, but this is the notation of how you can add multiple documents with multiple fields in 1 operation:
Map(
    [
        [ "title 1", "slug-1", "content 1\n" ],
        [ "title 2", "slug-2", "content 2\n" ],
        [ "title 3", "slug-3", "content 3\n" ],
    ],
    Lambda(
        ["post_title", "post_slug", "post_html"],
        Create( Collection("posts"),
            {
                data: {
                        title: Var("post_title"),
                        slug: Var("post_slug"),
                        html: Var("post_html")
                    }
            }
        )
    )
)
#cms #faunadb #netlify #jamstack #svelte