Machine Learning for .Net Developers Using Visual Studio - provides an easy to understand visual interface to build, train, and deploy custom machine learning models inside Visual Studio…
Se how to install an extension to Visual Studio and a Nuget package.
To do machine learning, I have been learning Python and R, and learning a new language sometimes takes time and effort (but of course Python is easy).
But I am very happy with the fact that I can also create machine learning applications using my .Net skills. The only extra effort I have to put forth is installing an extension to Visual Studio and a Nuget package. Let’s see how to do this.
What we need:
Visual Studio 2017 15.6 or later
What we will build:
We will be creating a machine learning Hello World! app.
Installing Extension:
Download and install the Extension “ML.NET Model Builder.”
Let’s Start
Once we are done with the extension, let’s create a Console App (.Net Core) named myMLApp.
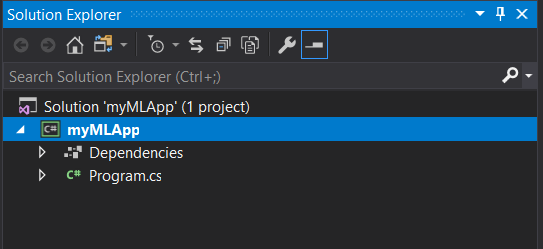
The above is a simple console solution. Now we make use of the extension. When we right-click the project and click Add, We see an option for machine learning.
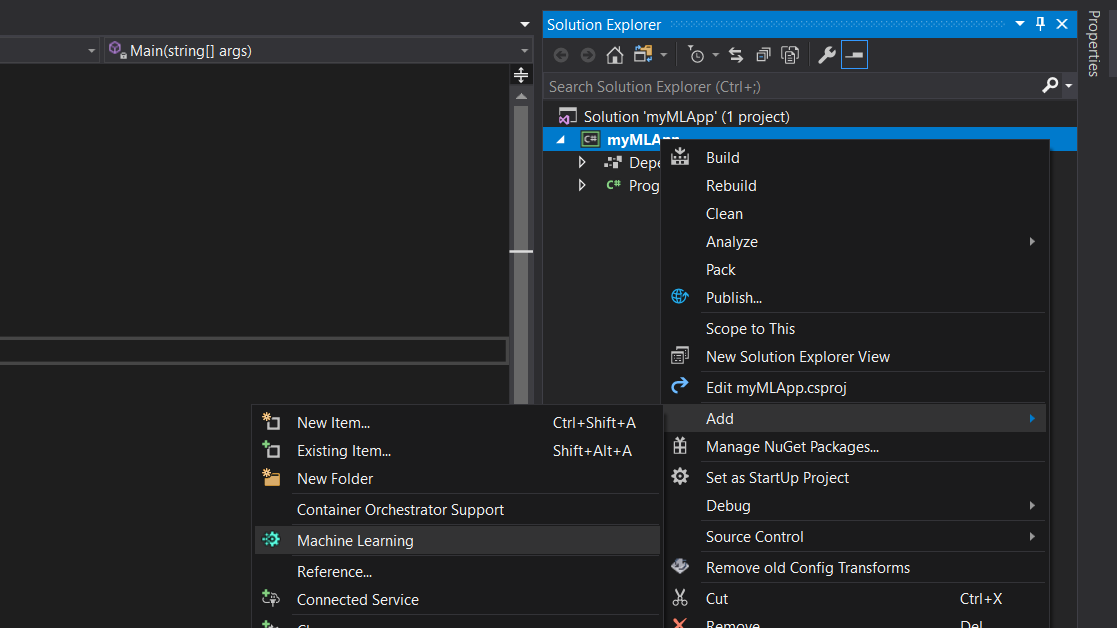
So let’s add it. After adding, we get the below model builder.
 Choose Sentiment Analysis (Binary classification) for Now. On the next step, we are asked to add data. The best thing is that it also has the option to add data from SQL Server.
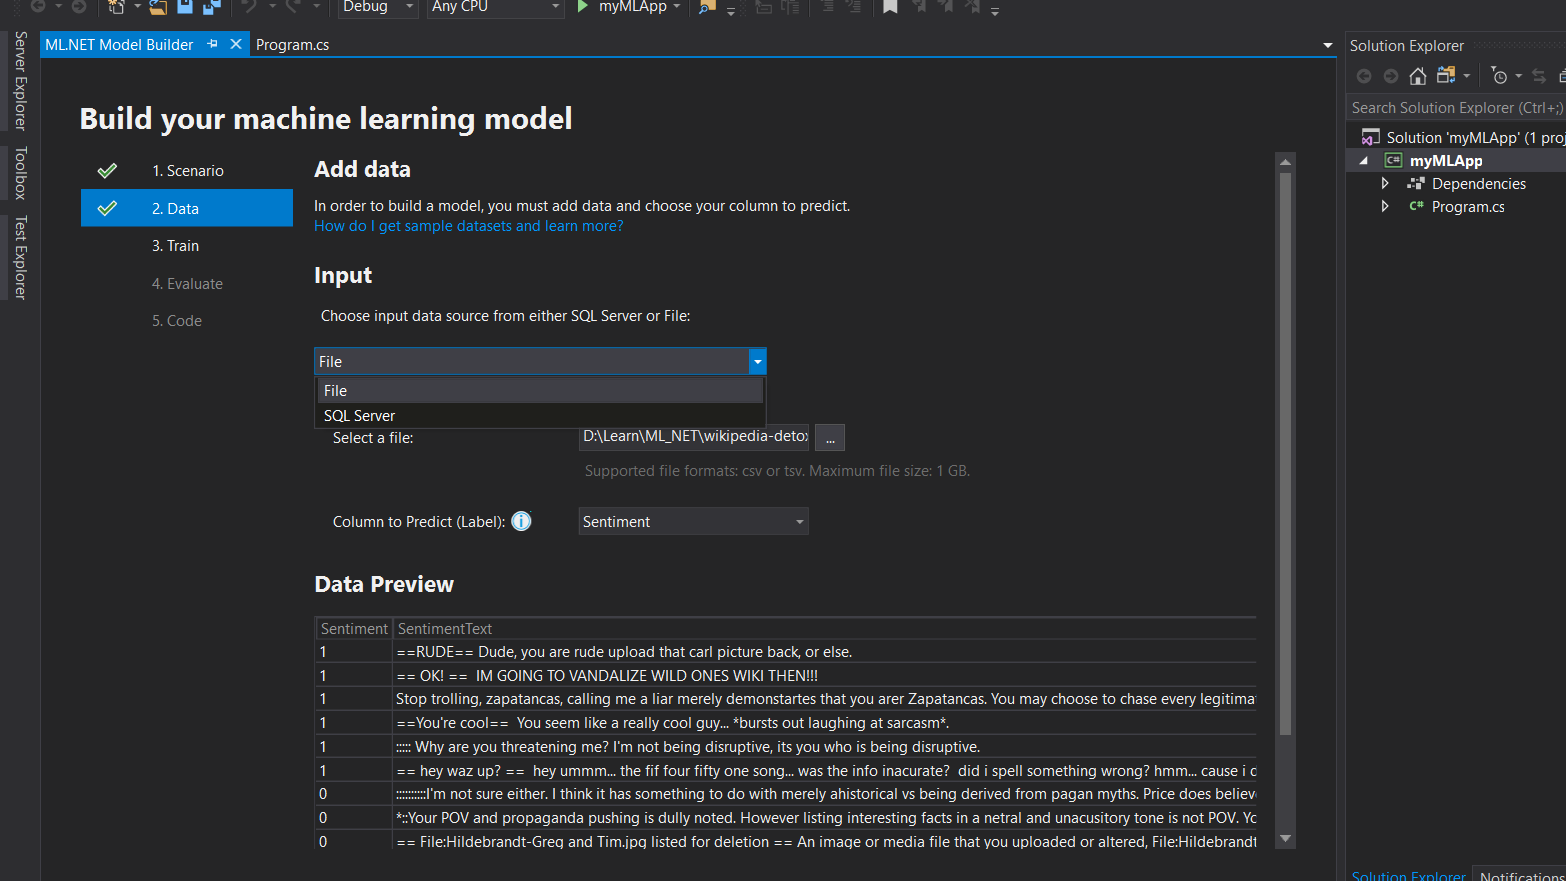 But we would choose file and upload the file downloaded from here. The data looks like below
SentimentSentimentText
1 ==RUDE== Dude, you are rude upload that carl picture back, or else.
1 == OK! == IM GOING TO VANDALIZE WILD ONES WIKI THEN!!!
Select “Sentiment” under Column to Predict (Label). After uploading the file, we also see the preview of data.
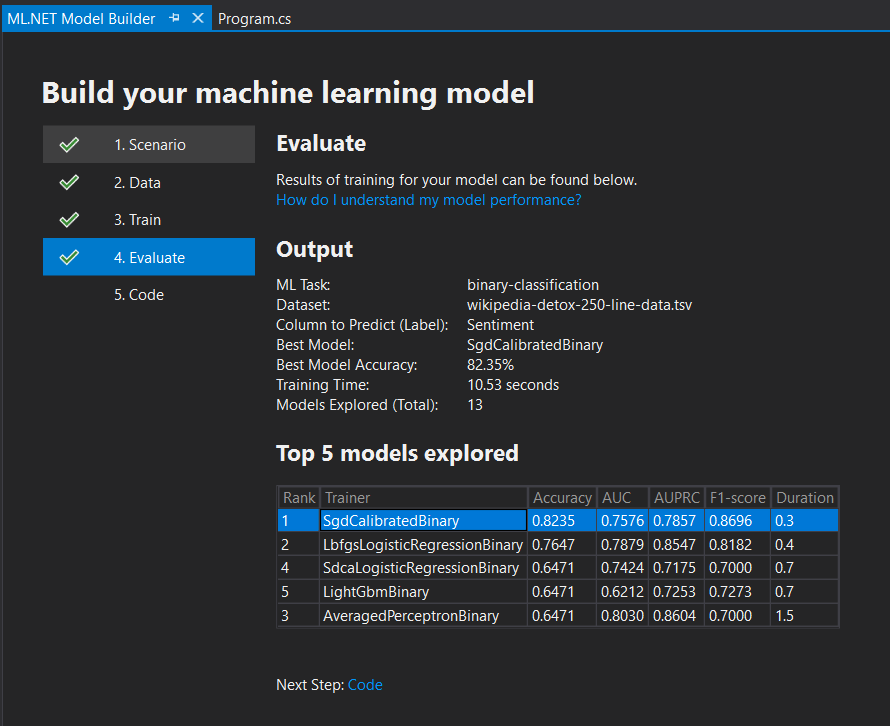
Now its time to train our model. So we go to the next tab: “Train.” This step is simple; you select the time duration you want to train your model for and the model builder will choose the best possible algorithm based on the accuracy. I think that’s the best part of it.
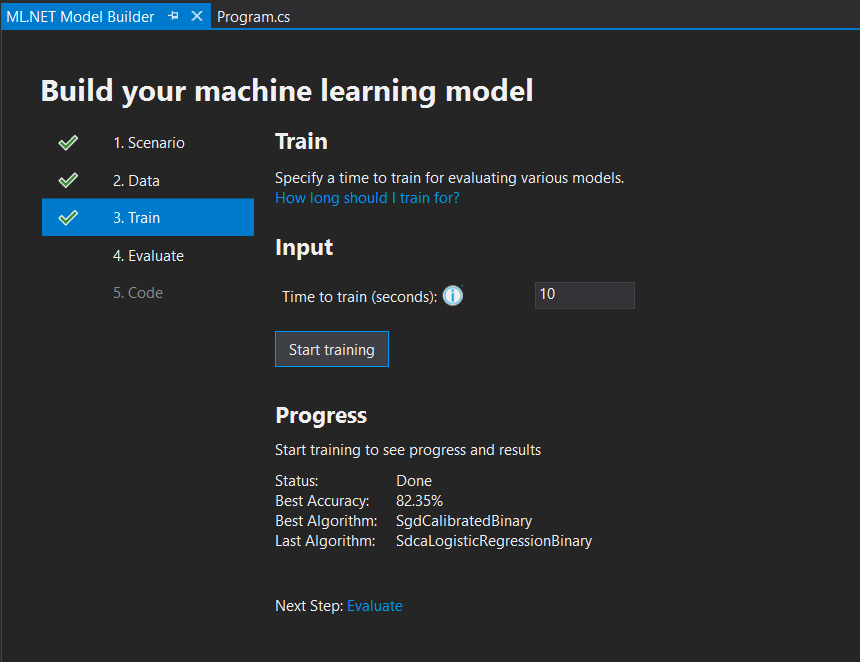 We can see that the best accuracy for the data we uploaded is 82.35 percent. No, we would also like to evaluate. Below, we can see why the particular algorithm was chosen and we could also increase the time and look for more options. But we’ll continue with this for now.
 Now comes the best part where the model builder generates code for us. So we just move to the next tab, “Code,” and click “Add Projects.” This has added 2 new projects in my solution, as shown below.
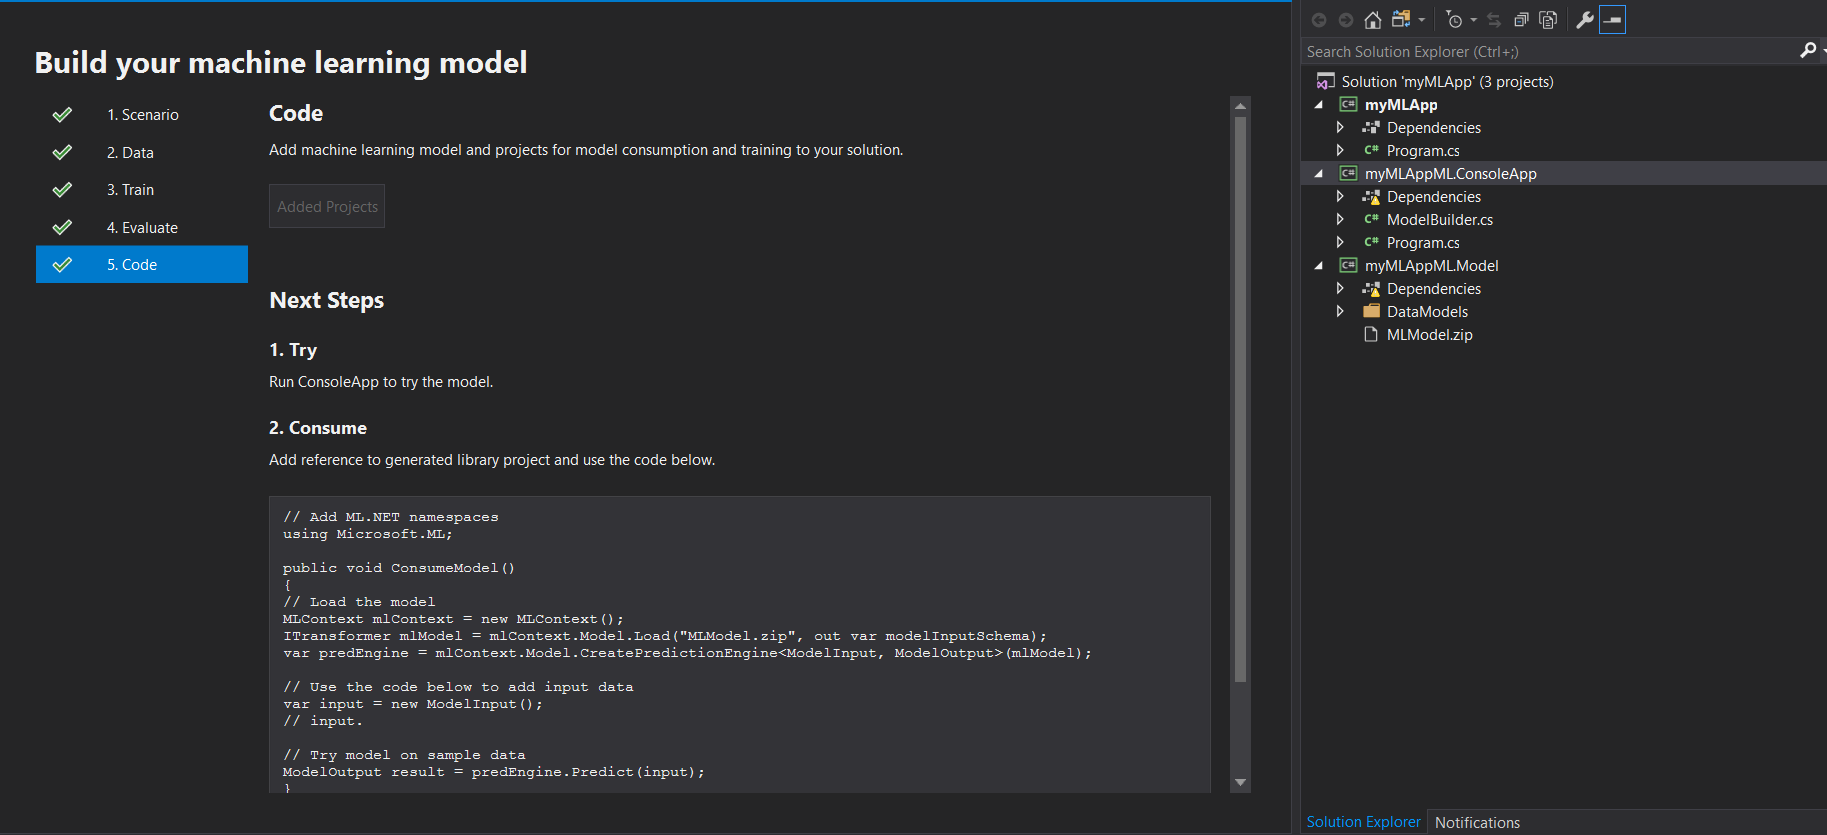 For now, we can run the myMLAppML.ConsoleApp to try the model. In the above screenshot, we also have the sample code to consume the model.
Let’s consume the model:
-
From myMLApp, add reference of “myMLAppML.Model”
-
Install nuget package Microsoft.ML to myMLApp
-
In myMLAppML.Model for the file MLModel.zip set the property “Copy to Output” to “Always”
-
Change the Program.cs Code for myMLApp to the below code
namespace myMLApp
{
class Program
{
static void Main(string[] args)
{
ConsumeModel();
}
public static void ConsumeModel()
{
// Load the model
MLContext mlContext = new MLContext();
ITransformer mlModel = mlContext.Model.Load("MLModel.zip", out var modelInputSchema);
var predEngine = mlContext.Model.CreatePredictionEngine<ModelInput, ModelOutput>(mlModel);
// Use the code below to add input data
var input = new ModelInput();
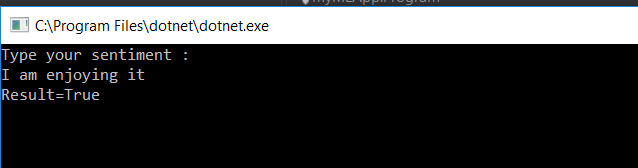
Console.WriteLine("Type your sentiment :");
input.SentimentText = Console.ReadLine();
// Try model on sample data
ModelOutput result = predEngine.Predict(input);
Console.WriteLine("Result=" + result.Prediction);
Console.ReadKey();
}
}
}
Now we can run our project “myMLApp.”
We’re done! I tried to make it simple to understand, but you can also look at the below pages to learn more about it. Enjoy machine learning in .Net.
- https://dotnet.microsoft.com/learn/machinelearning-ai/ml-dotnet-get-started-tutorial/intro
- https://dotnet.microsoft.com/apps/machinelearning-ai/ml-dotnet
#machine-learning #-net