DIY Sleep Apnea Screening with Arduino Pro Mini
I recently asked my doctor about testing for sleep apnea. There were a few reasons I suspected I might have sleep apnea: I’d sometimes wake up with shortness of breath, morning tiredness, occasional snoring, and had a family history of it. He suggested a home sleep apnea test (HSAT), which basically involves wearing a bunch of sensors at night to record breathing, blood oxygen levels, electrical activity, and other things. Then a specialist analyzes the data and makes a diagnosis. Unfortunately, I have a high deductible health insurance plan and the test is expensive, around $500. There was also a month long wait. Since I had some time, I decided to try taking some measurements on my own and then revisit whether I wanted to take a $500 test. My goal was not to try and diagnose sleep apnea myself, but just to use some simple rough measurements to decide whether the more expensive and accurate test was worth taking.
Disclaimer: if you think you have sleep apnea, talk to your doctor.
Quick Intro to Sleep Apnea
There are two major types of sleep apnea: central and obstructive. In central you stop making the effort to breath (diaphragm stops moving) and in obstructive you keep trying to breath, but the airflow is blocked. You can also have a mixed combination of the two. In all cases, your blood oxygen level will dip down when the airflow stops, which is not great for your health.

Taking Measurements
I used 3 sensors to measure breathing effort, airflow, and blood oxygen. They were, respectively, my cell phone, thermistors, and a pulse oximeter. A real HSAT has more sensors than this, but again my goal was to do a cheap, rough screening that was just accurate enough to make an informed decision on taking an HSAT.
For breathing effort I used the accelerometer in my phone with some medical tape to attach it to my stomach. My phone is fairly light and I was able to sleep comfortably on both my back and side. Sleeping on your stomach would probably not work as well, especially if your mattress is firm, since the phone would move less in that position.
Initially, I thought I would need to integrate the acceleration twice to get position. But the small errors accumulate and average velocity ends up being non-zero, so the position is constantly moving off in one direction. Simply plotting acceleration worked well to track the motion of my stomach. I was also able to use the gyroscope sensor to track whether I was sleeping on my back or left/right side.

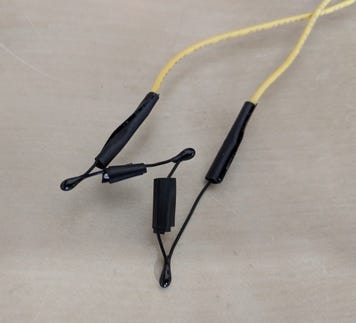
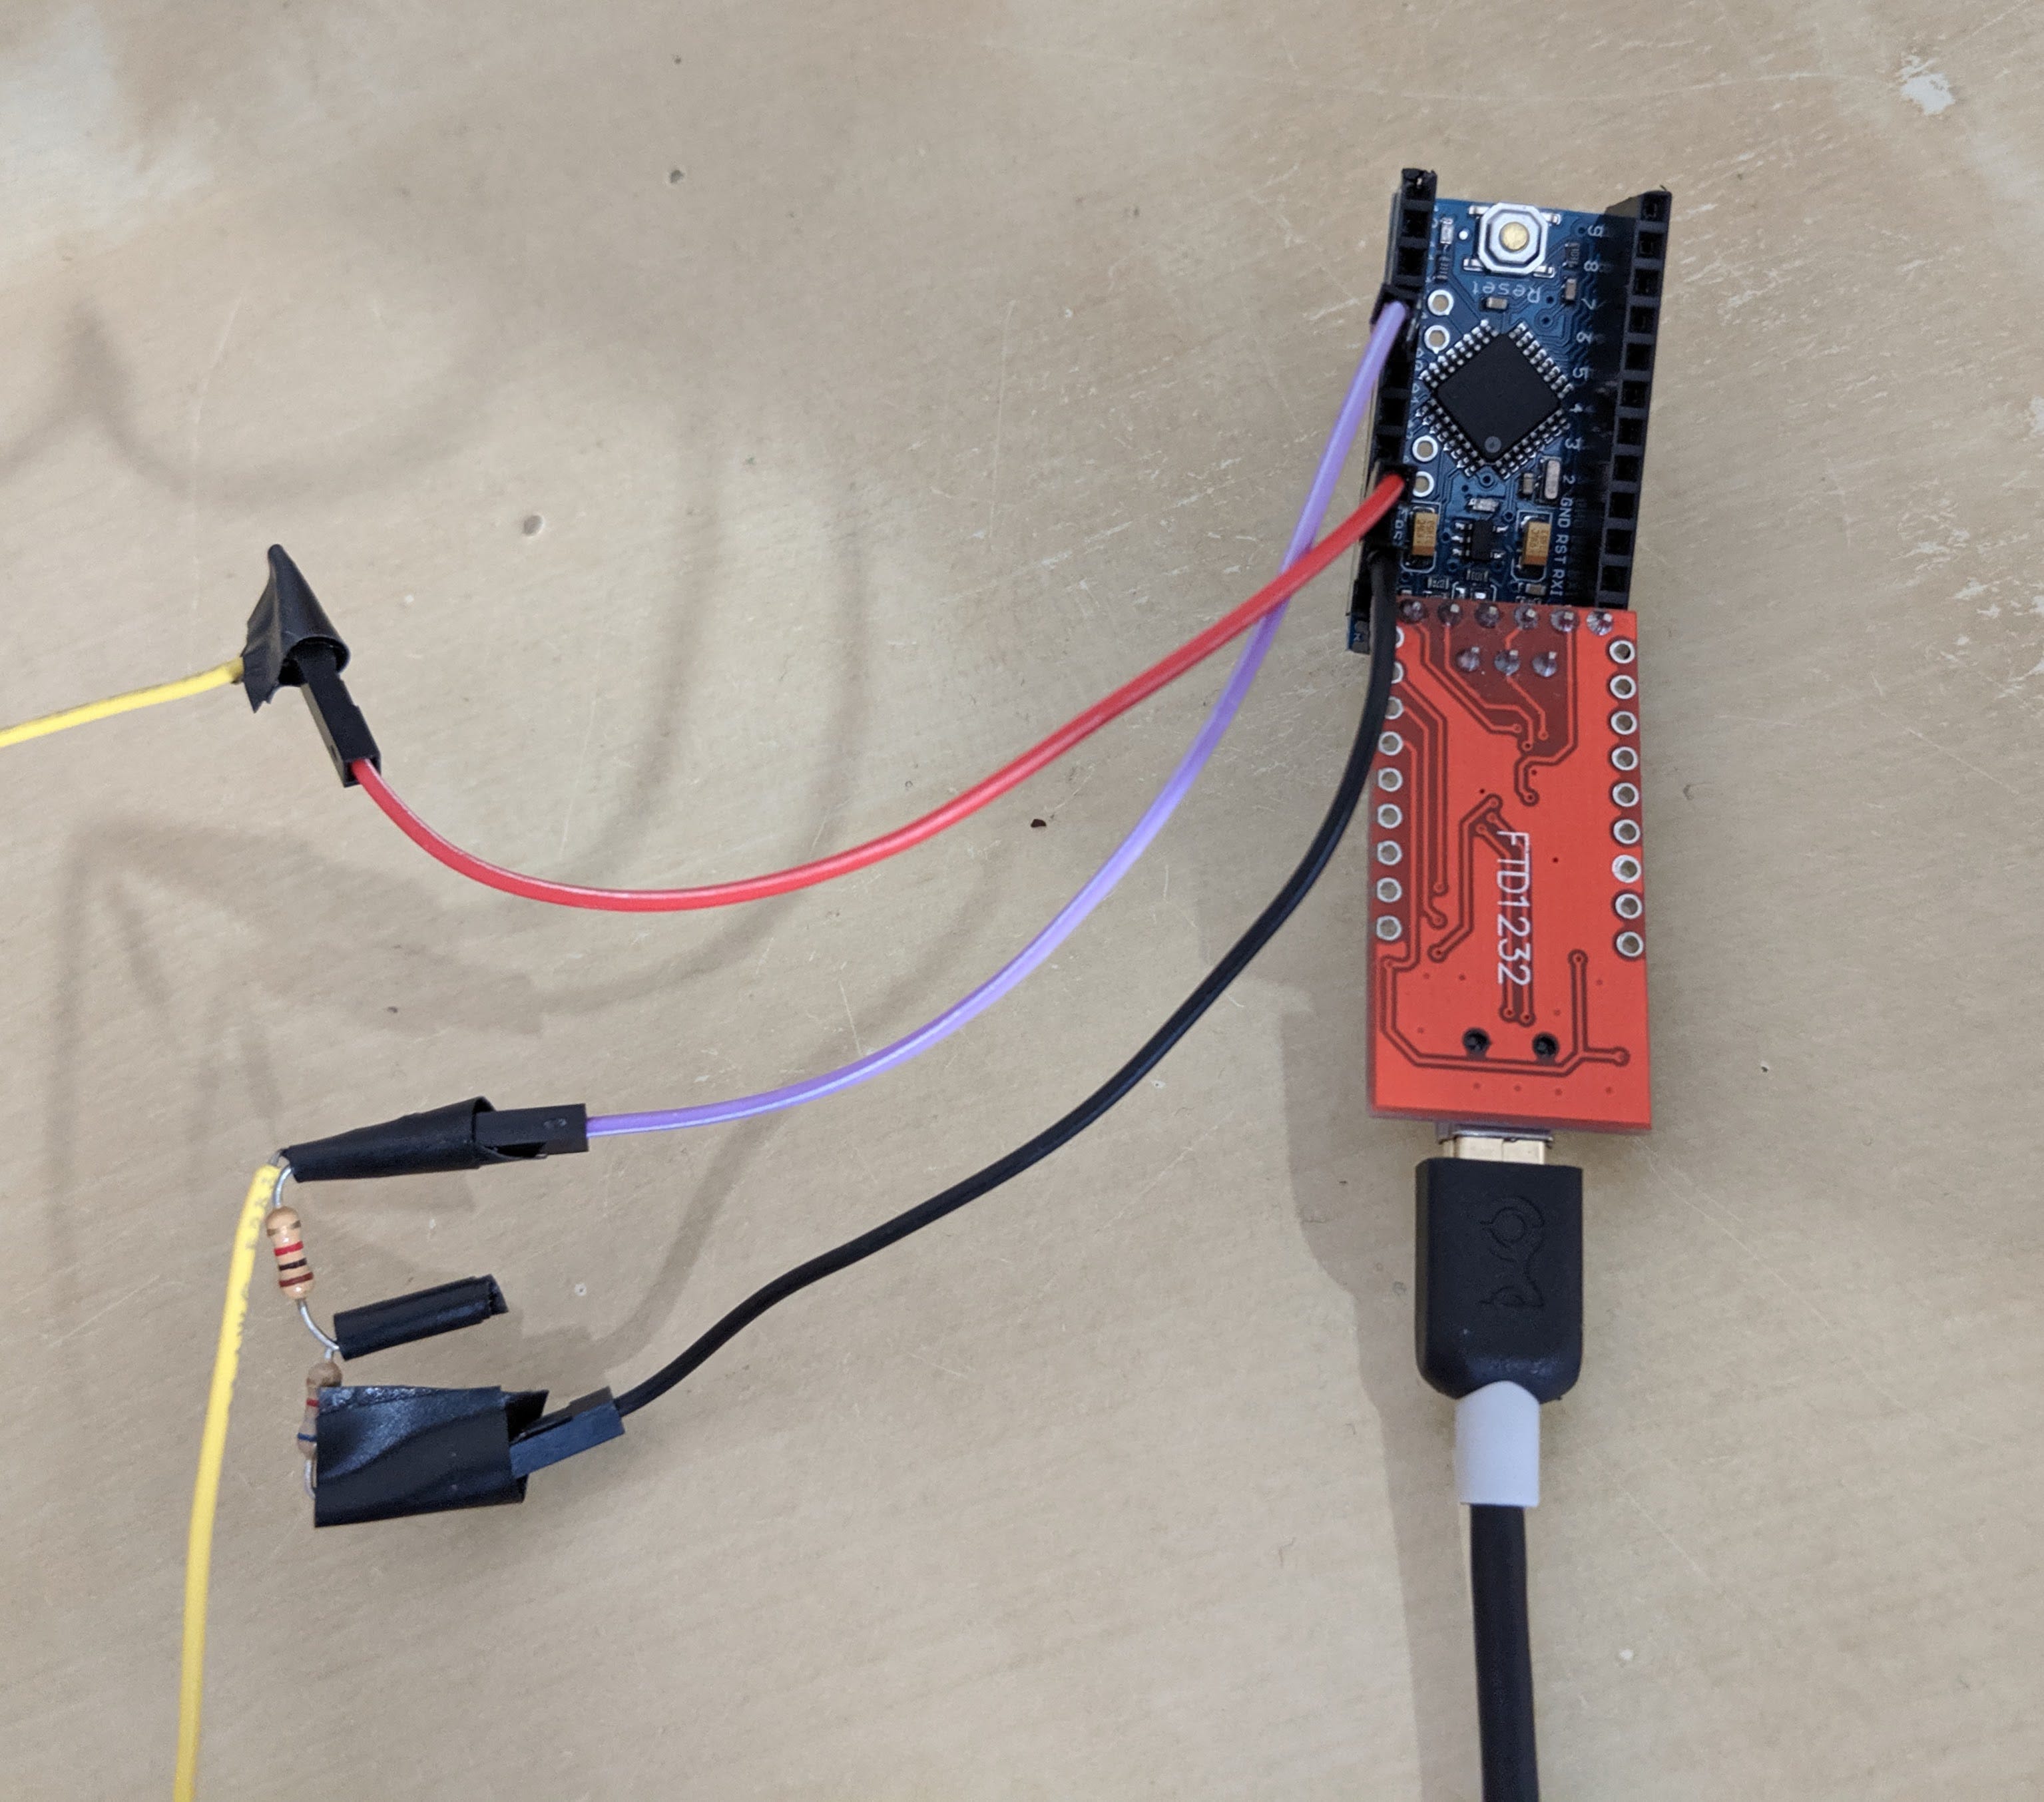
To measure airflow, I soldered 3 precision thermistors together and taped them below the nose, one under each nostril and one just over the mouth, with medical tape (I actually initially used the band part of a band-aid, which worked well, but looked super dorky). Thermistors are resistors whose resistance changes with temperature. The idea is that when you breathe in and out the thermistors are alternately hit by warm and cool air. To detect the change in resistance I used a simple voltage divider circuit and measured the voltage with an Arduino Pro Mini. This worked Ok, but the measurement from the Arduino was noisy and I had to run it through a low-pass filter before plotting. If I were to redo this part, I’d try to find a more sensitive device to measure voltage. My multi-meter was more accurate, but it couldn’t communicate with my phone.

10k precision NTC thermistors, 5 for $3.96 on ebay

Arduino Pro Mini and voltage divider circuit, about $7 in total
I connected the Arduino to my phone with a USB cable and FTDI USB to TTL serial adapter board. I wrapped the whole Arduino circuit in a small bag to keep the jumper wires from pulling out. Super hacky, but it worked.
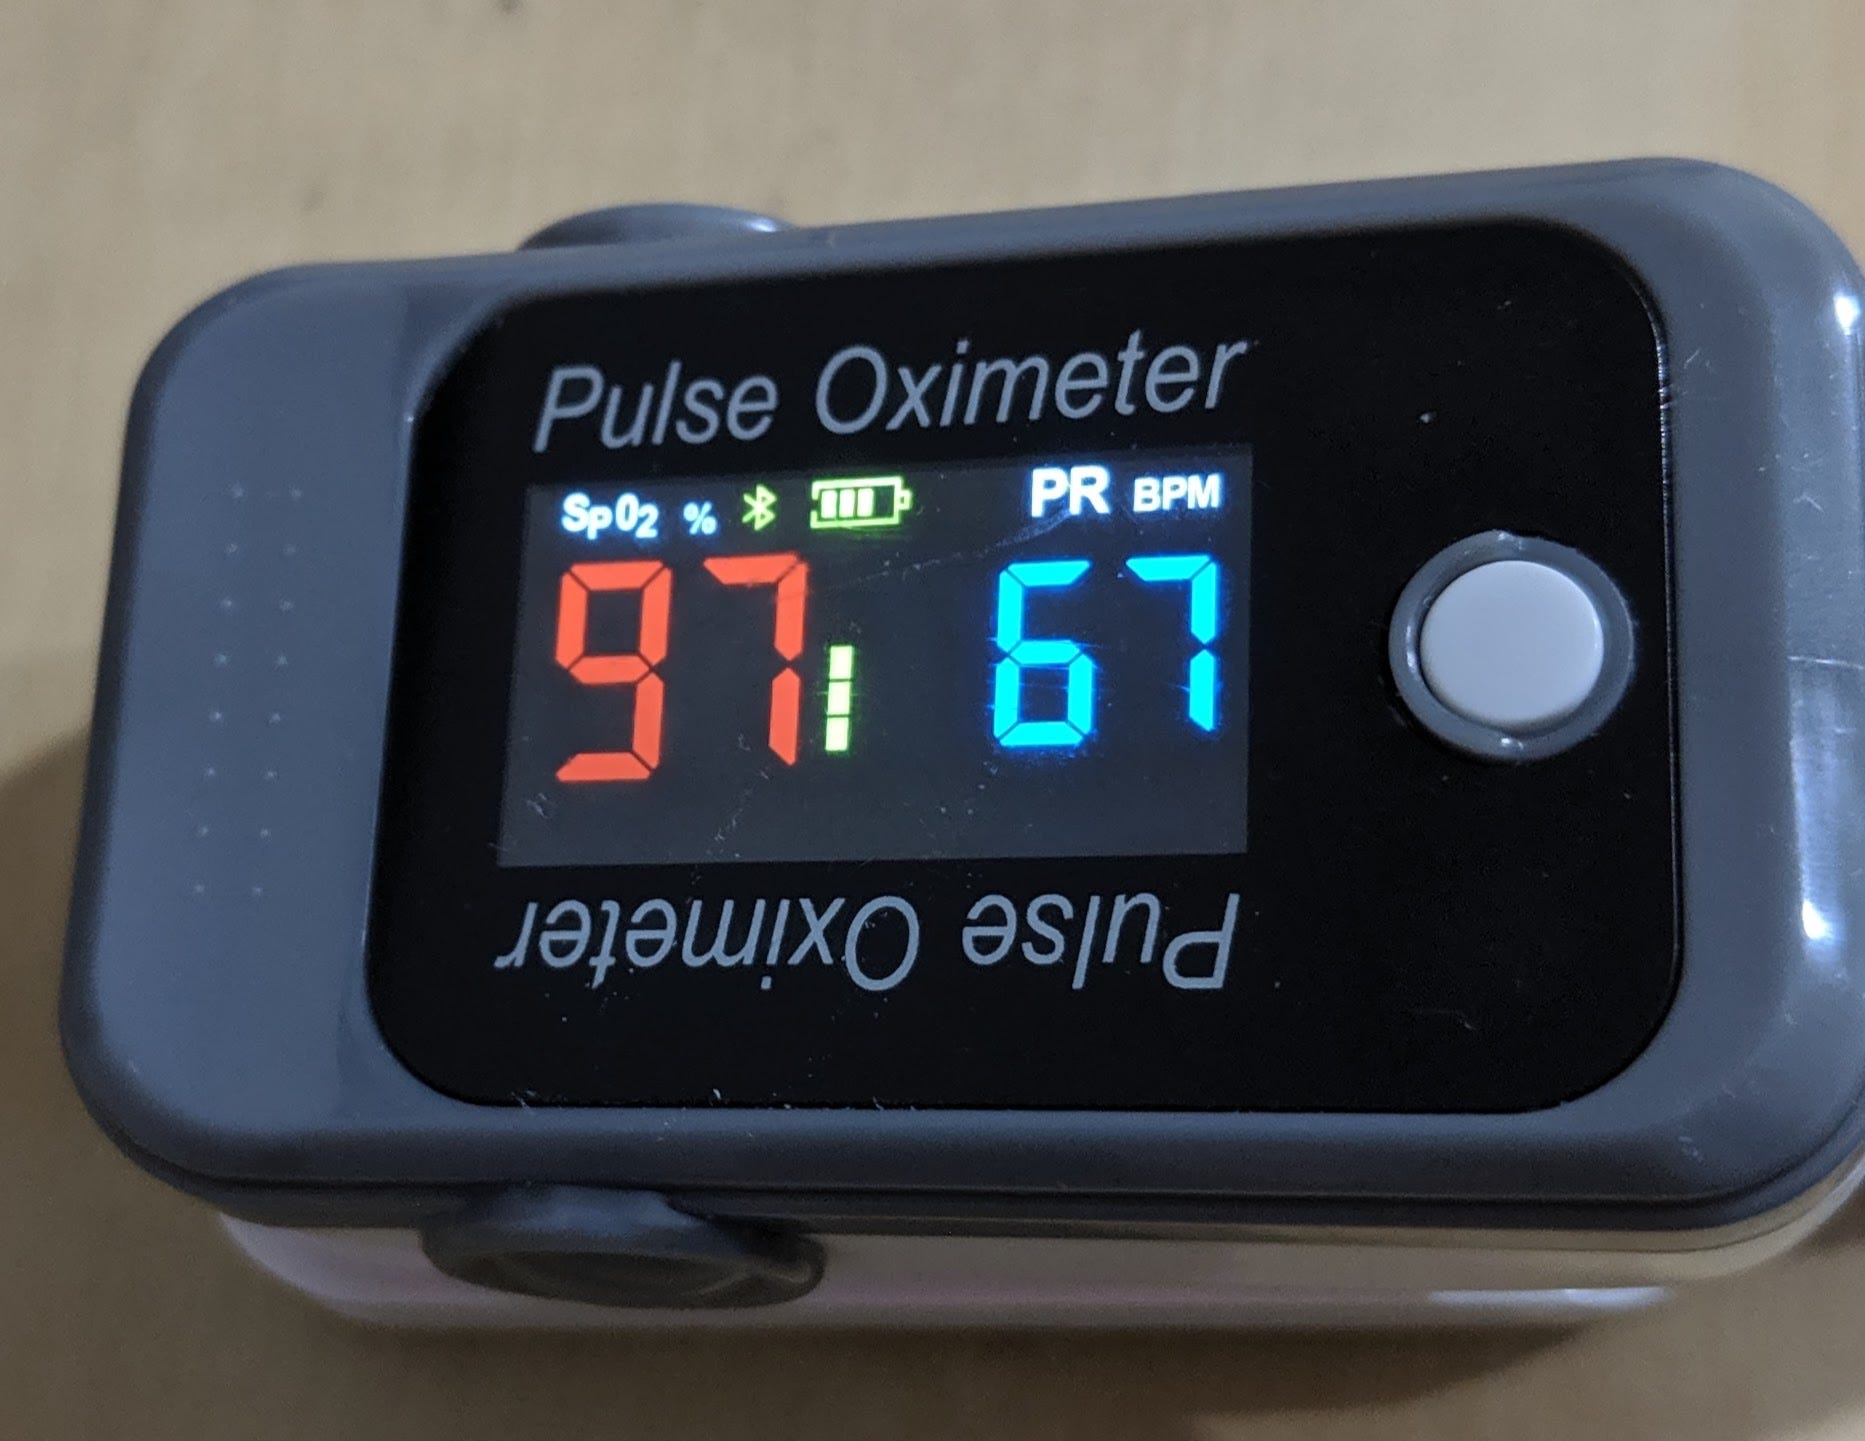
To measure blood oxygen, I used a cool little Bluetooth pulse oximeter. I tried out no fewer than 4 different pulse oximeters for this project and settled on this one because 1. It was Bluetooth capable so it could talk to my phone and 2. it was comfortable to wear on my finger for long time periods. The pulse oximeter measures blood oxygen (SpO2), pulse rate, and perfusion index.

Bluetooth pulse oximeter, $17.99 on ebay
An App to Bring it all Together
I created a simple Android app which records data from all of the sensors and writes it to a file. The pulse oximeter came with its own app, Oxycare, that displayed the readings, but lacked any feature to record data. Even if it did record data, I’d still prefer to use one single app to record all of the sensor readings since the timing of events needs to be accurate. I used JADX to decompile the apk into java code and located the classes relevant to the BLE connection and data parsing.
After recording a night’s worth of data, I used a python script to generate plots. Data was recorded every 200 ms and I plotted 200 seconds at a time, which meant I had to look at around 150 plots. In the end, I could see good breathing effort, airflow, and blood oxygen levels, so I opted not to take the $500 test.
I’ve placed the code for the Android app, Arduino, and python plotting script on github.
#Arduino #programming #Arduino Pro
