Packing Angular 8 Apps on Regular War Files
From time to time it is necessary to distribute SPA applications using war files as containers. In my experience this is necessary when:
- You don’t have control over deployment infrastructure.
- You’re dealing with rigid deployment standards.
- IT people is reluctant to publish a plain old web server.
Anyway, and as described in Oracle’s documentation one of the benefits of using war files is the possibility to include static (HTML/JS/CSS) files in the deployment. Thus, it is safe to assume that you could distribute any SPA using a war file as wrapper (with special considerations).
Creating a POC With Angular 8 and Java War
To demonstrate this, I will create a project that:
- Is compatible with the big three Java IDEs (NetBeans, IntelliJ, Eclipse) and VSCode.
- Allows you to use the IDEs as JavaScript development IDEs.
- Allows you to create a SPA modern application (With all npm, ng, cli stuff).
- Allows you to combine Java(Maven) and JavaScript(Webpack) build systems.
- Allows you to distribute a minified and ready for production project.
Bootstrapping a Simple Java Web Project
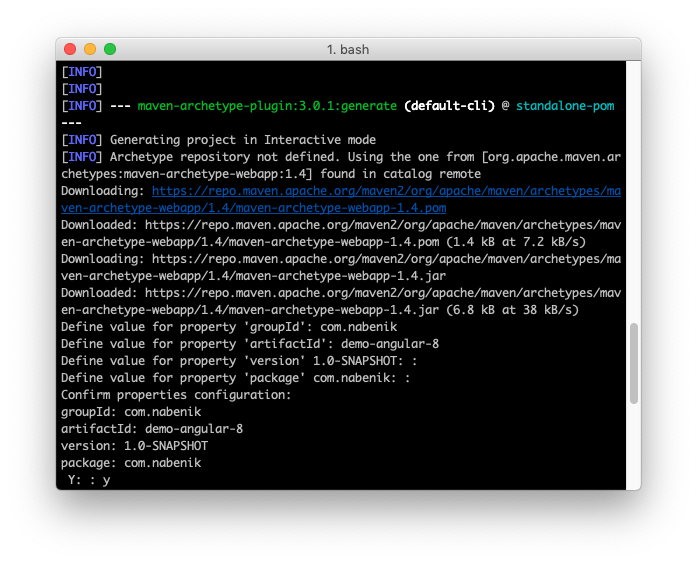
To bootstrap the Java project, you could use the plain old maven-archetype-webapp as basis:
mvn archetype:generate -DarchetypeGroupId=org.apache.maven.archetypes -DarchetypeArtifactId=maven-archetype-webapp -DarchetypeVersion=1.4
The interactive shell will ask you for project characteristics including groupId, artifactId (project name), and base package.

In the end, you should have the following structure as result:
demo-angular-8$ tree
.
├── pom.xml
└── src
    └── main
        └── webapp
            ├── WEB-INF
            │   └── web.xml
            └── index.jsp

4 directories, 3 files
Now, you should be able to open your project in any IDE. By default the pom.xml will include locked down versions for Maven plugins. You could safely get rid of those since we won’t personalize the entire Maven lifecycle, just a couple of hooks.
<?xml version="1.0" encoding="UTF-8"?>

<project xmlns="http://maven.apache.org/POM/4.0.0" xmlns:xsi="http://www.w3.org/2001/XMLSchema-instance"
  xsi:schemaLocation="http://maven.apache.org/POM/4.0.0 http://maven.apache.org/xsd/maven-4.0.0.xsd">
  <modelVersion>4.0.0</modelVersion>

  <groupId>com.nabenik</groupId>
  <artifactId>demo-angular-8</artifactId>
  <version>1.0-SNAPSHOT</version>
  <packaging>war</packaging>

  <name>demo-angular-8 Maven Webapp</name>

  <properties>
    <project.build.sourceEncoding>UTF-8</project.build.sourceEncoding>
    <maven.compiler.source>1.7</maven.compiler.source>
    <maven.compiler.target>1.7</maven.compiler.target>
  </properties>
</project>
Besides that index.jsp is not necessary, so just delete it.
Bootstrapping a Simple Angular JS Project
As an opinionated approach, I suggest isolating the Angular project at its own directory (src/main/frontend). In the past and with simple frameworks (AngularJS, Knockout, Ember) it was possible to bootstrap the entire project with a couple of includes in the index.html file.
However, nowadays, most of the modern front end projects use some kind of bundler/linter in order to enable modern (>=ES6) features like modules, and in the case of Angular, it uses Webpack under the hood for this.
For this guide, I assume that you already have installed all Angular CLI tools, hence we could go inside our source code structure and bootstrap the Angular project.
demo-angular-8$ cd src/main/
demo-angular-8/src/main$ ng new frontend
This will bootstrap a Vanilla Angular project, and in fact, you could consider the src/main/frontend folder as a separate root (and also you could open this directly from VSCode). The final structure will be like this:

As a first POC, I started the application directly from CLI using IntelliJ IDEA and ng serve --open. Everything worked as expected.

Invoking Webpack from Maven
One of the useful plugins for this task is frontend-maven-plugin which allows you to:
- Download common JS package managers (npm, cnpm, bower, yarn)
- Invoke JS build systems and tests (grunt, gulp, webpack or npm itself, karma)
By default Angular project come with hooks from npm to ng but we need to add a hook in package.json to create a production quality build (buildProduction), please double check the base-href parameter since I’m using the default root from Java conventions (same as project name)
...
"scripts": {
    "ng": "ng",
    "start": "ng serve",
    "build": "ng build",
    "buildProduction": "ng build --prod --base-href /demo-angular-8/",
    "test": "ng test",
    "lint": "ng lint",
    "e2e": "ng e2e"
  }
...
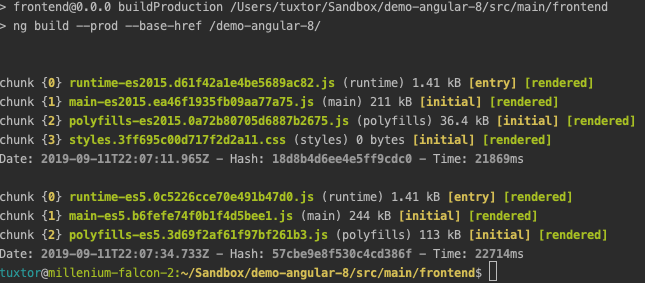
To test this build, we could execute npm run buildProduction. At webproject’s root (src/main/frontend), the output should be like this:

Finally, it is necessary to invoke or new target with maven. Our configuration should:
- Install NodeJS (and NPM).
- Install JS dependencies.
- Invoke our new hook.
- Copy the result to our final distributable war.
To achieve this, the following configuration should be enough:
<build>
<finalName>demo-angular-8</finalName>
    <plugins>
    <plugin>
            <groupId>com.github.eirslett</groupId>
            <artifactId>frontend-maven-plugin</artifactId>
            <version>1.6</version>

            <configuration>
                <workingDirectory>src/main/frontend</workingDirectory>
            </configuration>

            <executions>

                <execution>
                    <id>install-node-and-npm</id>
                    <goals>
                        <goal>install-node-and-npm</goal>
                    </goals>
                    <configuration>
                        <nodeVersion>v10.16.1</nodeVersion>
                    </configuration>
                </execution>

                <execution>
                    <id>npm install</id>
                    <goals>
                        <goal>npm</goal>
                    </goals>
                    <configuration>
                        <arguments>install</arguments>
                    </configuration>
                </execution>
                <execution>
                    <id>npm build</id>
                    <goals>
                        <goal>npm</goal>
                    </goals>
                    <configuration>
                        <arguments>run buildProduction</arguments>
                    </configuration>
                    <phase>generate-resources</phase>
                </execution>
            </executions>
    </plugin>
    <plugin>
        <artifactId>maven-war-plugin</artifactId>
        <version>3.2.2</version>
        <configuration>
            <failOnMissingWebXml>false</failOnMissingWebXml>

            <!-- Add frontend folder to war package -->
            <webResources>
                <resource>
                    <directory>src/main/frontend/dist/frontend</directory>
                </resource>
            </webResources>

        </configuration>
    </plugin>
    </plugins>
</build>
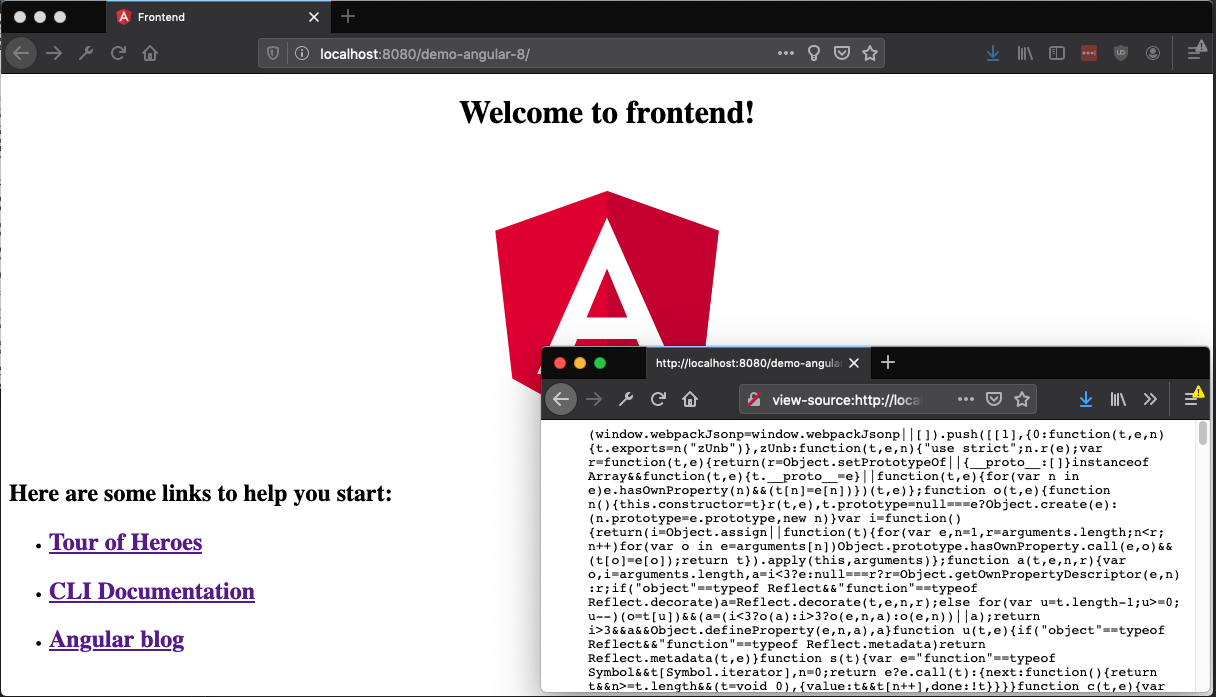
And that’s it!. Once you execute mvn clean package, you will obtain a portable war file that will run over any Servlet container runtime. For instance, I tested it with Payara Full 5, and it worked as expected.

Further Reading
- Angular 8 Forms Tutorial - Reactive Forms Validation Example.
- What’s New in Angular 8.0.
- Angular 8 Tutorial - User Registration and Login Example.
Thank for reading !
This article has been republished on dzone.com
#angular #java #maven #web-development
