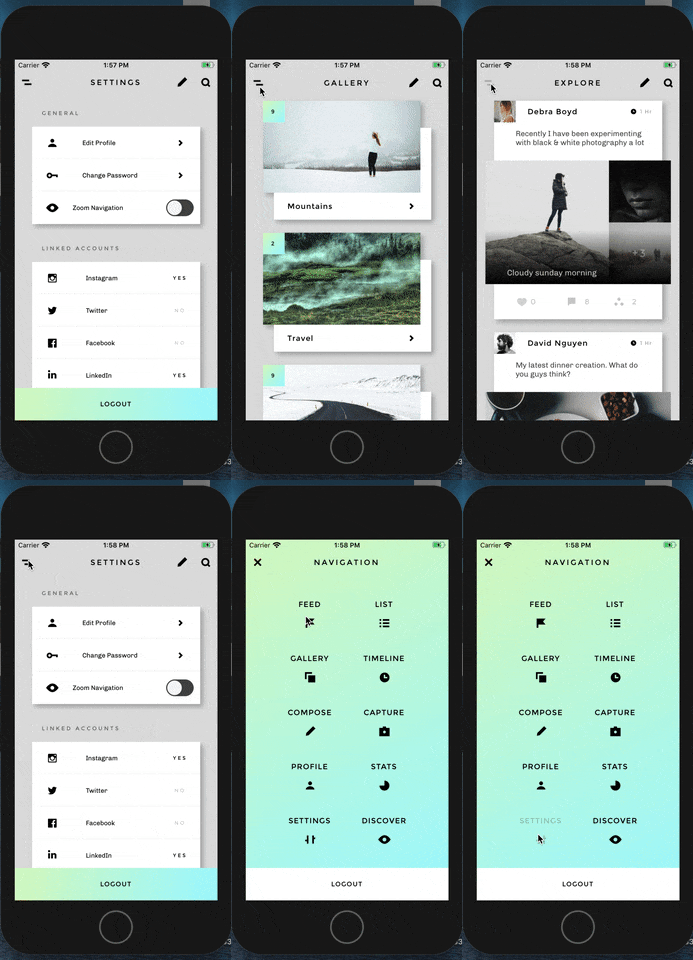
I recently created a settings option in one of my apps that offers its users a way to personalise their navigation experience. In this tutorial I would like to show how to implement this in React Native.

Implementation of personalisation option in my recent project
More specifically, this short tutorial will demonstrate how, by utilising some of the many customisation options of React Navigation v5, you can:
- Apply nested stack navigators to implement different screen transition effects.
- Create matching screen transitions for both iOS and Android.
- Customise screen transition animations to create all kinds of interesting effects.
- Toggle between different screen transition effects with a simple settings switch.
At the end of this tutorial you should have gained insight in some of the many customisation options that React Navigation has to offer.
React Native Starter Kit: The above is a sample taken from the React Native Share Starter Kit, which is available for purchase here.
React Native Resources: Want access to the source code for this project and other React Native resources? Then signup for my newsletter.
Note: the outcome of this tutorial is a stripped-down version of the above gif, which is a sample taken from the ‘React Native Share Starter Kit’.
Setting up nested stack navigators
The basis four this application are a collection of screens that are grouped inside two nested stack navigators:
- MainNavigationStack, which holds the app’s main screens and which by default are displayed with a horizontal navigation transition effect.
- PopupNavigationStack, which holds all screens that are displayed with a vertical navigation transition animation.
When it comes to nesting navigators, it is important to realise this is a practice that comes with a warning message from the React Navigation documentation:
#javascript #react-native #react-navigation #programming #mobile-app-development #react
