Getting Started with React
ReactJS is a popular JavaScript library used extensively for building user interfaces developed by Facebook. It is a JavaScript view-based framework, which uses HTML language. It supports one-way binding which essentially means that it does not have a mechanism to allow HTML to change the components. HTML can only raise events that the components respond to.
This article aims to provide a beginner-friendly introduction to React, what it is and why we need it. It assumes you have some understanding of basic JavaScript.
We will discuss some of its basic concepts and go over what you can build with React.
We will also discuss some code but the overall goal is to gain an intuitive understanding of what React is all about so that you get comfortable with the basics.
What is React?
Developed by Facebook in 2011, React has quickly become one of the most widely used JavaScript libraries. According to HackerRank, 30% of employers look for developers who know React but only about half of the applicants actually have the required knowledge.
Clearly, React is in high demand in the job market.
So what exactly is React?
React is an efficient and flexible JavaScript library for building user interfaces (with itself written using JavaScript). It breaks down complex UIs in the form of small, isolated code called “components”. By using these components, React only concerns itself with what you see on the front page of a website.
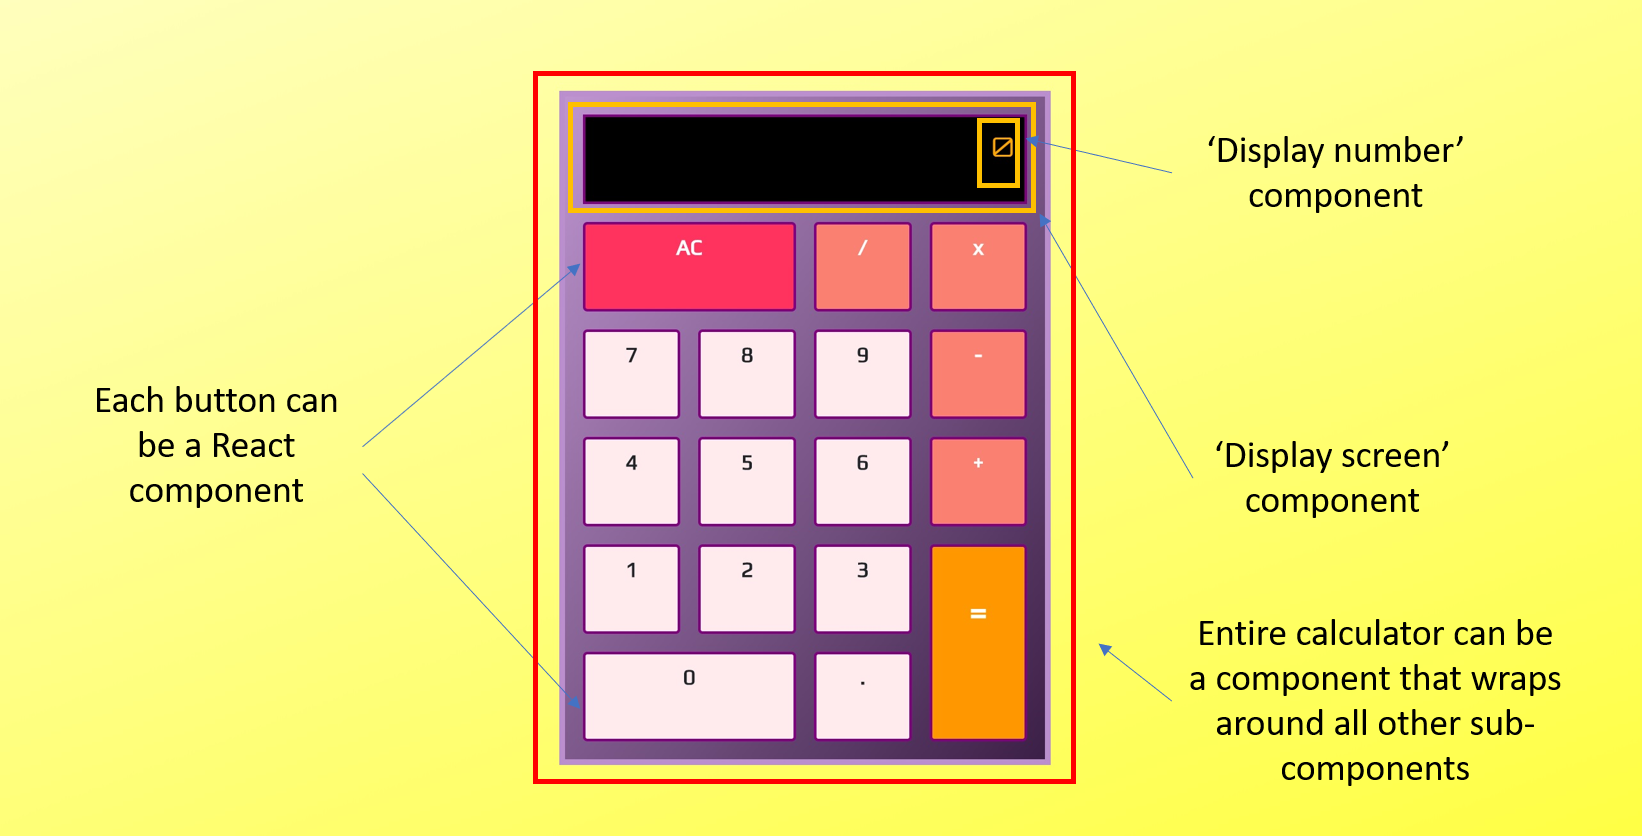
Components are independent and reusable. They can either be Javascript functions or classes. Either way, they both return a piece of code that represents part of a web page.
Here’s an example of a function component that renders a <h2> element onto the page:
function Name() {
  return <h2>Hi, my name is Joe!</h2>;
}
And here is a class component doing the same rendering:
class Person extends React.Component {
  render() {
    return <h2>Hi again from Joe!</h2>;
  }
}
Using a class component takes slightly more effort in that you have to extend React.Component (part of the React library) while a function component is mostly plain JavaScript.
You may have noticed that there is a strange mixture of HTML and JavaScript inside each component. React actually uses a language called JSX that allows HTML to be mixed with Javascript.
Not only can you use JSX to return pre-defined HTML elements, you can also create your own. For example, instead of rendering <h2> elements directly in the class component, you can render the functional component which returns the same thing:
class Person extends React.Component {
  render() {
    return <Name />;
  }
}
Note the self-closing ‘/>’ of the component.
The power of React starts to become more evident as you can imagine rendering many simple components to form a more complex one.
To build a page, we can call these components in a certain order, use the results they return, and display them to the user.
Why Choose React Over Vanilla JavaScript?
Being able to break down complex UIs through the use of components obviously gives React an edge over vanilla JavaScript (plain JS without any external libraries or frameworks), but what else can React do that places it in such high demand among employers?
Let’s take a look at the differences between how React and vanilla JS handles things.
In the previous section, we discussed how React uses components to render UIs. We did not delve into what was happening on the HTML side of things. It may be surprising to learn that the HTML code that pairs with React is really simple:
<div id="root"></div>
It is usually just a <div> element with an id that serves as a container for a React app. When React renders its components, it will look for this id to render to. The page is empty before this rendering.
Vanilla JS on the other hand defines the initial UI right in the HTML.
In addition, vanilla JS takes care of functionality while HTML takes care of displaying content (markup).
In the earlier days of the web the separation of functionality and markup sounded logical as apps were simpler. However, as complexity grew so do the headaches of maintaining large pieces of JS code.
JS code that updates a piece of HTML can be spread across several files, and the developers may have a hard time keeping track of where the code came from. They have to keep things straight in their heads of all the interactions between the code that resides in different files.
React sorts the code into components, where each component maintains all the code needed to both display and update the UI.
If you want to access the DOM in vanilla JS, you have to first find it before it can be used. React stores the data in regular JS variables and maintains its own virtual DOM.
If you want to then update the DOM in vanilla JS, you have to locate the appropriate node then manually append or remove elements. React automatically updates the UI based on the application state, which we will discuss in more detail in the next section.
So the primary reason why we may want to use React over vanilla JS can be summarized in one word: simplicity.
With vanilla JS, it’s easy to get lost in a maze of DOM searches and updates. React forces you to break down your app into components which produces more maintainable code.
Thus, for complex apps you will definitely want to learn React.
Basic React Concepts
We have already discussed how React uses components to break down complex UIs and JSX to render those components.
In this section we will talk about some more fundamental concepts of React.
State
As mentioned previously, React updates the UI based on the application state. This state is actually stored as a property of a React class component:
class Counter extends React.Component {
  state = {
    value: 0
  };
}
Suppose we have a counter and 2 buttons that either increment or decrement. The value of the counter is rendered onto the page through JSX.
The display counter value is based on the state and we change the state by clicking one of the buttons. Vanilla JS treats a button click as an event and so does React. When such an event occurs, we will call functions that either increment or decrement the counter based on the button clicked. These functions have the code that changes the component state.
Here’s an example of such a counter:
class Counter extends React.Component {
  state = {
    value: 0
  };
handleIncrement= () => {
  this.setState(state => {
     value: state.value + 1
  });
};
handleDecrement= () => {
  this.setState(state => {
     value: state.value - 1
  });
};
render() {
    return (
      <div>
        <h2>{this.state.value}</h2>
        <button onClick={this.handleDecrement}>Decrement</button>
        <button onClick={this.handleIncrement}>Increment</button>
      </div>
    );
}
};
We updated the state by calling setState in each of the functions handling a button click. The counter displayed on the page will update in real time. Thus, React gets its name because it reacts to state changes.
In short, React automatically monitors every component state for changes and updates the DOM appropriately.
Props
We can use props (short for “properties”) to allow components to talk to each other.
Suppose the counter in our previous example represents the quantity of a product a customer wishes to purchase. The store wants to place a limit of 2 products purchased per customer. At checkout, we want to display an appropriate message if the customer tries to purchase more than 2.
Here’s how we may do it with props:
const Display = (props) => {
   let message;
   if(props.number>2){
	message = ‘You’re limited to purchasing 2 max!’;
   }else{
	message = ‘All’s good.’;
   }
   return(
	<p>message</p>
   );
};

class Timer extends React.Component {
   state = {
	quantity: 0
   }
   //...code for handling button clicking, updating state, etc.
    render(){
        return(
          <Display number = {this.state.quantity} />
          //...code for other components
       );
    }
};
We create a functional component called Display and pass props as a parameter. When we render this component, we pass to it number as an attribute set to the quantity of the product a customer wants to purchase. This is similar to setting an attribute of an HTML tag. We call this value with props.number in Display to determine what message to return.
Component Lifecycle
As React updates the DOM based on component states, special methods called lifecycle methods exist to provide opportunities to perform actions at specific points in the lifecycle of a component.
They allow you to catch components at a certain point in time to call appropriate functions. These points of time can be before components are rendered, after they are updated, etc.
To see lifecycle methods in action, you can check out this Pomodoro Clock I made.
The clock timer is initially set to the session length. When the session timer counts down to zero, the timer needs to switch to the break length and start counting down from there.
Since the timer is a component, I used the lifecycle method componentDidUpdate within my main class component to handle any changes with handleChange():
componentDidUpdate() {
    this.handleChange();
}
You can think of lifecycle methods as adding event listeners in vanilla JS to a React component.
Thanks for reading and happy coding!
Originally published by Joe Liang at https://www.freecodecamp.org
#reactjs #javascript #webdev