In this article, we will review how to set up multi-subnet Always On Availability groups using AWS EC2 instances and AWS FSx as file share witness.
The following are the steps involved in creating a multi-subnet Always On Availability groups in AWS EC2 instances:
- Prepare EC2 instances
- Create AWS FSx for file share witness
- Create Windows Server Failover cluster
- Create Always On Availability Groups
Let’s go over these steps one by one.
Preparing EC2 instances
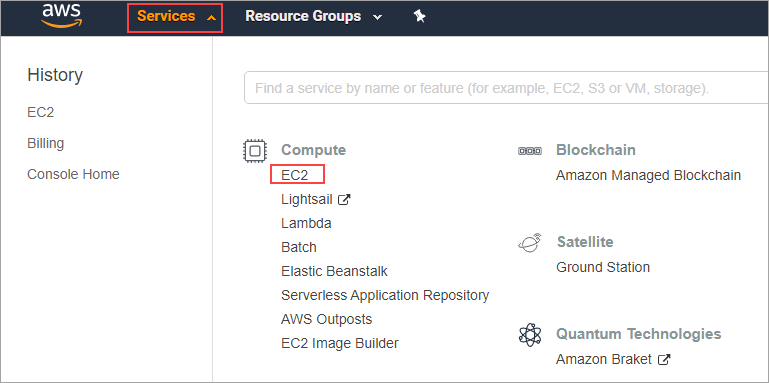
Log in to the AWS management console, click on Services, and navigate to the EC2 console.
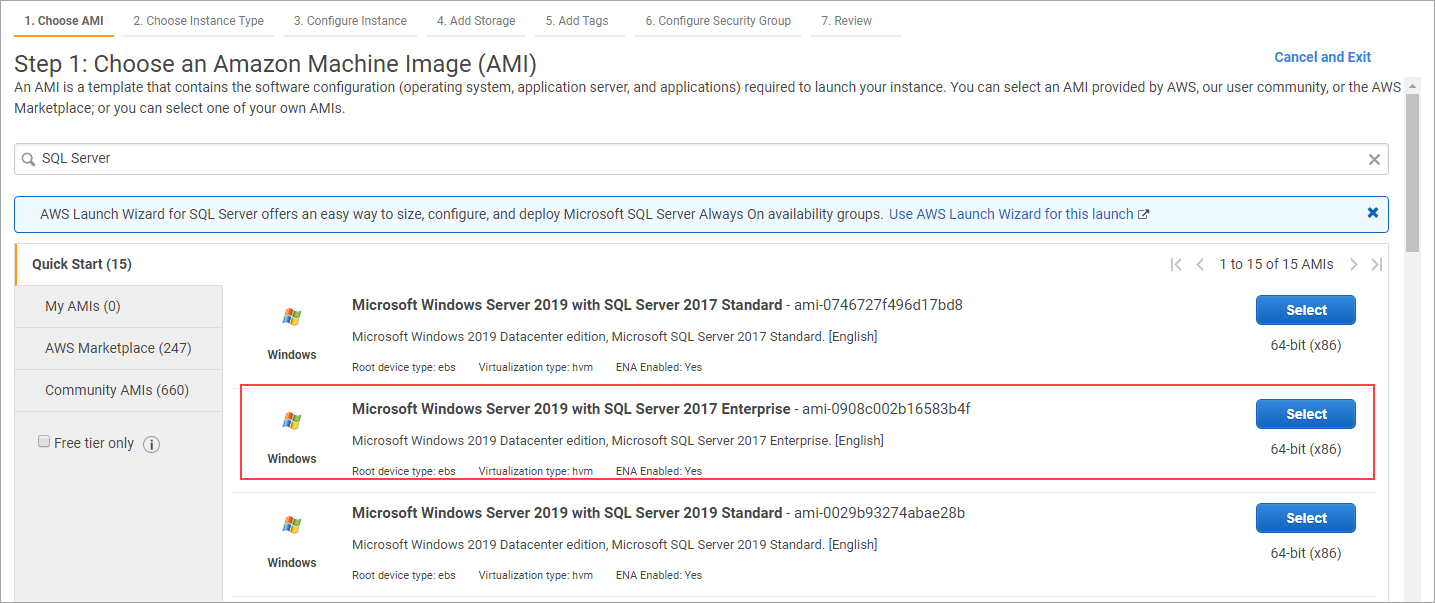
Click on the **Launch Instance **button and choose the instance of your choice. For demo purposes, I used Windows Server 2019 with SQL Server 2017 Enterprise edition image. You can also launch windows server image and install SQL Server by bringing your own license method (BYOL).
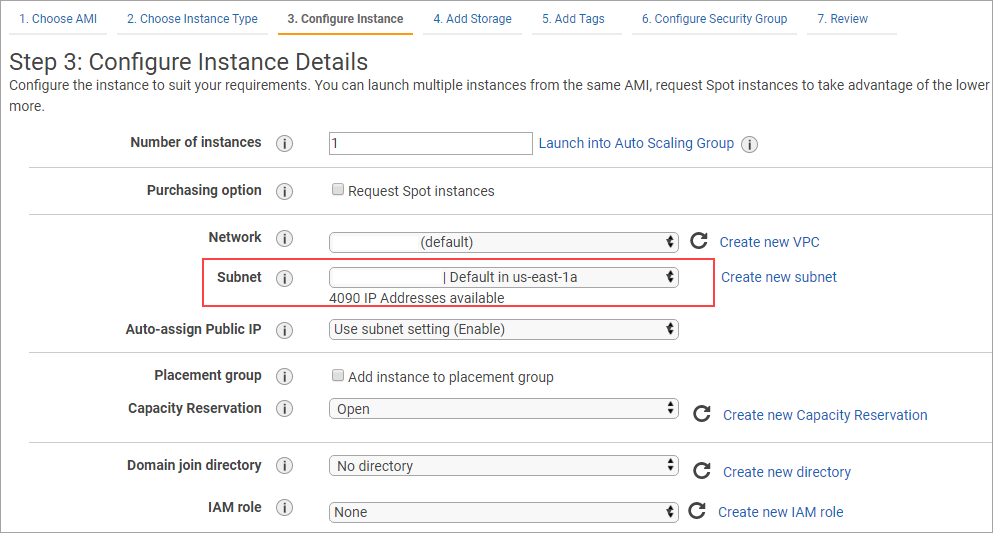
Choose the instance type of your choice and configure the instance details like virtual private cloud network (VPC), subnet, etc. In this case, I am launching node 1 in the us-east-1a availability zone.
Add the storage and tag the instances. Configure the security group and launch the instance. Similarly, launch node 2 in the same virtual private cloud network (VPC) but a different availability zone i.e., us-east-1b. So, we have both the nodes up and running in the respective availability zones.

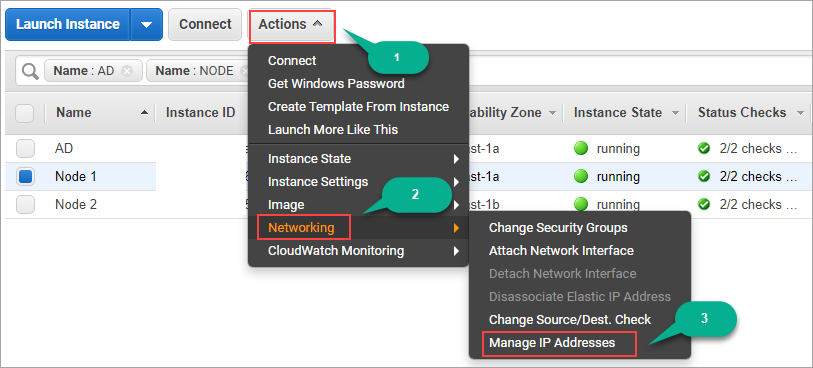
Add two secondary IPs for each node. One is used for Windows Server Failover Clustering, and the other will be used for Always On Availability group listener.
To add the secondary IPs, select the node, and click on Actions (1). Click on Networking (2) and finally select Manage IP Addresses (3).
In Manage IP Addresses pop up, Click on Assign new IP two times and then click on Yes, Update as shown in the below image. You can input the custom IP addresses that are available or use the auto-assign option, which assigns a random IP address automatically.
#alwayson availability groups #clustering #high availability #sql
