This is a Git-101 for Jupyter users that are not familiar with Git / GitHub. It’s a hands on tutorial & is meant to be comprehensive. Feel free to skip a section if you are already familiar with the steps. At the end you’ll be able to,
- Push your notebooks to a GitHub repository
- Start versioning your notebooks + learn how to revert to a specific notebook version
- Get feedback & discuss notebook changes with your peers
- Easily share your notebooks for others to view
Create GitHub Account
If you don’t have a GitHub account please create one here.
Setup Git Locally
- Download and install the latest version of Git.
- Setup your name & email in git by running following commands on terminal —
>> git config --global user.name "Mona Lisa"
>> git config --global user.email "email@example.com"
- Connect your local git client with GitHub by caching your password.
Create New Repository
A GitHub repository is like your supercharged folder in the cloud. You can store files (notebooks, data, source code), look at historical changes to these files, open issues, discuss changes and much more. People typically create one repository per project.
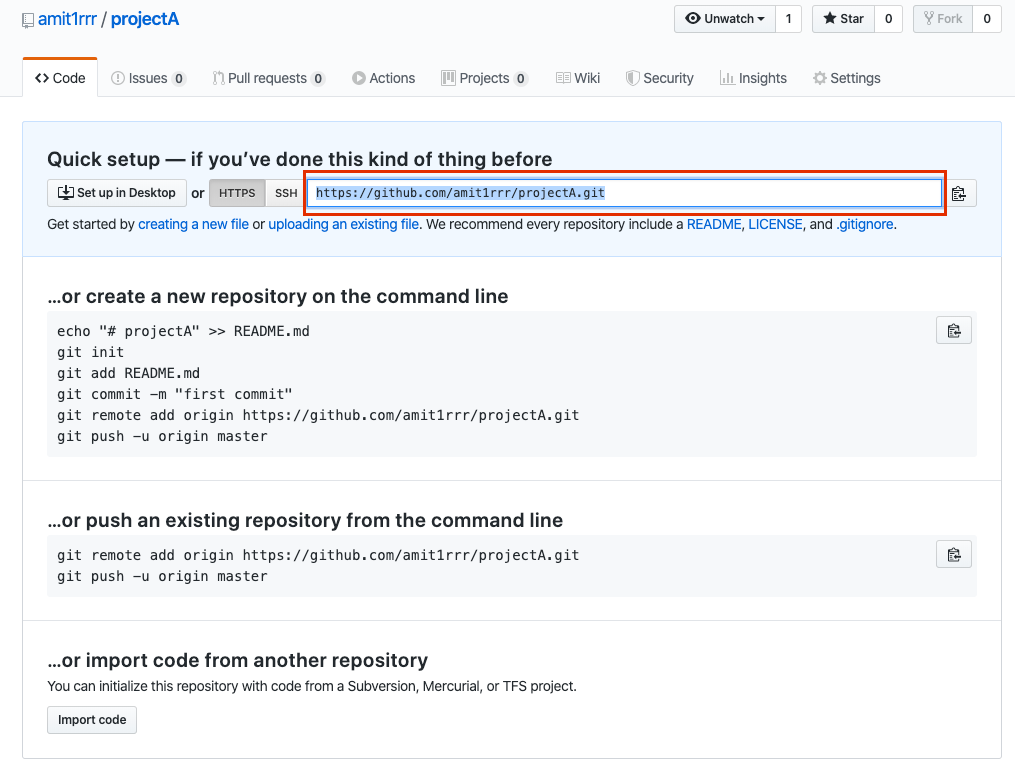
Let’s go ahead & create a repository on GitHub. Once created, you’ll see a page like below, copy the highlighted repository URL.
Clone Repository
Let’s clone the GitHub repository on our machine by running following command on the terminal. It will create projectA directory on our machine which is linked to amit1rrr/projectA repository on GitHub. Replace [https://github.com/amit1rrr/projectA.git](https://github.com/amit1rrr/projectA.git) with your own repository URL from the above step —
#code-review #jupyter-notebook #version-control #github #git