Get stored procedure class file
After downloading the SPToCore tool, we need to get the stored procedure class file.
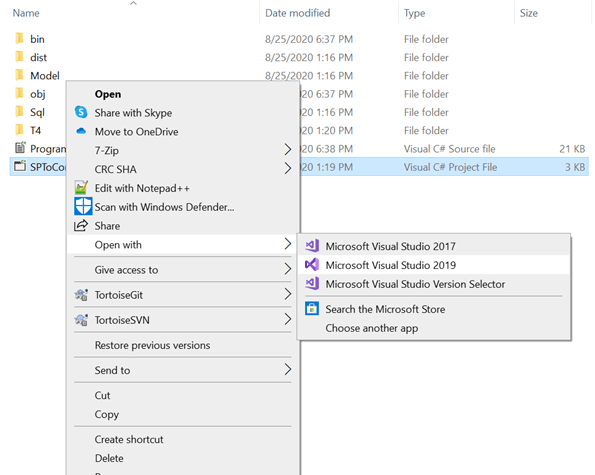
- Open the SPToCore tool using Visual Studio as shown in the following the screenshot.
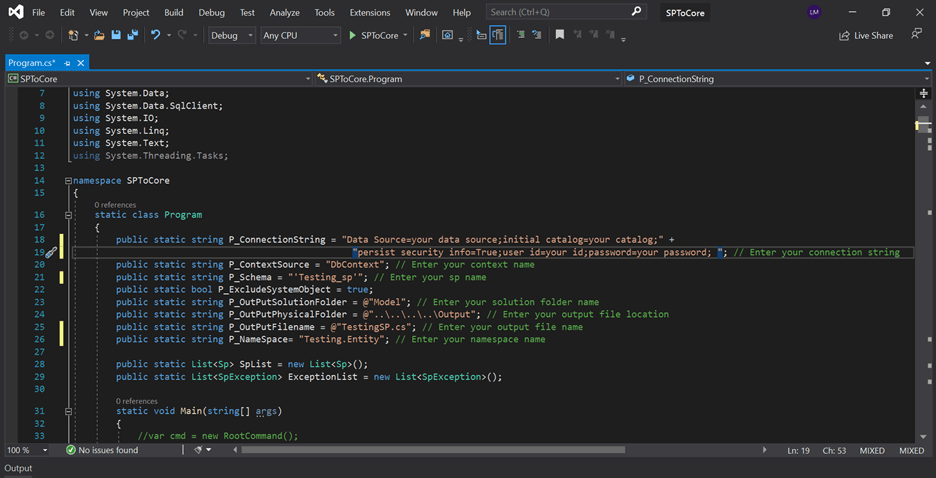
- Open the program.cs file in the Solution Explorer. It will look like the following screenshot.

- In the code editor, enter your parameters as shown in the following screenshots.
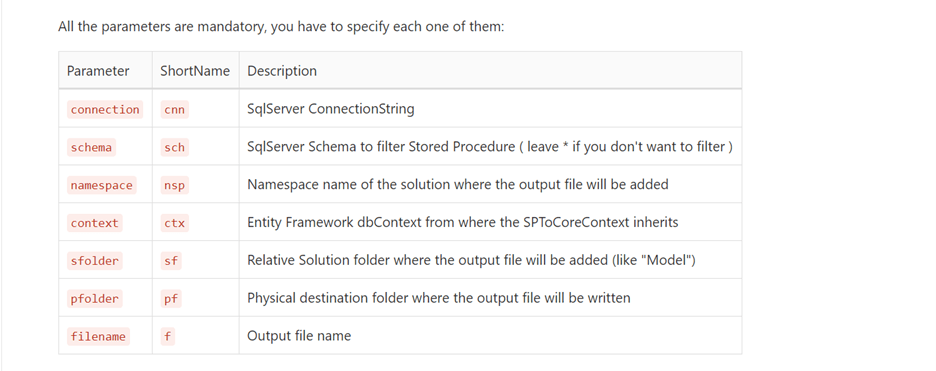
- Parameter Details
- The following parameter details are reproduced from the SPToCore GitHub README.
- After entering the parameters, run the SPToCore tool and it will open the following window.
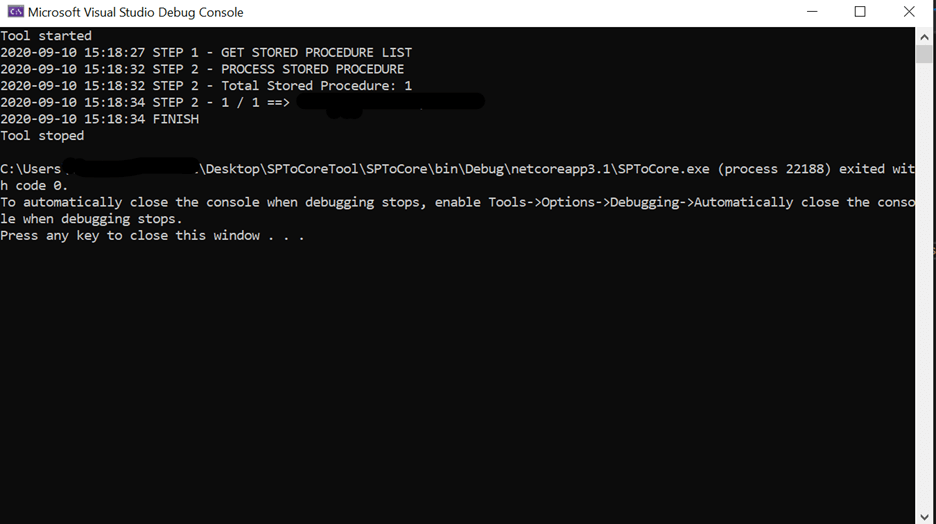
- After completing the tool execution, check the output folder to ensure it is as you specified in the parameter.

- Open the automatically generated class file from the output folder in Visual Studio and it’ll show you the following code.
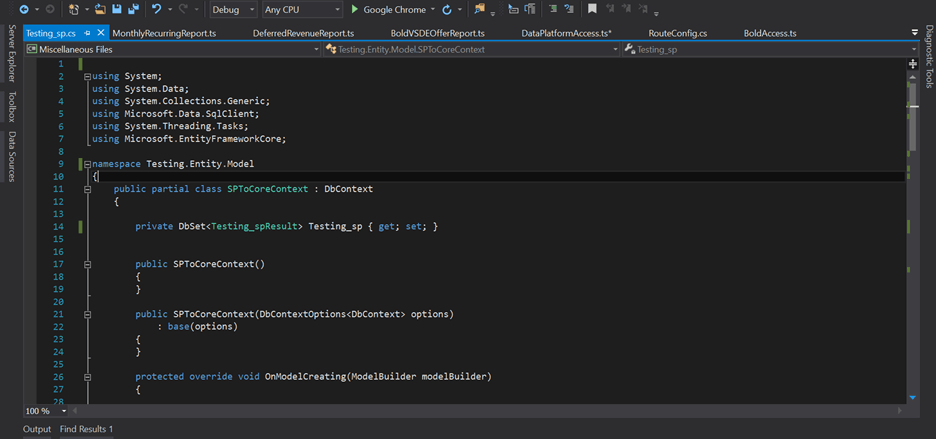
Now, you can attach this automatically generated class into your .NET Core application by following the steps in the next section.
#.net core #asp.net core #sql #web #.net #productivity
4.15 GEEK