Welcome to the Part 2 of the series Go Serverless. Hope you are enjoying it so far by following the steps to develop the serverless testimonial app.
In the last article(Part 1), we have established a ground by,
- Creating an account with the client-serverless data API provider called,
FaunaDB. - Setting up the database, schema, document and the server key.
- Writing the serverless functions using,
Netlifyand finally tested them like APIs
In this article, we will be using the serverless functions to build a user interface of the testimonial app. To do that, we will use Gatsby which is a super cool, react-based static site generator. We will also learn about using Netlify to build and deploy the testimonial app.
We will start where we left off in the last article. Let us continue to develop the app on top of the code implemented so far as part of the previous article.
If you haven’t got a chance to go through the part 1 of the series yet, here is the link:
As usual, here is the source code repo link:
Gatsby: Install and initial setup
There are multiple ways to setup a Gatsby based project. There are plenty of starter projects to help you get going. You can check out this quick start guide to learn more.
For a better understanding sake, we will not be using any of the starter projects here. We will build things from the scratch.
- Install
gatsby-cliglobally. This tool will help us to work with the Gatsby environment.
npm install -g gatsby-cli
- Install gatsby, react and react-dom
yarn add gatsby react react-dom
- Edit the
scriptssection of thepackage.jsonfile to add a script for ‘develop’.
 "scripts": {
    "test": "echo \"Error: no test specified\" && exit 1",
    "develop": "gatsby develop"
  }
Gatsbyprojects need a special configuration file called,gatsby-config.js. At this time, we will need an empty file. Please create a file named,gatsby-config.jswith the following content:
 module.exports = {
  // keep it empty
 }
- Now it is the time to create our first page with Gatsby. Create a folder named,
srcat the root of the project folder. Create a sub-folder named,pagesundersrc. Create a file named,index.jsundersrc/pageswith the following content:
  import React, { useEffect, useState } from 'react';

  export default () => {
    const [status, setStatus ] = useState('loading...');
    const [testimonials, setTestimonials] = useState(null);

    return (
      <>
        <h1>Testimonials to load here...</h1>
      </>
    )
  }
- The code above is a simple react component. We import
Reactand two in-built hooks called,useStateanduseEffect. We have got a couple of state variables to keep track of the array of testimonials and the API responses. - Let’s run it. We generally need to use the command,
gatsby developto run the app locally. As we have to run the client side application withnetlify functions, we will continue to use,netlify devcommand. - This single command will take care of running the serverless functions locally along with the client side gatsby application. Open a command prompt at the root of the project folder and type,
netlify dev
- That’s all. Try accessing the page at
localhost:8888. You should see something like this,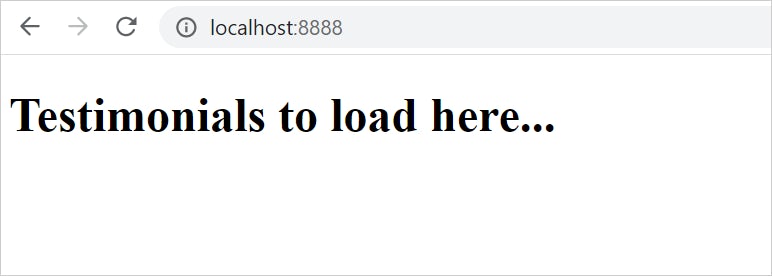
- Gatsby project build creates couple of output folders which you may not want to push to the source code repository. Let us add few entries to the
.gitignorefile so that, we do not get unwanted noise. - Add
.cacheandpublicto the .gitignore file. Here is the full content of the file:
.cache
public
node_modules
*.env
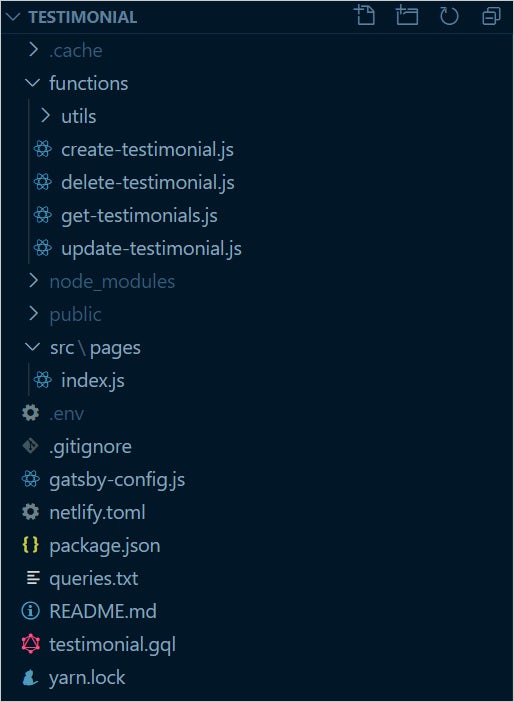
- At this stage, your project directory structure should match with the following:
#javascript #react #gatsby #netlify #jamstack
