Faking the Backend In Angular using JSON
Most of the time, when building an Angular application you communicate from and to a backend via a REST API that uses JSON as data format. Sometimes you want to start building an Angular application, but you don’t have a backend to serve you real data.
Worry no more! In this article, I will introduce you to JSON Server, a tool that makes it easy to mock rest APIs so that you don’t need to have a real backend to get started.
Why a Mock API?
First, let’s start with why you would want a mock API in the first place. My top three reasons to have a mock API are prototyping, mocking, and teaching.
Prototyping
With a mock API, you can start developing without waiting for the backend team. You start writing your Angular application, plug it to a mock API then switch to the real backend when it’s ready. This can also help you design the potential shapes of the server’s responses in collaboration with the backend team.
Mocking
For end-to-end tests, you usually don’t want to hit your real APIs whenever you run your test suites. A mock API allows you to have a realistic API for your tests without worrying about populating or resetting your database.
Teaching
In tutorials, demos, workshops, and online courses, a mock API can come in very handy by allowing you to focus on teaching the frontend technology instead of worrying with setting up a backend.
What is JSON Server?
JSON Server is an Express-based server that simulates a full-featured REST API, using a JSON file as its database.
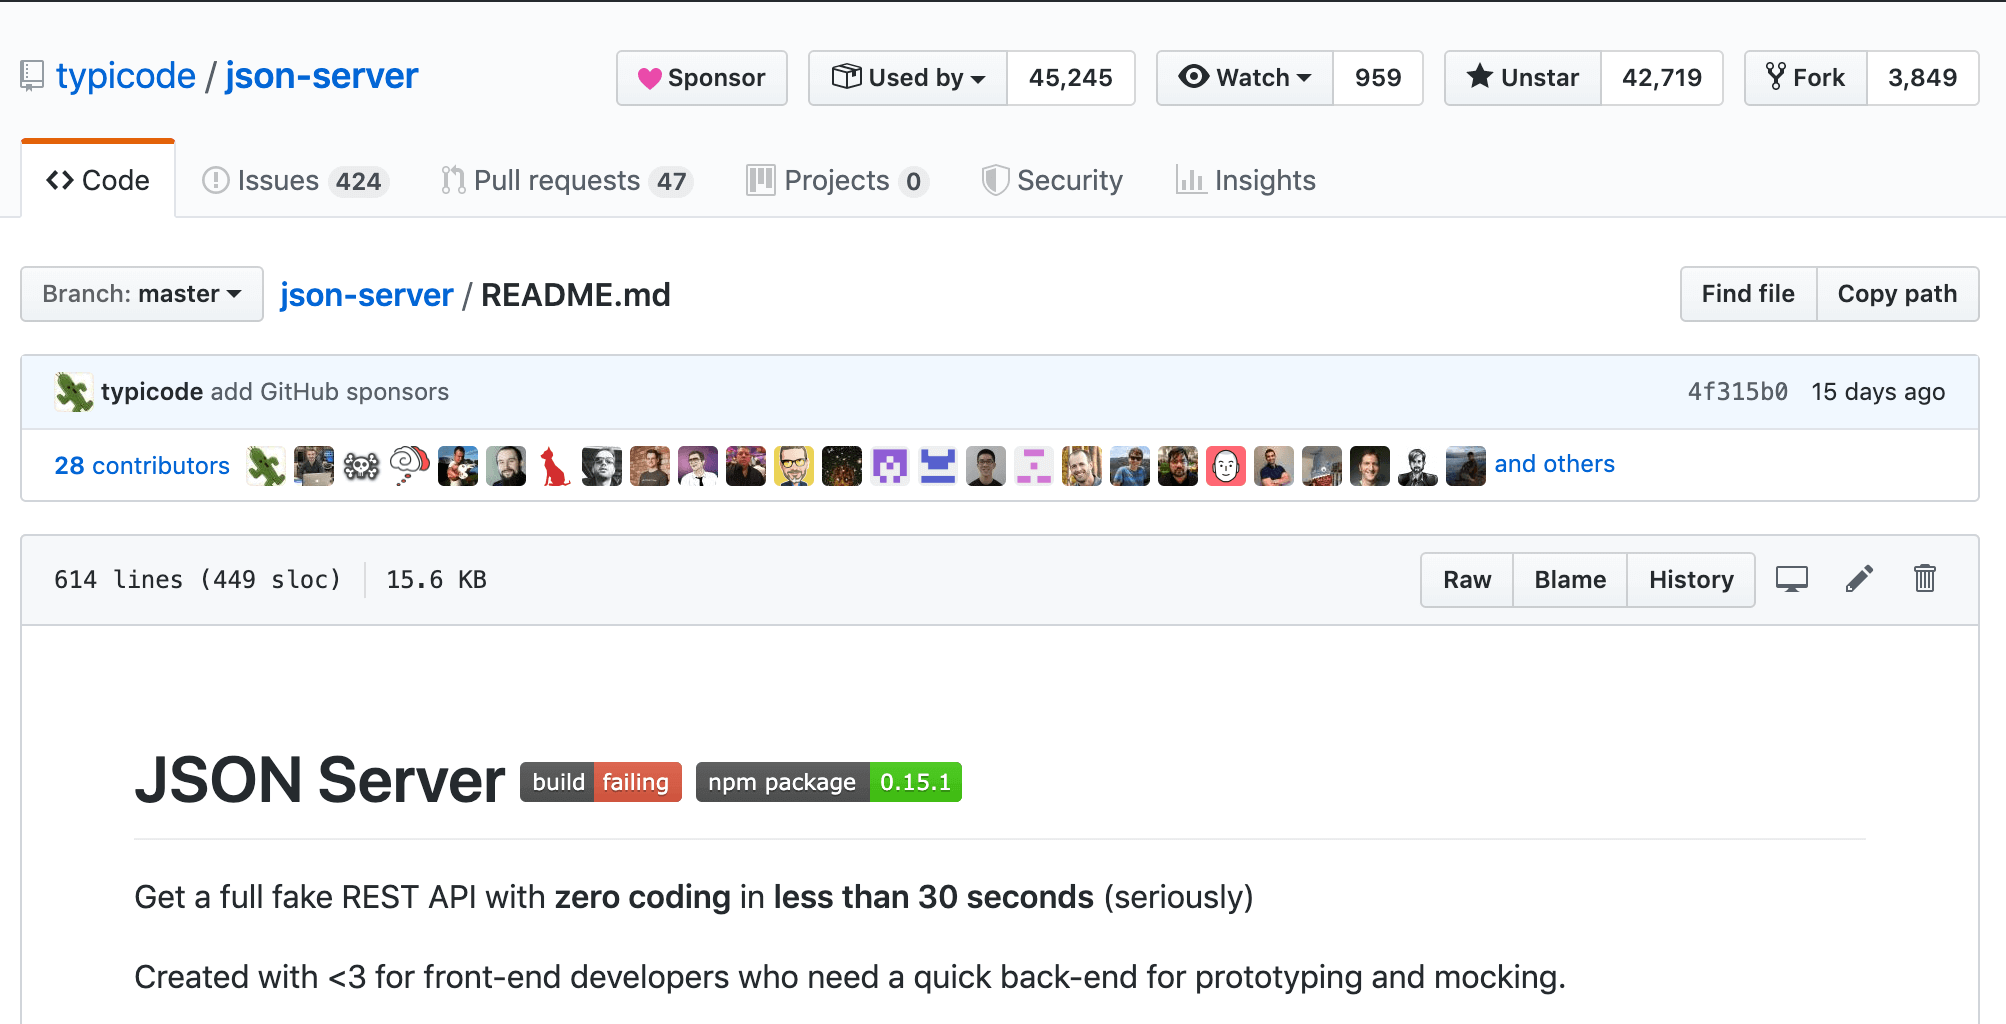
While writing this article, I was trying to find out the best way to describe JSON Server. Then I took a second look at the README of the JSON Server repository as it describes JSON Server in the best possible manner.

So JSON Server is a tool that helps Frontend developers quickly prototype or mock a REST API. Where JSON Server shines is that you don’t need to set up a real database. Your database is a simple JSON file.
Setting Up JSON Server
Now, let’s talk about how to set up a JSON Server.
Scaffold a new Angular application
First, let’s scaffold a new Angular application called my-app using the Angular CLI:
ng new my-app --defaults
Change directory into my-app
cd my-app
Install JSON Server
JSON Server is available as a package that you can install with NPM:
npm install --save json-server
Create the database file
Create the api/db.json file with the following content:
{
  "teams": [
    {
      "id": 1,
      "name": "FC Barcelona",
      "coach": "Ernesto Valverde",
      "description": "The best football team in the world!"
    },
    {
      "id": 2,
      "name": "Real Madrid",
      "coach": "Zinedine Zidane",
      "description": "The worst football team in the world!"
    }
  ]
}
The file api/db.json defines our API endpoints. In this example, we have one endpoint called /teams that will return a list of football teams.
Create a route mapping file
Create a file named api/routes.json with the following content:
{
  "/api/*": "/$1"
}
By default, our routes are not prefixed with /api. So we will use the routes.json file to configure JSON Server to prefix all our API endpoints with /api. This is very important because, in our Angular application, we want to have all our HTTP calls start with /api.
You may also like: To become an effective Angular developer, you need to learn 19 things in this article.
Add a script to start the server
Add the following key/value pair to the scripts section of your package.json file:
"api": "json-server api/db.json --routes api/routes.json --no-cors=true"
Start the mock API
Now, we are ready to start the mock API with the following command:
npm run api
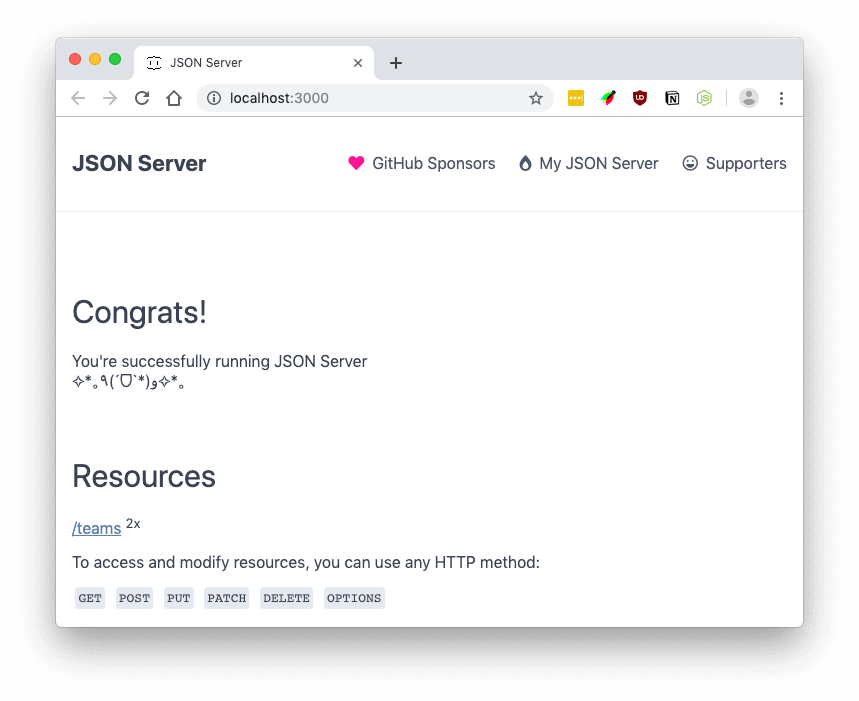
This will launch our mock API on http://localhost:3000.

Communicating With the Mock API From Angular
Set up the HttpClientModule
Before being able to send HTTP requests to a backend, you must set up HttpClientModule. Open the app.module.ts file and add HttpClientModule to the imports array of the AppModule:
import { BrowserModule } from '@angular/platform-browser';
import { NgModule } from '@angular/core';
import { AppComponent } from './app.component';
import { HttpClientModule } from '@angular/common/http';
@NgModule({
declarations: [
AppComponent
],
imports: [
BrowserModule,
HttpClientModule,
],
bootstrap: [AppComponent]
})
export class AppModule {}
Make a request to the backend
You can now inject the HttpClient service in your root component—AppComponent. Next, create a property called teams$ that will hold the Observable of teams returned from our GET request.
import { Component } from '@angular/core';
import { HttpClient } from '@angular/common/http';
@Component({
selector: 'app-root',
templateUrl: './app.component.html',
styleUrls: ['./app.component.css']
})
export class AppComponent {
teams$ = this.http.get('http://localhost:3000/api/teams');
constructor(private http: HttpClient) {}
}
Display the list of teams
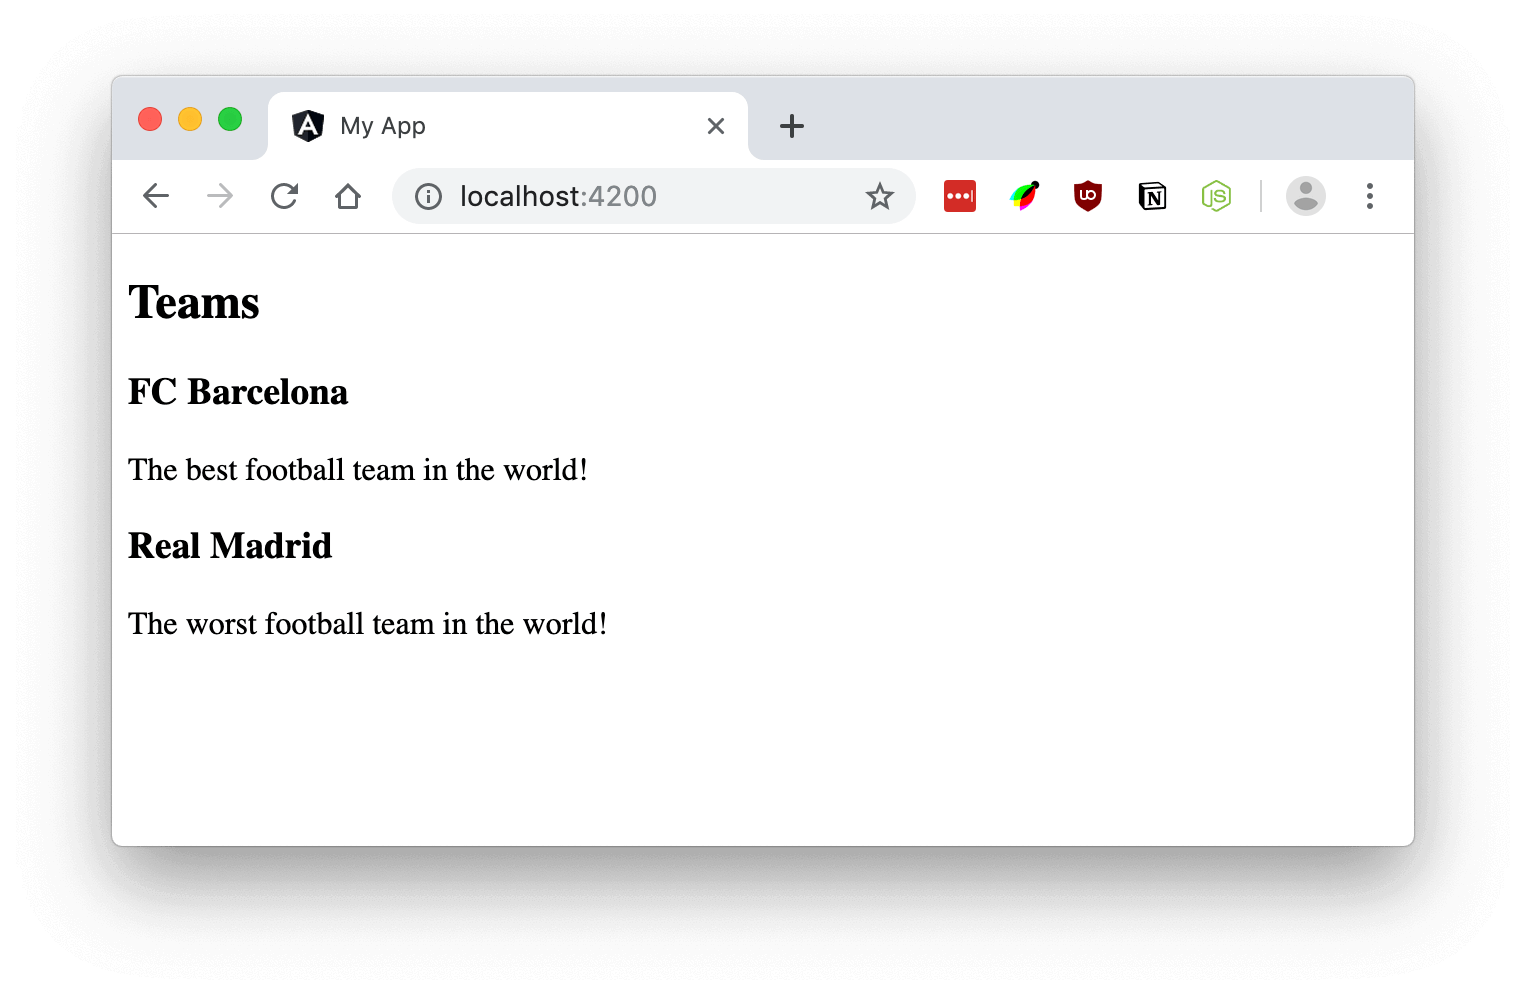
We can now use the async pipe to and the *ngFor directive inside our component’s template to display the list of teams:
<h2>Teams</h2>
<div *ngFor="let team of teams$ | async">
  <h3>{{team.name}}</h2>
  <p>{{team.description}}</p>
</div>
Launch the application
We are ready to serve the application:
ng serve --open
The will automatically open your browser thanks to the --open flag. But hey, nothing is displayed on the page. Open your browser’s dev tools and you will see that the request failed due to CORS issues.

This happens because our Angular application and our backend are not on the same domain — different ports tantamount to different domain names.
Solving CORS issues
To solve CORS issues the easiest way is to avoid cross-domain HTTP calls altogether. Most of the time, our frontend and our backend reside in the same domain so we don’t have any CORS issue in production. This is a development time issue and the solution is to take advantage of the Angular CLI’s development server built-in proxy and make all our HTTP call relative.
Make our HTTP calls relative
Replace http://localhost:3000/api/teams with /api/teams inside the component:
teams$: Observable<any> = this.http.get('/api/teams');
In production, this request will hit http://my-app.com/api/teams if your frontend is deployed at my-app.com and your backend resides at my-app.com/api. But in development, the request will hit http://localhost:4200/api/teams while our backend resides at localhost:3000/api/teams. To solve this development time issue, let’s set up a proxy using the Angular CLI.
Create the proxy configuration object
Create a file name proxy.conf.json at the root of your application:
{
  "/api": {
    "target": "http://localhost:3000"
  }
}
Open the angular.json file and update the serve target by adding the key/value pair "proxyConfig": "proxy.conf.json"
Update the workspace configuration file to use the proxy
{
  "serve": {
    "builder": "@angular-devkit/build-angular:dev-server",
    "options": {
      "browserTarget": "my-app:build",
      "proxyConfig": "proxy.conf.json"
    },
    "configurations": {
      "production": {
        "browserTarget": "my-app:build:production"
      }
    }
  }
}
With this configuration, in development mode, all requests that start with /api will be forwarded to http://localhost:3000 where our mock API resides. No CORS issues anymore and when we deploy our application to production, no change is required to our Angular application to make it work with a real backend.
Restart the server
Restart the server to take into account the proxy configuration and check your browser again.

Summary
In this article, we learned how to leverage JSON Server to build mock API. We also learned how to properly configure our Angular applications to take advantage of the CLI’s built-in proxy to avoid CORS issues in development mode.
Thank for reading! If you enjoyed this article, please share it with others who may enjoy it as well.!
#angular #angularcli #jsonapi #proxy #webdev
