React Native (Expo) App with Authentication Flow using AWS Amplify + Cognito
expo_amplify_init2
React Native (Expo) App with authentication flow using AWS Amplify + Cognito.
Custom SignIn, SignUp, ForgotPassword screens.
Homogeneous theme across screens using /styles.
(NOT tested in Android environment).
This app integrates features from various sources :
- UI/UX : https://dribbble.com/shots/4569970/attachments/1033490?mode=media
- Plant App video : https://youtu.be/gyiwFcrVRCM
- Custom authentication flow using Context, Hooks and AWS Cognito : https://medium.com/@mike.almpertis/react-navigation-5-0-authentication-flow-using-context-hooks-and-aws-cognito-3f7d50df7921
Other References
useReducer() hooks API : https://reactjs.org/docs/hooks-reference.html#usereducer
AWS authentication with Amplify : https://docs.amplify.aws/lib/auth/getting-started/q/platform/js
Tektuitive Video : Both built-in & custom RN authentication w/ AWS Amplify : https://www.youtube.com/channel/UCKBWovN9JcjEPoO5rCm9eCA/videos
Tektuitive GitHub : https://github.com/tektuitive/react-native-amplify-tutorial/tree/main/src
Follow instructions to get this working - git clone won’t work!
App Screenshots


Install AWS Amplify CLI
There are many prerequisites to be installed before we can actually install RN.
Make sure ALL are installed.
- [1] Install Homebrew
- Homebrew is a package manager that let’s you install stuff that Apple or Linux didn’t need
- Open Terminal, and paste :
/bin/bash -c "$(curl -fsSL https://raw.githubusercontent.com/Homebrew/install/master/install.sh)"- This will also install Xcode Command Line Tools (this step takes a while… 2.5GB)
- [2] Install Node JS
brew install node
- [3] Install React Native Client
sudo npm i -g react-native-cli# i for install, -g for global
To build ios projects under Xcode, we need the following as well (yarn is not a must, but a good to have).
- [4] Install CocoaPods
- CocoaPods is a dependency manager for Swift and Objective-C Cocoa projects.
brew install cocoapodssudo gem install cocoapods
- [5] Install Watchman
- React Native uses watchman to detect when you’ve made code changes and then automatically build and push the update your device without you needing to manually refresh it (live reload).
brew install watchman
- [6] Install Yarn
- Yarn is a new JavaScript package manager built by Facebook, Google, Exponent and Tilde.
brew install yarn
Clone This Repository
To do so, first check if Git is installed by
git --version.
If nothing shows up, you need to install Xcode, which will also install Git.
Check if Xcode is installed byxcode-select -p
If directory exists, Xcode is installed. Otherwise, install Xcode from App Store.
From your local machine, open Terminal, and go to (cd into) a directory where you would like to copy (clone) this project.
Do NOT create project directory, since clone will create a project directory with the name rn_ble_manager_v2 (name of this repo).
-
Paste following :
-
git clone https://github.com/onehwengineer/rn_ble_manager_v2.git
You will now notice that [your project dir]/rn_ble_manager_v2 is created.
(Repo Cloned Already) Getting Latest Changes from Remote Repo
If this repo was cloned before, and you’d like to “get” the latest updates to this repo, follow this step
- In Terminal,
cdinto project directory, /rn_ble_manager_v2 git pull origin masterThis will get, or “pull” all the latest changes in the remote repo to your local repo.
Install All Node Libraries/Dependencies in Cloned Project (as specified under packages.json)
- From Terminal,
cdinto /rn_ble_manager_v2 - Type :
npm install - Next,
cdinto /ios (a sub-directory of rn_ble_manager_v2), and typepod install cd ..to go back to project directory
[IMPORTANT] MUST DO THIS STEP
For any apps with react-native-vector-icons library, below steps must be done after cloning.
Otherwise, failed to build ios project… error code 65 will show up when react-native run-ios is run.
-
[1] Unlink react-native-vector-icons library
react-native unlink react-native-vector-iconscd ios->pod install->cd ..
-
[2] Install again
npm install --save react-native-vector-icons—save is important herecd ios->pod install->cd ..
-
[3] Add fonts manuall for ios and android (use your text editor - I use VSCode)
- [ios] Go to [project name]/ios/[project name]/info.plist
- Add the fonts BELOW UIAppFonts array
<key>UIAppFonts</key> <array> <string>AntDesign.ttf</string> <string>Entypo.ttf</string> <string>EvilIcons.ttf</string> <string>Feather.ttf</string> <string>FontAwesome.ttf</string> <string>FontAwesome5_Brands.ttf</string> <string>FontAwesome5_Regular.ttf</string> <string>FontAwesome5_Solid.ttf</string> <string>Foundation.ttf</string> <string>Ionicons.ttf</string> <string>MaterialIcons.ttf</string> <string>MaterialCommunityIcons.ttf</string> <string>SimpleLineIcons.ttf</string> <string>Octicons.ttf</string> <string>Zocial.ttf</string> </array>- Save -> restart VSCode (or any other text editor) & metro bundler (Terminal)
- [android] Add this line to android/app/build.gradle
apply from: "../../node_modules/react-native-vector-icons/fonts.gradle"
Run App on Simulator (just to make sure no errors during build)
- Although the ultimate goal is to lauch this app in an ios device, we still need to test under Simulator to ensure that there are no build errors.
- In Terminal, make sure you are inside the project directory
- Type 'react-native run-ios`
- Note that first build takes a while - be patient
Run App on Actual Device (iPhone, our final goal!)
For this step, make sure to use your PERSONAL laptop/iphone
-
[0] Sign up for Apple Developer account (don’t need to pay anything)
- https://developer.apple.com/
- Make sure to make this account separate from your personal
-
Connect your iPhone to a Mac via Lightening cable
-
Double click : …/rn_ble_manager_v2/ios/rn_ble_manager_v2.xcworkspace to launch RN app in Xcode
-
[1] Sign in to Xcode with your developer’s account
- Xcode → Preferences → Accounts tab

- Xcode → Preferences → Accounts tab
-
[2] Assign team
- Select the account name signed in from previous

- Select the account name signed in from previous
-
[3] Connect your iPhone to a Mac via Lightening cable
- In Xcode, hit Windows → Devices and Simulators
- A window will show up and indicate that this iPhone needs to be trusted
- Unlock your (connected) iPhone, and hit Trust upon pop up
- Xcode will then install debugger support on this iPhone (takes a few min)
- Afterwards, make sure “Show as run destination” is checked
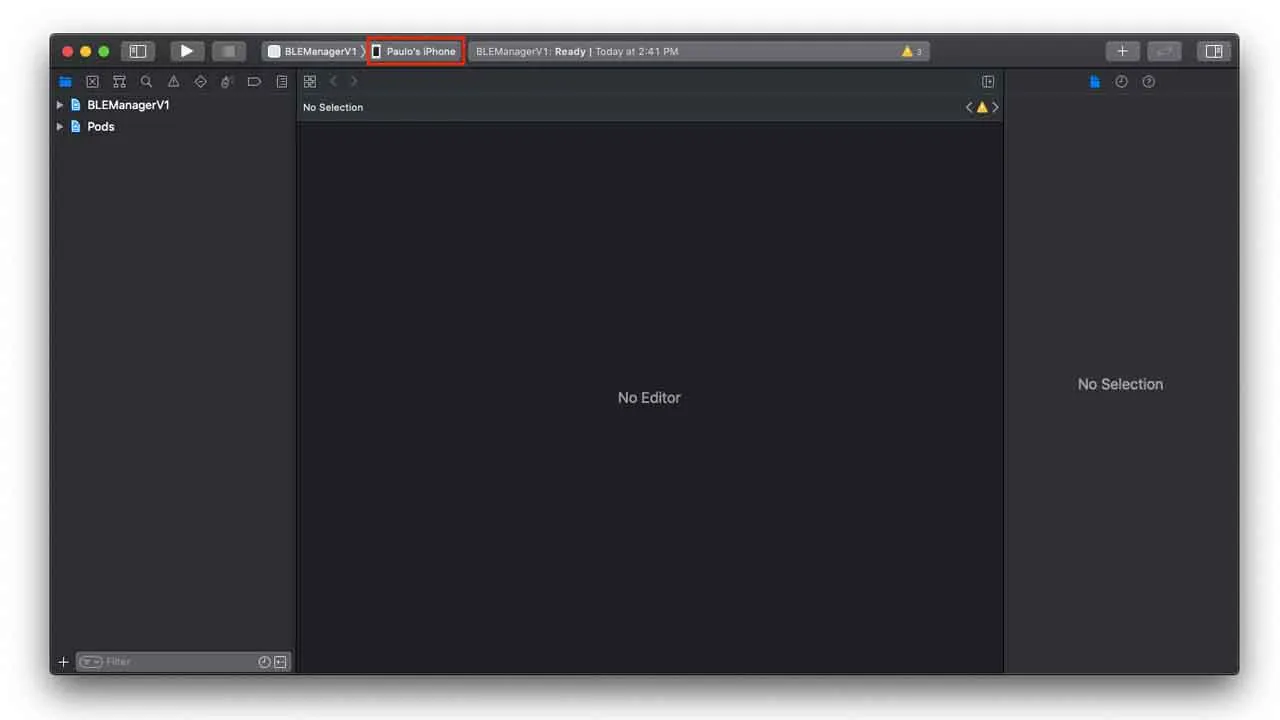
- Finally, select your iPhone as the target as shown below

-
[4] Verify Developer App certificate
- On your iPhone, click Settings → General → Device Management → Click Trust
-
[5] Hit Run button in Xcode!
- You will get a ton of warning messages, but just ignore them.
- After a few min, your app will launch on your iPhone!
(Other References)
- Another example using react-native-ble-manager + code walkthrough
Download Details:
Author: onehwengineer
Source Code: https://github.com/onehwengineer/expo_amplify_init2
#react-native #react #mobile-apps