It’s simple enough (with the right admin credentials) to get an overview of which users can access a particular account/container, as well as what level of access they have. However, there’s no way of getting a simple view of access levels for all users across all accounts & containers, which means it’s not that easy to monitor who has access to what.
Fortunately, all of the information that’s required to build this view is available via the GTM APIs. The steps below explain how to it’s possible to generate a user access table, which can then be exported in CSV format and uploaded into a tool such as BigQuery. In my example, the table is designed to show which containers each user has “publish” access to but it could be easily extended to show all access levels.
1 Design Overview
The UI element in this project is extremely basic, as the tasks that are carried out don’t require any user involvement beyond Google authentication. Consequently, it would make a lot of sense to run this in App Engine or via Cloud Triggers but for the initial build I am running a simple Node.js app locally on my machine.
The requirements for the project are very simple:
i) the user can authenticate with an account of their choice
ii) a table of GTM users with publish access is generated for all accounts that the user making the request has access to
iii) the table is exported in CSV format for use in other tools, so it can be ingested elsewhere (e.g. BigQuery)
At risk of stating the obvious, it’s important that you have access to all of the containers that you need to evaluate user permissions for, otherwise that information won’t be returned when you make the API requests.
2 API setup
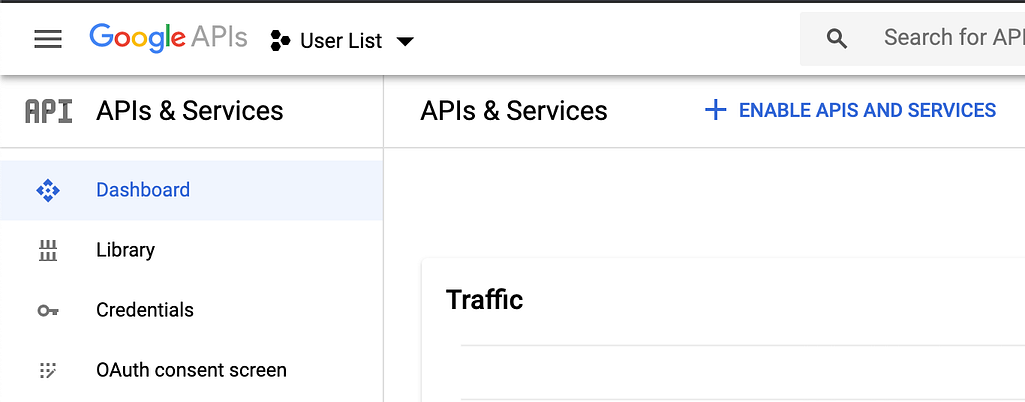
The first step is to go to console.developers.google.com, at which point you can choose from an existing GCP project or create a new one. Once you have an active project, click on +Enable APIs and Services:
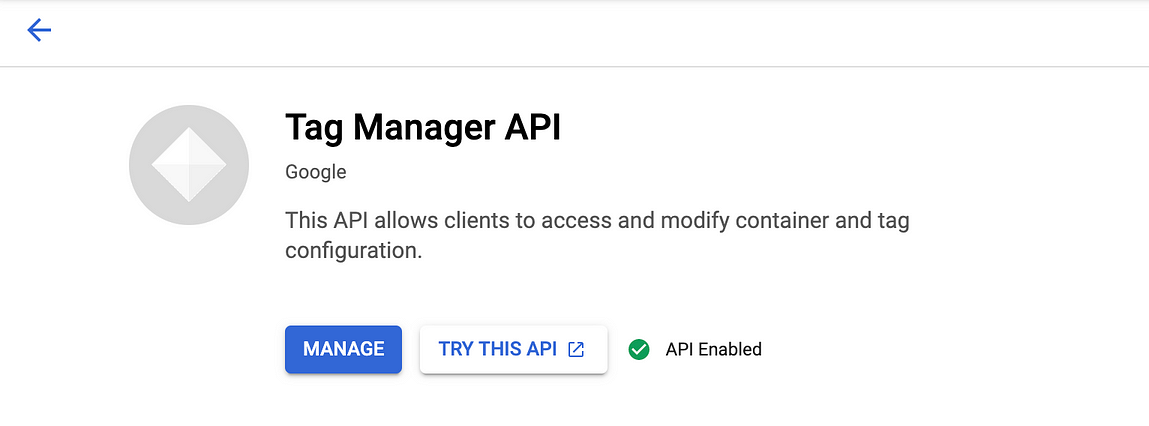
Search for the Tag Manager API and click the blue Enable button, you should then see a green tick and confirmation that the API is enabled:
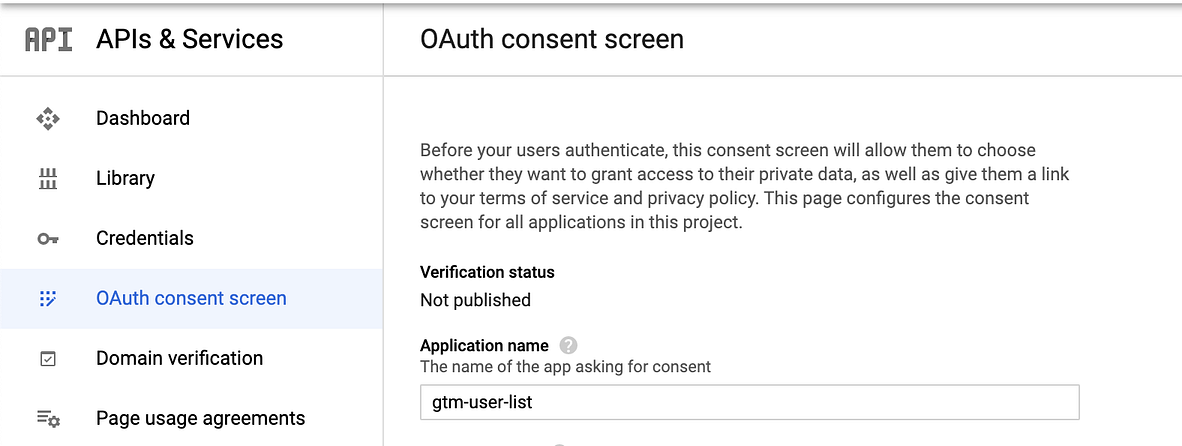
As the API requests will involve an OAuth client, you also need to set up an OAuth consent screen, which is what will be presented to the user when they first authenticate. There are a couple of additional options available such as “Authorized domains” but the main requirement at this point is to provide an application name:
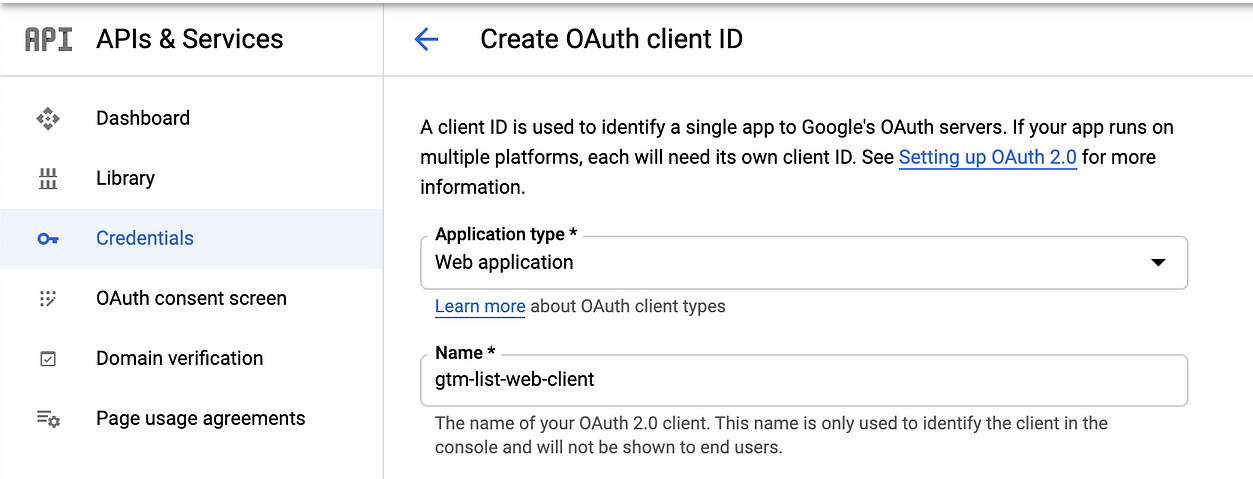
With the OAuth consent screen saved, the next step is to create the OAuth client. Click on +Create Credentials in the Credentials section and select OAuth Client ID. Choose the application type (in this case Web application) and provide a name for the client:
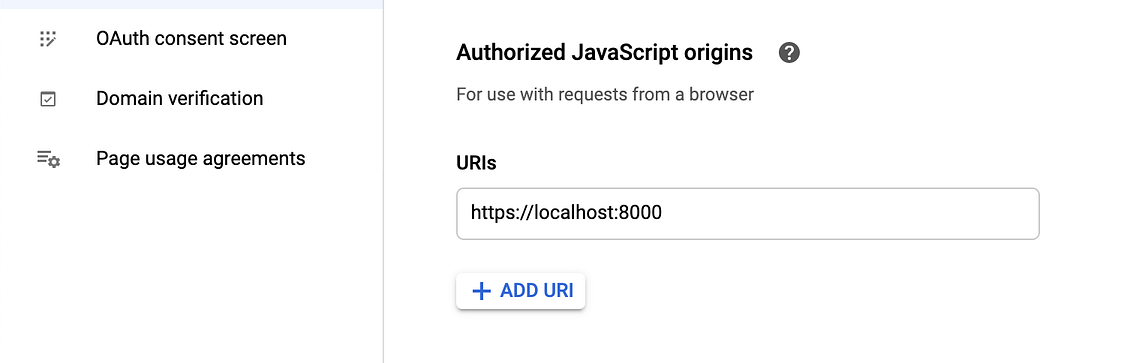
The next step is to specify which URI(s) the requests can be made from; in my case I’m running the application locally but if you wanted to set this up to run in App Engine, for example, then you’d put your App Engine domain here:
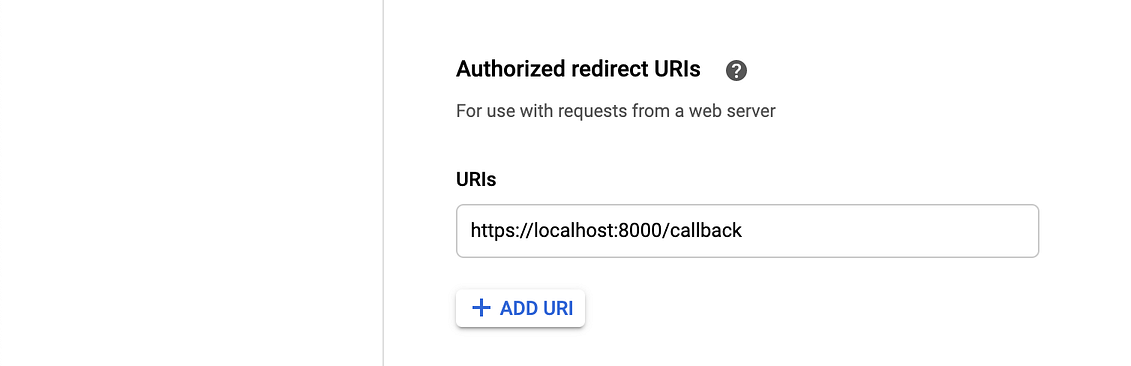
The final step is to provide a redirect URI, which is where users will be redirected to after they have authenticated with Google:
As far as authentication/API setup goes, that’s all there is to it. It’s worth clicking the “Download JSON” option and storing the credentials somewhere you can easily access because you’ll need the client_id and client_secret properties when you get to the point of building the API requests.
#google-cloud-platform #google-tag-manager #nodejs #google #apis