Getting started with Jupyter Notebook
Originally published by https://www.geeksforgeeks.org
Jupyter has support for over 40 different programming languages and Python is one of them. Python is a requirement (Python 3.3 or greater, or Python 2.7) for installing the Jupyter Notebook itself.
Install Jupyter using Anaconda:
Install Python and Jupyter using the Anaconda Distribution, which includes Python, the Jupyter Notebook, and other commonly used packages for scientific computing and data science. You can download Anaconda’s latest Python3 version from here.
Now, install the downloaded version of Anaconda.
Installing Jupyter Notebook using PIP:
python3 -m pip install --upgrade pip
python3 -m pip install jupyter
Command to run the Jupyter notebook:
jupyter notebook
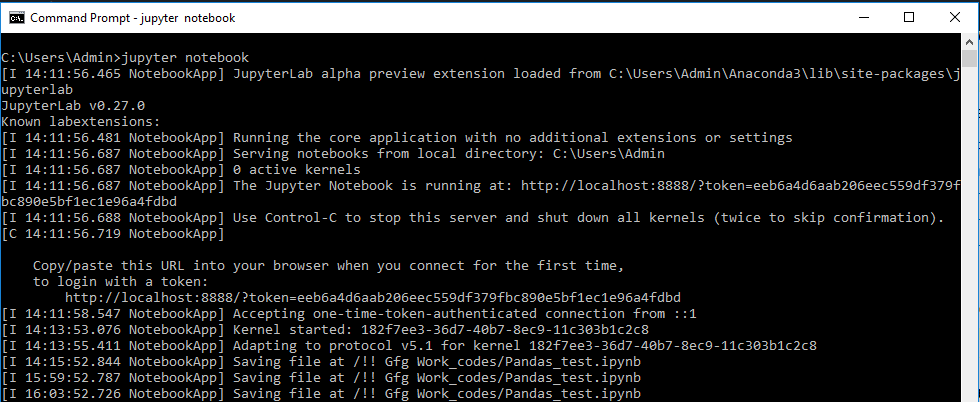
This will print some information about the notebook server in your terminal, including the URL of the web application (by default, http://localhost:8888) and then open your default web browser to this URL.

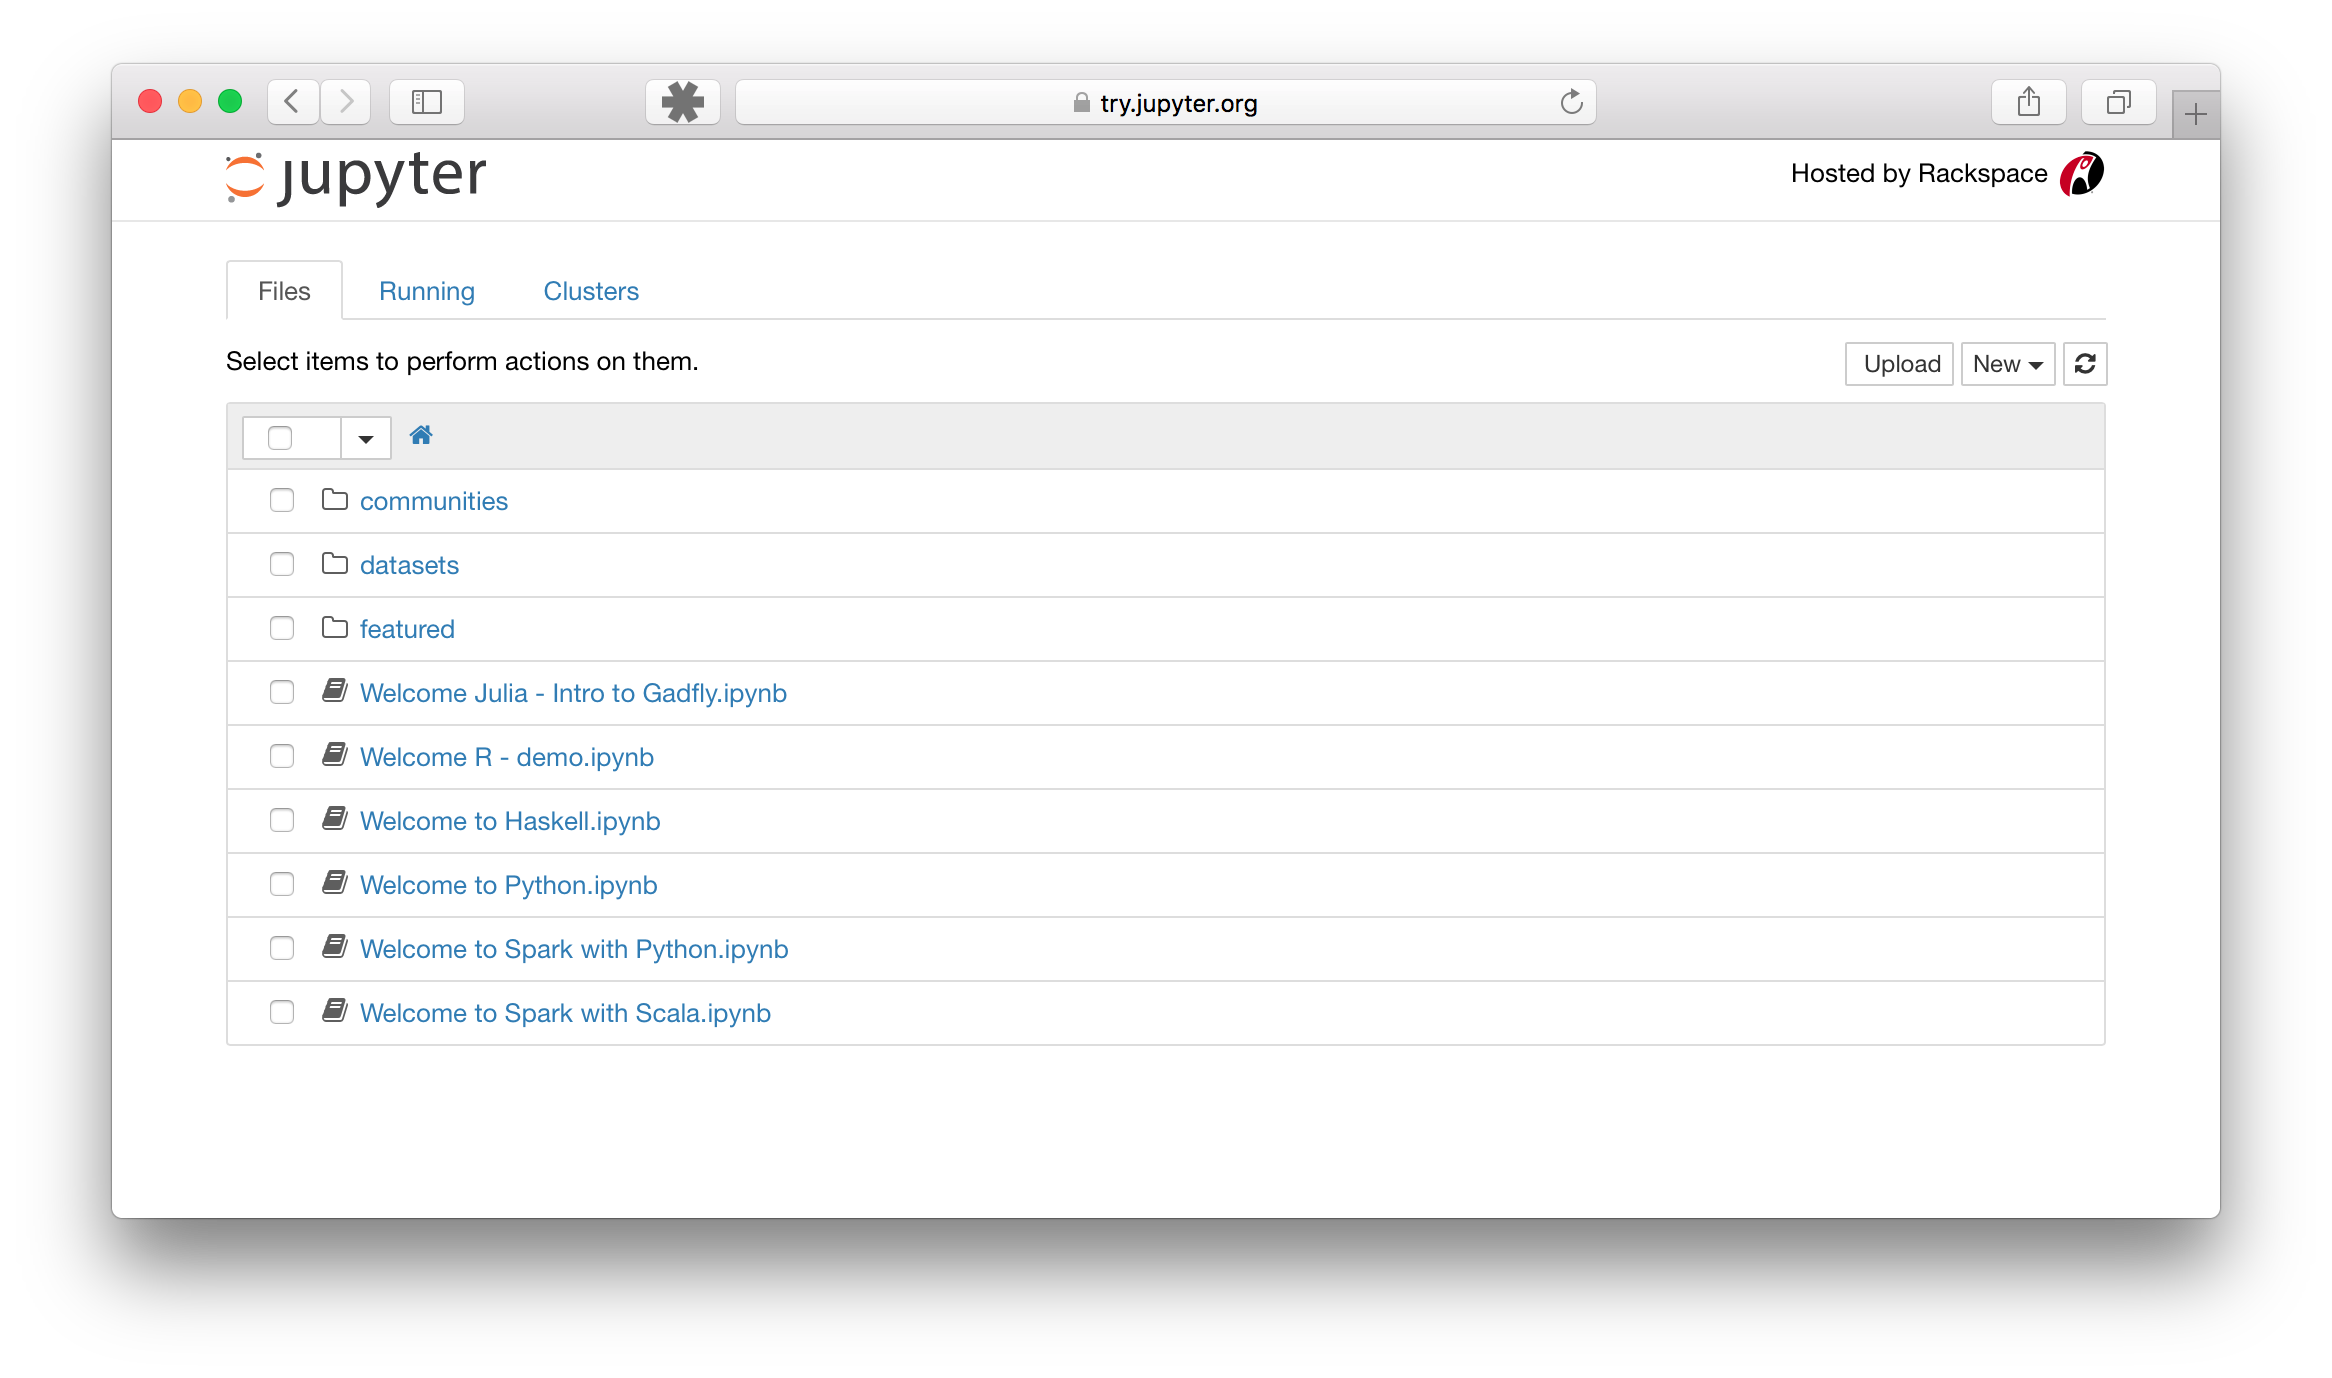
When the notebook opens in your browser, you will see the Notebook Dashboard, which will show a list of the notebooks, files, and subdirectories in the directory where the notebook server was started. Most of the time, you will wish to start a notebook server in the highest level directory containing notebooks. Often this will be your home directory.

Create a new Notebook:
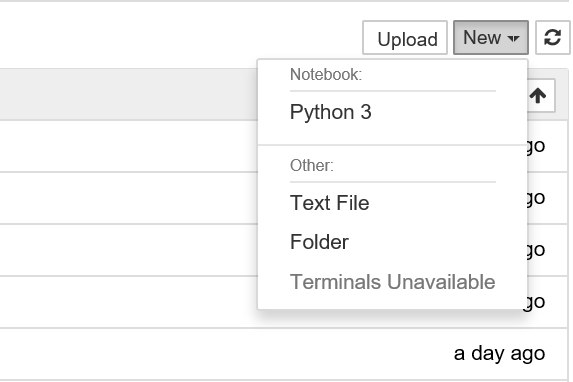
Now on the dashboard, you can see a new button at the top right corner. Click it to open a drop-down list and then if you’ll click on Python3, it will open a new notebook.

Few Useful Commands:
- Command to open a notebook in the currently running notebook server.
jupyter notebook notebook_name.ipynb
- By default, the notebook server starts on port 8888. If port 8888 is unavailable or in use, the notebook server searches the next available port. You may also specify a port manually. In this example, we set the server’s port to 9999:
jupyter notebook --port 9999
- Command to start the notebook server without opening a web browser:
jupyter notebook --no-browser
- The notebook server provides help messages for other command line arguments using the –help flag:
jupyter notebook --help
Running your First code in Jupyter:
Step #1: After successfully installing Jupyter write ‘jupyter notebook’ in the terminal/command prompt. This will open a new notebook server on your web browser.
Step #2: On the top left corner, click on the new button and select python3. This will open a new notebook tab in your browser where you can start to write your first code.
Step #3: Press Enter or click on the first cell in your notebook to go into the edit mode.
Step #4: Now you are free to write any code.
Step #5: You can run your code by pressing Shift + Enter or the run button provided at the top. An example code is given below:

Some useful keyboard shortcuts:
- To change modes(edit, command):
Esc - Change mode to command mode
Enter - Change mode to edit mode
- To change content type(code or markdown) [in command mode]
m - Change to markdown
y - Change to code
- To execute code or markdown [any mode]
Shift + Enter - Execute and go to next cell
Ctrl + Enter  - Execute and be in the same cell
- To insert cell [in command mode]
a - Create cell in above to the cell
b - Create cell in below to the cell
- To cut copy paste [in command mode]
x - Cut the cell that can be paste anywhere any number of times
c - Copy the cell that can be paste anywhere and any number of times
v - Paste the cell
Thanks for reading ❤
If you liked this post, share it with all of your programming buddies!
Follow us on Facebook | Twitter
Further reading
☞ Beginner's Guide to Jupyter Notebooks for Data Science
☞ Guide to R and Python in a Single Jupyter Notebook
☞ Step-by-Step Guide to Creating R and Python Libraries (in JupyterLab)
#python #machine-learning #data-science
