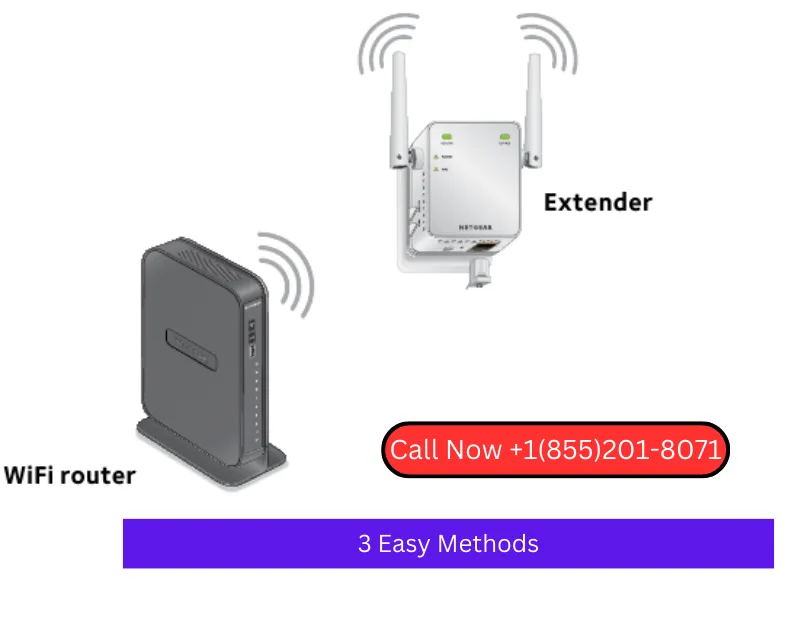
How to Connect Netgear WiFi Extender to a New Router: 3 Easy Methods
When you upgrade your router or switch to a new one, it’s essential to ensure that your Netgear WiFi extender is properly connected to the new network. This guide will walk you through three simple methods to connect Netgear WiFi extender to a new router, ensuring that you continue to enjoy strong and extended wireless coverage. Also, reach out to our expert support team today and get your connection issues resolved in no time. Dial our support number +1(855)201–8071 now!
Method 1: Connect Netgear WiFi Extender to a New Router using WPS (Wi-Fi Protected Setup)
- Locate the WPS button on your Netgear WiFi extender. It is usually marked clearly.
- Press the WPS button on the extender.
- Within two minutes, press the WPS button on your new router.
- The extender’s LED lights should change from blinking to a solid color, indicating a successful connection.
- Wait for a few minutes for the devices to sync and establish a connection.
Method 2: Connect Netgear WiFi Extender to a New Router using Manual Setup via Web Browser
- Connect your computer or mobile device to the extender’s default network. This network is usually named something like “NETGEAR_EXT.”
- Open a web browser and enter the extender’s default IP address (e.g., 192.168.1.250) in the address bar. You can find this IP address in the extender’s manual.
- Log in with your extender’s username and password. These credentials can also be found in the manual.
- Once logged in, go to the settings or setup section, where you can select your new router’s network from the available list.
- Enter the new router’s network password when prompted.
- Click “Apply” or “Save” to confirm the changes.
- The extender will reboot, and once it’s back online, it will be connected to your new router.
Method 3: Connect Netgear WiFi Extender to a New Router using Ethernet Cable Connection
- Locate the Ethernet port on your Netgear WiFi extender. It’s typically on the side or back of the device.
- Connect one end of an Ethernet cable to the extender and the other end to your computer or mobile device.
- Open a web browser on your computer or device.
- Enter the extender’s default IP address in the browser’s address bar.
- Log in using your extender’s username and password.
- In the settings or setup menu, select your new router’s network from the available list.
- Enter the new router’s network password when prompted.
- Click “Apply” or “Save” to confirm the changes.
- Disconnect the Ethernet cable and wait for the extender to reboot. It will now be connected to your new router wirelessly.
Conclusion:
Connecting your Netgear WiFi extender to a new router is a straightforward process, and you can choose the method that best suits your preferences and technical skills. By following the steps outlined in this guide, you can maintain a strong and extended wireless network throughout your home, ensuring a seamless online experience.
Source Link: https://www.wirelessextendersetup.org/connect-netgear-extender-to-new-router/