This article was originally published at https://www.blog.duomly.com/angular-course-building-a-banking-application-with-tailwind-css-lesson-1-start-the-project/
Into to Angular Course
A few days ago we posted an SQL injection tutorial where you were able to hack the banking app which we've created. We decided to create a full Angular 9 course, where we'd like to teach you how to create front-end for the fin-tech application like the one in SQL injection example. We are going to start by creating a new project with Angular CLI, installing Tailwind CSS for the UI, setting a proxy, and building Login component UI. In the next lessons, we will create a login for the login component and another feature for our application. Also, you are welcome to share your ideas in the comments, so we can add it to our app, show you how to write them, and build it together. We are also going to create two separate courses where we will be building a backend for this application, one in Go Lang and the other one in Node.js, so follow us to stay updated. P.S. As always, for the ones who like watching instead of reading, we have a video version of this article, so join us on our Youtube channel.Let’s crash Angular 9!
1. Installing Angular 9
Let's start by creating a new Angular 9 project. For this, we'll use Angular CLI. If you don't have it installed yet, here's an article where we did it some time ago, so feel free to jump there and check how to do it. To create a new project, we will use the following command:ng new banking-app-frontendWe'll be using Scss and routing, so please make sure you did install them. When your empty Angular project is ready, let's install the Tailwind framework.
2. Installing Tailwind CSS
To be able to use Tailwind CSS we need to install a few additional packages, but it's worth it. To be able to add Tailwind to our build we are going to use @angular-builders/custom-webpack. Let's install Tailwind and other necessary packages:npm i tailwindcss postcss-import postcss-loader postcss-scss @angular-builders/custom-webpack -DIf the installation is done, open your style.scss file and add there Tailwind imports:
@import ‚tailwind/base';
@import ‚tailwind/components';
@import ‚tailwind/utilities';
Now, we can initialize Tailwind CSS using the following command:
npx tailwind initThis command will create the
tailwing.config.js file in our root folder. In this file, we can add custom settings, like additional colors or font properties.
We are almost ready with Tailwind CSS. The last thing we need to do is setting a custom webpack config and a few changes in the angular.json file.
Let's start from creating webpack.config.js file in our root folder and adding there the following code:
module.exports = {
  module: {
    rules: [
      {
        test: /\.scss$/,
        loader: 'postcss-loader',
        options: {
          ident: 'postcss',
          syntax: 'postcss-scss',
          plugins: () => [
            require('postcss-import'),
            require('tailwindcss'),
            require('autoprefixer'),
          ]
        }
      }
    ]
  }
}
We can now implement the following code into the angular.json file.
"build": {
          "builder": "@angular-builders/custom-webpack:browser",
          "options": {
            "customWebpackConfig": {
              "path": "./webpack.config.js"
            },
          }
}
"serve": {
          "builder": "@angular-builders/custom-webpack:dev-server",
          "options": {
            "customWebpackConfig": {
              "path": "./webpack.config.js"
            },
}
Let's start our project using the following command:
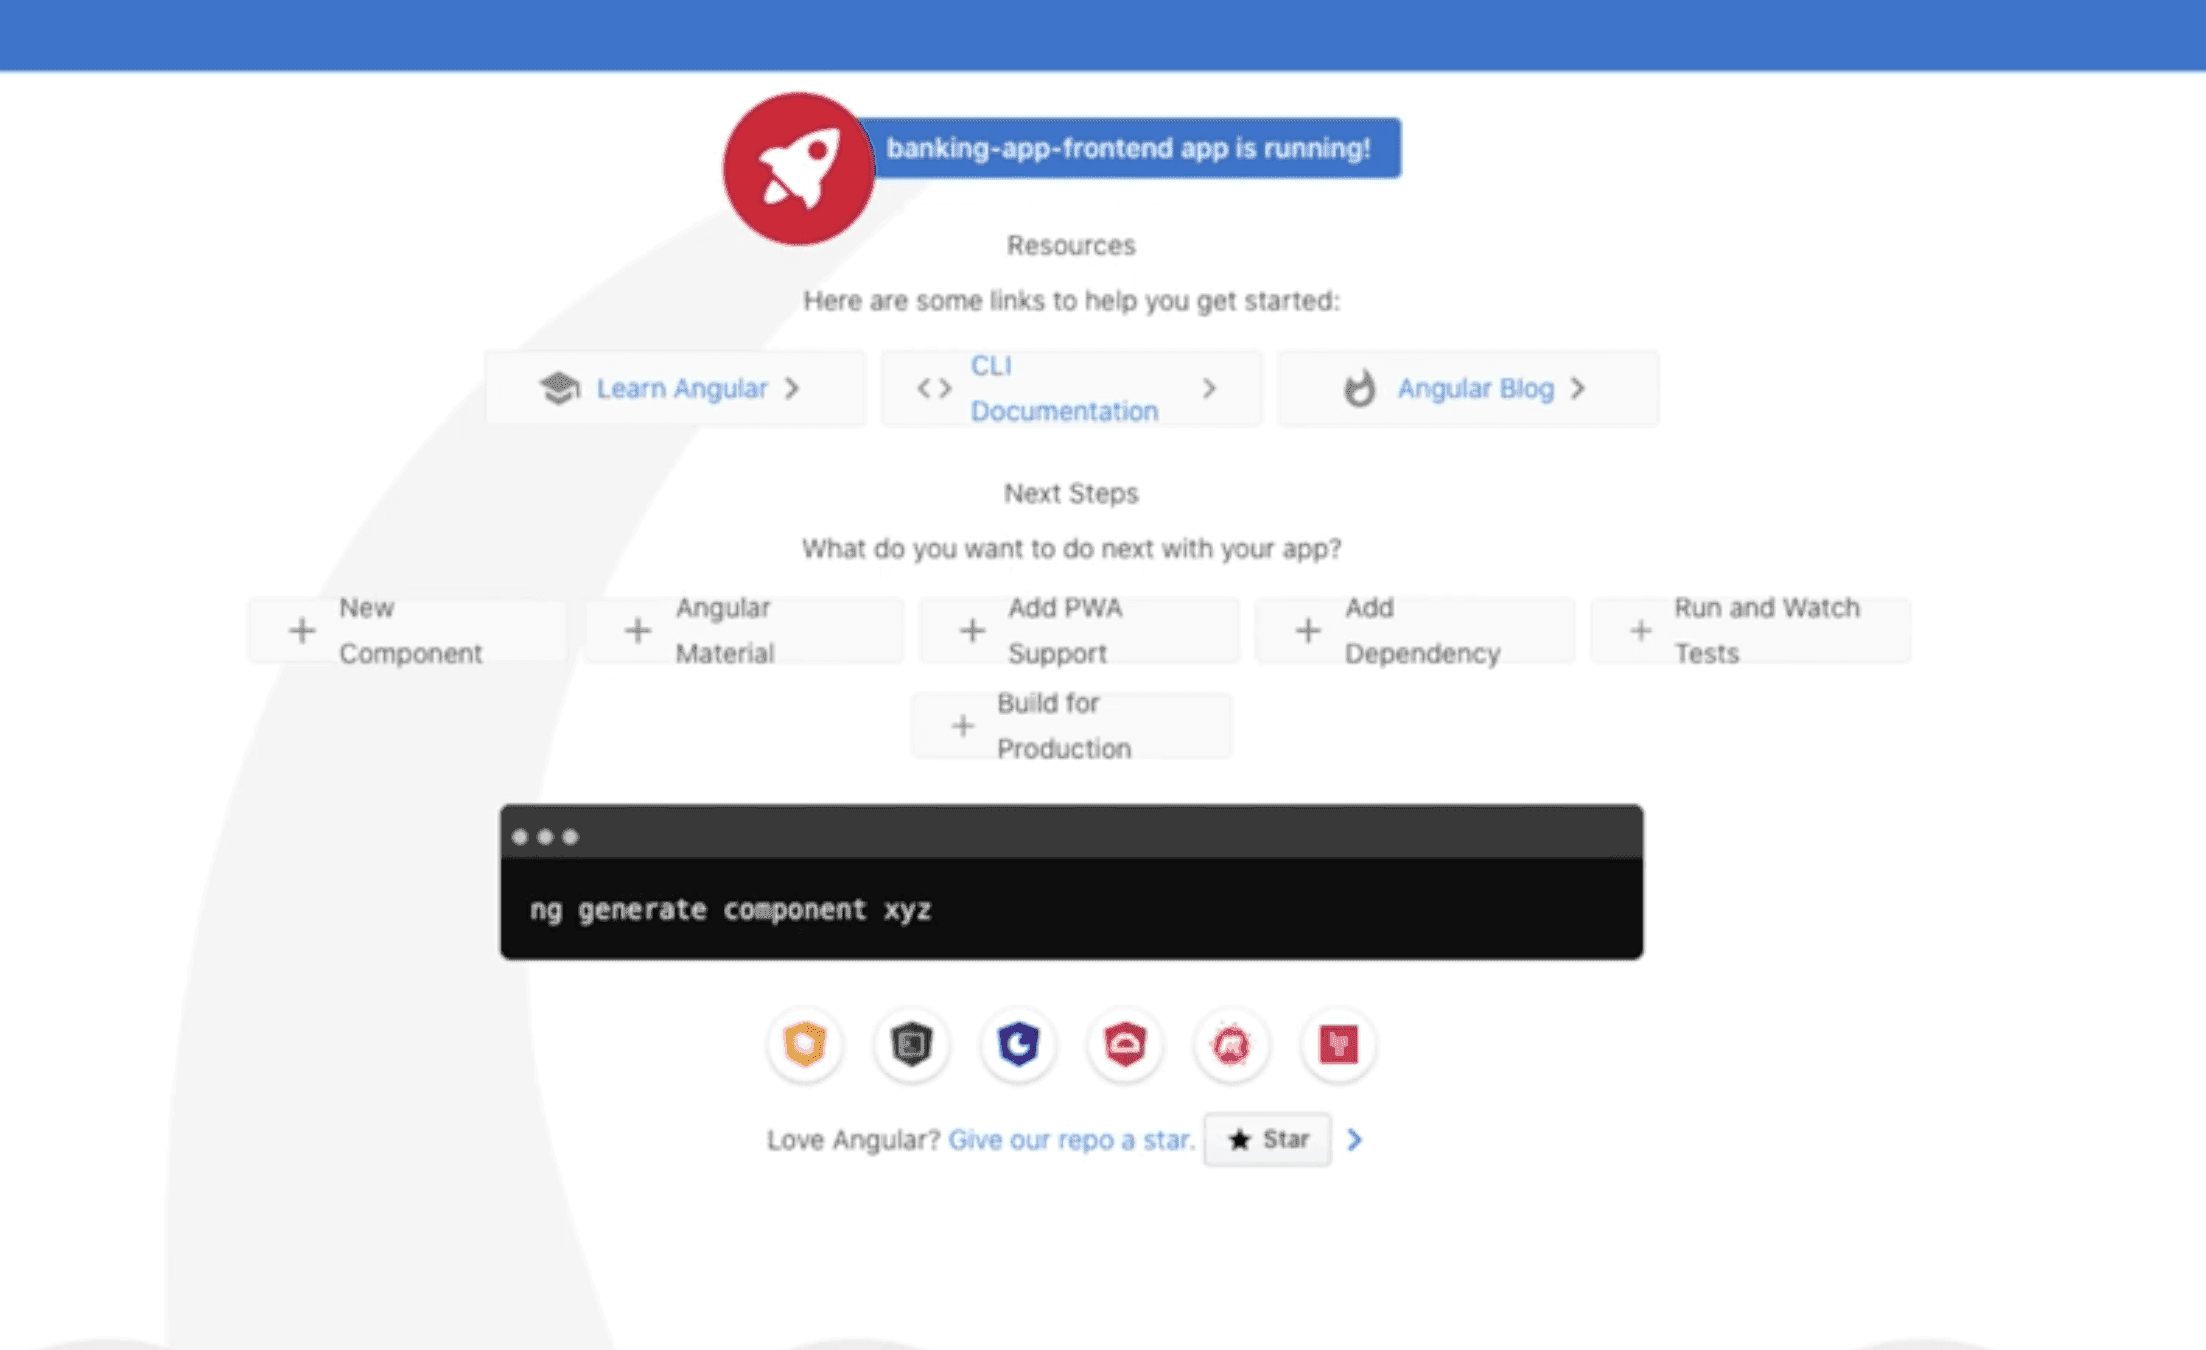
ng serveWhen it's ready you should see the default screen of the empty Angular app:
Let’s clean the app.component.html file to prepare it for the work. Here’s how your file should look like after cleaning:
<div id="app">
  <router-outlet></router-outlet>
</div>
3. Setting proxy
The next step of this tutorial is setting the proxy config in Angular. It will be useful when we will connect with the backend to avoid CORS.
Let’s create a new file in the src file and call it proxy.conf.json and place there the following code:
{
  "/login/*": {
    "target": "http://localhost:8888",
    "secure": false,
    "logLevel": "debug"
  }
}
Keep in mind that if your backend is on a different host or on a different port you need to change target property.
Let’s add this configuration to angular.json file right now inside the serve command, so it should look like the following code now:
"serve": {
          "builder": "@angular-builders/custom-webpack:dev-server",
          "options": {
            "browserTarget": "banking-app-frontend:build",
            "customWebpackConfig": {
              "path": "./webpack.config.js"
            },
            "proxyConfig": "src/proxy.conf.json"
          },
          "configurations": {
            "production": {
              "browserTarget": "banking-app-frontend:build:production"
            }
          }
        }
4. Creating login component UI
Now it’s time for the biggest fun. Let’s use ng generate component <componentName> to create a Login component, where we will be building the UI.
When it’s done open app-routing.module.ts file and we are going to add a route.
import { LoginComponent } from './login/login.component';


const routes: Routes = [
  {path: '', component: LoginComponent }
];
Great, now we can display our LoginComponent. Let’s open the login.component.html file and remove the existing paragraph.
As the next step, we will use two ready components from TailwindCSS, form, and notification. Let’s add it to our template with a few small changes. Here is a ready code:
<div id="login-container" class="flex container mx-auto items-center justify-center">
<div class="w-full max-w-xs">
<form class="bg-white shadow-md rounded px-8 pt-6 pb-8 mb-4">
<img src="../../assets/logo.png" class="logo" />
<div class="mb-4">
<label class="block text-gray-700 text-sm font-bold mb-2" for="username">
Username
</label>
<input class="shadow appearance-none border rounded w-full py-2 px-3 text-gray-700 leading-tight focus:outline-none focus:shadow-outline" id="username" type="text" placeholder="Username">
<p class="text-red-500 text-xs italic">Username can consist of letters and numbers only!</p>
</div>
<div class="mb-6">
<label class="block text-gray-700 text-sm font-bold mb-2" for="password">
Password
</label>
<input class="shadow appearance-none border rounded w-full py-2 px-3 text-gray-700 mb-3 leading-tight focus:outline-none focus:shadow-outline" id="password" type="password" placeholder="******************">
</div>
<div class="flex items-center justify-between">
<button class="bg-blue-500 hover:bg-blue-700 text-white font-bold py-2 px-4 rounded focus:outline-none focus:shadow-outline" type="button">
Sign In
</button>
<a class="inline-block align-baseline font-bold text-sm text-blue-500 hover:text-blue-800" href="#">
Forgot Password?
</a>
</div>
</form>
<p class="text-center text-white text-xs">
©2020 Banking App by Duomly. All rights reserved.
</p>
</div>
<div class="notification bg-indigo-900 text-center py-4 lg:px-4">
<div class="p-2 bg-indigo-800 items-center text-indigo-100 leading-none lg:rounded-full flex lg:inline-flex" role="alert">
<span class="flex rounded-full bg-indigo-500 uppercase px-2 py-1 text-xs font-bold mr-3">ERROR</span>
<span class="font-semibold mr-2 text-left flex-auto">Error message here</span>
</div>
</div>
</div>
We are almost there, but we just need some custom styles. First, let’s open app.component.scss a file and add the following code:
#app {
  min-height: 100vh;
  min-width: 100vw;
  background-color: #f7f7fc;
}
Next, let’s add custom styles to the login component. Open login.component.scss the file and add there the code:
#login-container {
  min-height: 100vh;
  min-width: 100vw;
  color: white;
  position: relative;
  background-image: url('../../assets/background.png');
  background-size: cover;
  background-repeat: no-repeat;
  background-position: center;
  .logo {
    max-height: 60px;
    margin: auto;
    margin-bottom: 30px;
  }
  .notification {
    position: absolute;
    bottom: 0;
    left: 0;
    right: 0;
  }
}
I used two images in the UI, one for the background and one as a logo. You can use any images you like or you can check out our Github where you can find the code we are doing right now and also get the images!
Here is the result I’ve got.

In the next lessons, we are going to create some logic for this login component and also we will learn how to prevent SQL injection which you could see in the tutorial which my friend published a few days ago.
Conclusion
In this article, we did a first step to building a banking app using Angular 9 and TailwindCSS. Today we’ve created a simple UI for our form, and in the next parts of this course we will do logic for this component and lots of more features.
If you have any idea for an interesting feature, let us know and we will implement it. Let’s build this course together!
In the meantime, we will be showing you how to create a backend for the application like this in two different technologies, Go Lang and Node.js.
Besides that, there will be a series of web security tutorials based on this application.
Stay with us for the next parts and if you missed some code, check it here:
https://github.com/Duomly/angular9-tailwind-bank-frontend/tree/Angular9-TailwindCSS-Course-Lesson1
Thank you for reading, Anna from Duomly
#javascript #angular #web-development #tailwindcss #typescript