**Part of the Series: **How To Build a Website With HTML
This tutorial series will guide you through creating and further customizing this website using HTML, the standard markup language used to display documents in a web browser. No prior coding experience is necessary but we recommend you start at the beginning of the series if you wish to recreate the demonstration website.
At the end of this series, you should have a website ready to deploy to the cloud and a basic familiarity with HTML. Having a knowledge of how to write HTML will provide a strong foundation for learning additional front-end web development skills, such as CSS and JavaScript.
In this tutorial, we will walk through the steps involved in adding a favicon to your webpage using HTML. You can use any image you like for your favicon, but keep in mind that simple, high-contrast images often work best given the favicon’s small size. You can also generate a custom favicon through sites like favicon.cc.
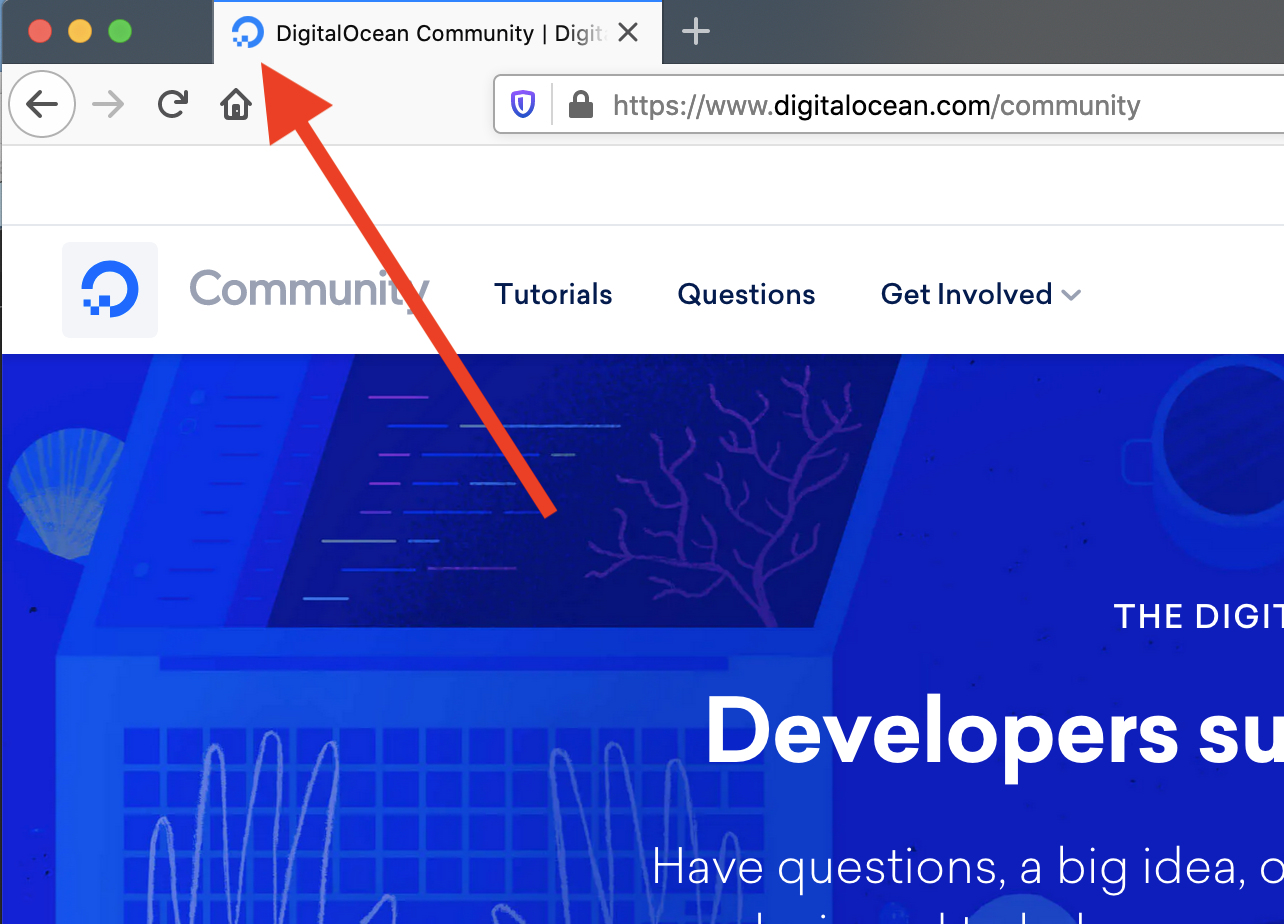
A favicon is a small image that is located in the browser tab to the left of a webpage’s title. The image below illustrates the location of a favicon.
To add a favicon to your site, create a folder in your project directory called images (if you don’t already have one) and save your desired favicon image in this folder. If you don’t have an image, you download this Sammy the Shark image that we have hosted on our demonstration website. (For a refresher on how to add images to webpages using HTML, please visit our tutorial HTML Images from earlier in this tutorial series.
#html
