Introduction
Kubeflow makes life simpler by allowing deployment of Machine Learning workflows on Kubernetes. This brings in the flexibility of scale and portability.
In this tutorial you will learn:
- Provisioning of a Kubernetes cluster in IBM Cloud and installing the required tools
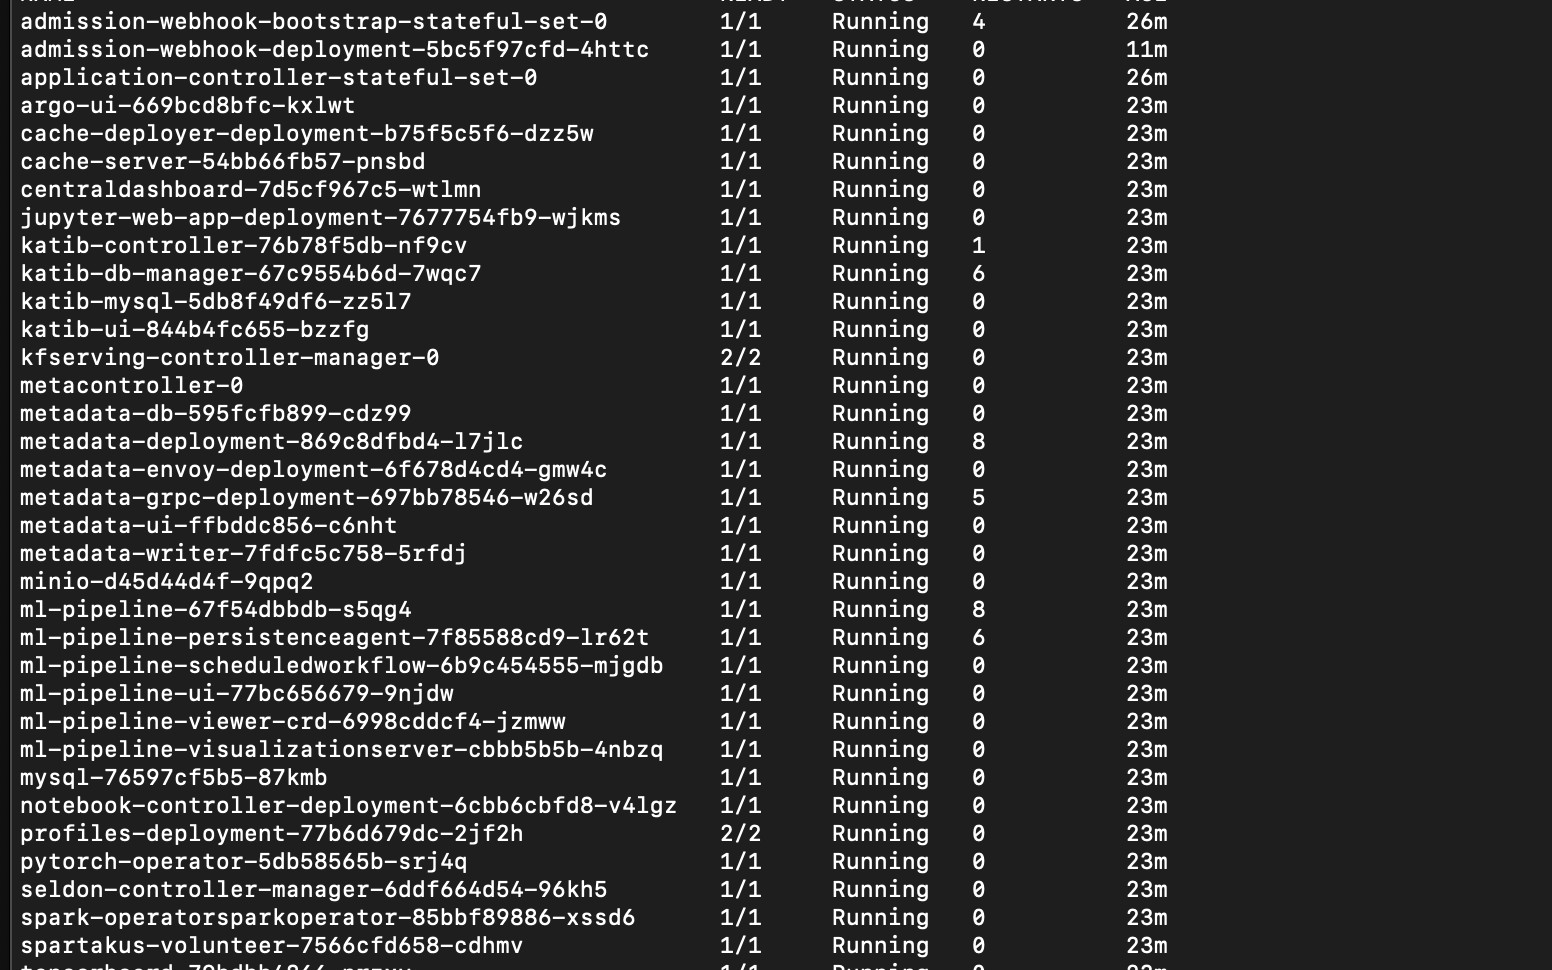
- Installing Kubeflow
- Launching the Kubeflow dashboard
Prerequisites
To run this tutorial, you need:
- An Ubuntu 18 machine with a minimum 8 cores, 16 GB RAM, and 250 GB storage
- Root privilege on the ubuntu machine
- IBM Cloud account
Deployment Setup
IBM Cloud UI
Log in to IBM Cloud ( https://cloud.ibm.com ). Go to Catalog, under services you can find Kubernetes service.
In this demo, I have used the Kubernetes 1.16.14 (Stable) version in a classic infrastructure in a single zone region. Once you choose the version, select Geography ( Asia Pacific), Availability (Single Zone), Worker Zone (Chennai 01)
The worker node size used in this setup was 4 vCPUs and 16 GB Memory with 1 worker node per zone.
The master service endpoint is set to Public endpoint only.
Choose the cluster name wisely, you can leave it default but recommend to use something of your choice.
Create the cluster
Ubuntu Machine
Till the cluster setup is up, log in to the Ubuntu Machine
Download the necessary tools for IBM Cloud.
curl -sL https://ibm.biz/idt-installer | bash
Login in to your IBM Cloud Account, the region, and resource group might change based on your selection.
ibmcloud login -a cloud.ibm.com -r jp-tok -g default
Set the Kubernetes context to your cluster for this terminal session.
ibmcloud ks cluster config --cluster "YOUR CLUSTER ID"
Verify that you can connect to your cluster.
kubectl config current-context
Note: In case you forget your cluster setting, you can retrieve this information by visiting https://cloud.ibm.com/kubernetes/clusters and clicking Access under your cluster.
To verify your setting, run the following code.
kubectl version --short
The following should be your output.
Client Version: v1.17.11
Server Version: v1.16.14+IKS
#tutorial #ai #kubernetes #ibm cloud #kubeflow #iks