How to deploy Angular App to Firebase using Angular CLI 8.3+
You have finally developed your Angular application and you are ready to deploy it to a hosting provider and show it to the world! But, you think, you still have to do so much work to host the application. Fortunately for you, that’s not true any more thanks to the latest 8.3+ version of Angular CLI which added a new command to the Angular developer arsenal, just like the ng add command introduced in Angular 7.
The command is ng deploy and as you can guess, it allows you to deploy your Angular application from the command-line using Angular CLI. The command doesn’t work out of the box as you need to use it with the ng add command to install a |CLI builder](https://angular.io/guide/cli-builder) that gives your project the required deployment capability to work with a specific hosting provider. This is quite expected since there are various providers, each one with its own configuration.
- For Firebase hosting ng add
@angular/fire, - Azure ng add
@azure/ng-deploy - For Now add
@zeit/ng-deploy - For Netlify add
@netlify-builder/deploy - For GitHub pages add
angular-cli-ghpages
In this tutorial, we’ll create the production bundles of our Angular application and deploy it to Firebase using Angular CLI 8.3+.
We assume that you already have initialized a project with Angular CLI and that you have installed or updated your project to the latest version of Angular CLI.
How to automatically deploy your Angular project to Firebase? This can be done in 5 easy steps:
- Step 0 - Setting up your Firebase account and creating a project
- Step 1 - Adding the Firebase deployment capability to your Angular project
- Step 2 - Providing the authorization code to Firebase CLI
- Step 3 - Selecting a Firebase project
- Step 4 - Building & deploying your Angular project to Firebase
Step 0 - Setting up your Firebase account and creating a project
In the first step, you need to set up a Firebase account and create a project.
Go to the Getting started page and simply follow the instructions there to set up a Firebase account.
Once you have created a Firebase account, you need to create a project in Firebase’s dashboard. Simply click on Add project to create a new project.

A box will show up asking you to provide some information about your project. Provide a name for your project and click on the CREATE PROJECT button.

That’s it! You have successfully created a Firebase account and project. Let’s now head back to the Angular project.
Step 1 - Adding the Firebase deployment capability to your Angular project
The first step is to navigate to your Angular project and add the deployment capability for your target hosting provider. In our case, it’s Firebase.
Go to your terminal, and run the following command from the root of your project:
$ ng add @angular/fire
This will add the Firebase deployment capability to your project.
Step 2 - Providing the authorization code to Firebase CLI
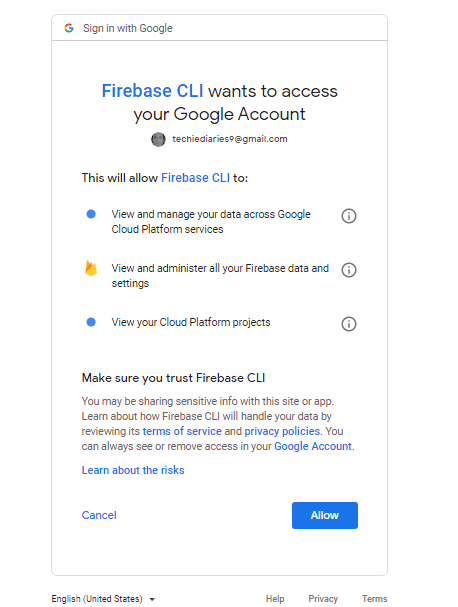
The CLI will ask you to Paste authorization code here:**** and will open your default web browser and ask you to give Firebase CLI permissions to administer your Firebase account:
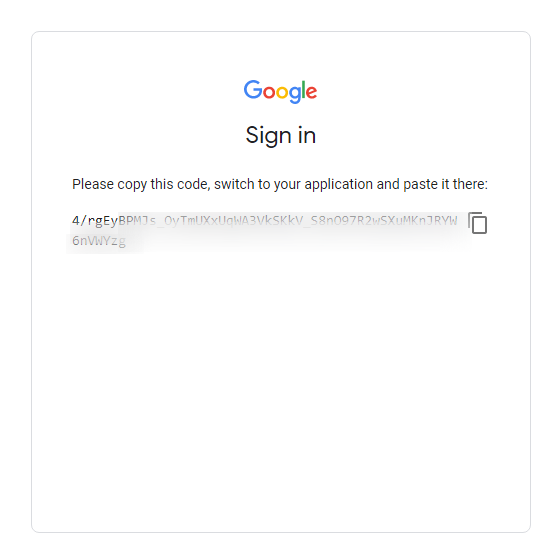
After you log in with the Google account, you’ll be provided with the authorization code:
Step 3 - Selecting a Firebase project
Next, you’ll be asked: Please select a project: (Use arrow keys or type to search). You should have created a Firebase project before.
The CLI will create the firebase.json and .firebaserc files and update the angular.json file accordingly.
Step 4 - Building & deploying your Angular project to Firebase
Finally, you can deploy your application to Firebase, using the following command:
$ ng deploy
The command will build your application (similarly to the ng deploy --prod command), and send the production assets to Firebase.
Conclusion
Thanks to Angular CLI 8.3+, it’s now easier than ever to deploy your Angular project to popular hosting and cloud platforms such as Firebase, GitHub, Now and Netlify. You can also search npm for the required package to target your platform, if one doesn’t exist or if you’re deploying to a self-managed server, you can either create a builder that allows you to use the ng deploy command or manually deploy your app. Check out the official docs for more information.
#angular #firebase