Hi everyone! 👋 After transitioning to a static blog/website, I had one problem. My blog no longer had comments functionality. Yes, I could have used Disqus but I personally hate it. It is bloated with a lot of unwanted code. I did some search a while ago but couldn’t find anything. I did a more serious search a couple of weeks ago and stumbled upon staticman and holy moly it is the best thing ever!
Staticman allowed me to integrate comments in my blog for free and also style them in any way I want! However, setting up staticman wasn’t a walk in the park. In this post, I will list all the steps required to setup staticman on a static blog. I am going to be using Hugo for this post as my blog is based on Hugo.
Step 1: Getting a static blog up and running
This should be fairly easy. Chances are that if you are reading this post then you already have a static blog. I am hosting my blog on a combination of GitHub + Netlify. I push updates on GitHub and Netlify builds the HTML files upon each push. I will not go into too much details because the official Hugo website have some good docs.
Step 2: Creating a new GitHub account
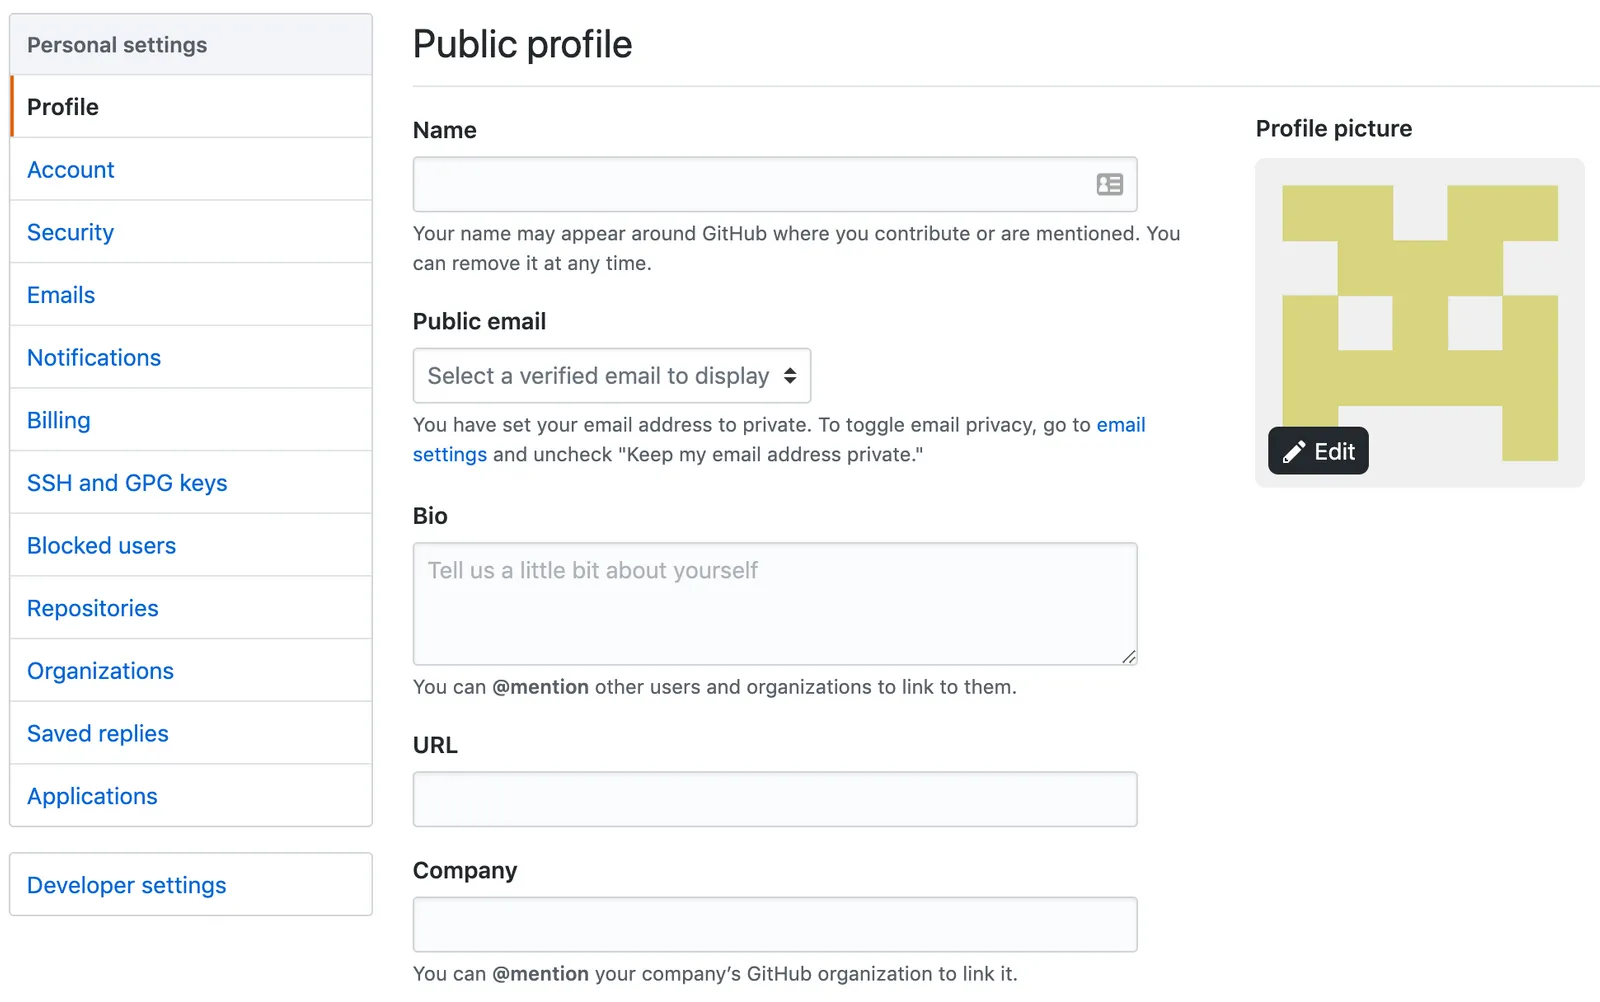
So the way staticman works is that it submits a pull request for each comment submitted. For that, it is a lot safer to create a new GitHub account and give it permissions to access your blog repo only, rather than giving it access to everything on GitHub. This way even if it gets compromised, only one repo will be affected.
Let’s imagine this new account is called yasoob-blog (because that is exactly what mine is called. Once you have made that account, give it access to your repo from your parent account. For example, my blog’s source code is stored in a repo called personal_blog. I will go to the settings page of my repo and add yasoob-blog as a collaborator.
#nest
