Introduction
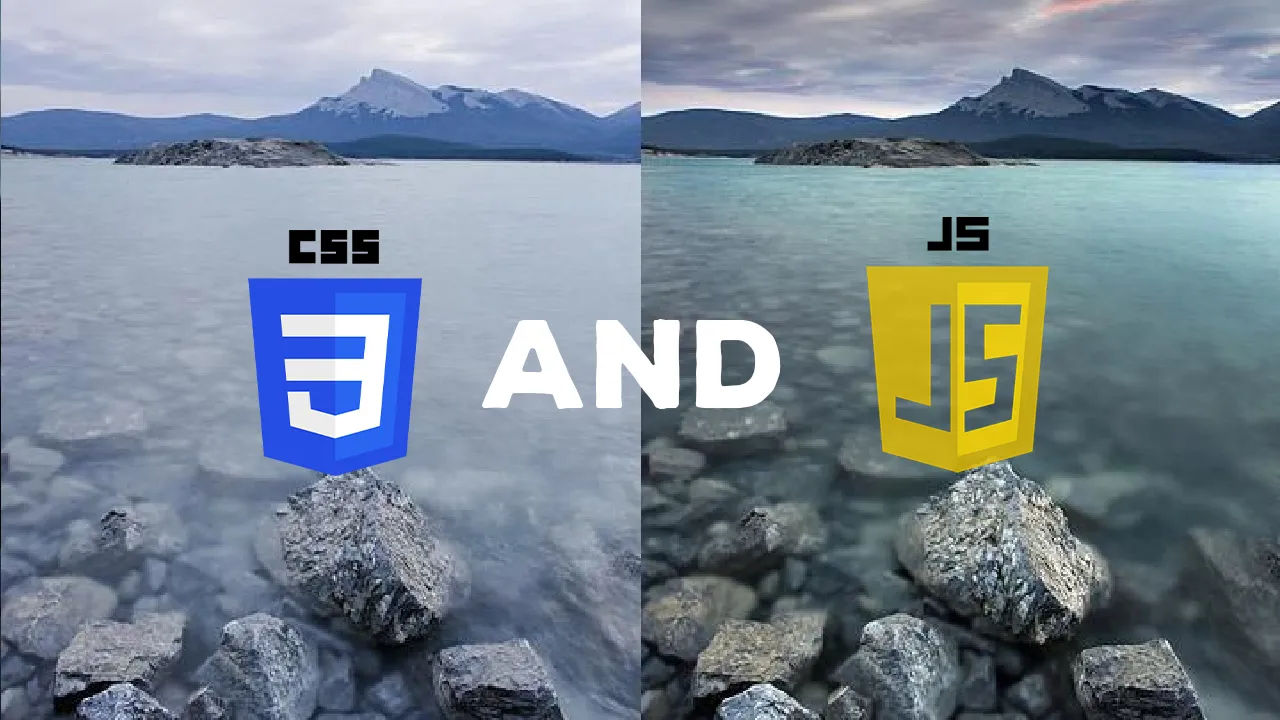
If you have two images for comparison, one effective, and yet simple UI element is the “before and after” image slider.
Gif from google
This “slider” element allows your user to control how the two image display on the screen, and freely explore the two different images. You might think it requires some library to create such an effect, but actually, it is a very straight forward and easy to code UI. With basic knowledge in CSS and JS, everyone could create it.
In this tutorial, I will explain in detail the concept behind this UI, how do you implement it, and suggestions for further enhancement. Let’s start coding.
#tutorial #before-and-after #image-slider #css #frontend

1.80 GEEK