Altostra is a developer-first platform, and as such, it’s important to us to provide developers with a CLI to carry out whatever task they need to, right from their terminal.
The Altostra CLI has three primary functions. First and foremost, to be the main tool developers use while working on projects. Then, to serve the automation needs for processes such as CI/CD and scripting. To complete the Altostra experience, provide management capabilities of projects, deployments, environments and policies right in the terminal.
Setting Up
Before installing the Altostra CLI, make sure you have Node.js installed.
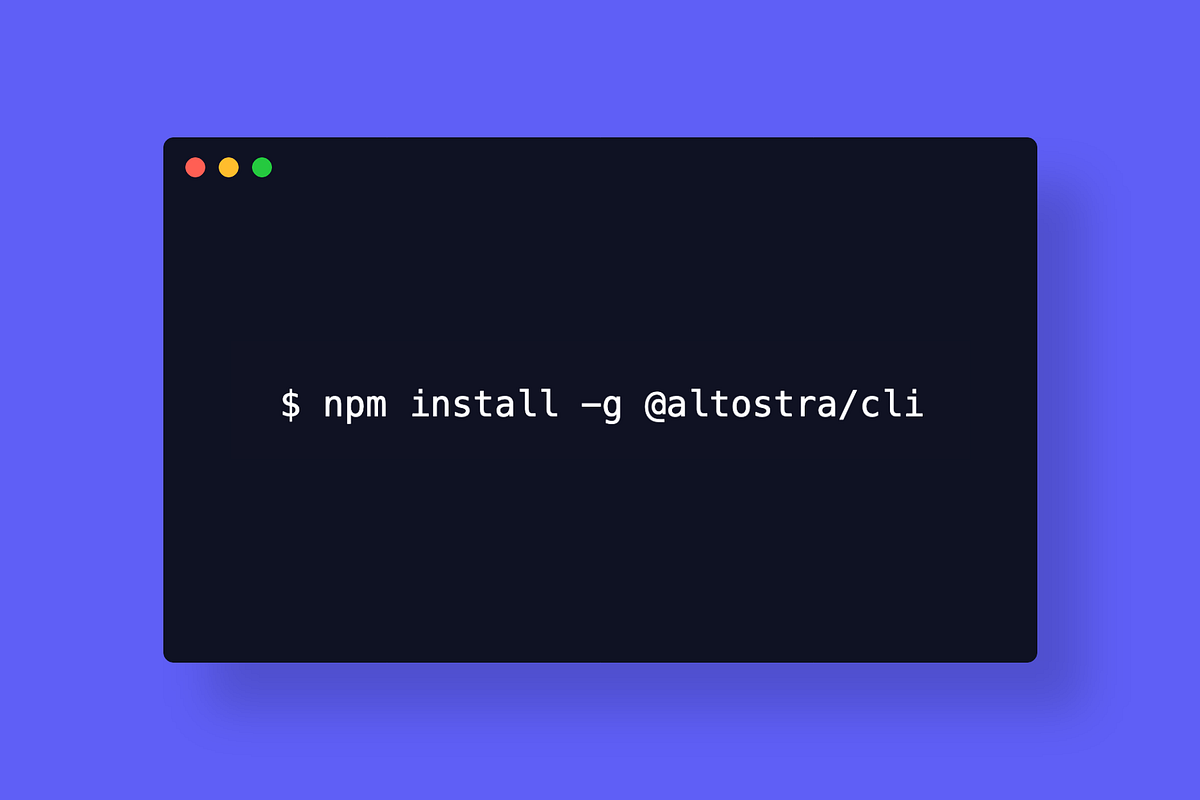
The Altostra CLI is available as an NPM package:
$ npm install -g @altostra/cli
Logging in
The CLI requires access to your Altostra account for many of the operations you will use it for. So, let’s login first:
$ alto login
The login process is straightforward. It opens a login page in a browser — if you have logged in to the Altostra Web Console already, you’ll be logged in automatically.
Look around
Let’s now do some common operations to get familiar with the Altostra CLI.
What can you do
Let’s first see what the CLI has to offer:
$ alto --help
For brevity, I’m omitting the output of the command. Go ahead and run it in your terminal to see the full list of commands. You can also read the CLI documentation.
You can quickly access the Altostra docs by running:
$ alto docs
#aws #development #cloud #cli #serverless
