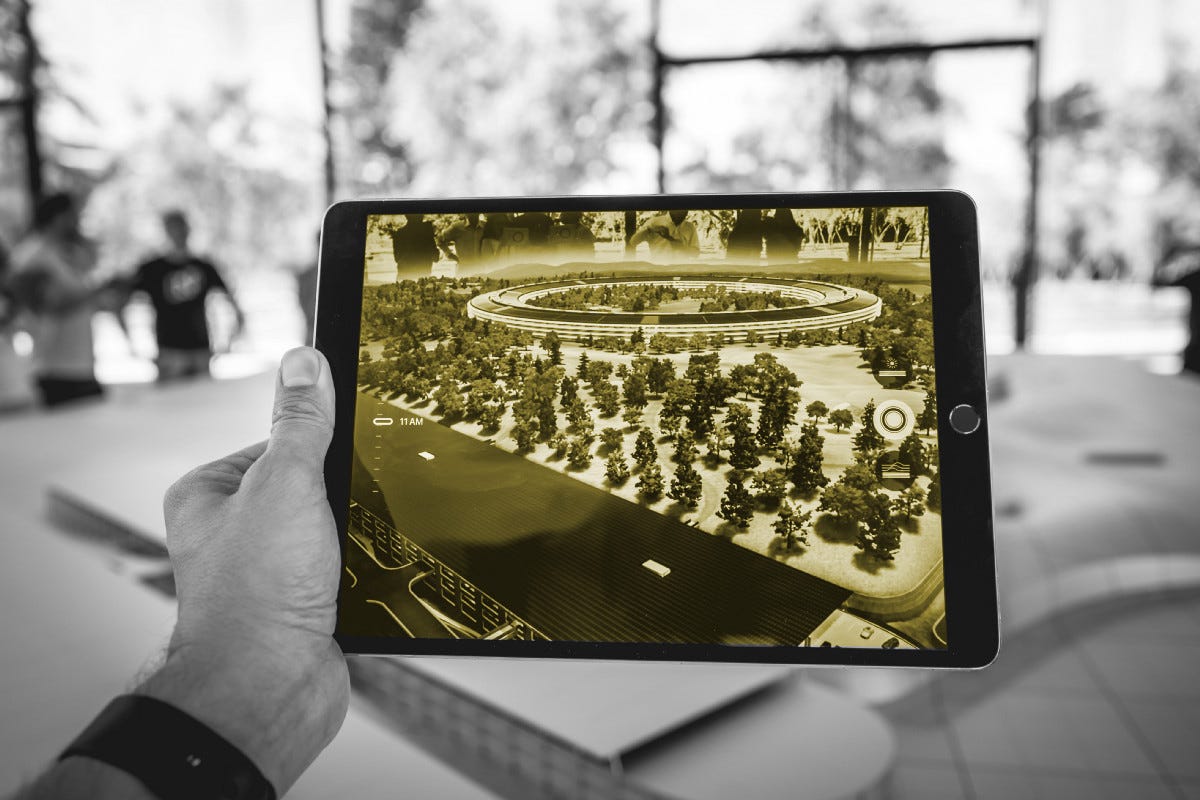
Isn’t it magic to annotate objects in AR?
I was inspired by this example of Core ML + ARKit. But I found one significant disadvantage — it doesn’t place annotations on objects automatically. Instead, you need to center the object in your camera view and use your finger to place an annotation.
In my opinion, this destroys user expectations, so I decided to fix that and build a more immersive user experience using object detection in augmented reality.
To follow this tutorial, you should be aware of the basics of iOS development using Swift and be familiar (at least somewhat) with Core ML and ARKit. Also, you need an iPhone or iPad with iOS 13+ or iPadOS 13+, respectively.
Get started
- Download the source code.
- Open the project and navigate to Signing & Capabilities.
- Select your Apple Developer account, add the bundle identifier, and create a provisioning profile (I recommend using Automatically manage signing).
- Connect your device.
- Build and run.
- Enjoy!
Now let’s see what happens under the hood
Out app has two main entities. The first one is the object detection service (shown below): it takes an image as input and returns a bounding box and class label of the recognized object. The second is the ViewController, the place where all the AR magic happens:
Below are the steps as identified in the inline comments in the code block above
- Initialize the Core ML model: In this case, we’re working with a _Swifty_representation of a pre-trained machine learning model. Apple provides dozens of open-source models here. Also, you can create your own by using tools like Create ML.
- Initialize an image analysis request, which uses the Core ML model to process input images.
detectmethod that instantiates the handler to perform Vision requests on a single image. It uses a Core Video pixel buffer because it can be easily taken from the current ARFrame, since pixel buffer doesn’t store information about the current image orientation. We take the current device orientation and map it into an Exif orientation format.
#mobile-machine-learning #coreml #heartbeat #augmented-reality #ios-app-development