There are times when one as a Ruby on Rails developer wants to implement a real-time feature, like a chat application, and after digging a bit you find a framework’s feature named ActionCable, sounds new and scary, right? Fear not, I’ll try to explain it as simple as possible so that at the end of this article you’ll feel comfortable with the subject.
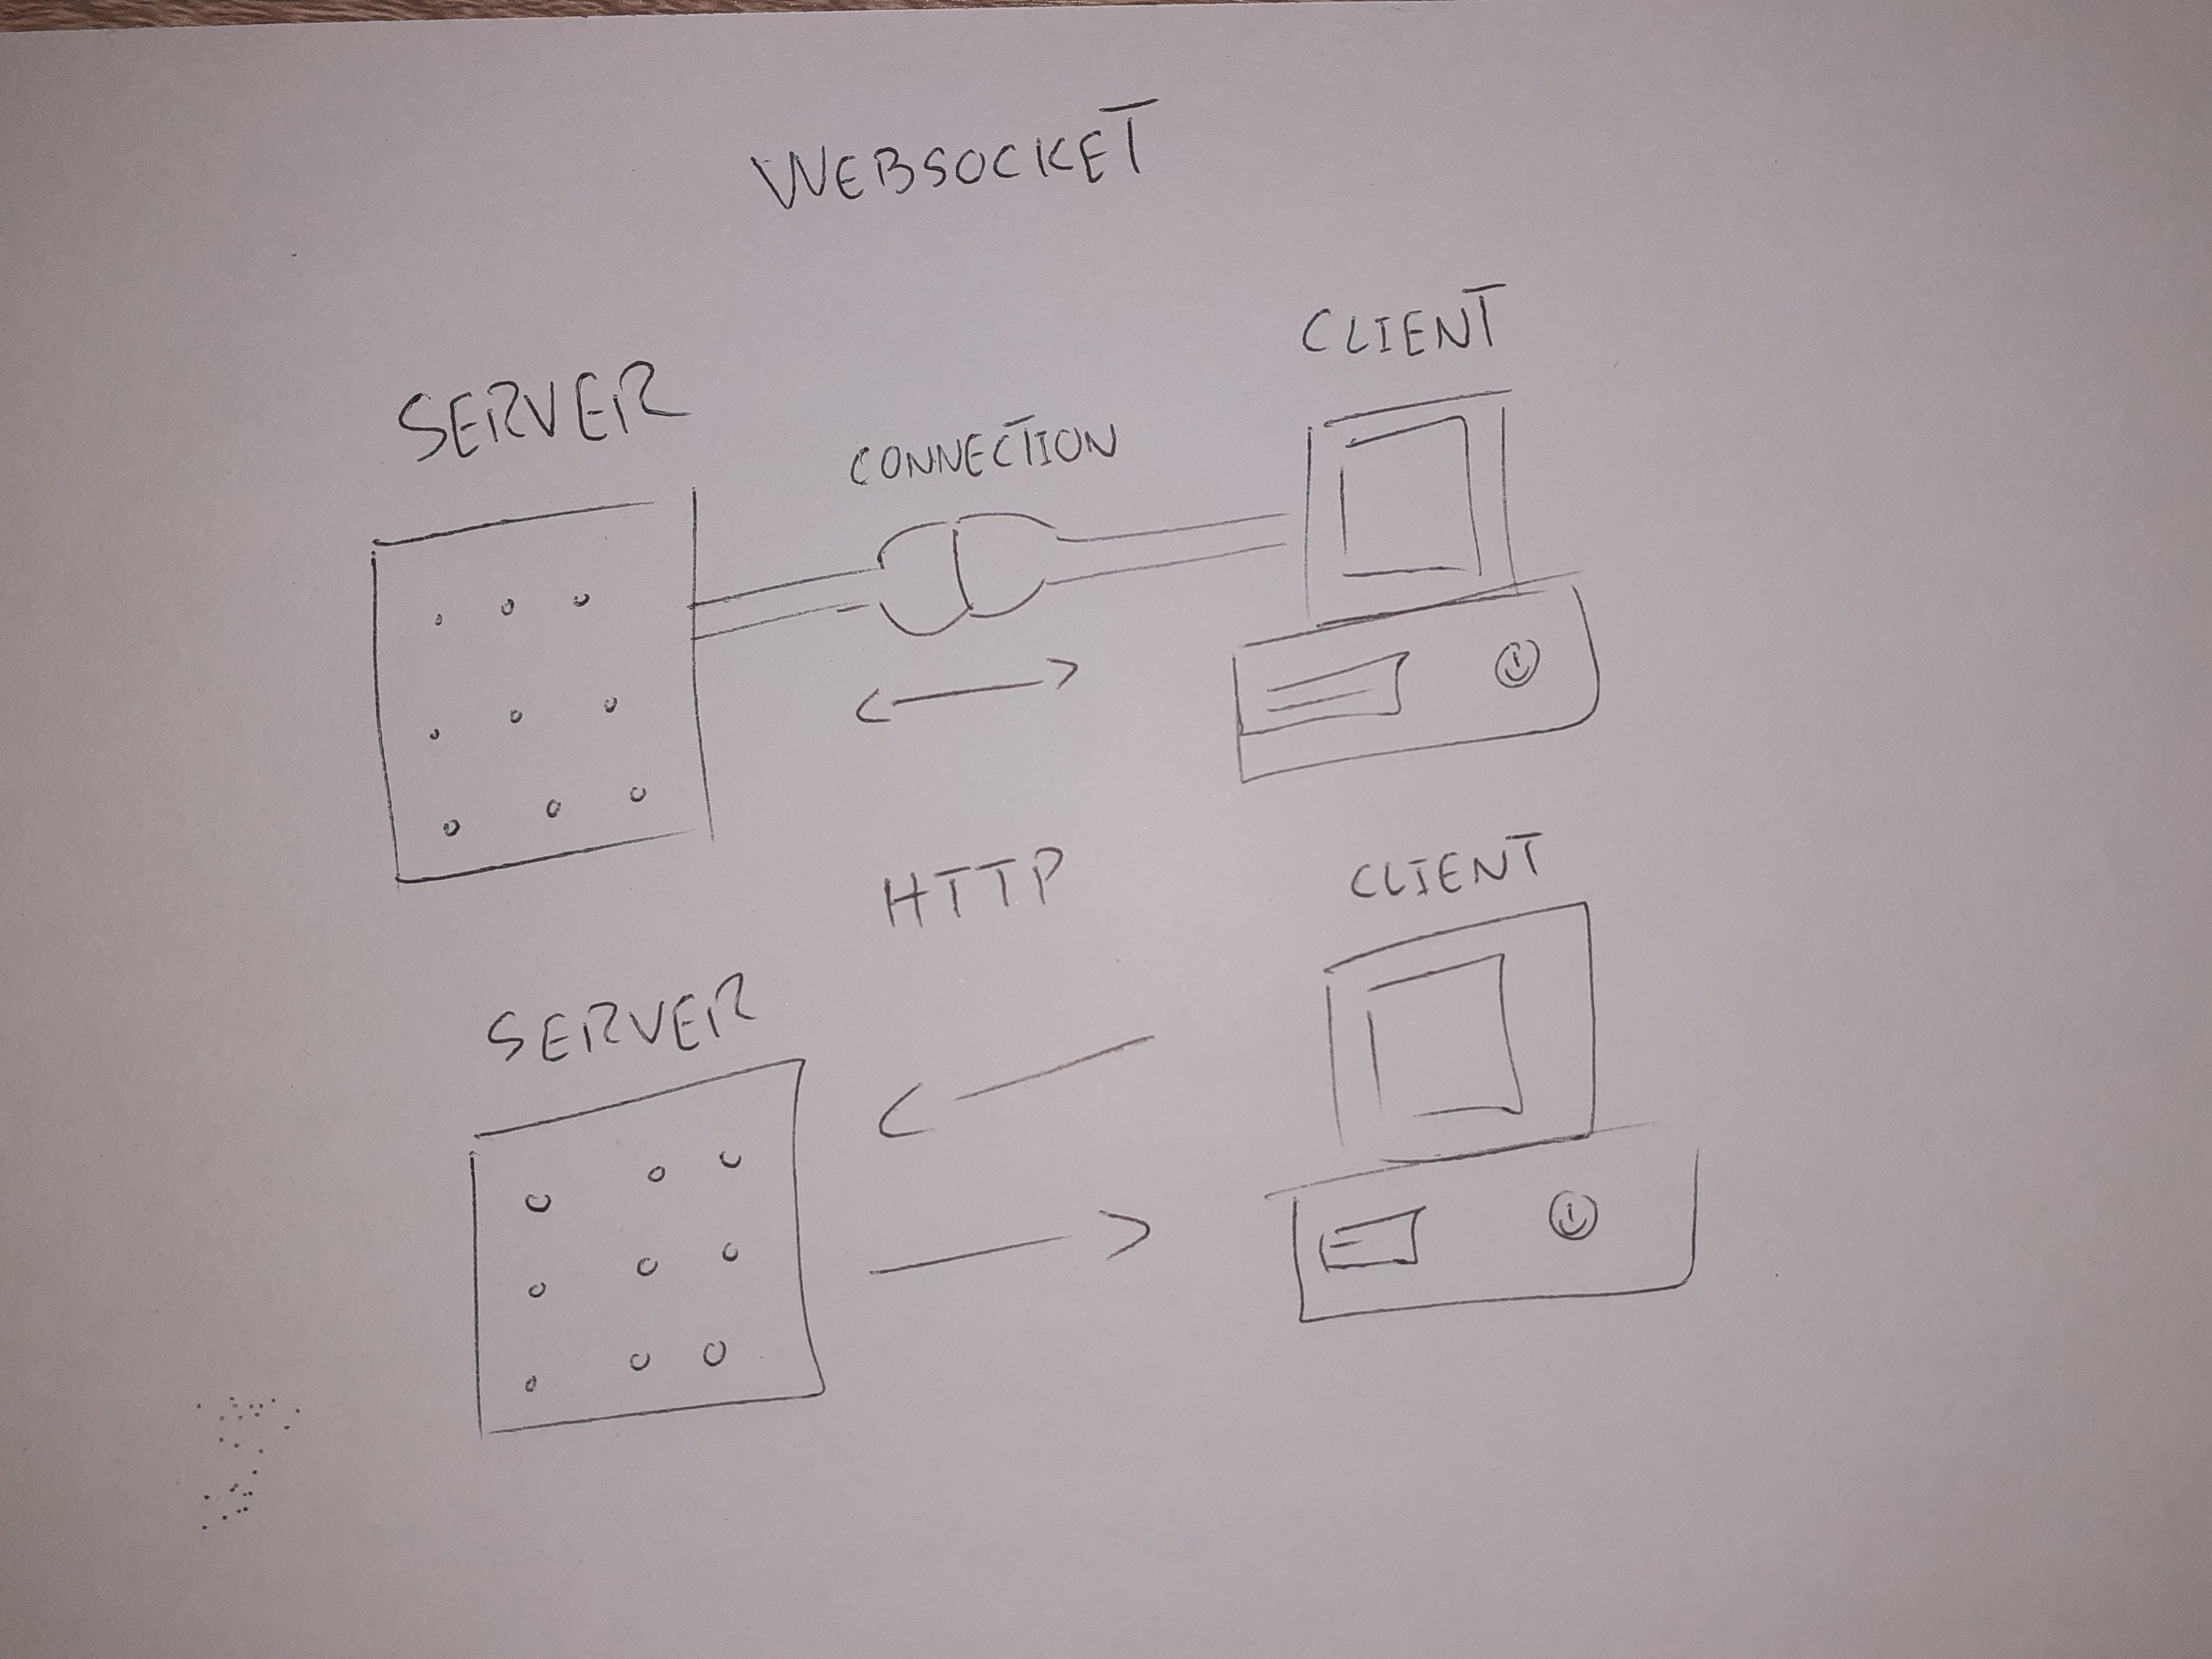
At the core, ActionCable uses the WebSocket connection protocol. The WebSocket protocol enables full-duplex connections between the client and the server to broadcast changes that occur in the server to the client as soon as it happens.
Because we are really busy and our only interest is how to implement the real-time features to our Ruby on Rails application I’ll continue with the steps required to set up ActionCable. The following steps assume that you are familiar with Ruby on Rails and you are using a version of it greater than 5.2.
1. In your Gemfile, add the redis gem and run bundle install.
2. In your routes, mount the route where WebSocket requests are going to be delivered. You can do this with mount ActionCable.server, at: '/cable', you guessed it, ‘/cable’ is the default path.
3. Insert <%= action_cable_meta_tag %> at the head of your main layout template.
4. Create a channel that will stream from a given WebSocket identifier, as an example, below is a code snippet of a file generated after running rails g channel messages on the terminal.
#ruby-on-rails #websocket #web-development #redis #javascript #ruby #ruby-on-rails-development #coding