This is Part 1 of a two-part article series. This part covers the development of our application. We will dockerize and deploy our application next in part 2
OVERVIEW: In this two-article series, we will build a simple Addition web-application with a React-Nginx Web-server and Flask-WSGI Application-server. We will then Dockerize and deploy the application on Google Kubernetes Engine. If you are new to any of the tech used here, I link helpful resources throughout the article. Note: As this article serves as a simple helpful reference for people intending to build more complex applications with high-traffic use cases, our application and deployment infrastructure example is most certainly **_overkill _**for our simple application.
In our application, users will enter two numbers to add and click “submit” and see their answer. Furthermore, their query will be saved to a database (DB) and they can view their queries history by clicking “Show history”. Our front-end will be built with React and will be served with an NGINX server. This will make up our web-server. Our backend will be built using Flask and will use WSGIserver to serve. This will make-up our application-server. Our web-server will make HTTP requests to our application-server via a reverse-proxy with NGINX. Using a reverse proxy enables many benefits, including additional security for users and a more efficient flow of traffic.
We begin with our Flask application. Our flask application’s main responsibility will be to accept HTTP requests (POST & GET) from our web-server. These requests will handle inserting a calculation into our DB (POST) and fetching our calculations history from our DB (GET). As majority of our application’s actions involve interacting with our DB, it makes sense to first set up our DB and the code for interacting with it. For our DB, we will use Google Cloud Platform’s (GCP) Cloud SQL service.
Note: You will need to create a GCP account for this service (and also for our later deployment on its Kubernetes Engine service). GCP provides users with a few hundred dollars in credits upon account activation, which may or may not be enough to cover application costs depending on how fast you complete and remove services.

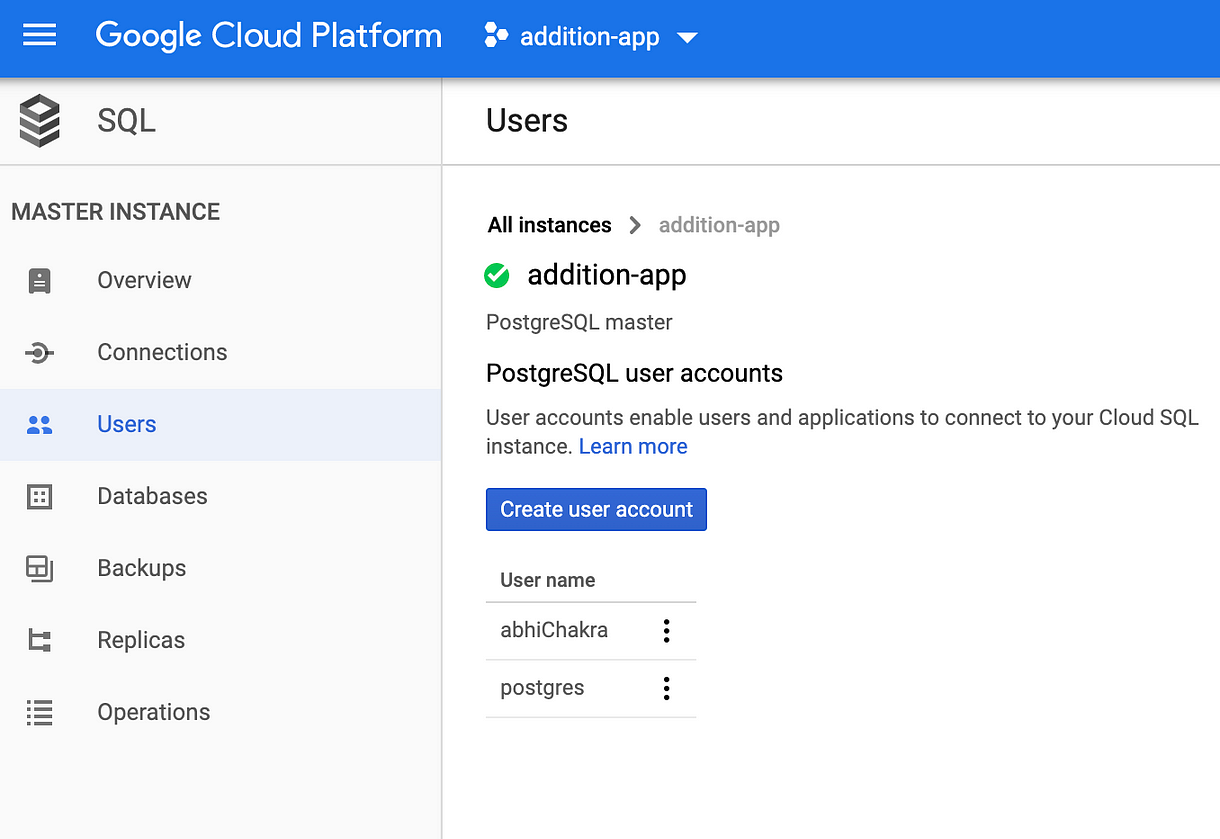
Once your account is active, create a project and name it. Next, create a PostgreSQL (PSQL) instance. A PSQL DB specifically is not mandatory. I chose it as I am most familiar with PSQL. Upon creating your instance, head over to Users and add a new user with username and password (remember these credentials).
Similarly, head to Databases and create a new DB with a relevant name. Also, note down the** Public IP Address** of your instance found in Overview. Create a file named config.ini with these credentials so they are accessible internally for connecting to your DB (remember do not push this to a public repo).
#react #postgresql #docker #flask
