What is GraphQL?
GraphQL is a way to send data over HTTP and is often presented as a revolutionary new way to think about APIs and seen as the successor of REST (Representational State Transfer). Indeed GraphQL is able to overcome major shortcomings of REST.
GraphQL can be user in any application, web application or mobile app. In this tutorial you’ll learn how to use GraphQL in a React web application. To make use of GraphQL inside your React project we’ll be using the React Apollo library.
Why use GraphQL ?
Many consider GraphQL as a replacement for REST which is quite inaccurate.
REST (Representational State Transfer) is an API design architecture used on network-based software to transfer the data.
It has many limitations. It could require multiple round trips to fetch related resources. Another common problem is under-fetching ( not getting everything in one go), or over-fetching ( getting more than what is needed in one go.
1. Multiple http calls to the API servers:
Eg: Consider a micro-blogging platform for example. When you have to display a user’s detail on left pane, his/her posts in middle and below them the comments, you have to hit the server thrice (at least):
2. Way more data transfer than required:
In example above, we just had to display user’s name, handle and profile pic, but the user API gives way more data (email, phone-number, date-of-birth, etc) out of which we use only the required ones. More data transfer over network means:
- More latency
- More processing on server side in serializing the data
- More processing on client side in deserializing the data
3. API versioning and maintenance:
In the user API, if we have to give out some new field and deprecate few old ones, we’ll have to do API versioning (keep the old version to support old clients and create a new version for new clients). In long run maintaining different versions for same resource becomes a nightmare. You have to announce when will you be deprecating old versions or force your users to update to the latest version, etc.
GraphQL solves all the 3 and also provide few more things that REST doesn’t:
1. Multiple http calls to the API servers:
With graphQL you can get all the resources in one single http call, just the way you do in server side by using joins and getting all the data in one SQL.
{
user(id: 10) {
id
name
handle
profilePicUrl
post(last: 5) {
heading
postUrl
comment(last: 2) {
description
commentBy
}
}
}
}
Above is an example of a GQL for displaying last 5 posts with recent 2 comments of a user with id 10. As you can see we got all the 3 resources in a single http call.
2. Way more data transfer than required:
In the example above, we can add/remove the fields we want. Thus the data transfer over network is controlled by client and not by server, saving both processing and network time.
3. API versioning and maintenance:
The query part is done by client, so client can add and remove the data it wants as long as it is present on server side without changing API version.
I have tried GraphQL in Java-Universe (with spring-boot, spring-jpa, jersey, gradle, etc) and found out to be one of the best technology out there. Here’s the ready-to-deploy code that you can try: thekosmix/GraphQL-SpringBoot
GraphQL in React
Let’s dig into the topic of the post, which is getting started with graphQL in React. Although we went through a basic introduction of graphQL, this tutorial assumes that you are already familiar with React and implementing a simple React app. Now we will take a look at how to use graphQL in react.
To get started we first need to setup a new React project. The easiest way to do so is to use create-react-app. This script creates a new React project with zero build configuration. The project’s website can be found at https://github.com/facebook/create-react-app.
To make use of create-react-app you simply need to make sure that Node.js is installed on your system. There is no need to install create-react-app before using it. Instead the Node.js npx command can be used in the following way:
$ npx create-react-app Hello-graphql

$ cd Hello-graphql

$ npm start
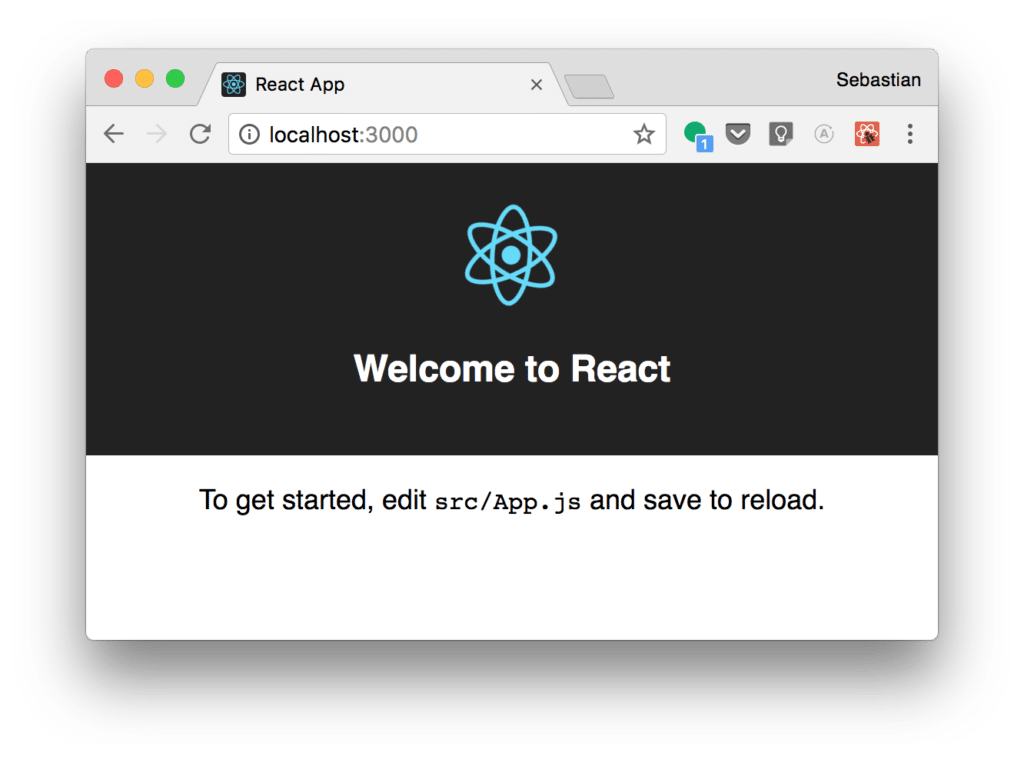
This is initiating a new basic React project in the newly created project folder react-graphql. By using the npm start command the live-reloading development web server is started and the output of the default React project can be accessed in the browser:
Installation
We’ll also need a few extra packages in our project, namely graphql, graphql-tag, apollo-boost and react-apollo. Add them using npm or Yarn:
$ yarn add graphql graphql-tag apollo-boost react-apolloor, using npm:
$ npm i graphql graphql-tag apollo-boost react-apollo
With our project in place and packages added, we can now setup the Apollo client.
Setup
The client setup couldn’t be easier. We’ll initiate a client and give it the URI to our GraphQL server endpoint and then use the ApolloProvider component to to make the client available in our app’s components.
For this example our endpoint will point to an Apollo Launchpad instance with data about Star Wars:
index.js
import React from ‘react’;
import ReactDOM from ‘react-dom’;import { ApolloProvider } from ‘react-apollo’;
import { ApolloClient, HttpLink, InMemoryCache } from ‘apollo-boost’;import ‘./index.css’;
import App from ‘./App’;const client = new ApolloClient({
link: new HttpLink({ uri: ‘https://mpjk0plp9.lp.gql.zone/graphql’ }),
cache: new InMemoryCache()
});const AppWithProvider = () => (
<ApolloProvider client={client}>
<App />
</ApolloProvider>
);ReactDOM.render(<AppWithProvider />, document.getElementById(‘root’));
A few things to note:
- We initialize the client with an HttpLink that points to our GraphQL endpoint and then also specify Apollo’s InMemoryCache as the caching utility.
- We use the ApolloProvider component, pass it our client as prop and then wrap it around our App component.
Query Component Example
Now that everything’s in place, we can start running queries against the GraphQL endpoint. For this, we’ll use React Apollo’s Query component, which makes use of the render prop pattern to give us the data back from the query.
Here’s an example where we query for a Star Wars’ episode hero and his/her friends:
App.js
import React from ‘react’;
import PropTypes from ‘prop-types’;import { Query } from ‘react-apollo’;
import gql from ‘graphql-tag’;const QUERY = gql
query HeroFriends($episode: Episode!) { hero(episode: $episode) { name friends { name } } };const HeroAndFriends = ({ episode }) => (
<Query query={QUERY} variables={{ episode }}>
{({ data, error, loading }) => {
if (error) return ’ Oops!';
if (loading) return ‘Patience young grasshopper…’;return ( <React.Fragment> <h1>Hero: {data.hero.name}</h1> <h2>His/her friends: </h2> <ul> {data.hero.friends.map(friend => ( <li key={friend.name}>{friend.name}</li> ))} </ul> </React.Fragment> );}}
</Query>
);
HeroAndFriends.propTypes = { episode: PropTypes.string };
HeroAndFriends.defaultProps = { episode: ‘NEWHOPE’ };const App = () => <HeroAndFriends episode=“EMPIRE” />;
export default App;
And let’s breakdown the important things happening here:
- React Apollo’s Query component takes a required query prop with a GraphQL query that has been parsed using graphql-tag’s gql. Query also takes a required childrenprop that should be a function. Here we also passed-in a variable prop to provide a variable value to our query.
- Query can also take a number of optional props like pollInterval, fetchPolicy, errorPolicy and delay, among others.
- The function passed to the children prop receives an object with a handful of useful properties. Here we’re making use of data, error and loading, but other properties like networkStatus, refetch and fetchMore are also available.
- The data property holds the data received back from the query, the error property holds an error object, if any, and the loading property will be true while the query is in-flight.
#graphql #database #sql