Enables to Develop Well Designed Calendar in A Moment In Flutter Apps
cell_calendar
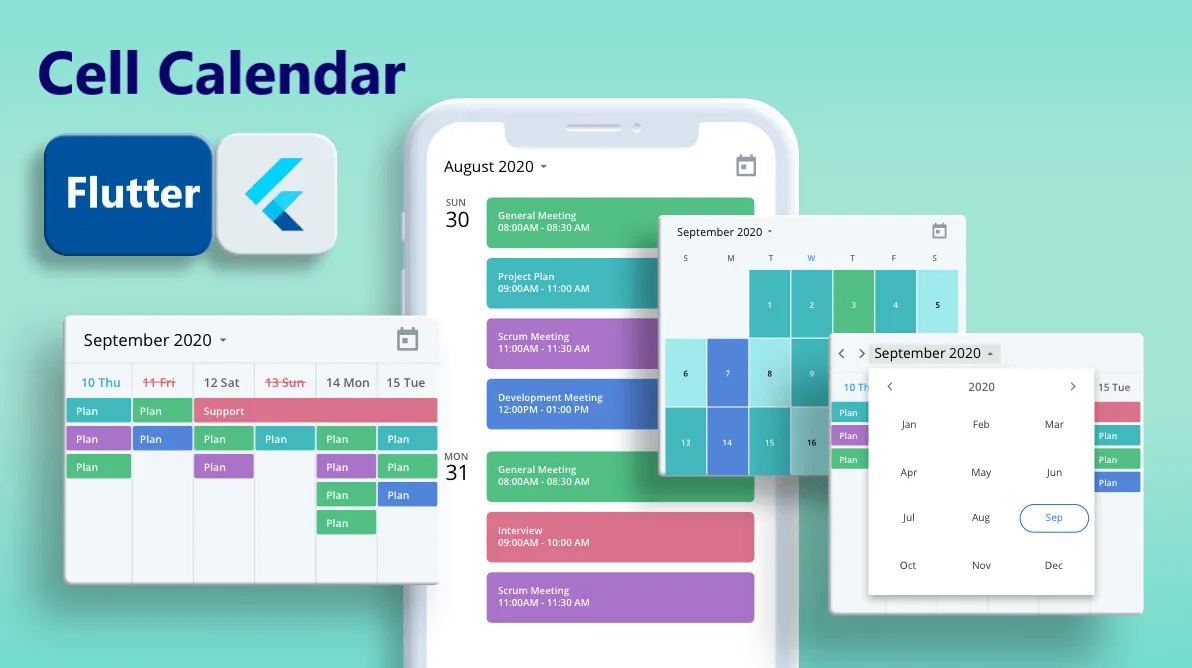
Modern calendar widget with useful features. Enables to develop well designed calendar in a moment.
Inspired by the UI of Google Calendar
Usage
- Events
You can show the events in the calendar by inserting the list of CalendarEvent as events
    CellCalendar(
      events: [
        CalendarEvent(eventName: "Event 1",eventDate: DateTime1),
        CalendarEvent(eventName: "Event 2",eventDate: DateTime2),
      ]
    );
If you need to customize the calendar more, the additional parameters like eventBackGroundColor, eventTextColor and eventID are helpful.
- onPageChanged
The callback onPageChanged is literally called when the current page is changed.
    CellCalendar(
      onPageChanged: (firstDate, lastDate) {
        print("This is the first date of the new page: $firstDate");
        print("This is the last date of the new page: $lastDate");
      }
    );
In this sample code, firstDate is the date in the very first cell of the new page, and its logic is same as lastDate.
- onCellTapped
The callback onCellTapped is called when user tapped a cell.
    CellCalendar(
      onCellTapped: (date) {
        print("$date is tapped !");
      }
    );
It is called with tapped DateTime, so you can get the events on the date if you want.
    CellCalendar(
      onCellTapped: (date){
        print("$date is tapped !");
        final eventsOnTheDate = sampleEvents().where((event) {
          final eventDate = event.eventDate;
          return eventDate.year == date.year &&
              eventDate.month == date.month &&
              eventDate.day == date.day;
        }).toList();
        /// ex) Show dialog or navigate to new page with [eventsOnTheDate]
      }
);- daysOfTheWeekBuilder and monthYearLabelBuilder
If you don't want to use default labels on the calendar, you can use callbacks for customization.
    CellCalendar(
      daysOfTheWeekBuilder: (dayIndex) {
        /// dayIndex: 0 for Sunday, 6 for Saturday.
        final labels = ["S", "M", "T", "W", "T", "F", "S"];
        return Padding(
          padding: const EdgeInsets.only(bottom: 4.0),
          child: Text(
            labels[dayIndex],
            style: TextStyle(
              fontWeight: FontWeight.bold,
            ),
            textAlign: TextAlign.center,
          ),
        );
      },
      monthYearLabelBuilder: (datetime) {
        final year = datetime.year.toString();
        final month = datetime.month.toString();
        return Padding(
          padding: const EdgeInsets.all(16.0),
          child: Text(
            "$month, $year",
            style: TextStyle(
              fontSize: 24,
              fontWeight: FontWeight.bold,
            ),
          ),
        );
      },
    )
If you have any requests or questions, please feel free to ask on github.
This project follows the all-contributors specification. Contributions of any kind welcome!
Use this package as a library
Depend on it
Run this command:
With Flutter:
$ flutter pub add cell_calendarThis will add a line like this to your package's pubspec.yaml (and run an implicit flutter pub get):
dependencies:
  cell_calendar: ^0.8.0
Alternatively, your editor might support flutter pub get. Check the docs for your editor to learn more.
Import it
Now in your Dart code, you can use:
import 'package:cell_calendar/cell_calendar.dart';import 'package:cell_calendar/cell_calendar.dart';
import 'package:example/sample_event.dart';
import 'package:flutter/material.dart';
void main() {
runApp(const MyApp());
}
class MyApp extends StatelessWidget {
const MyApp({super.key});
// This widget is the root of your application.
@override
Widget build(BuildContext context) {
return MaterialApp(
title: 'Flutter Demo',
theme: ThemeData(
primarySwatch: Colors.blue,
visualDensity: VisualDensity.adaptivePlatformDensity,
),
home: const MyHomePage(title: 'cell_calendar example'),
);
}
}
class MyHomePage extends StatelessWidget {
const MyHomePage({
super.key,
required this.title,
});
final String title;
@override
Widget build(BuildContext context) {
final events = sampleEvents();
final cellCalendarPageController = CellCalendarPageController();
return Scaffold(
appBar: AppBar(
title: Text(title),
),
body: CellCalendar(
cellCalendarPageController: cellCalendarPageController,
events: events,
daysOfTheWeekBuilder: (dayIndex) {
final labels = ["S", "M", "T", "W", "T", "F", "S"];
return Padding(
padding: const EdgeInsets.only(bottom: 4.0),
child: Text(
labels[dayIndex],
style: const TextStyle(
fontWeight: FontWeight.bold,
),
textAlign: TextAlign.center,
),
);
},
monthYearLabelBuilder: (datetime) {
final year = datetime!.year.toString();
final month = datetime.month.monthName;
return Padding(
padding: const EdgeInsets.symmetric(vertical: 4),
child: Row(
children: [
const SizedBox(width: 16),
Text(
"$month $year",
style: const TextStyle(
fontSize: 24,
fontWeight: FontWeight.bold,
),
),
const Spacer(),
IconButton(
padding: EdgeInsets.zero,
icon: const Icon(Icons.calendar_today),
onPressed: () {
cellCalendarPageController.animateToDate(
DateTime.now(),
curve: Curves.linear,
duration: const Duration(milliseconds: 300),
);
},
)
],
),
);
},
onCellTapped: (date) {
final eventsOnTheDate = events.where((event) {
final eventDate = event.eventDate;
return eventDate.year == date.year &&
eventDate.month == date.month &&
eventDate.day == date.day;
}).toList();
showDialog(
context: context,
builder: (_) => AlertDialog(
title: Text("${date.month.monthName} ${date.day}"),
content: Column(
mainAxisSize: MainAxisSize.min,
children: eventsOnTheDate
.map(
(event) => Container(
width: double.infinity,
padding: const EdgeInsets.all(4),
margin: const EdgeInsets.only(bottom: 12),
color: event.eventBackgroundColor,
child: Text(
event.eventName,
style: event.eventTextStyle,
),
),
)
.toList(),
),
));
},
onPageChanged: (firstDate, lastDate) {
/// Called when the page was changed
/// Fetch additional events by using the range between [firstDate] and [lastDate] if you want
},
),
);
}
}Download details:
Author: bookm.me
Source: https://github.com/santa112358/cell_calendar