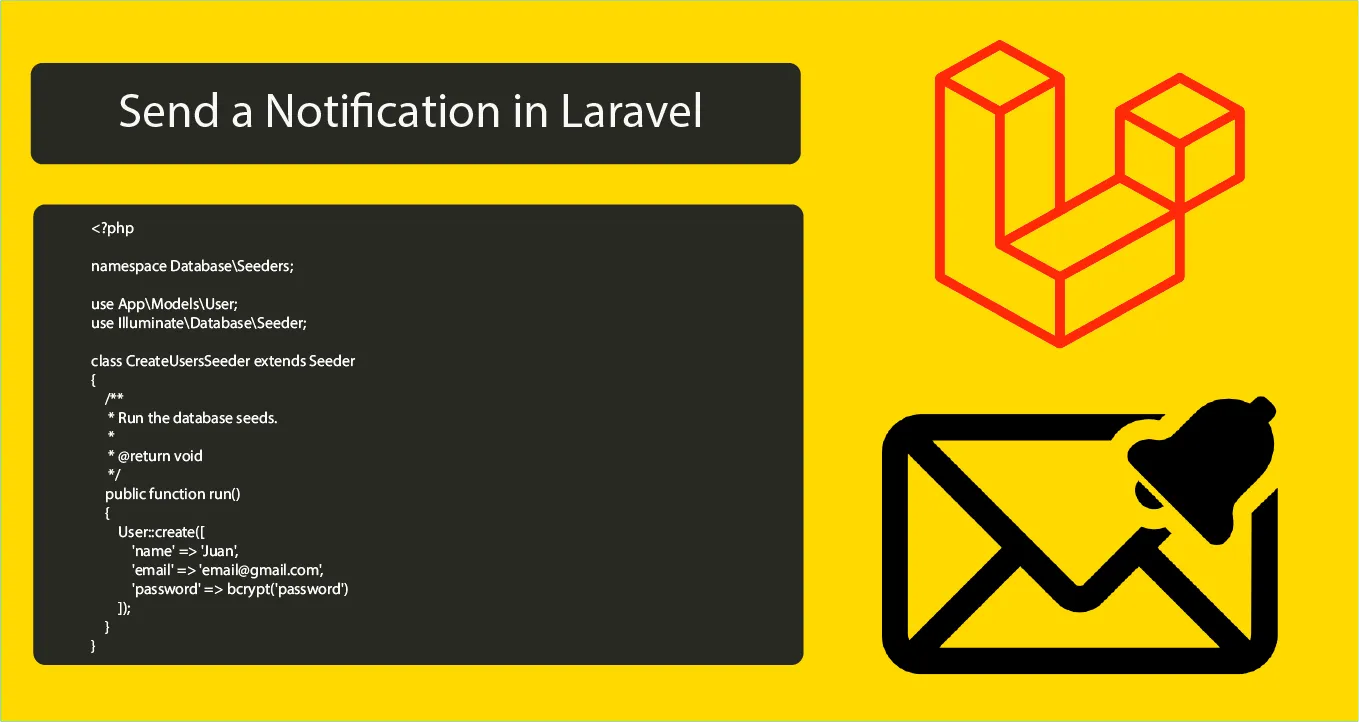
How to Send a Notification in Laravel with Example
Notifications are required in almost every application, especially which falls in the category of e-commerce, social media, or any noted digital product. In this tutorial, we will, learn how to send a notification in Laravel , To send notification in Laravel we do the following steps.
- Step 1: Laravel Installation
- Step 2: Database Configuration
- Step 3: Migration Setup
- Step 4: Making Laravel Email Notification
- Step 5: Setting up Routes
- Step 6: Setting Up Controller
Step 1: Laravel Installation
If you don't have a Laravel 8 install in your local just run the following command below:
composer create-project --prefer-dist laravel/laravel laravel-email-notificationStep 2: Database Configuration
If your Laravel project is fresh then you need to update your database credentials. Just open the .env file in your Laravel 9 project.
DB_CONNECTION=mysql
DB_HOST=127.0.0.1
DB_PORT=3306
DB_DATABASE=your_database_name_here
DB_USERNAME=your_database_username_here
DB_PASSWORD=your_database_password_here
Step 3: Migration Setup
Here we need to generate first the notifications table before running the migrations. Kindly run the following command:
php artisan notifications:tablephp artisan migrateThen once done let's create a seeder for our user. Run the following command:
php artisan make:seeder CreateUsersSeederOnce our seeder is generated kindly to the database/seeders directory. Open the CreateUsersSeeder.php and you will see the following code:
<?php

namespace Database\Seeders;

use App\Models\User;
use Illuminate\Database\Seeder;

class CreateUsersSeeder extends Seeder
{
    /**
     * Run the database seeds.
     *
     * @return void
     */
    public function run()
    {
        User::create([
            'name' => 'Juan',
            'email' => 'email@gmail.com',
            'password' => bcrypt('password')
        ]);
    }
}
Then run the following command:
php artisan db:seed --class=CreateUsersSeederLearn more about Laravel seeder here.
Step 4: Making Laravel Email Notification
Now, let's generate our Laravel email notification example we will name this as EmailNotification. Run the following command to do this.
php artisan make:notification EmailNotificationOnce done, navigate App/Notifications and open EmailNotification.php then edit it. See the below example:
<?php

namespace App\Notifications;

use Illuminate\Bus\Queueable;
use Illuminate\Contracts\Queue\ShouldQueue;
use Illuminate\Notifications\Messages\MailMessage;
use Illuminate\Notifications\Notification;

class EmailNotification extends Notification
{
    use Queueable;

    /**
     * @var array $project
     */
    protected $project;

    /**
     * Create a new notification instance.
     *
     * @return void
     */
    public function __construct($project)
    {
        $this->project = $project;
    }

    /**
     * Get the notification's delivery channels.
     *
     * @param  mixed  $notifiable
     * @return array
     */
    public function via($notifiable)
    {
        return ['mail','database'];
    }

    /**
     * Get the mail representation of the notification.
     *
     * @param  mixed  $notifiable
     * @return \Illuminate\Notifications\Messages\MailMessage
     */
    public function toMail($notifiable)
    {
        return (new MailMessage)
                    ->greeting($this->project['greeting'])
                    ->line($this->project['body'])
                    ->action($this->project['actionText'], $this->project['actionURL'])
                    ->line($this->project['thanks']);
    }

    /**
     * Get the array representation of the notification.
     *
     * @param  mixed  $notifiable
     * @return array
     */
    public function toDatabase($notifiable)
    {
        return [
            'project_id' => $this-How to Send a Notification in Laravel with Example>project['id']
        ];
    }

    /**
     * Get the array representation of the notification.
     *
     * @param  mixed  $notifiable
     * @return array
     */
    public function toArray($notifiable)
    {
        return [
            //
        ];
    }
}
Step 5: Setting up Routes
In my example, I will create manually my crud routes. Just open the "routes/web.php" file and add the following routes.
<?php

use Illuminate\Support\Facades\Route;

/*
|--------------------------------------------------------------------------
| Web Routes
|--------------------------------------------------------------------------
|
| Here is where you can register web routes for your application. These
| routes are loaded by the RouteServiceProvider within a group which
| contains the "web" middleware group. Now create something great!
|
*/

Route::get('/', function () {
    return view('welcome');
});

Route::get('/send', '\App\Http\Controllers\HomeController@send')->name('home.send');
Step 6: Setting Up Controller
In this section, we will add our email notification in our HomeController as we set in our routes. See below the complete code of our controller:
<?php

namespace App\Http\Controllers;

use Notification;
use App\Models\User;
use Illuminate\Http\Request;
use App\Notifications\EmailNotification;

class HomeController extends Controller
{
    public function send()
    {
    	$user = User::first();

        $project = [
            'greeting' => 'Hi '.$user->name.',',
            'body' => 'This is the project assigned to you.',
            'thanks' => 'Thank you this is from codeanddeploy.com',
            'actionText' => 'View Project',
            'actionURL' => url('/'),
            'id' => 57
        ];

        Notification::send($user, new EmailNotification($project));

        dd('Notification sent!');
    }
}
Now our code is ready for sending notifications to our users. You can test it now by running the serve command:
php artisan serveThen run the URL below to your browser to send an email notification to your user.
http://127.0.0.1:8000/send