Deploy ReactJS App with AWS S3
Originally published by Andrew Bestbier at https://medium.com
What we will be building:
Here is a deployment of the app we will be building: https://react-s3-intro.co.uk/ (Notice the custom URL and HTTPS).
The technologies used in this guide are:
- Amazon S3 for static web hosting
- Buddy for continuous deployment
- Github for hosting your source code
- Amazon Route 53 for your domain registration/management
- Amazon CloudFront for your CDN
- AWS Certificate Manager for providing certificates to make your app secure
- AWS Identity and Access Management (IAM) for creating an account with restricted permissions for Buddy
Prerequisites:
- A Github account
- An AWS account
- A Buddy account
- Node installed
Creating our app:
For this introduction, we will be using Create React App. To get started, run the following commands in your terminal:
npx create-react-app introduction
 cd introduction
 yarn start
If you navigate to http://localhost:3000/ you should see the following:
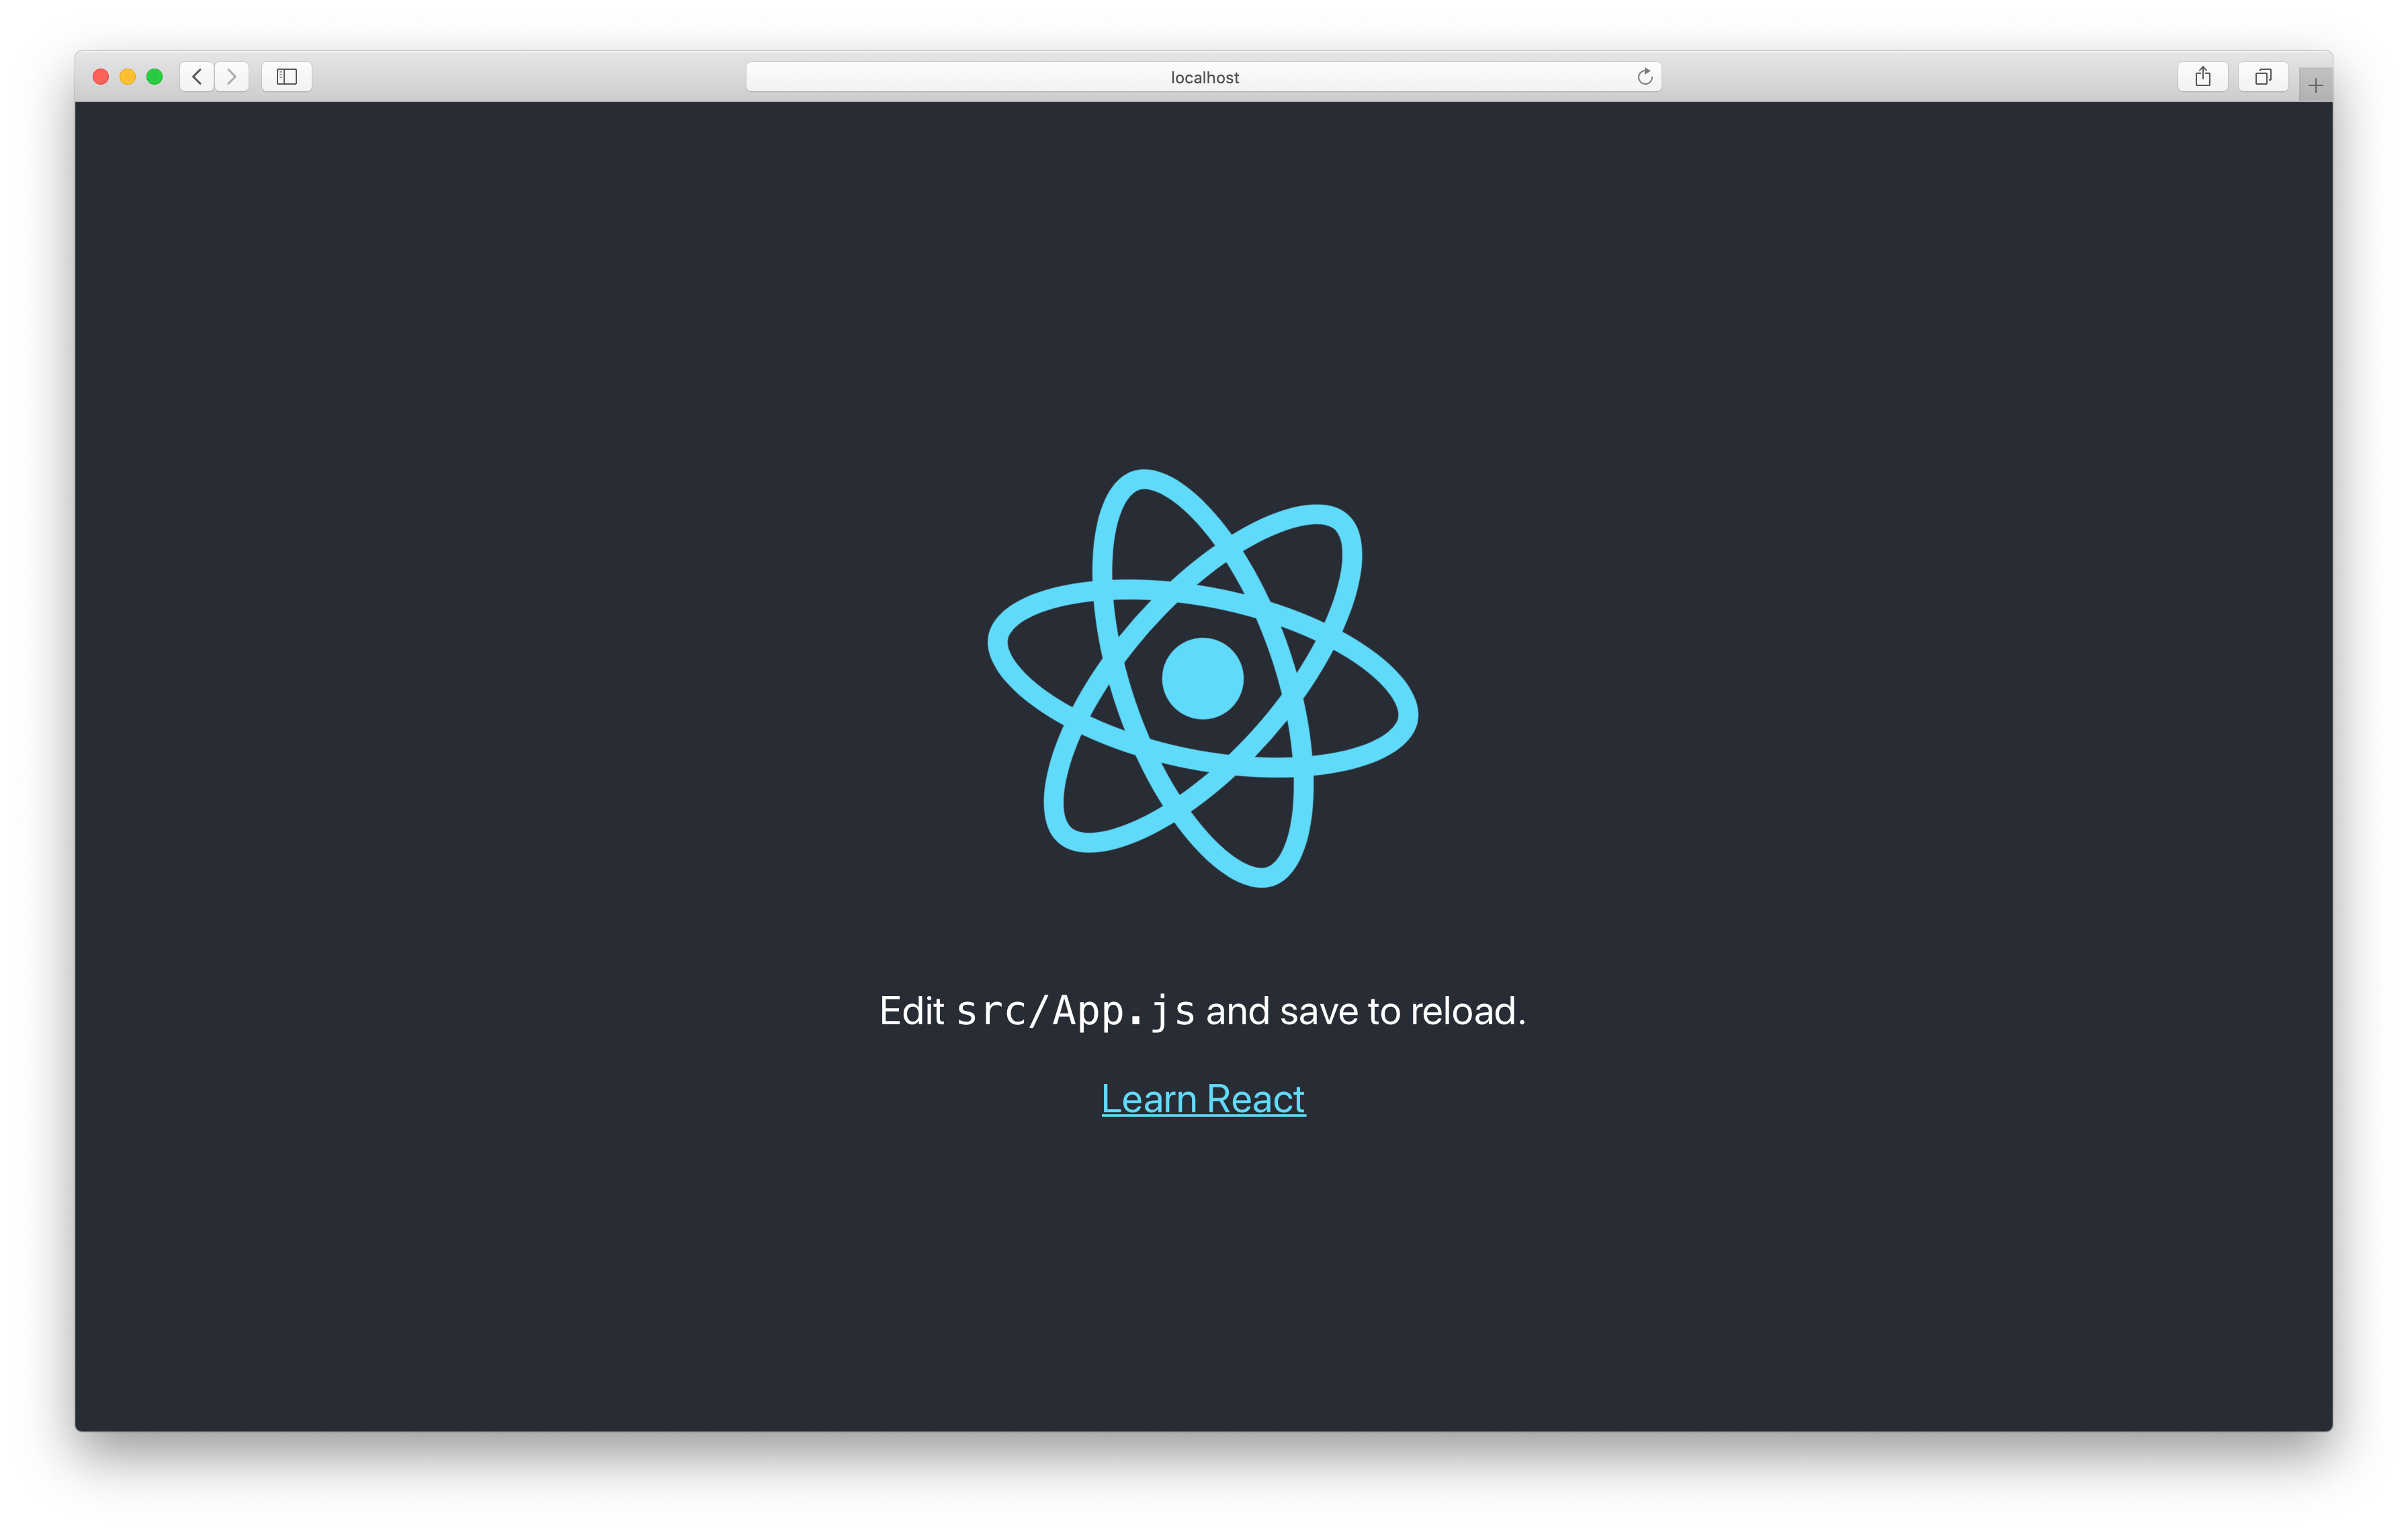
We won’t be developing the front-end any further in this tutorial.
Pushing the app to Github:
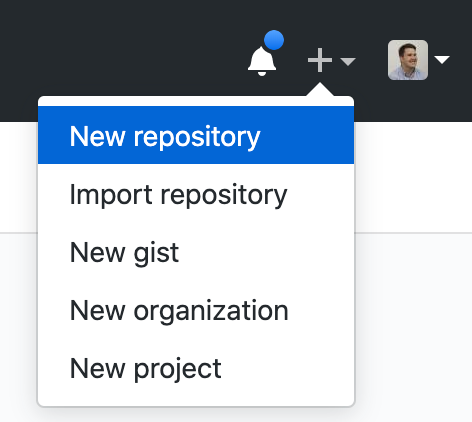
The code then needs to be hosted on Github where we will continually push new code as we develop features. In Github, click the shortcut +button and New repository
You should then see the following page:

Name your repository (I named mine ‘introduction’) and click Create repository
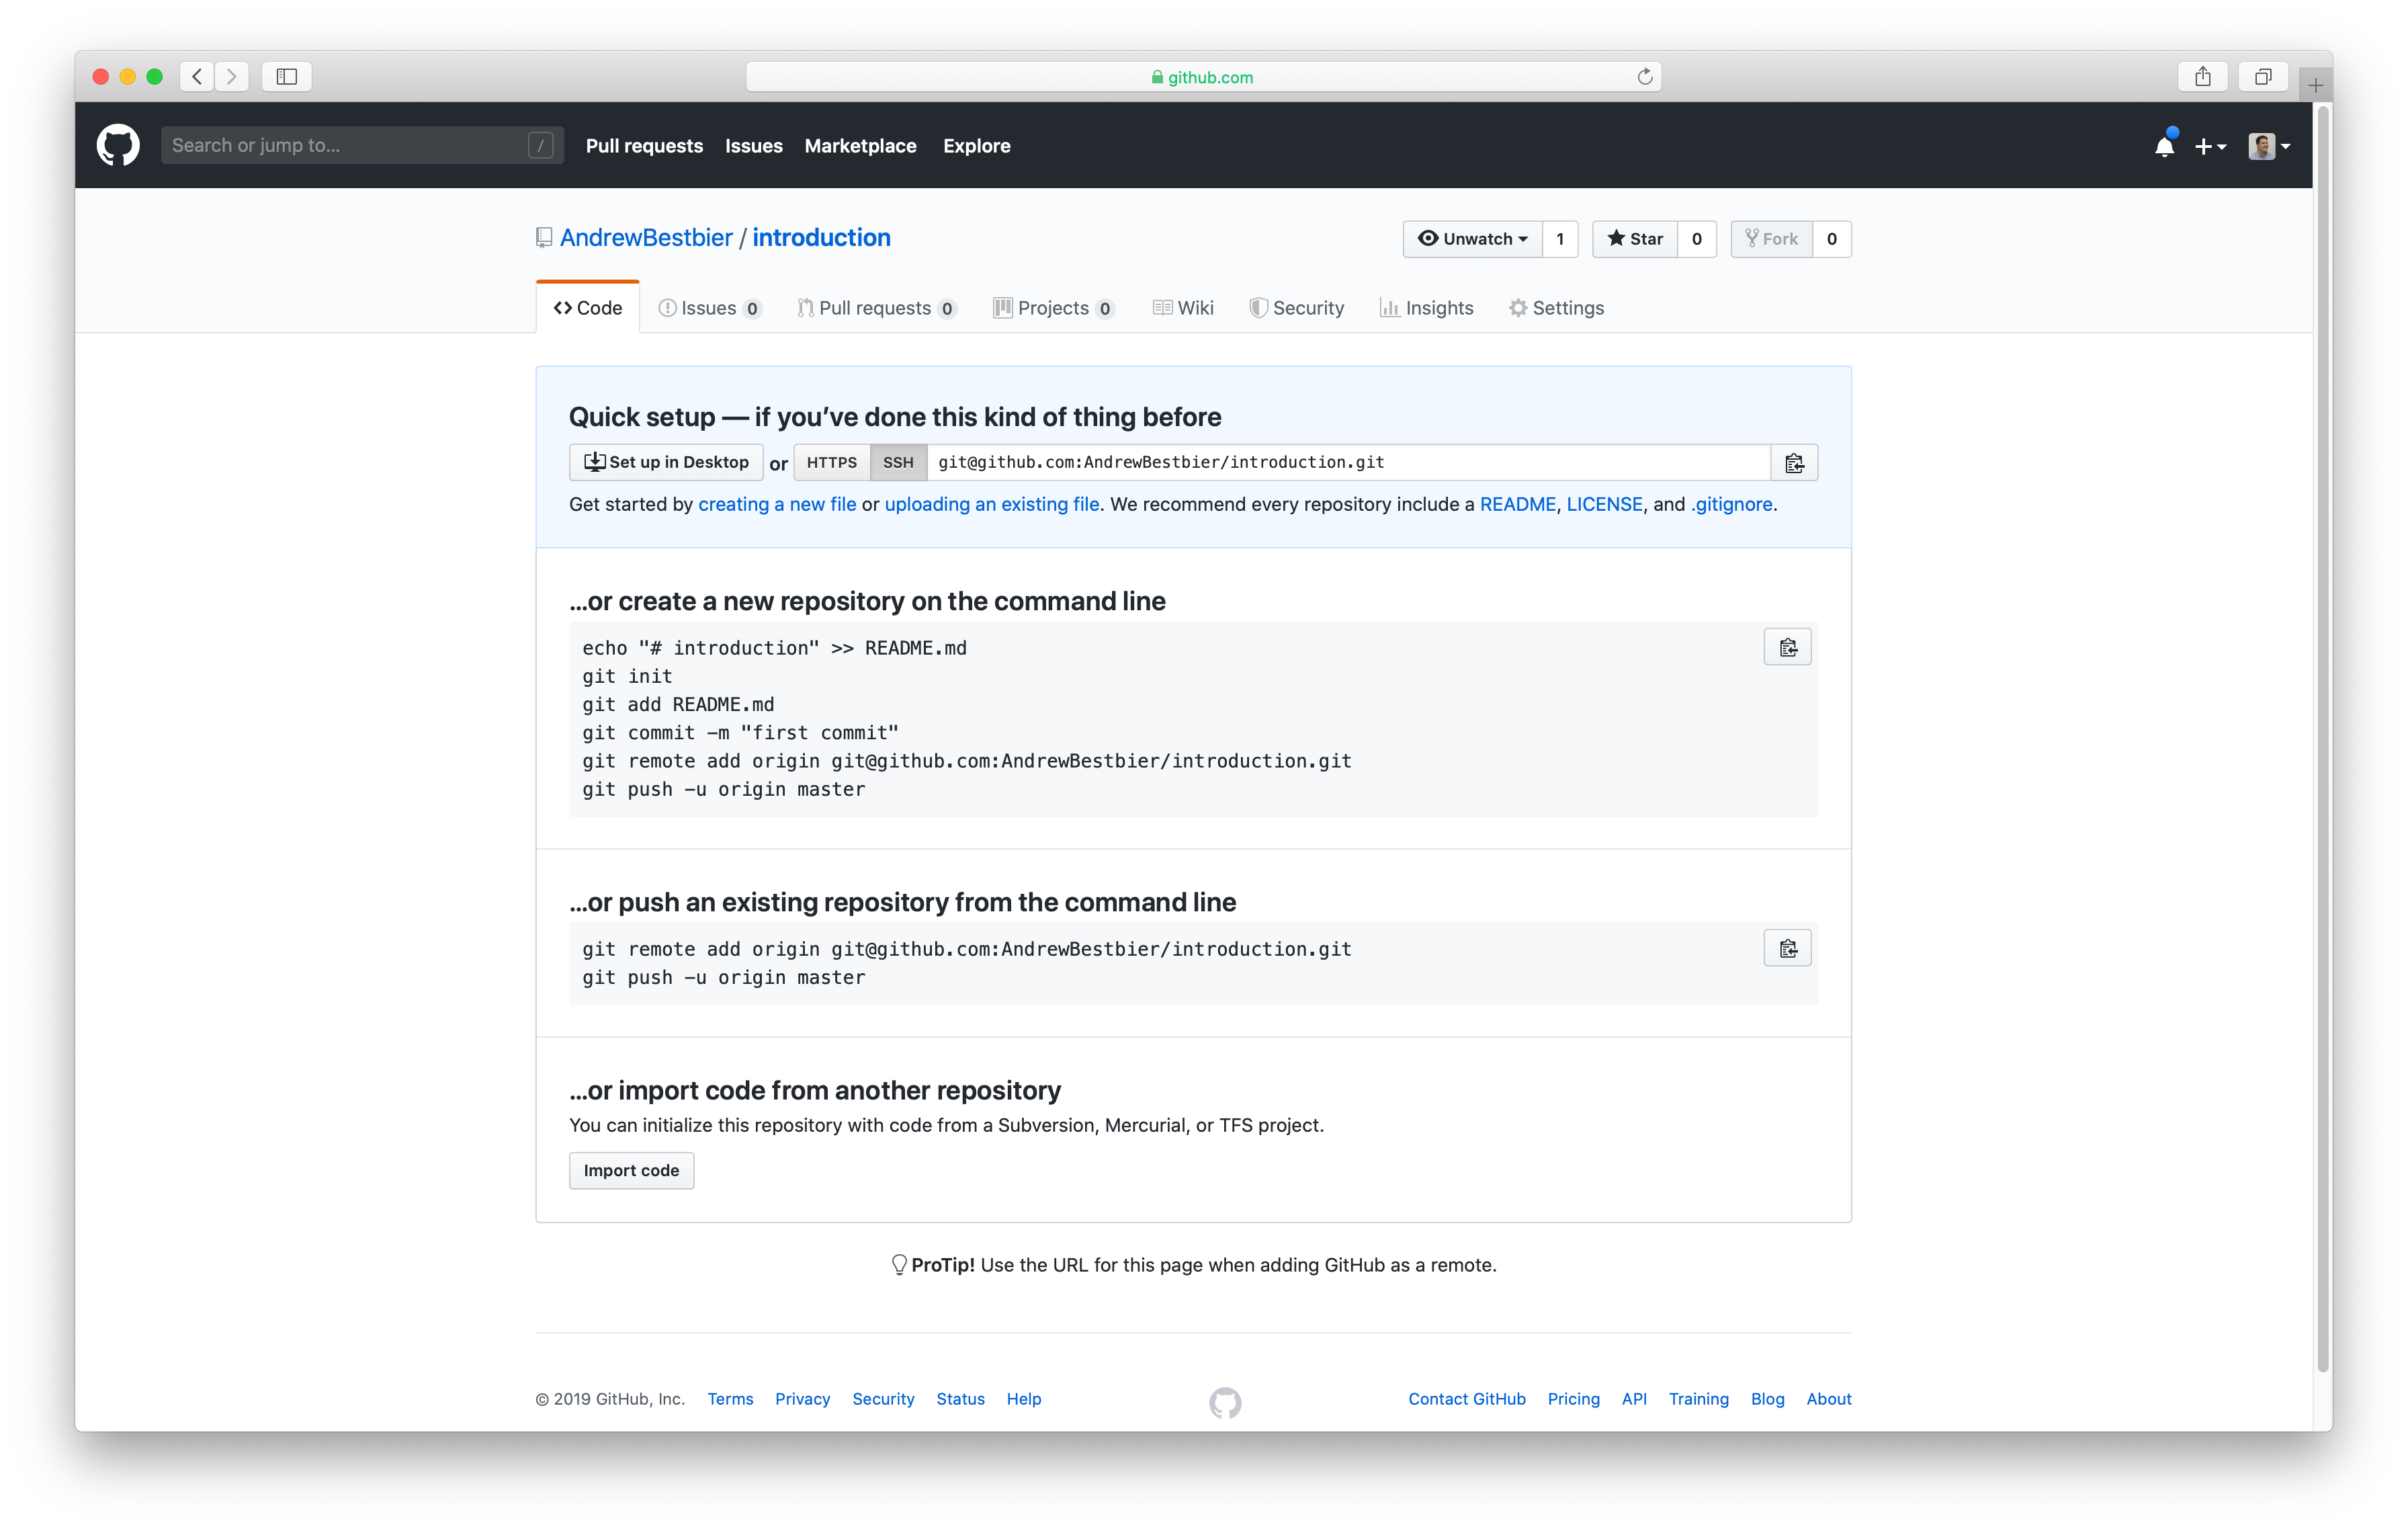
From here follow the on screen instructions by typing these commands into the terminal where you created your app: (Note that you need to alter the the repository in bold to use the repository that you just created):
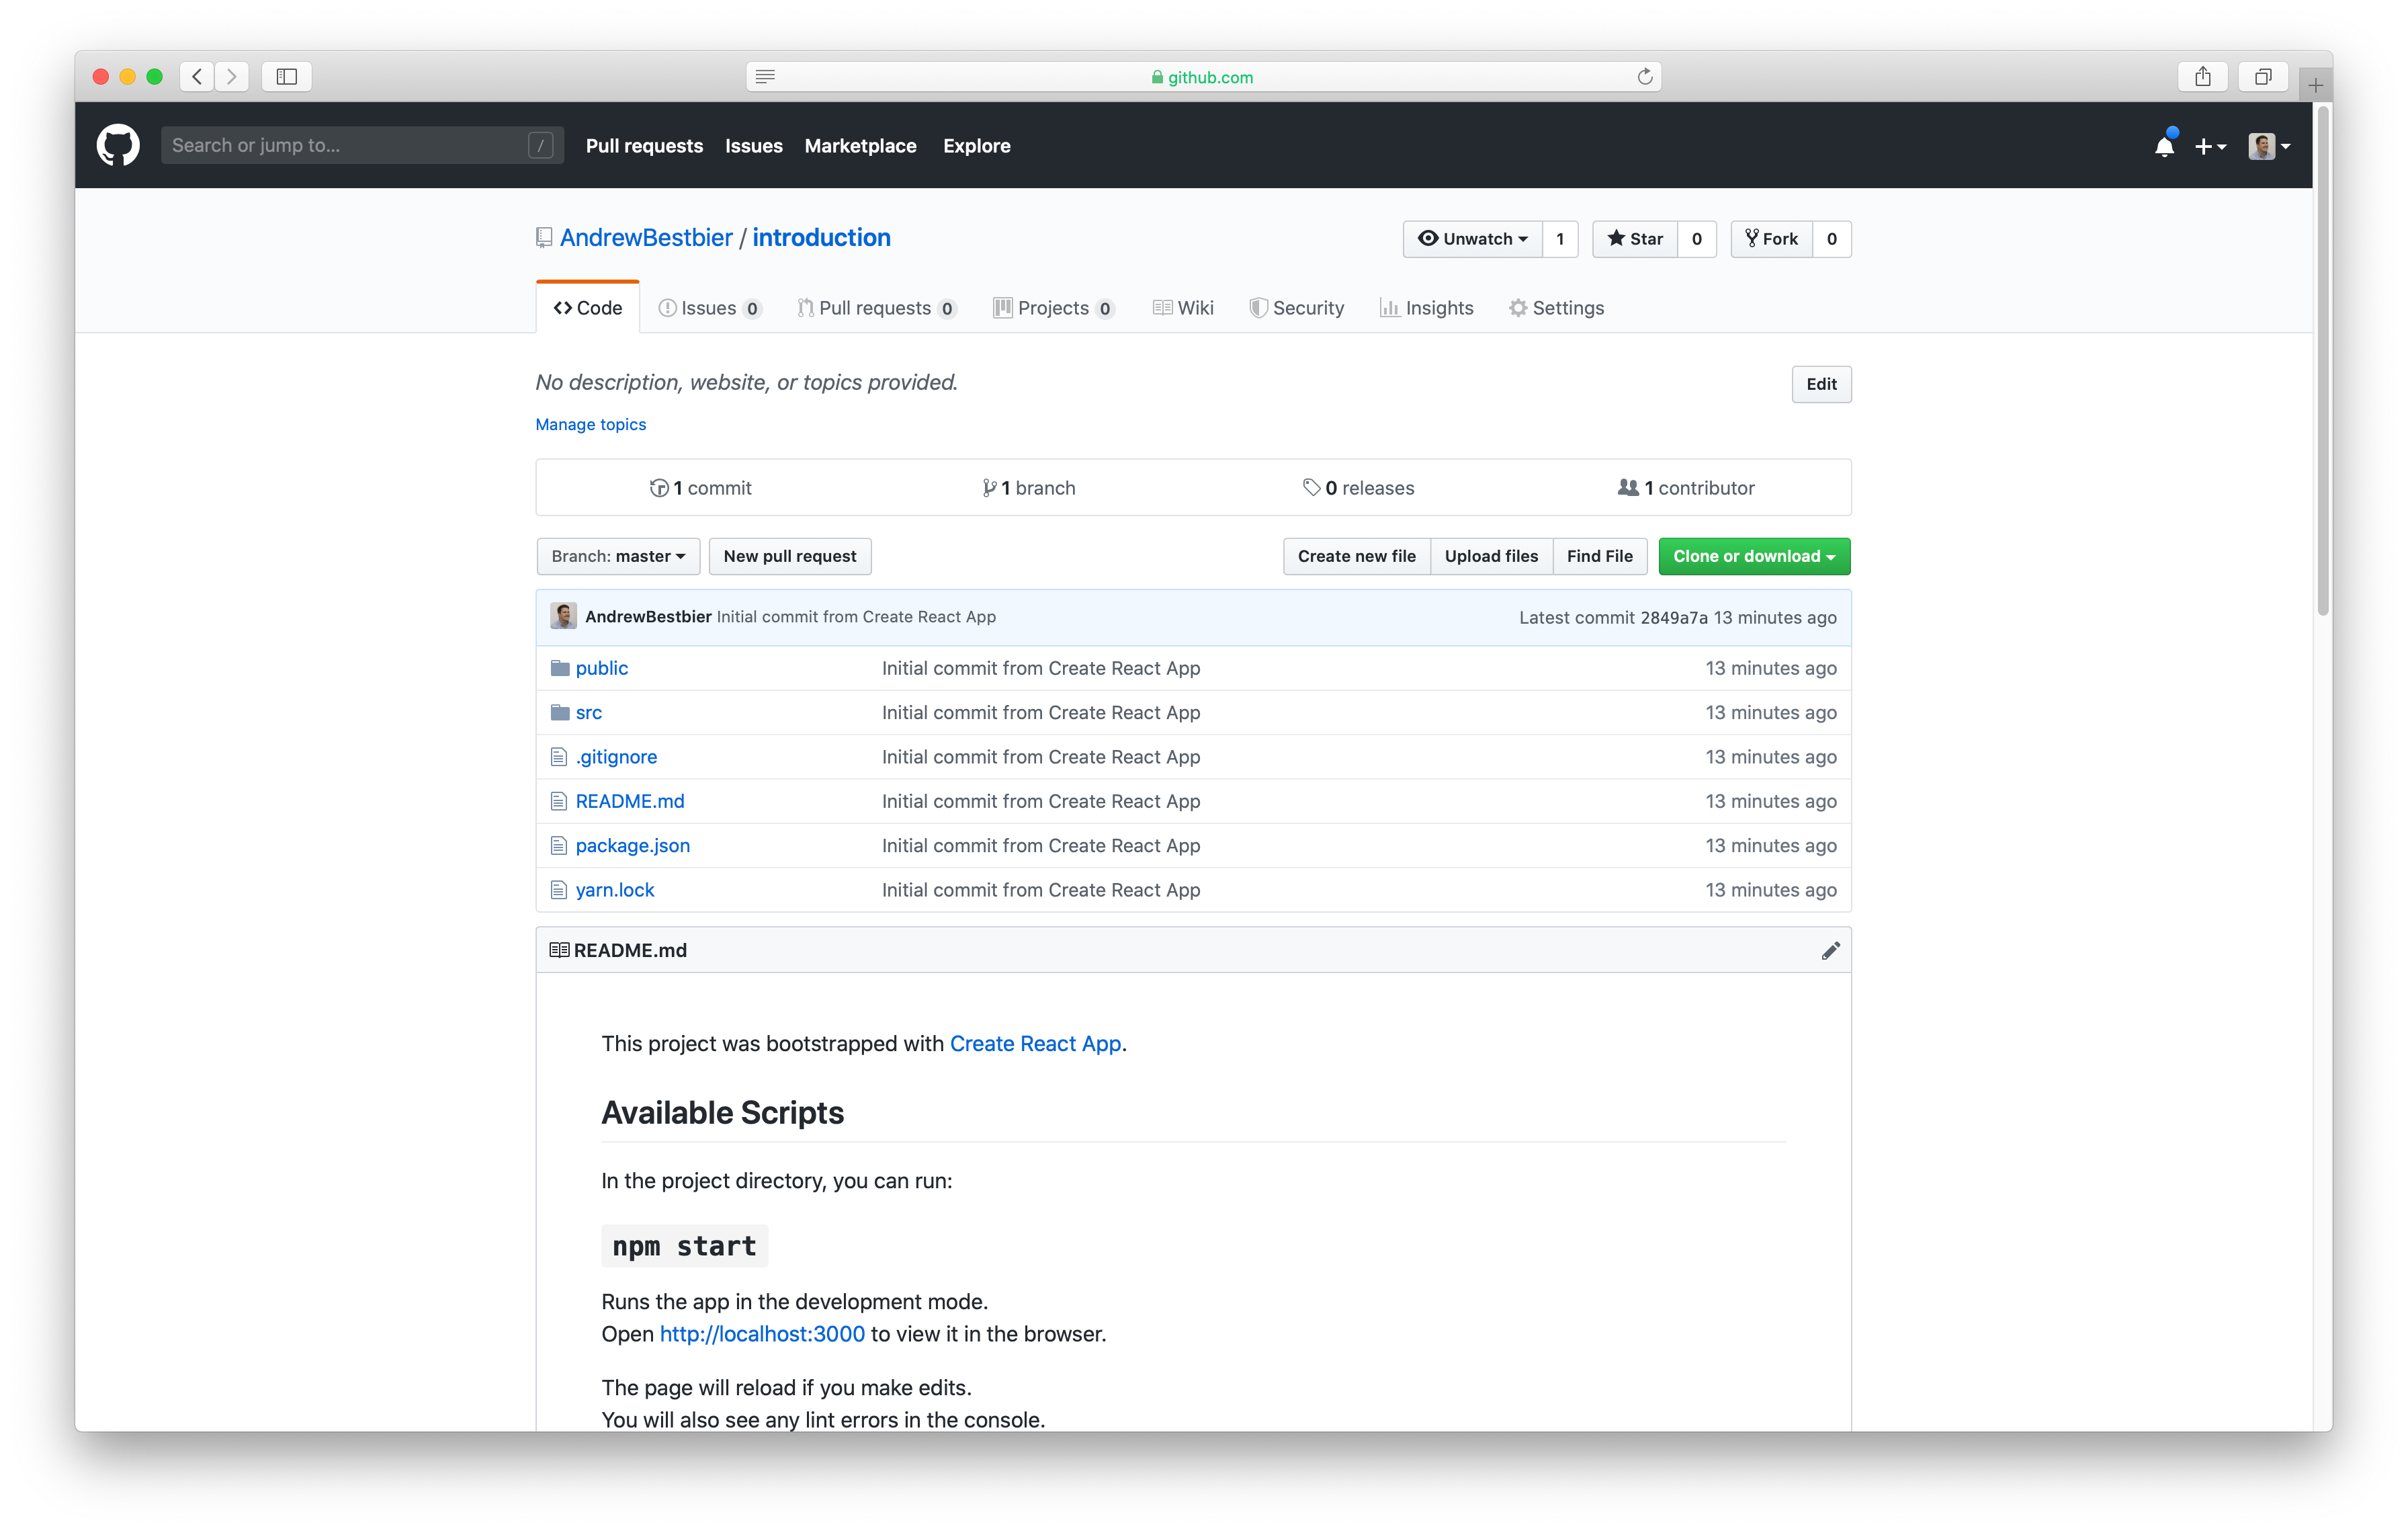
git init git add . git commit -m "first commit" git remote add origin git@github.com:AndrewBestbier/introduction.gitgit push -u origin master
You should then see all the starter code in Github:
If you don’t have SSH set up, I recommend taking a look at this article: https://help.github.com/en/enterprise/2.15/user/articles/adding-a-new-ssh-key-to-your-github-account.
First steps with AWS S3:
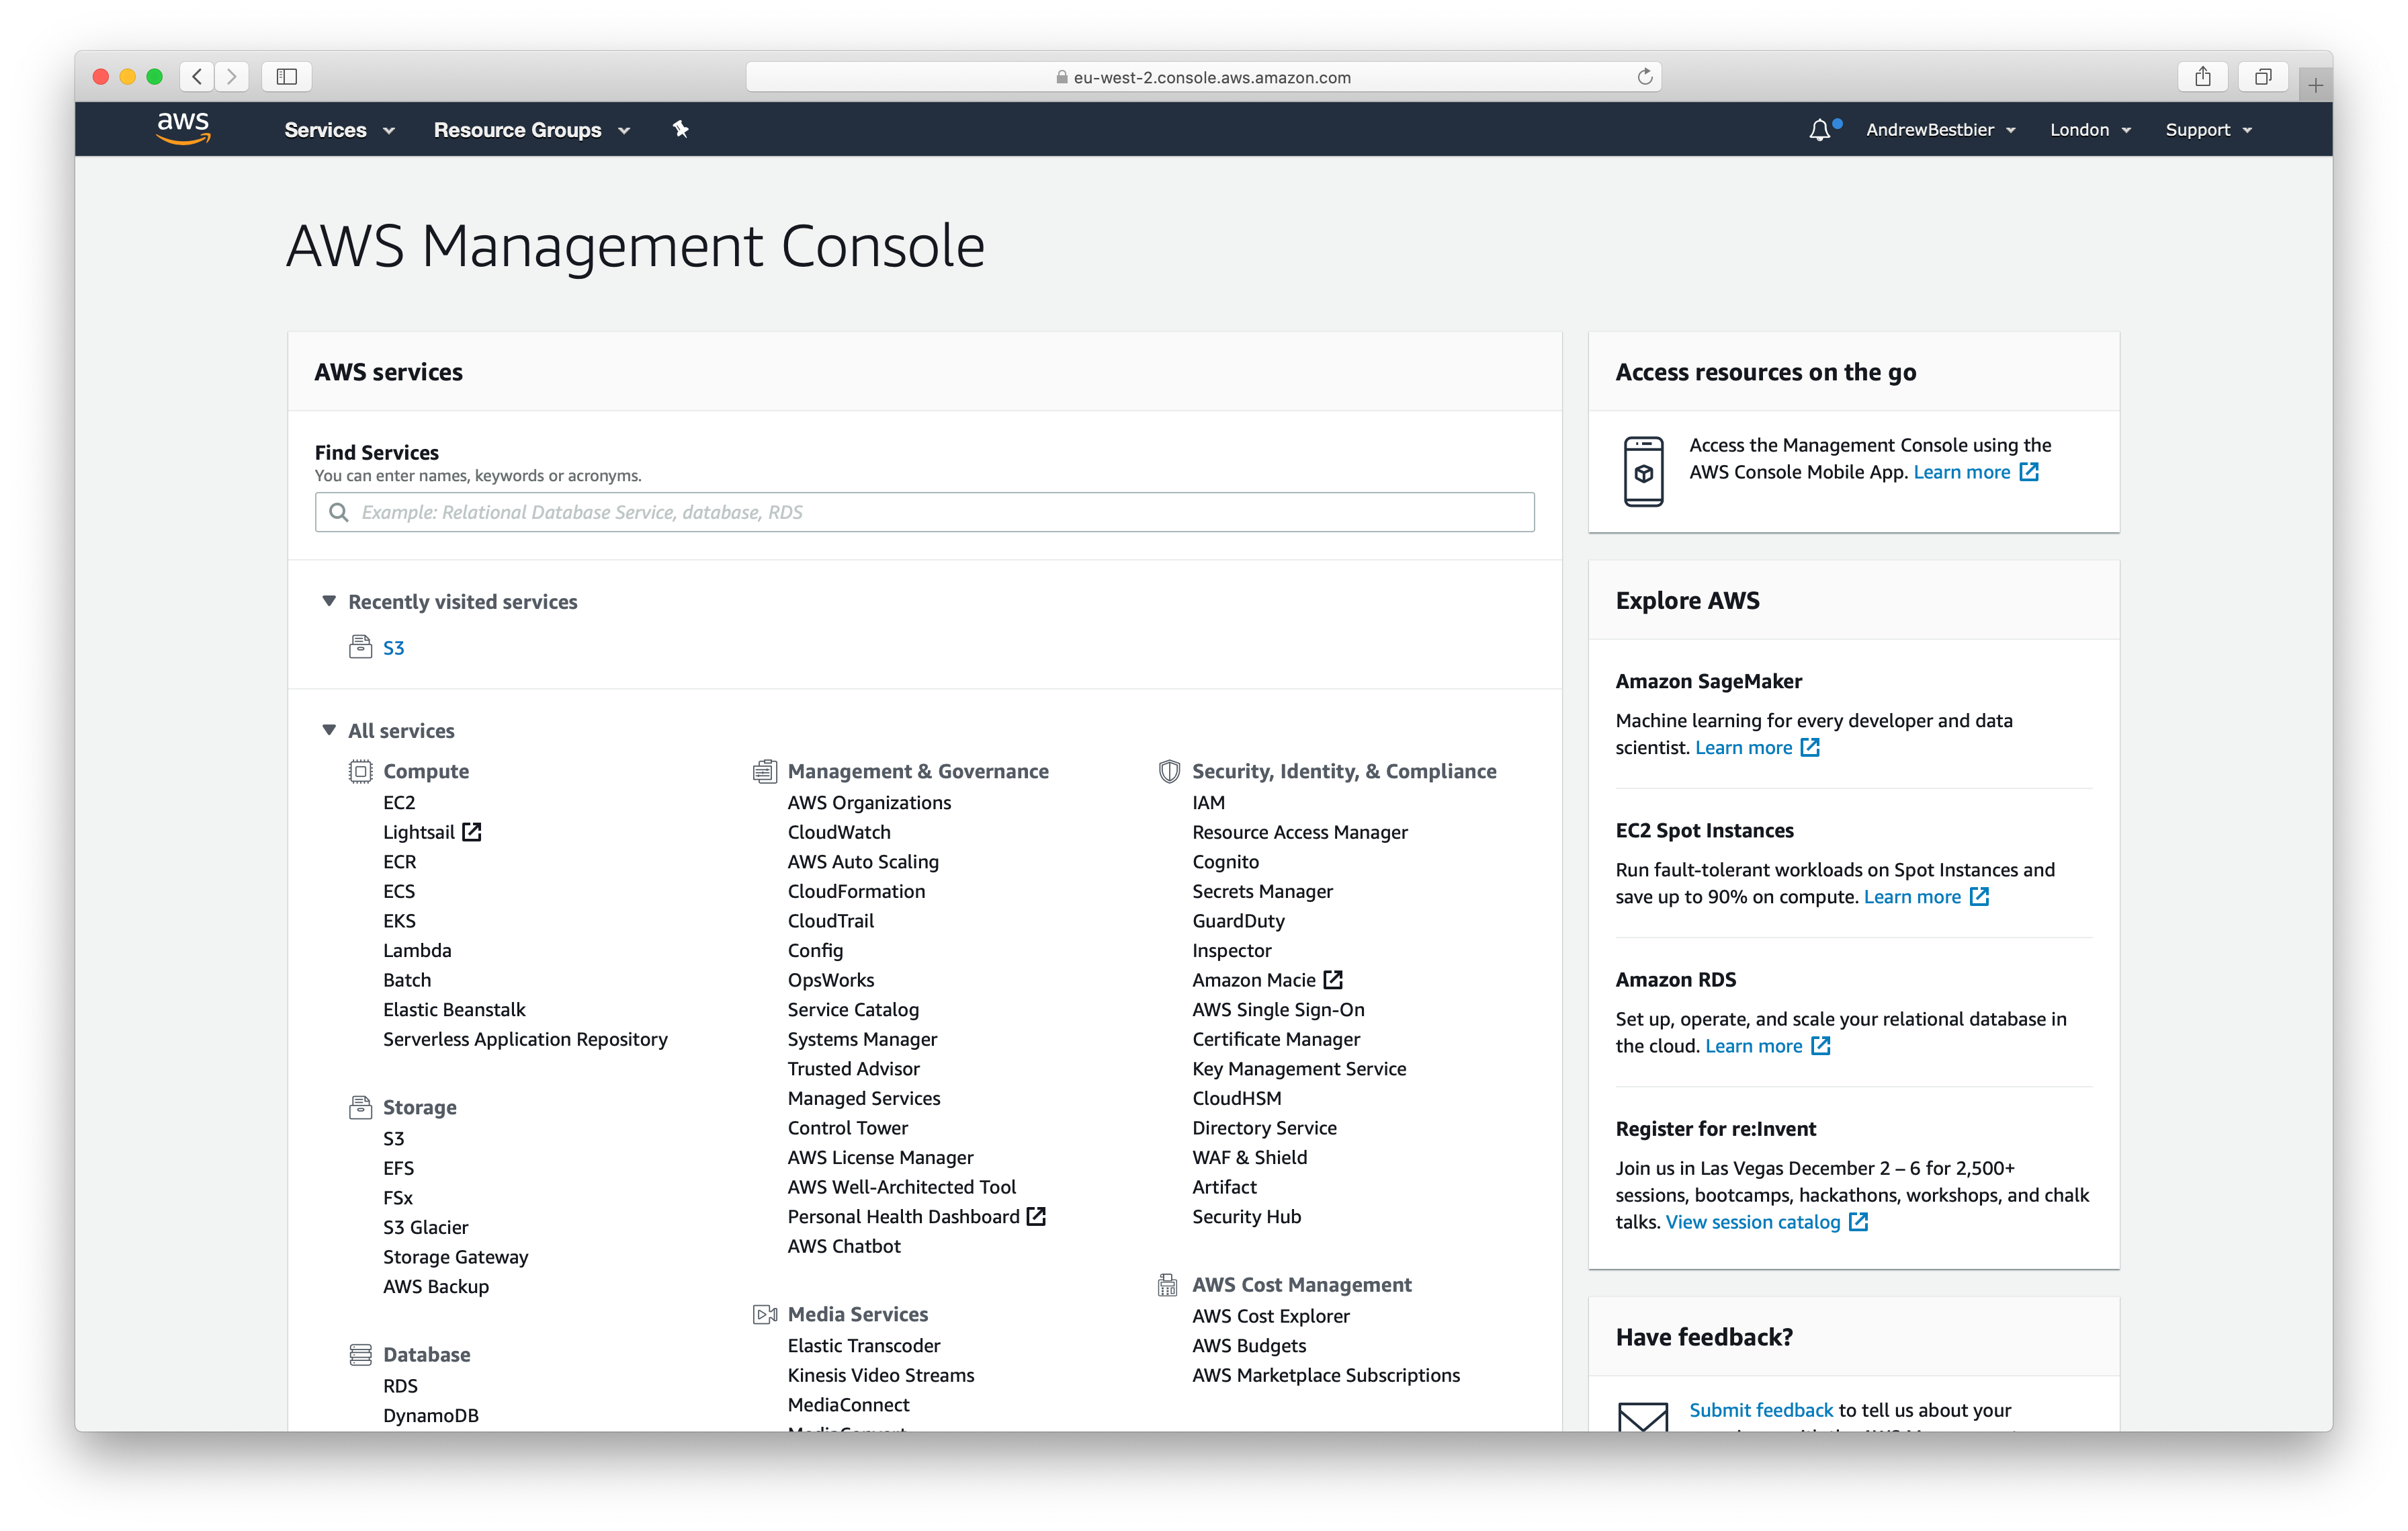
Now we will move on to storing your built app in AWS S3. First login to the AWS management console and navigate to the S3 service:
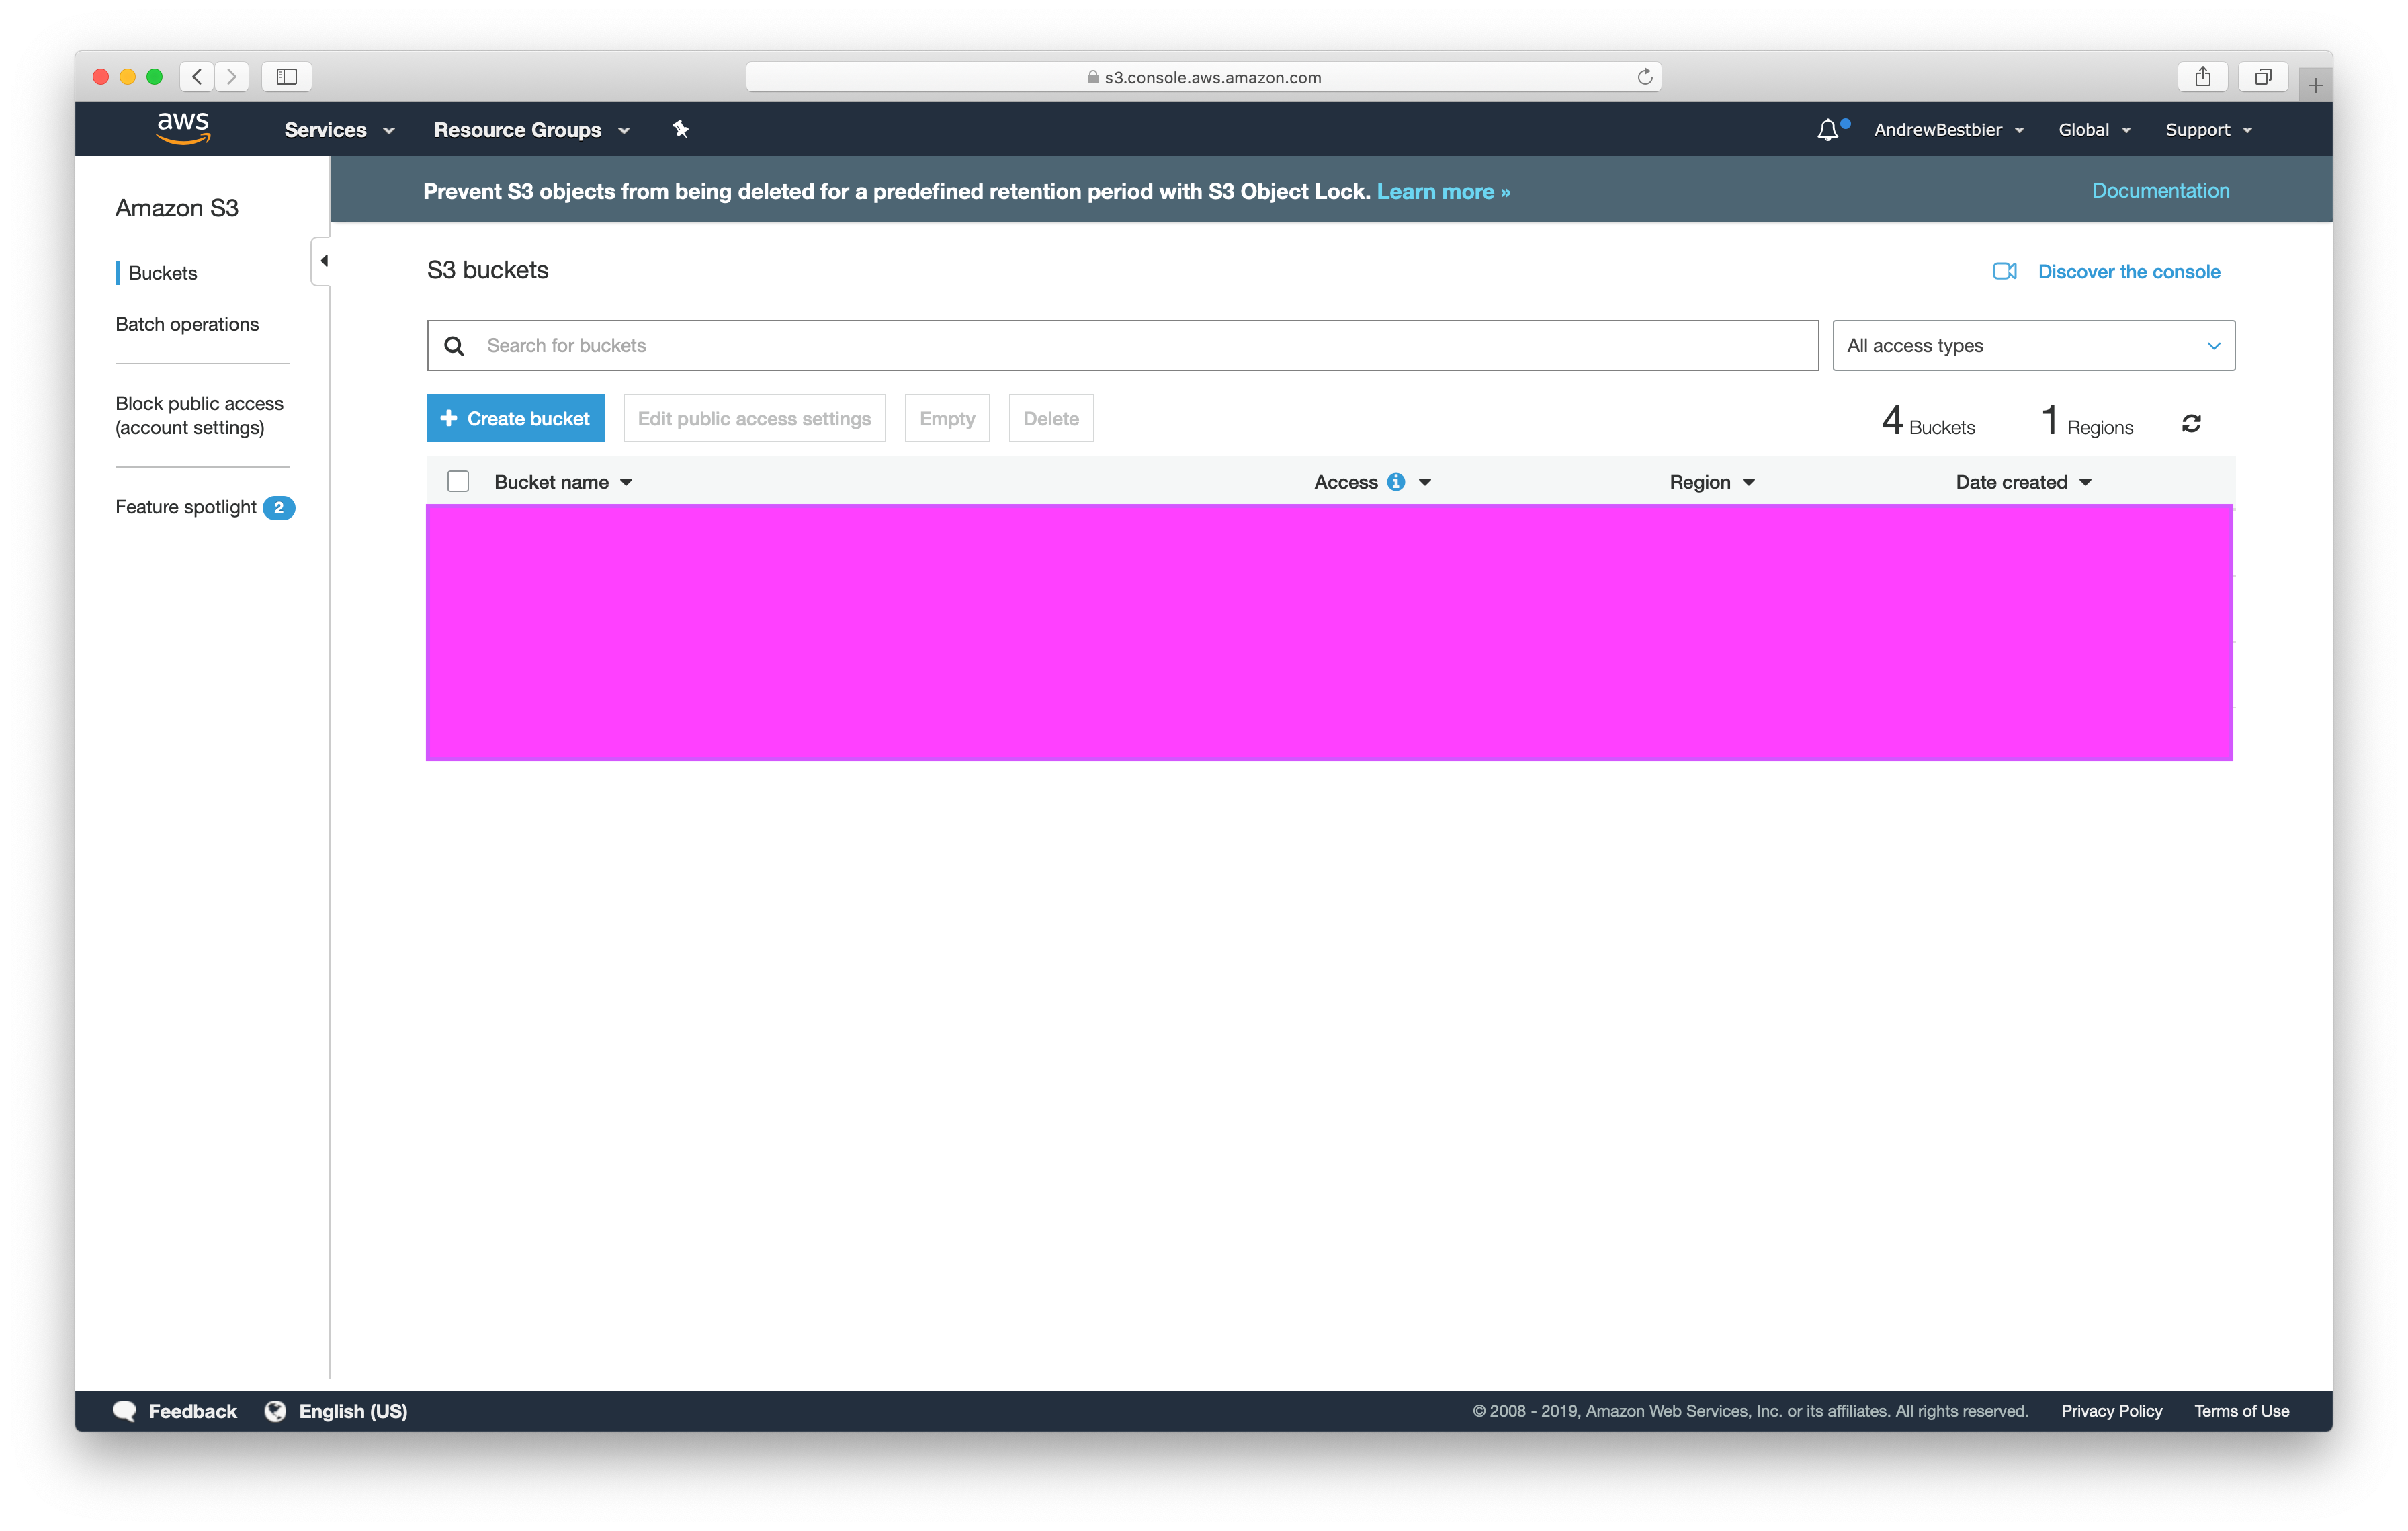
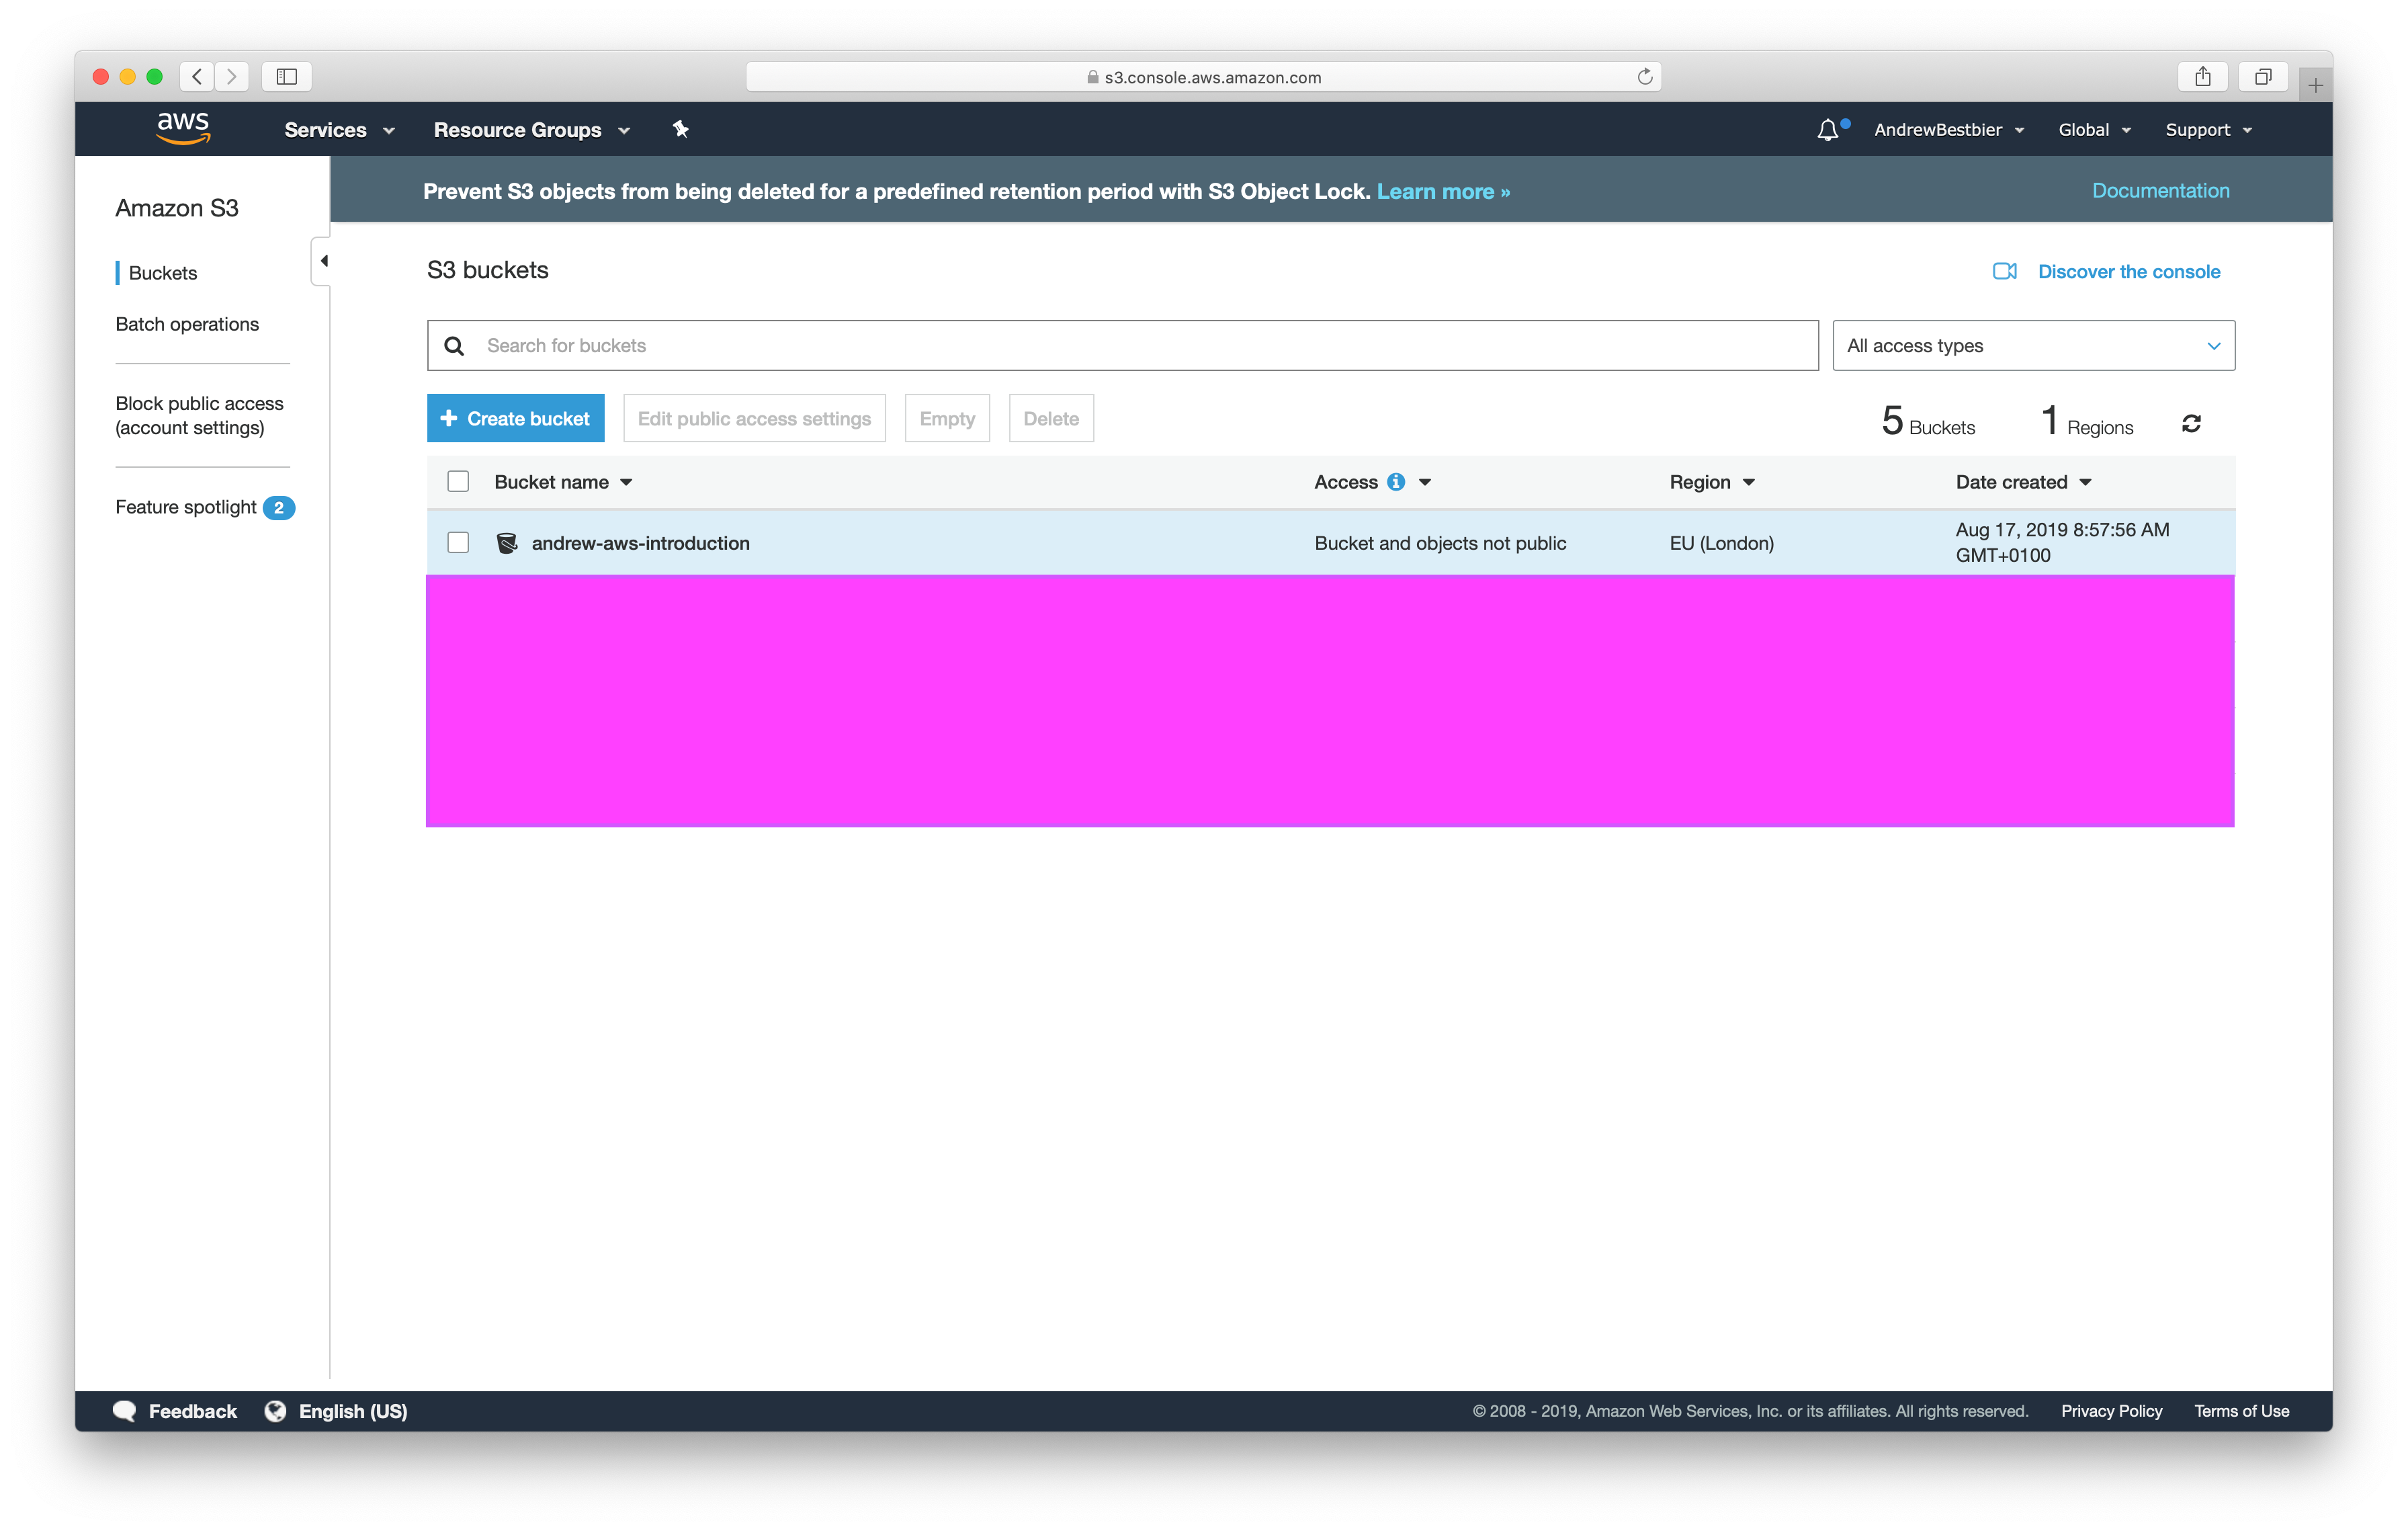
As you can see in my screenshot, I have a few buckets in S3 already which I have covered with a pink box.
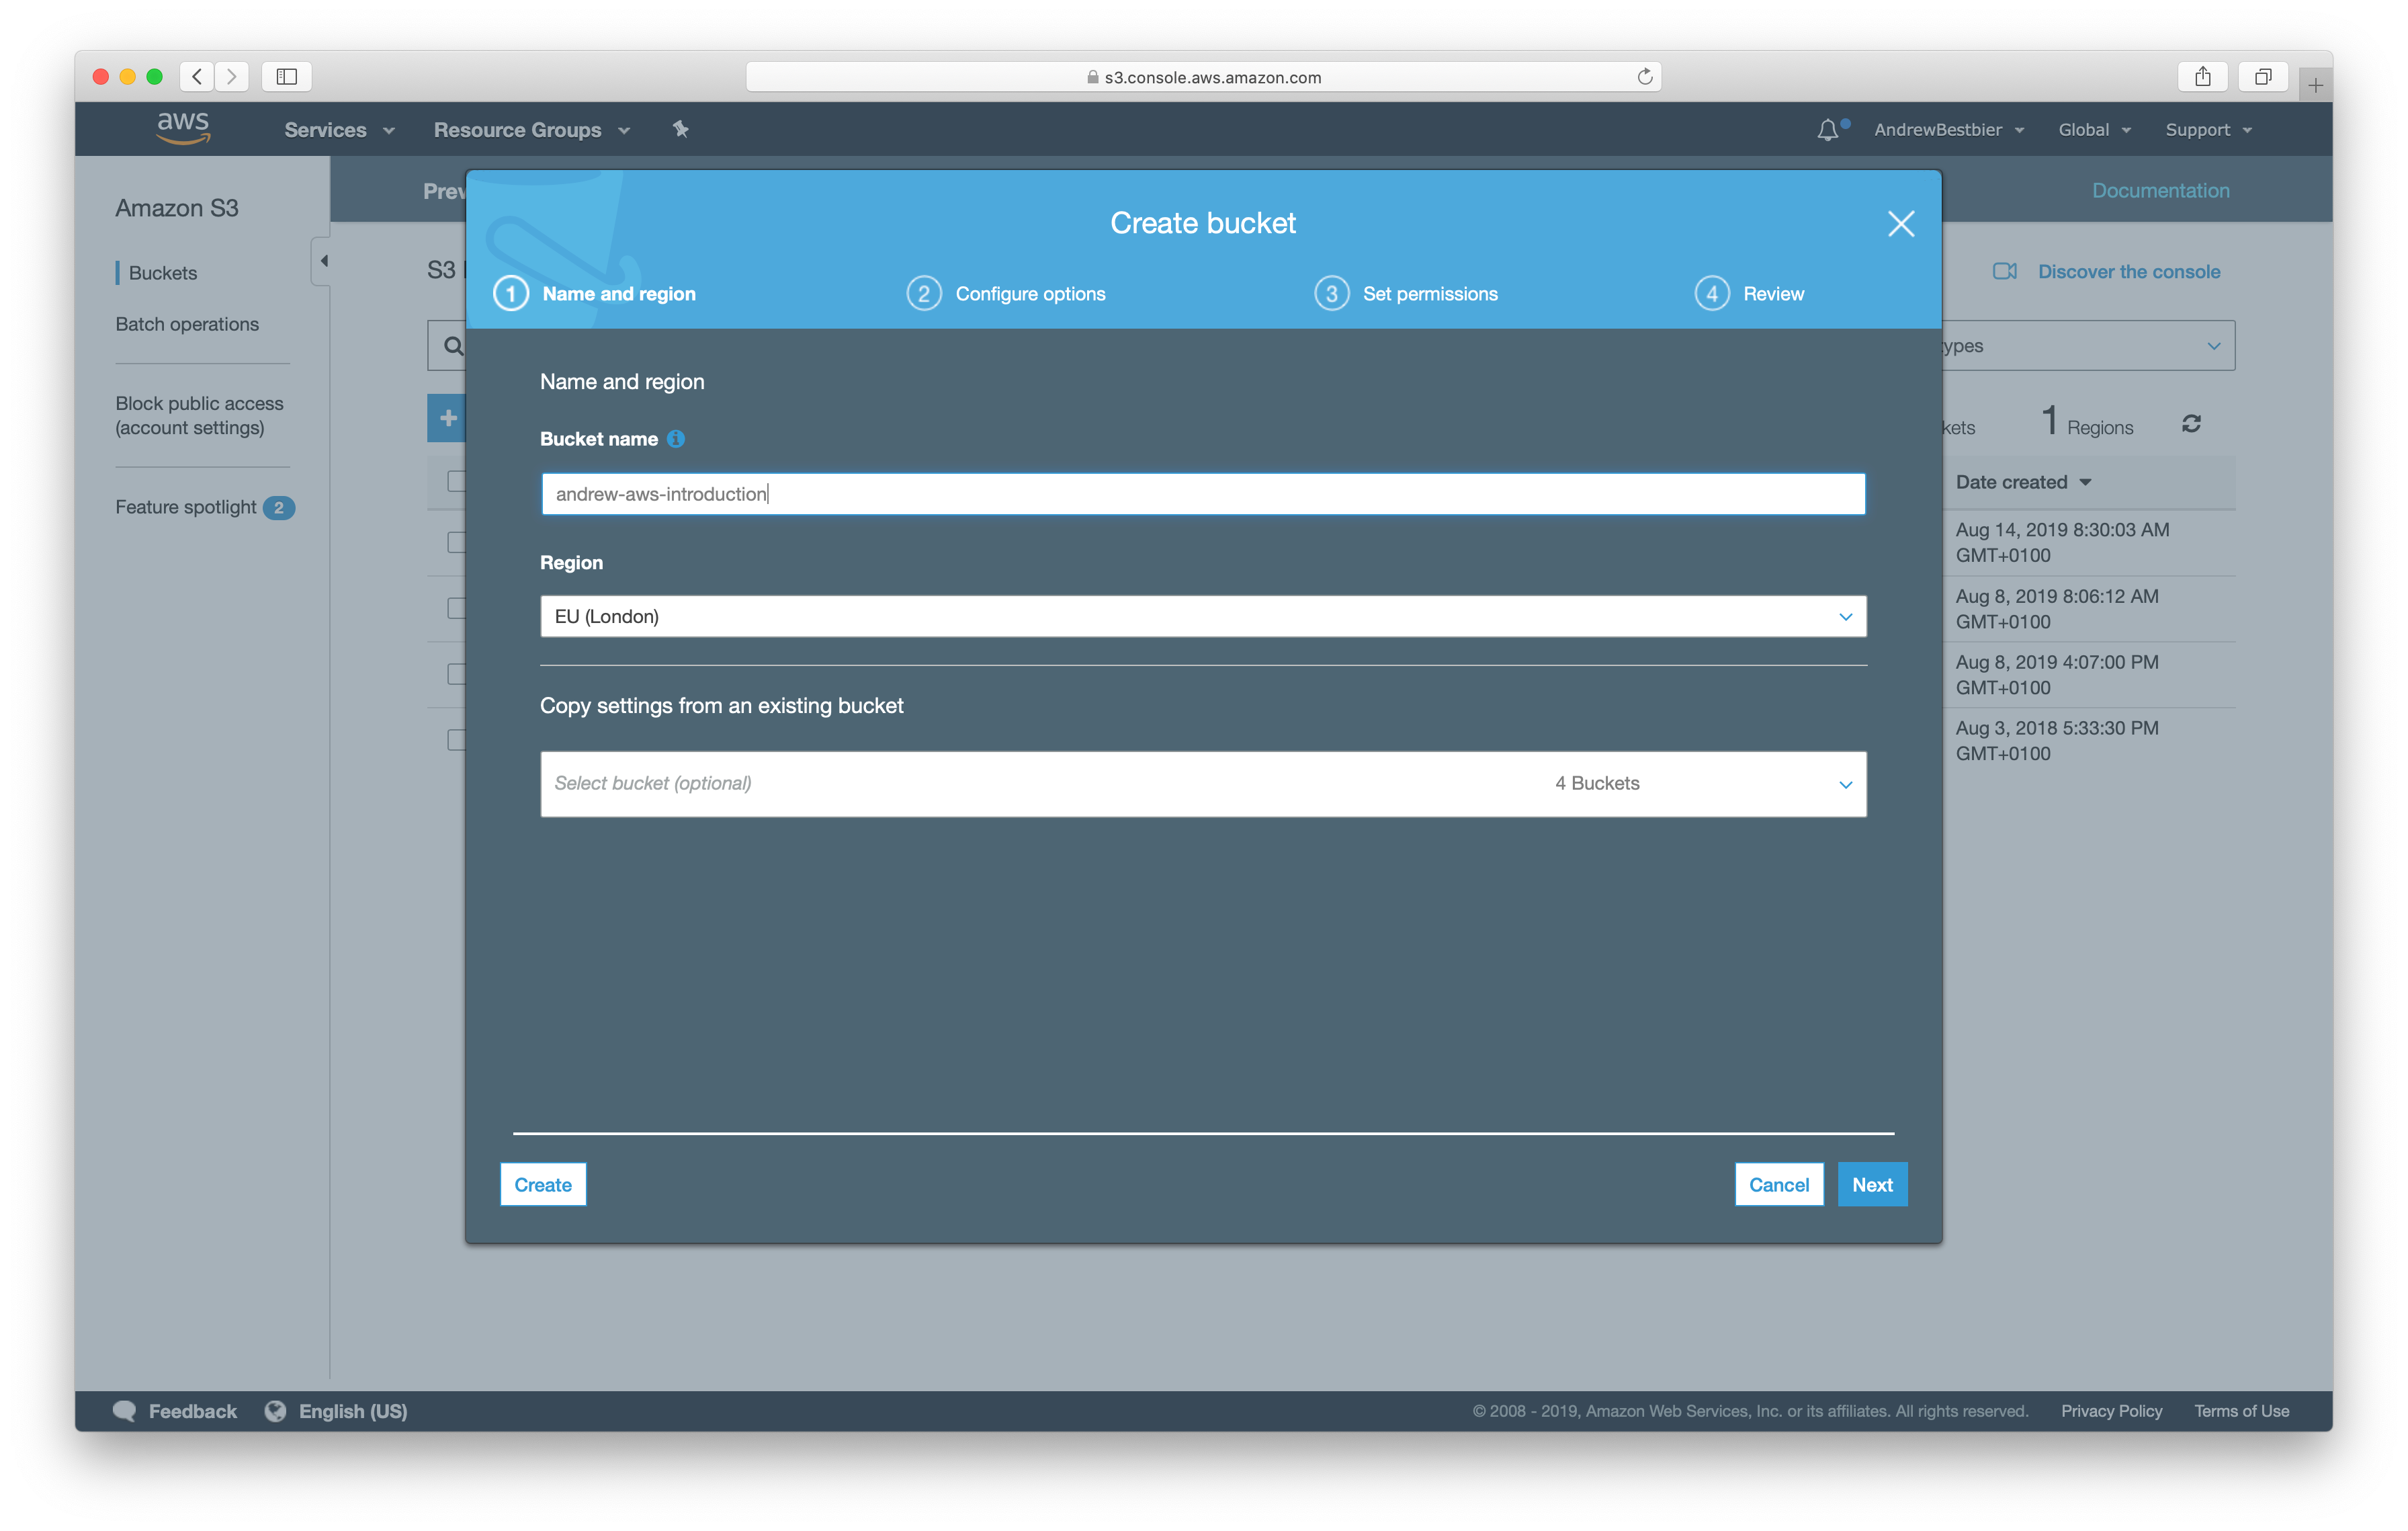
Click Create bucket where you will be prompted to enter a bucket name (It has to be unique globally) before clicking Next. I have chosen my bucket name to be ‘andrew-aws-introduction’:
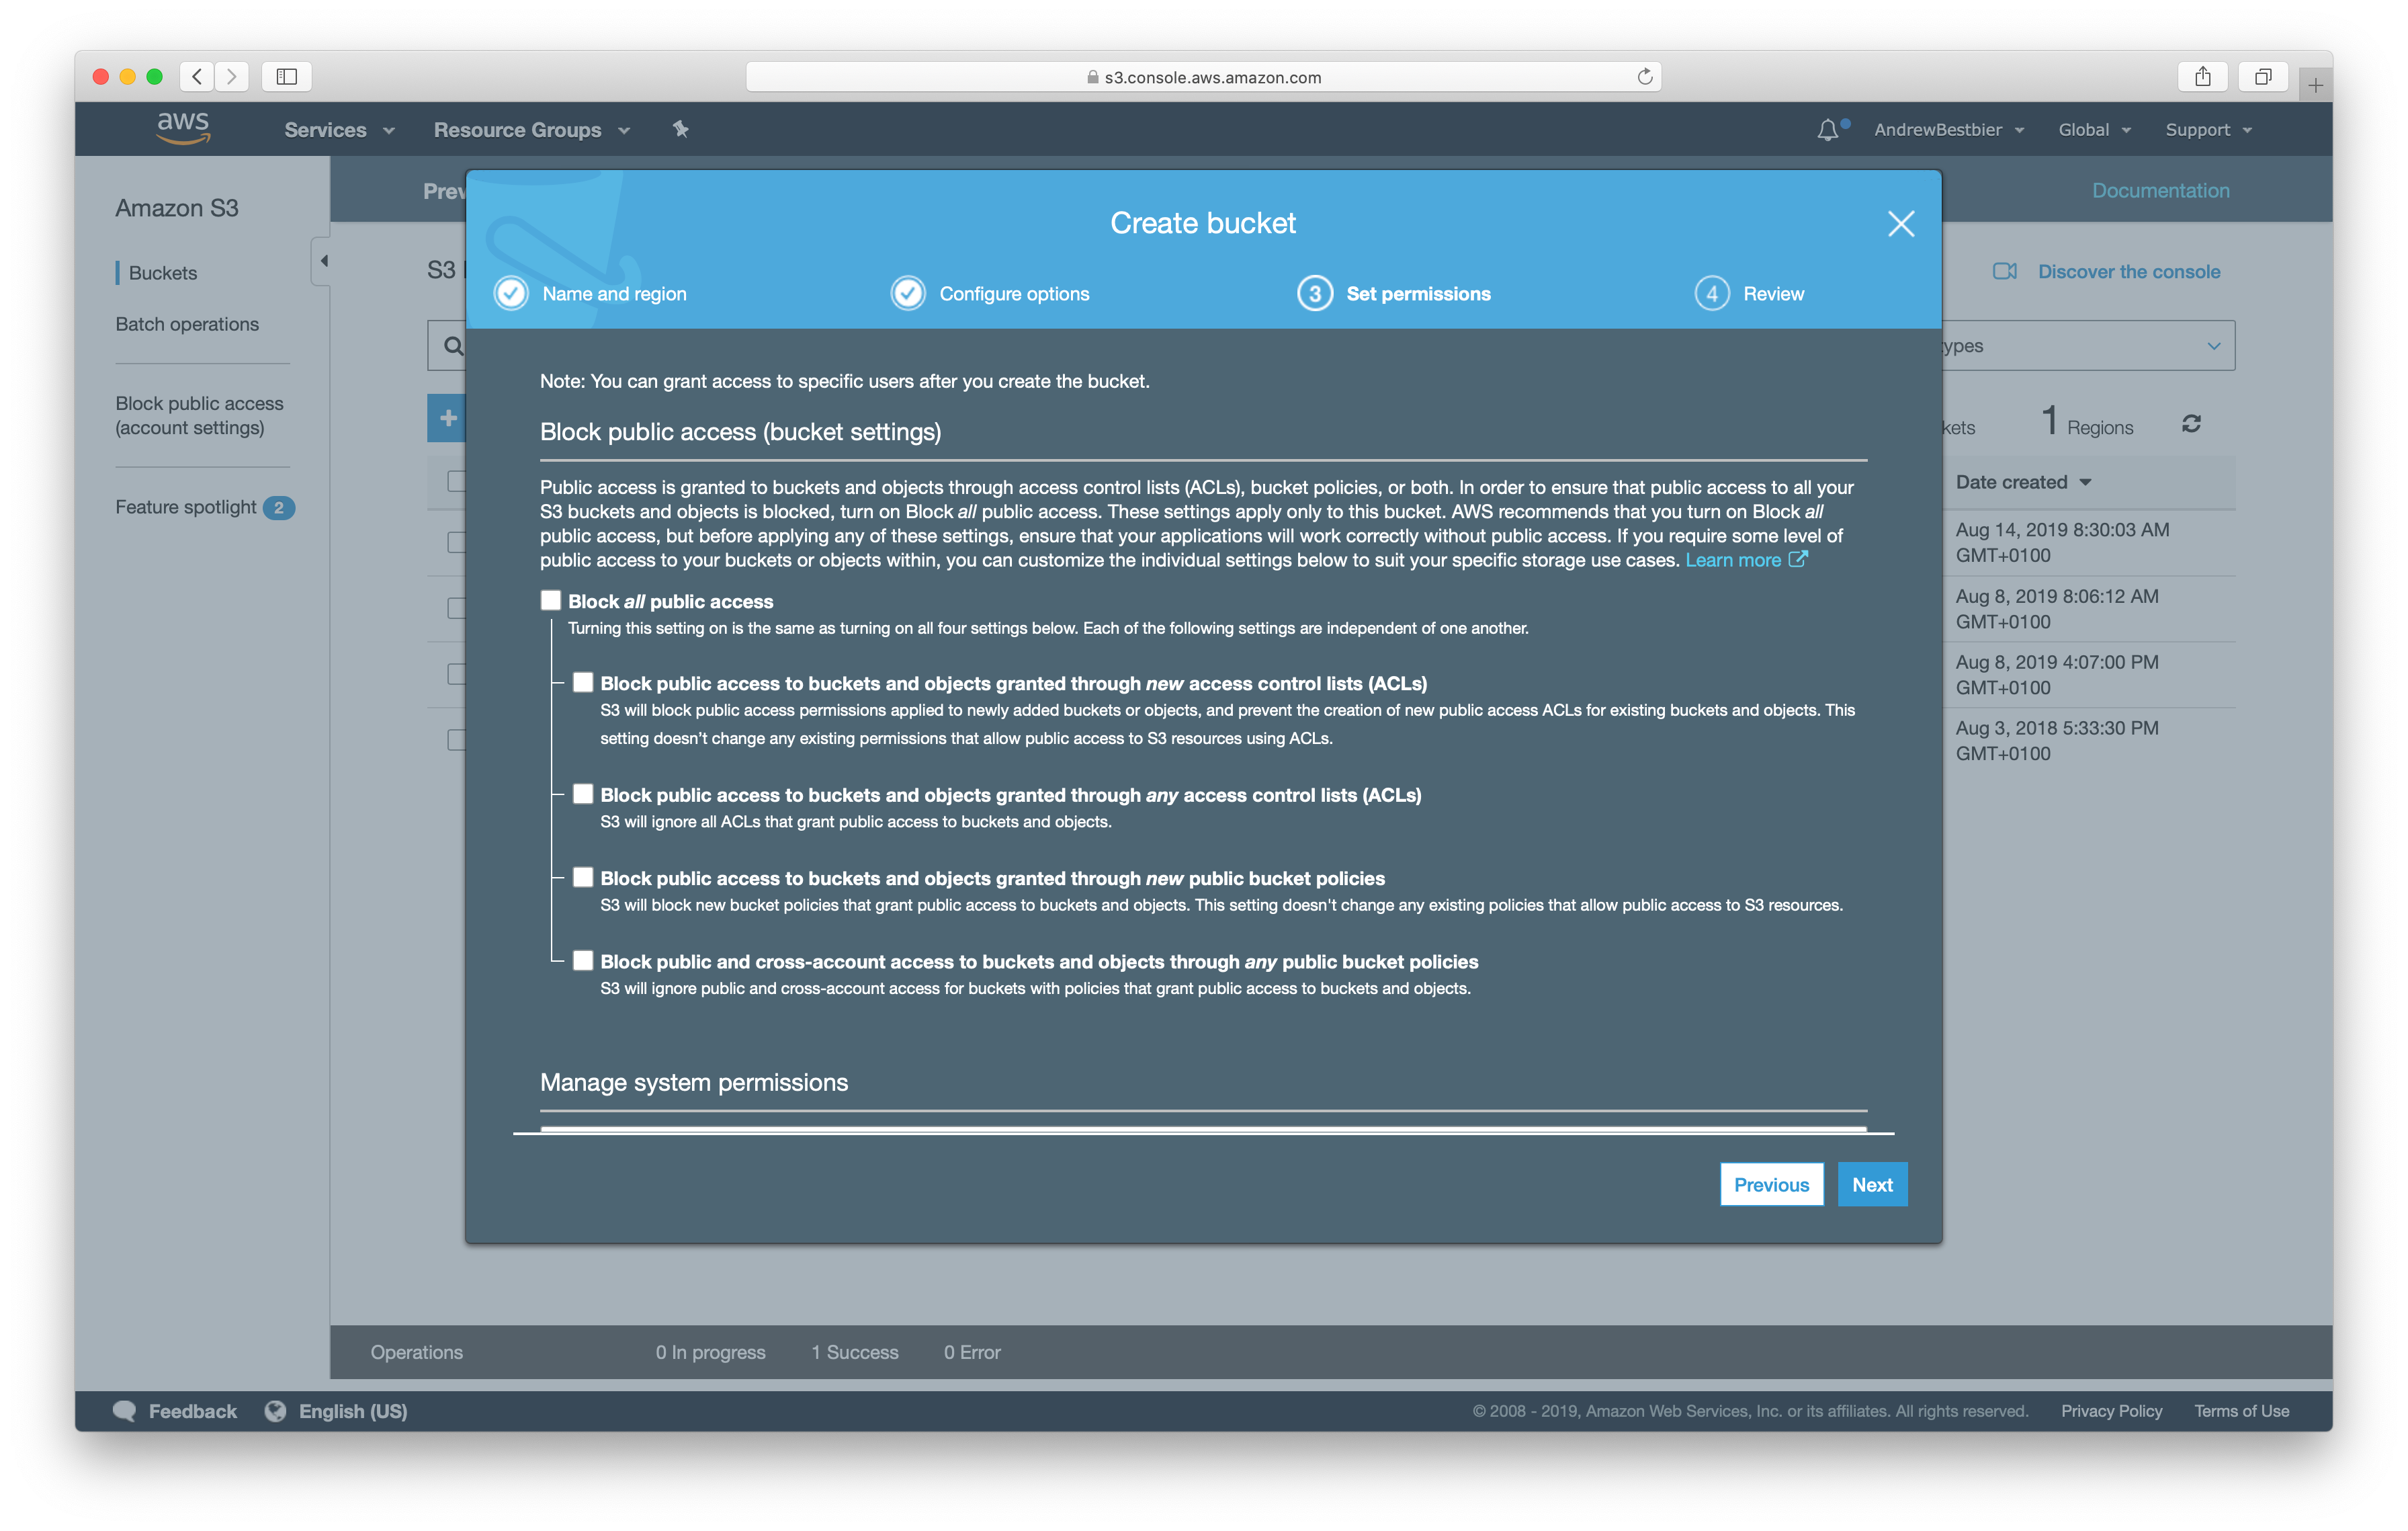
On the Configure options tab, you don’t need to do anything so again click Next . On the Set permissions tab, you need to uncheck Block all public access. As we will be hosting your built app with this bucket, we will need the public to access your code.
Click Next again, review your bucket configuration and click Create bucket. You should see your new bucket:
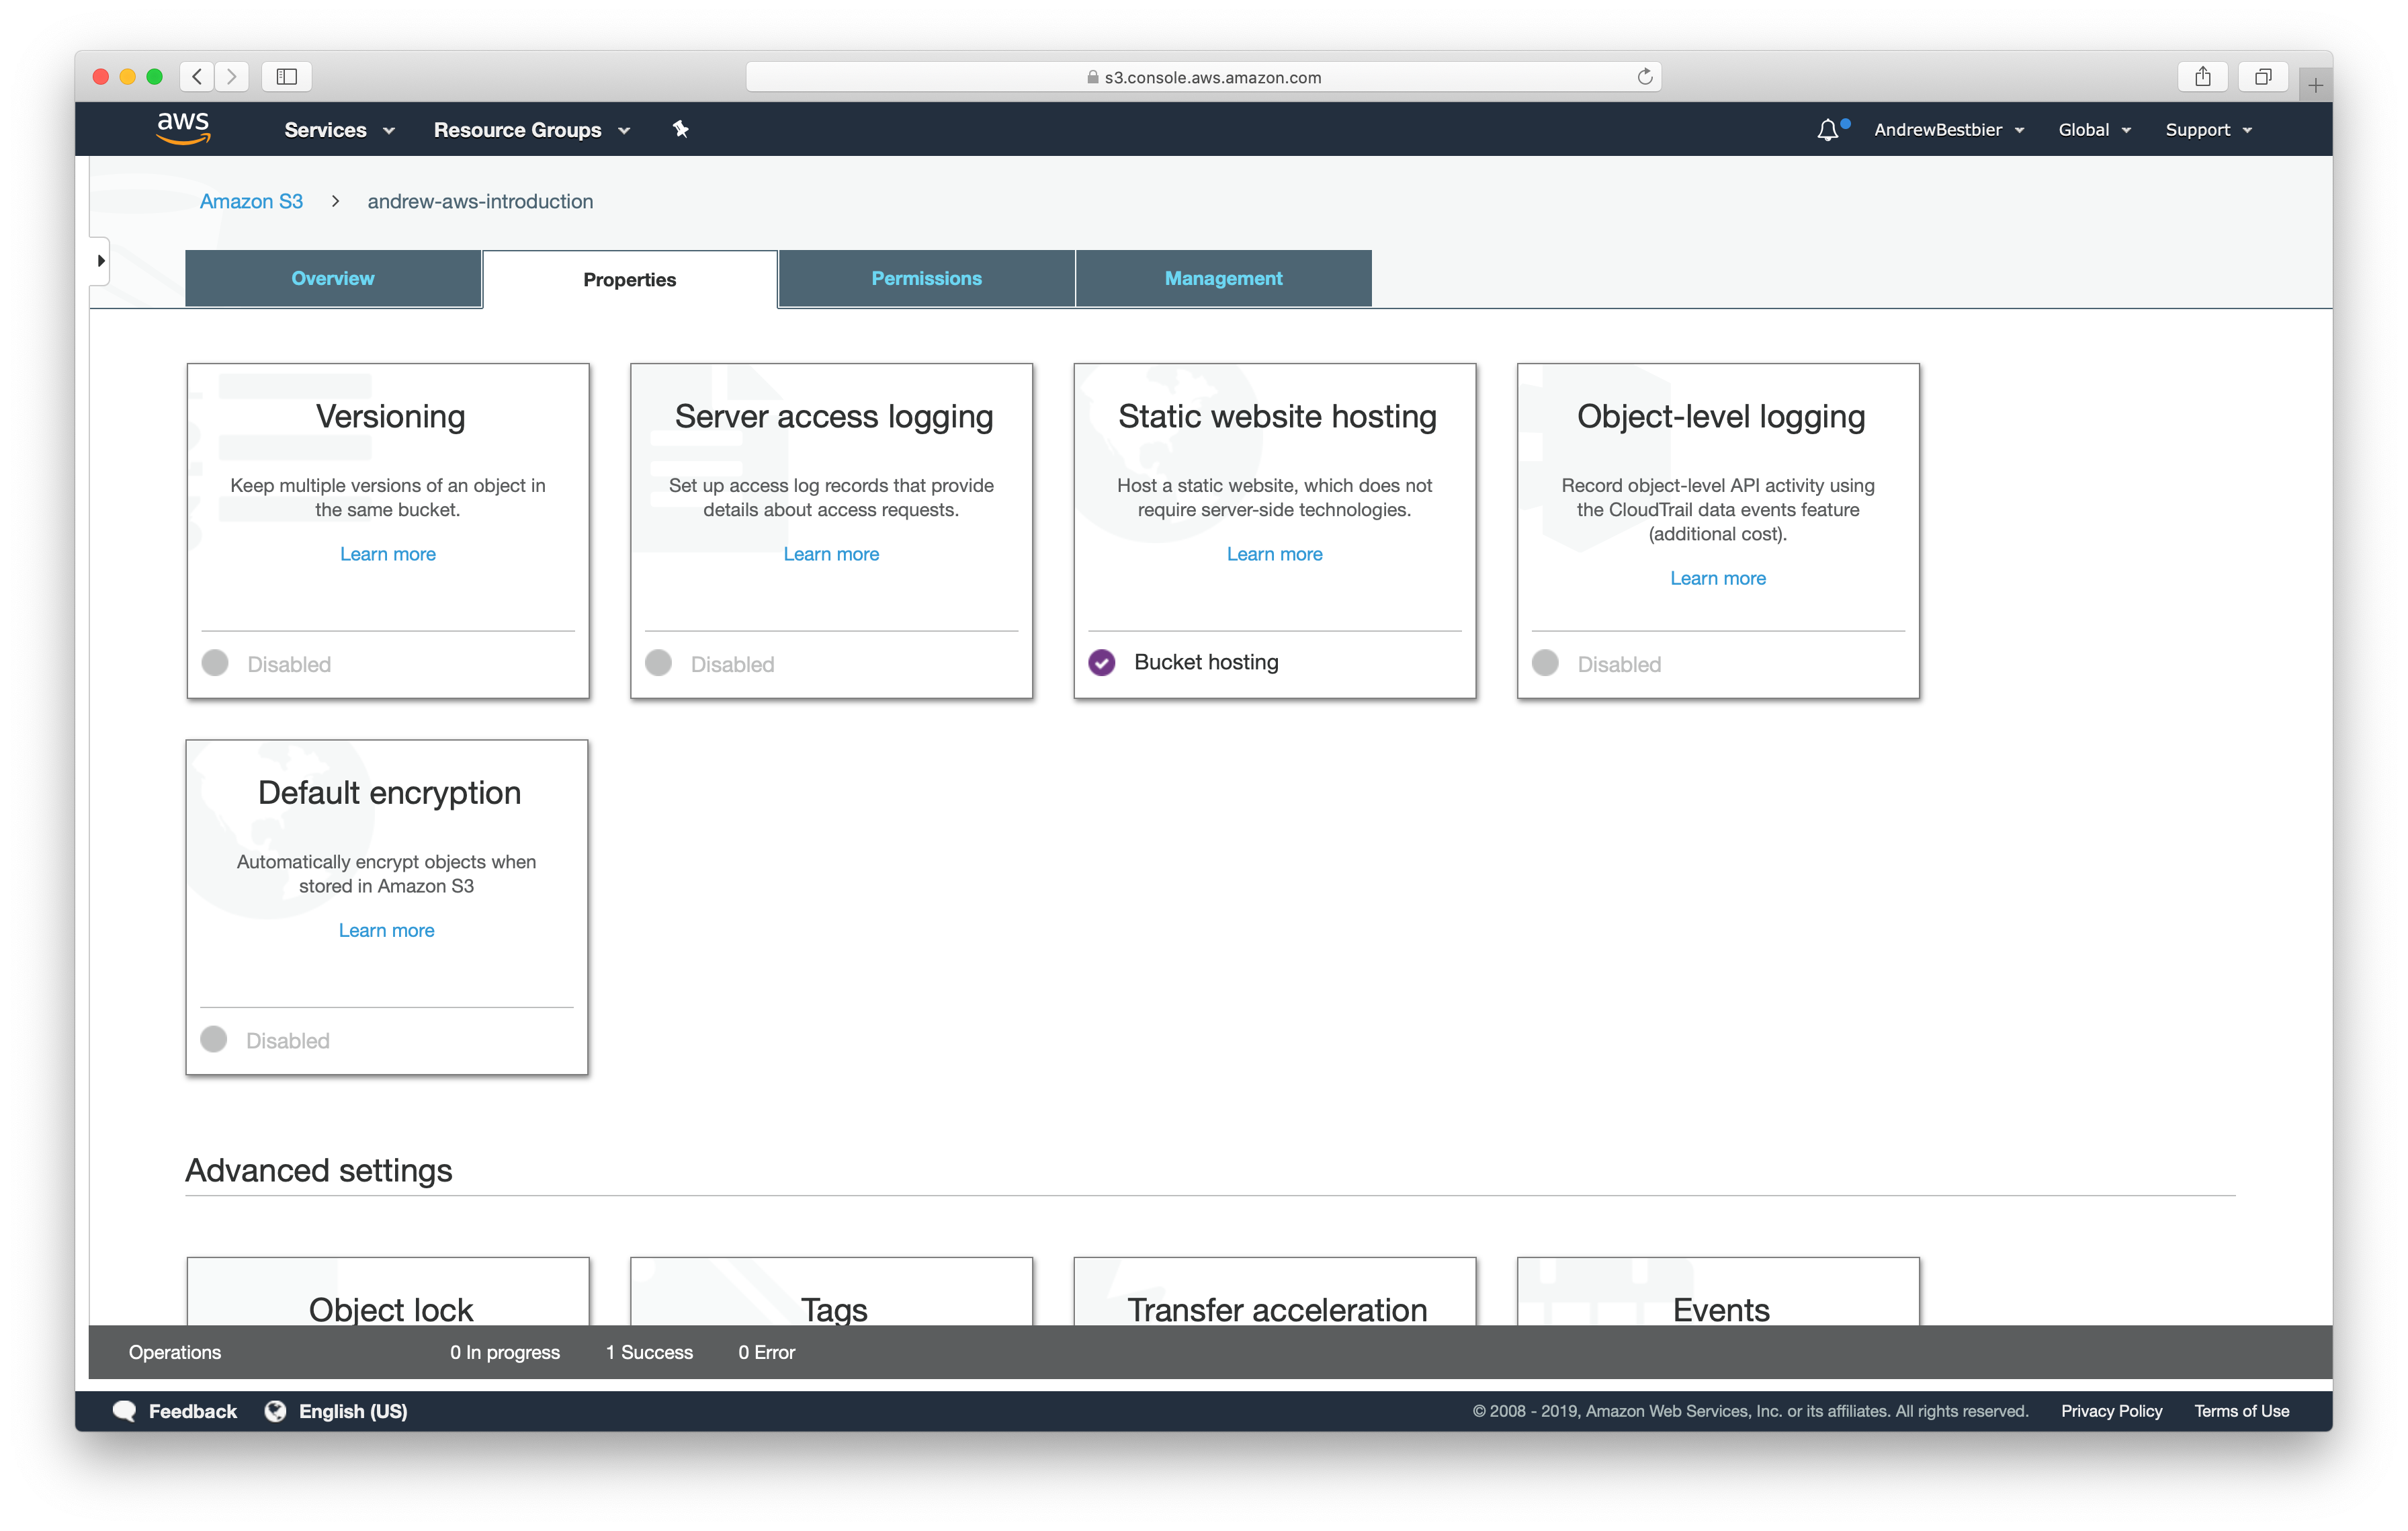
Now click on your bucket as some further configuration is needed.

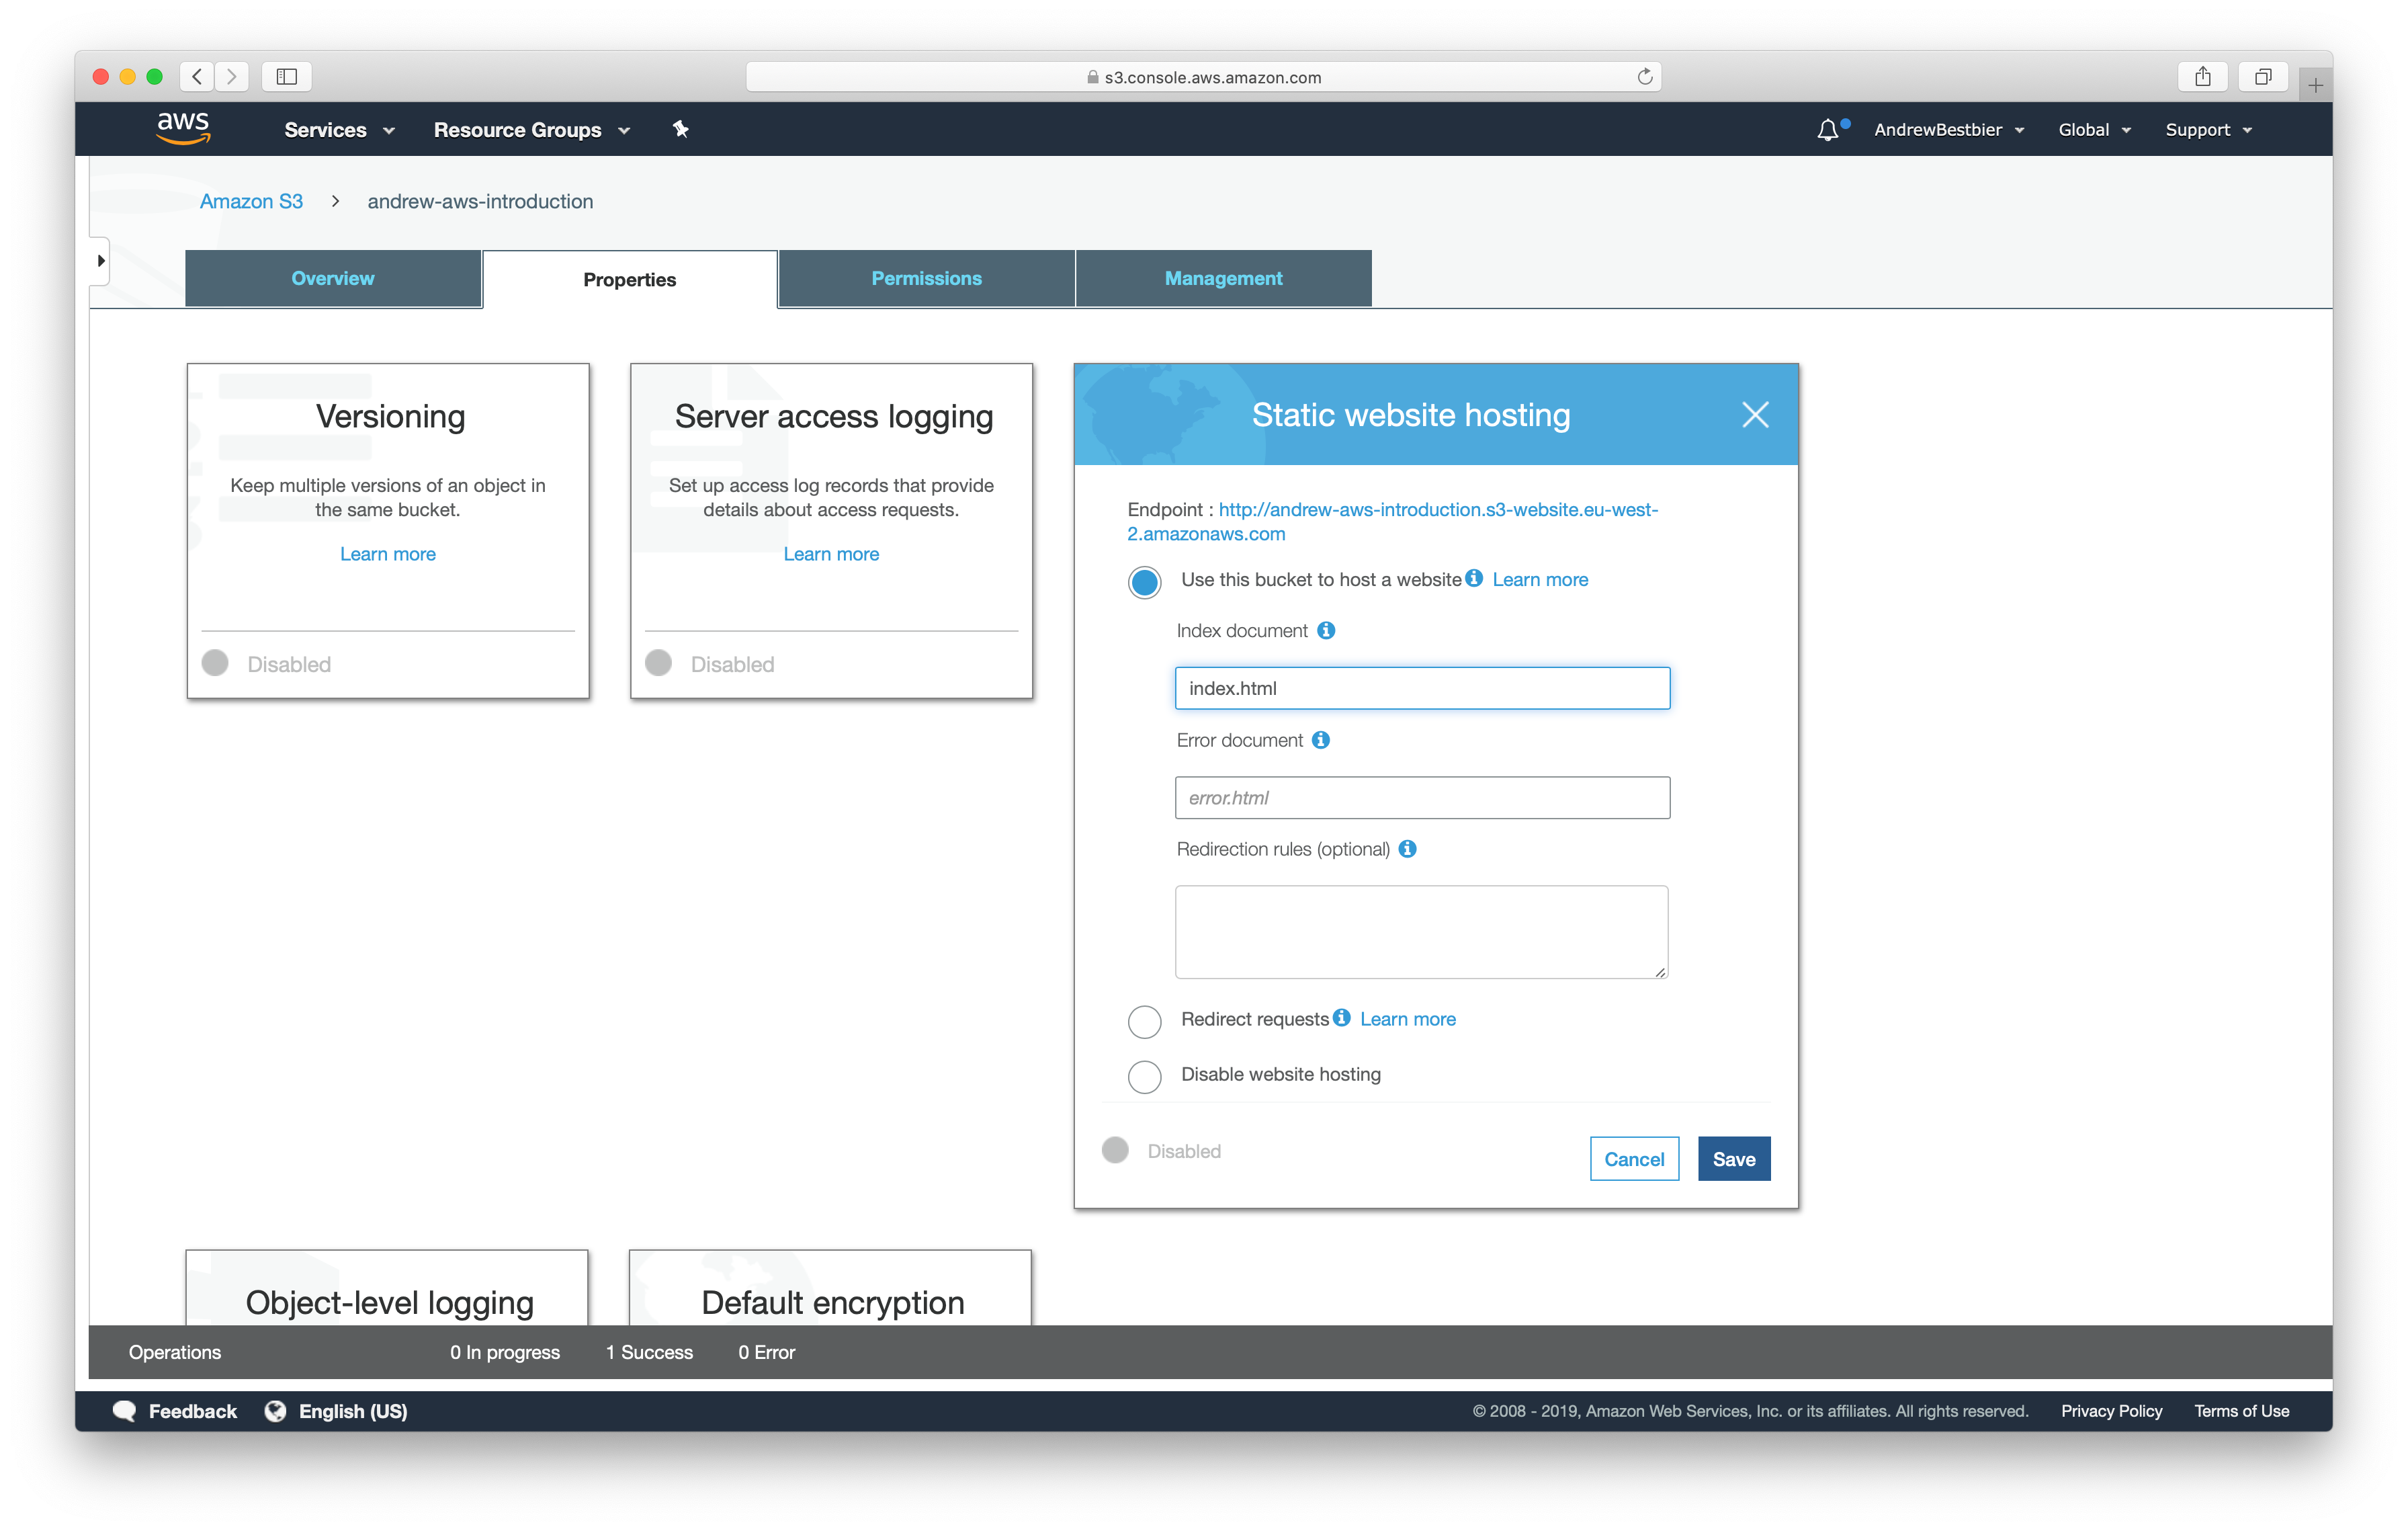
Click on the Properties tab and then the Static website hostingbox.

Click Use this bucket to host a website. Also specify that the index document should be index.html before saving:
If you attempt to navigate to provided endpoint, you will see an error saying that access is denied:
To fix this, navigate to the the Permissions tab and click Bucket policy:
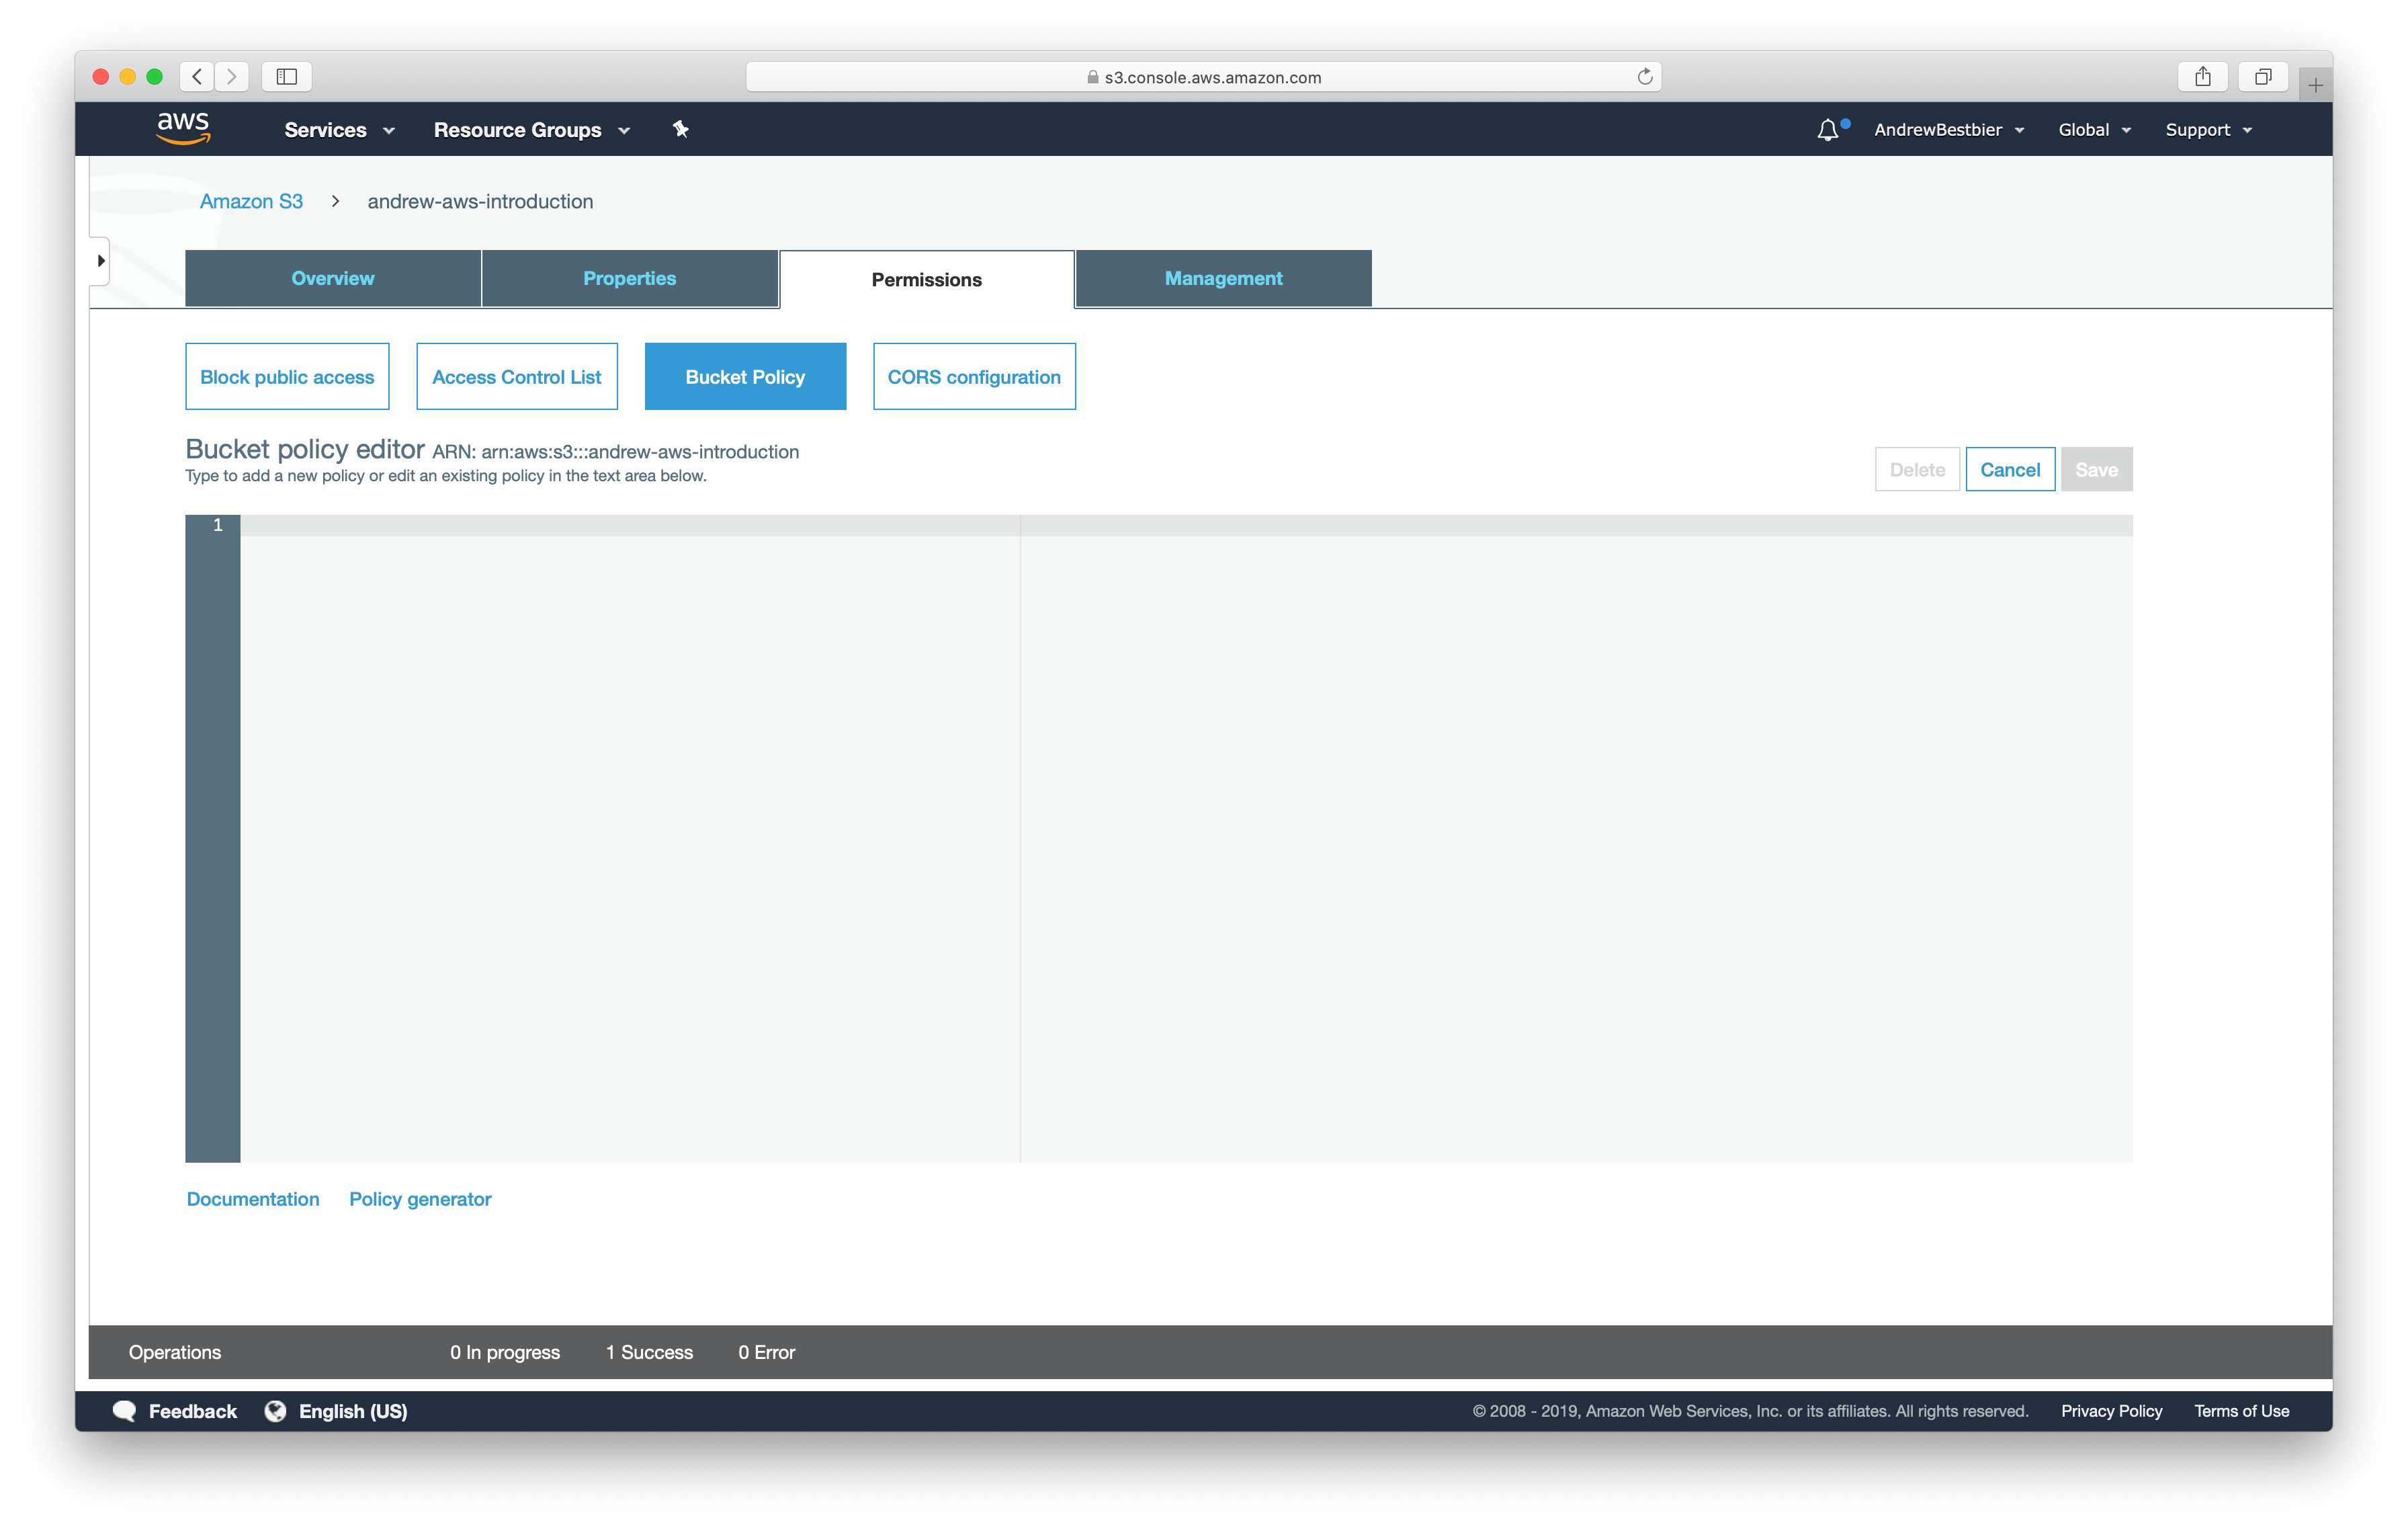
Enter the following policy so that public users can read information from your bucket: (Remember to change the bolded text below to your own bucket name)
{

“Version”: “2012-10-17”,

“Statement”: [

{

“Sid”: “PublicReadGetObject”,

“Effect”: “Allow”,

“Principal”: “",

“Action”: “s3:GetObject”,

“Resource”: "arn:aws:s3:::

andrew-aws-introduction

/”

}

]

}
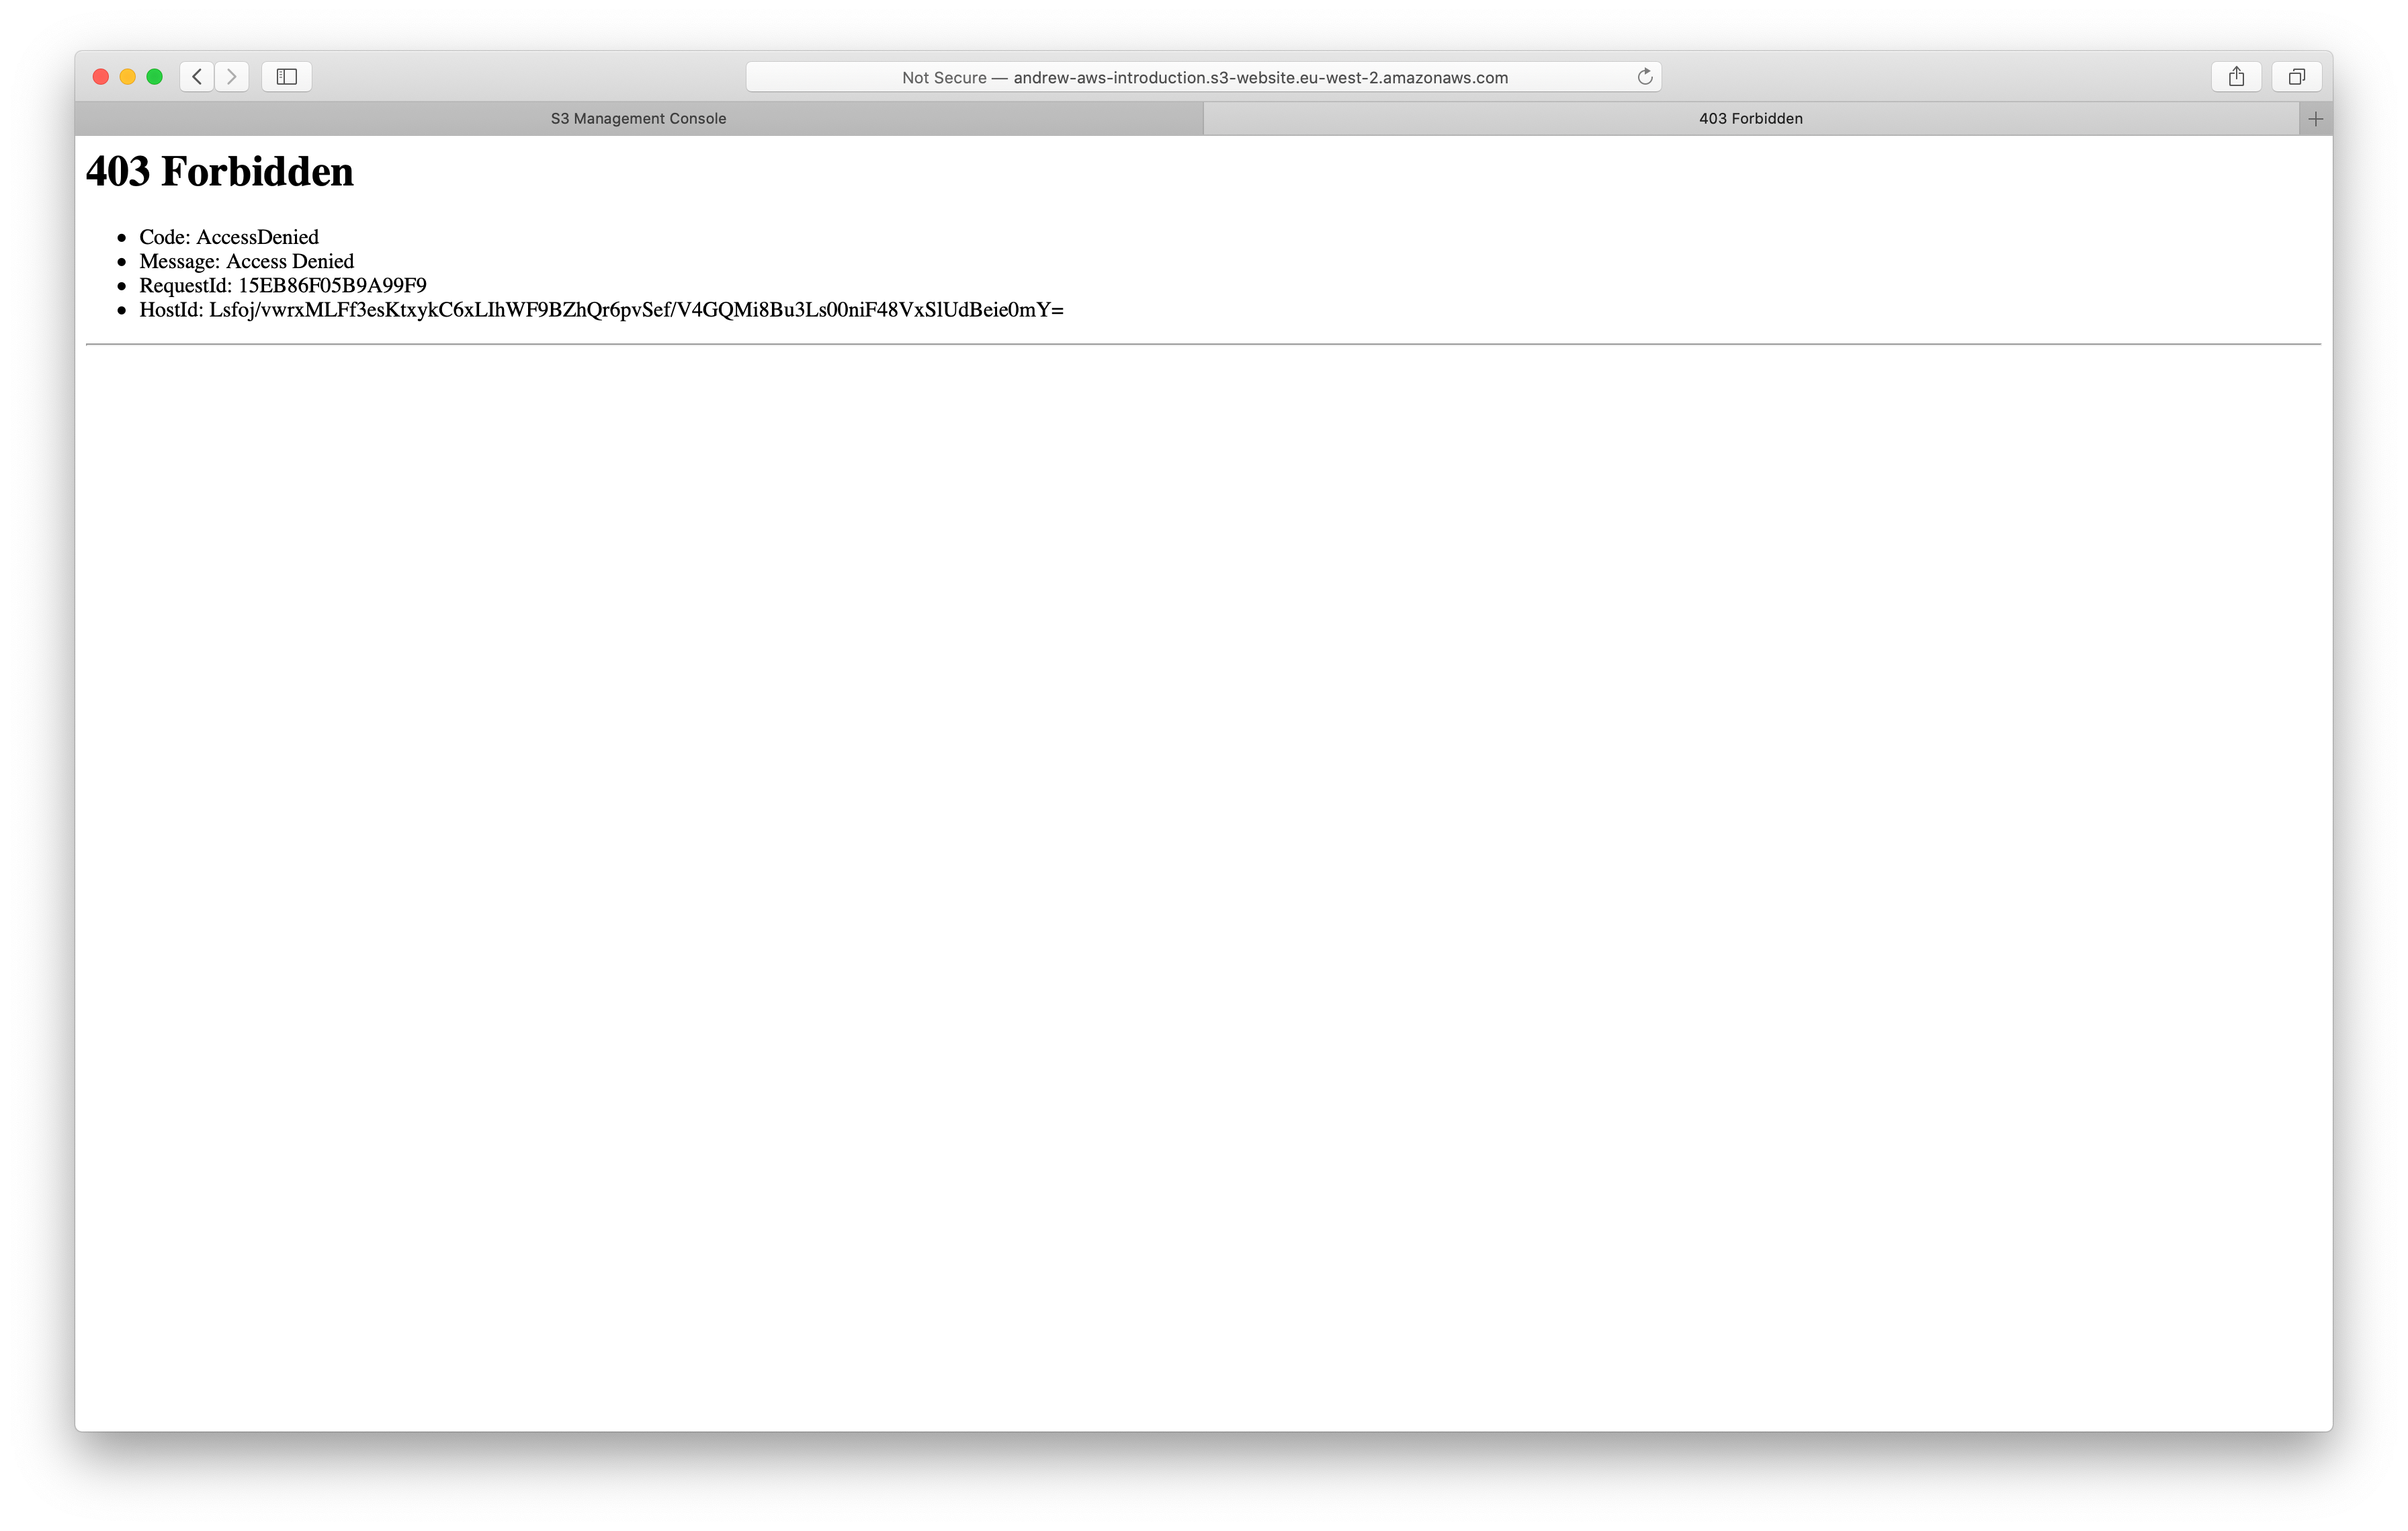
If you now visit your website again, you will see a different error but this is because your bucket is empty and therefore does not have an index.html file:

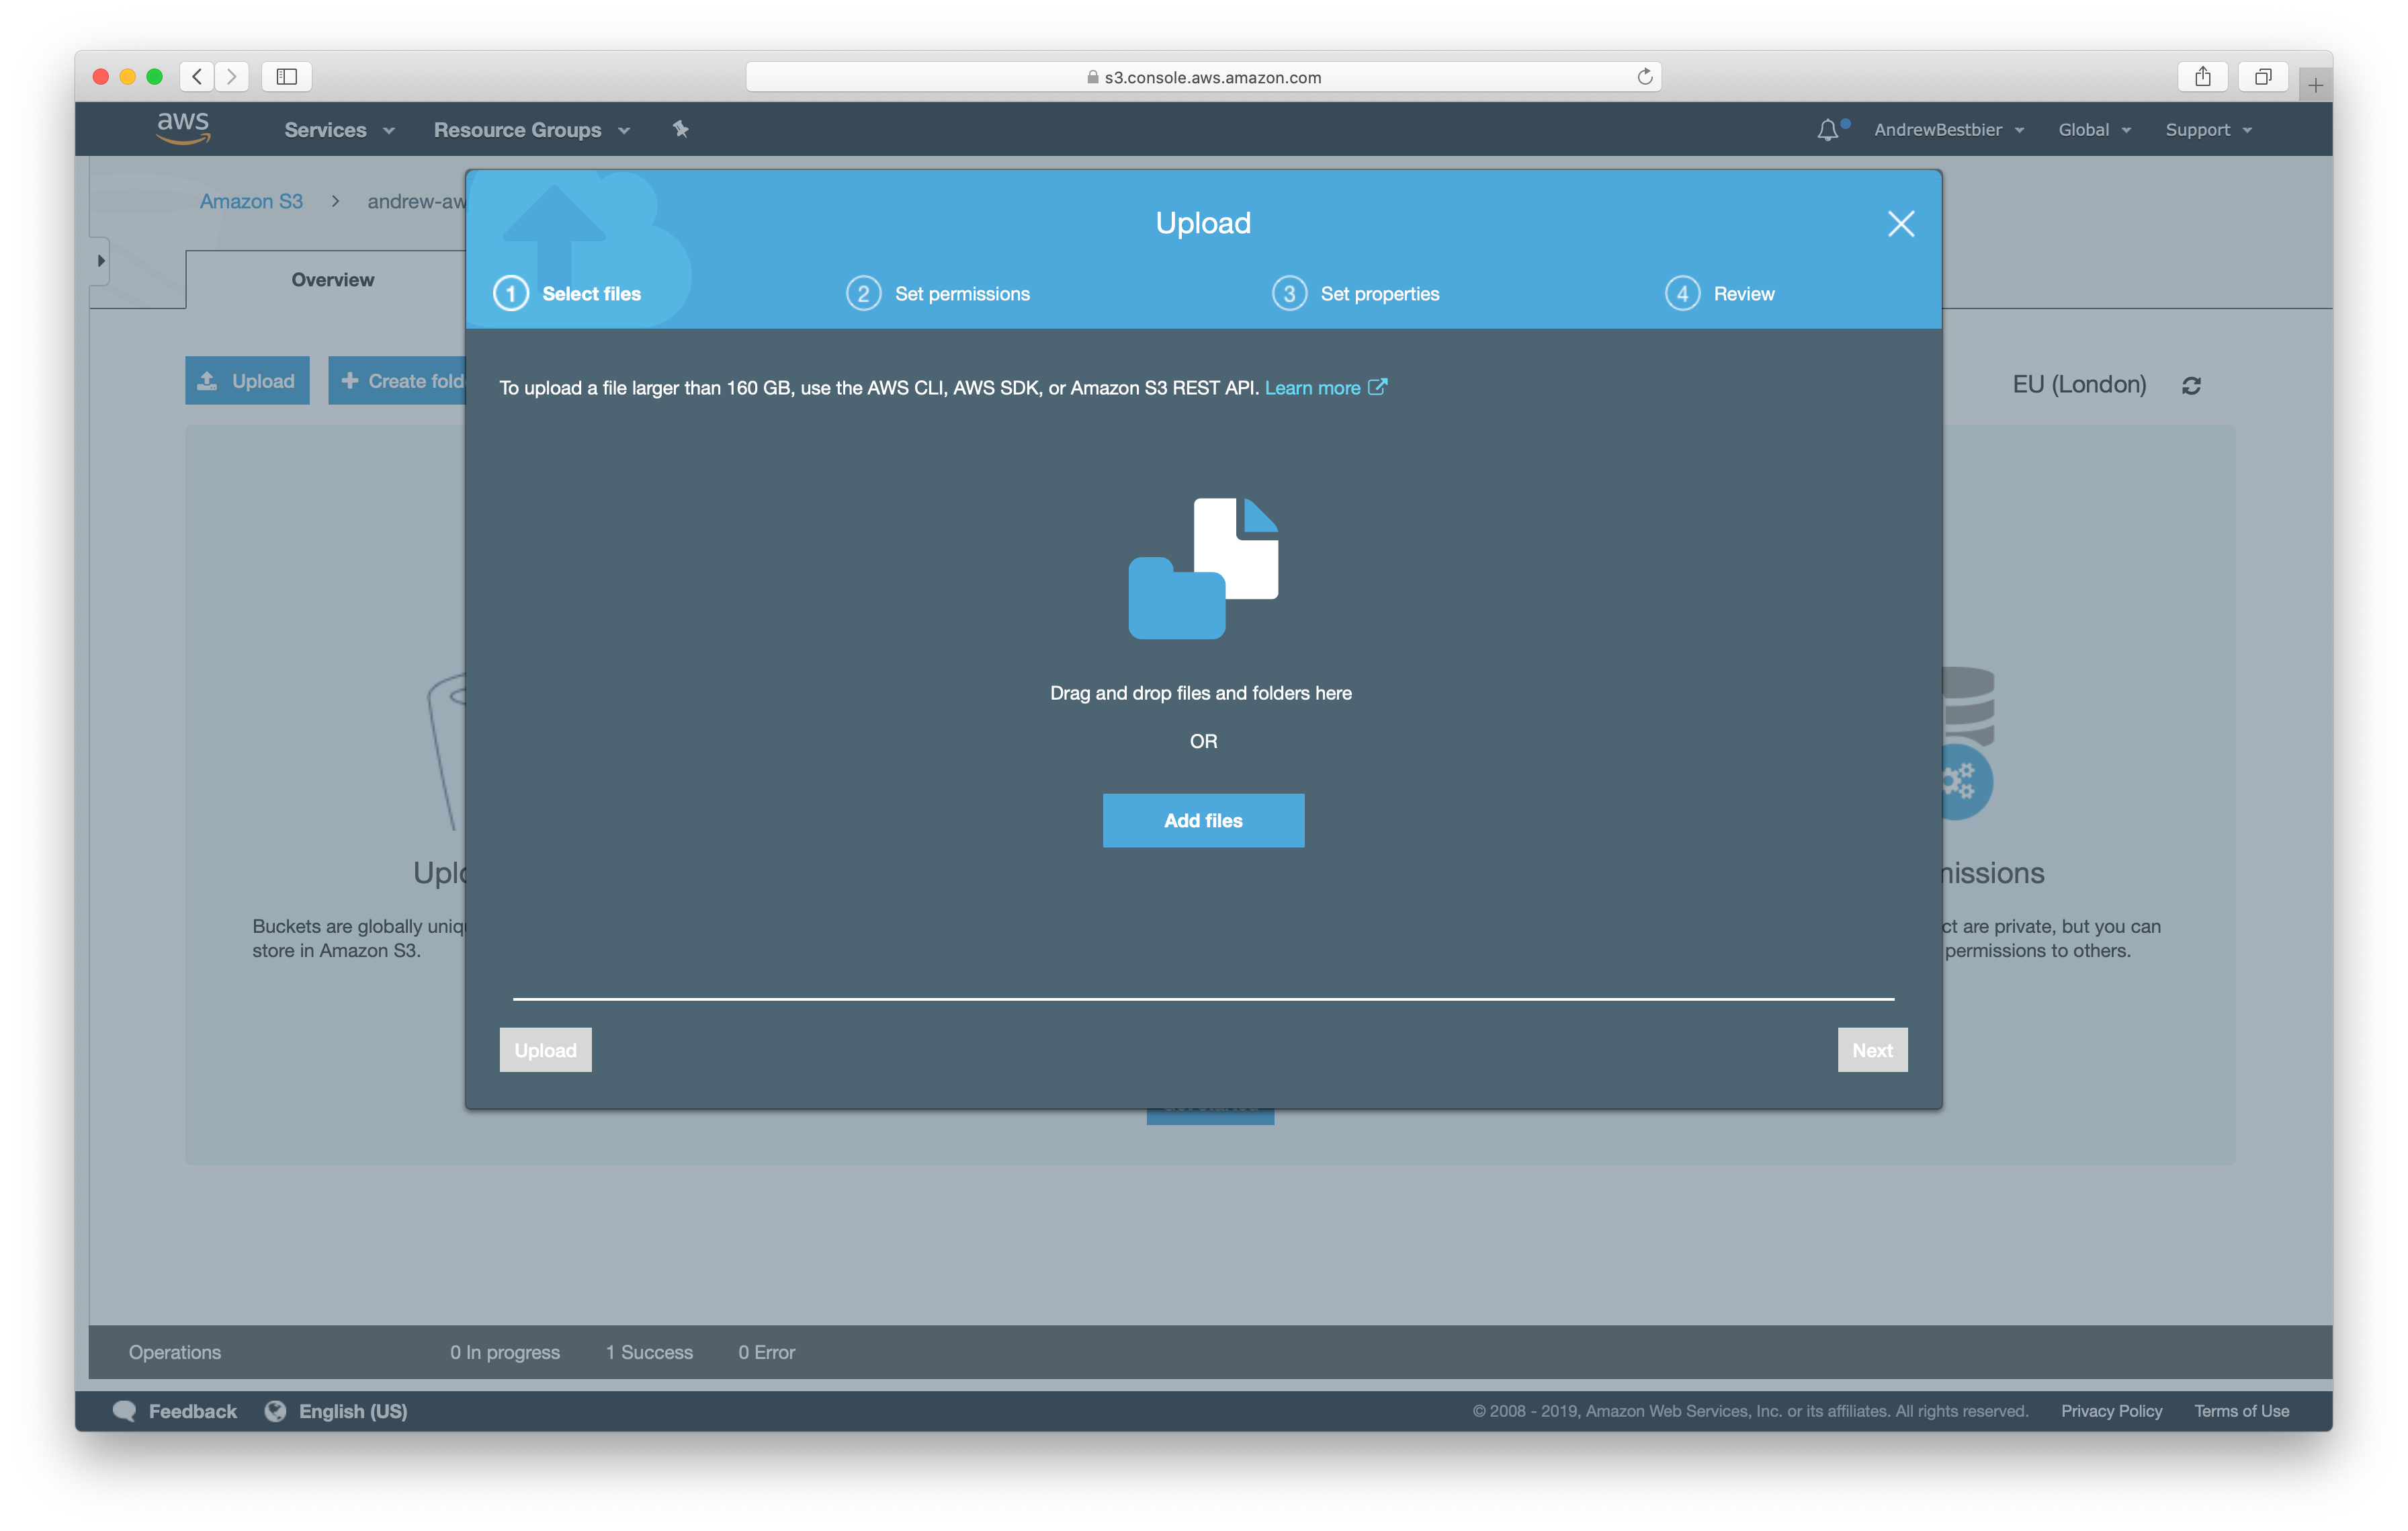
To remedy this, go to your terminal and build the application with:
yarn build
Go to the Overview tab of your bucket, click Upload and drag the contents of the build folder (not the folder itself) onto the screen and click the modal’s Upload button:

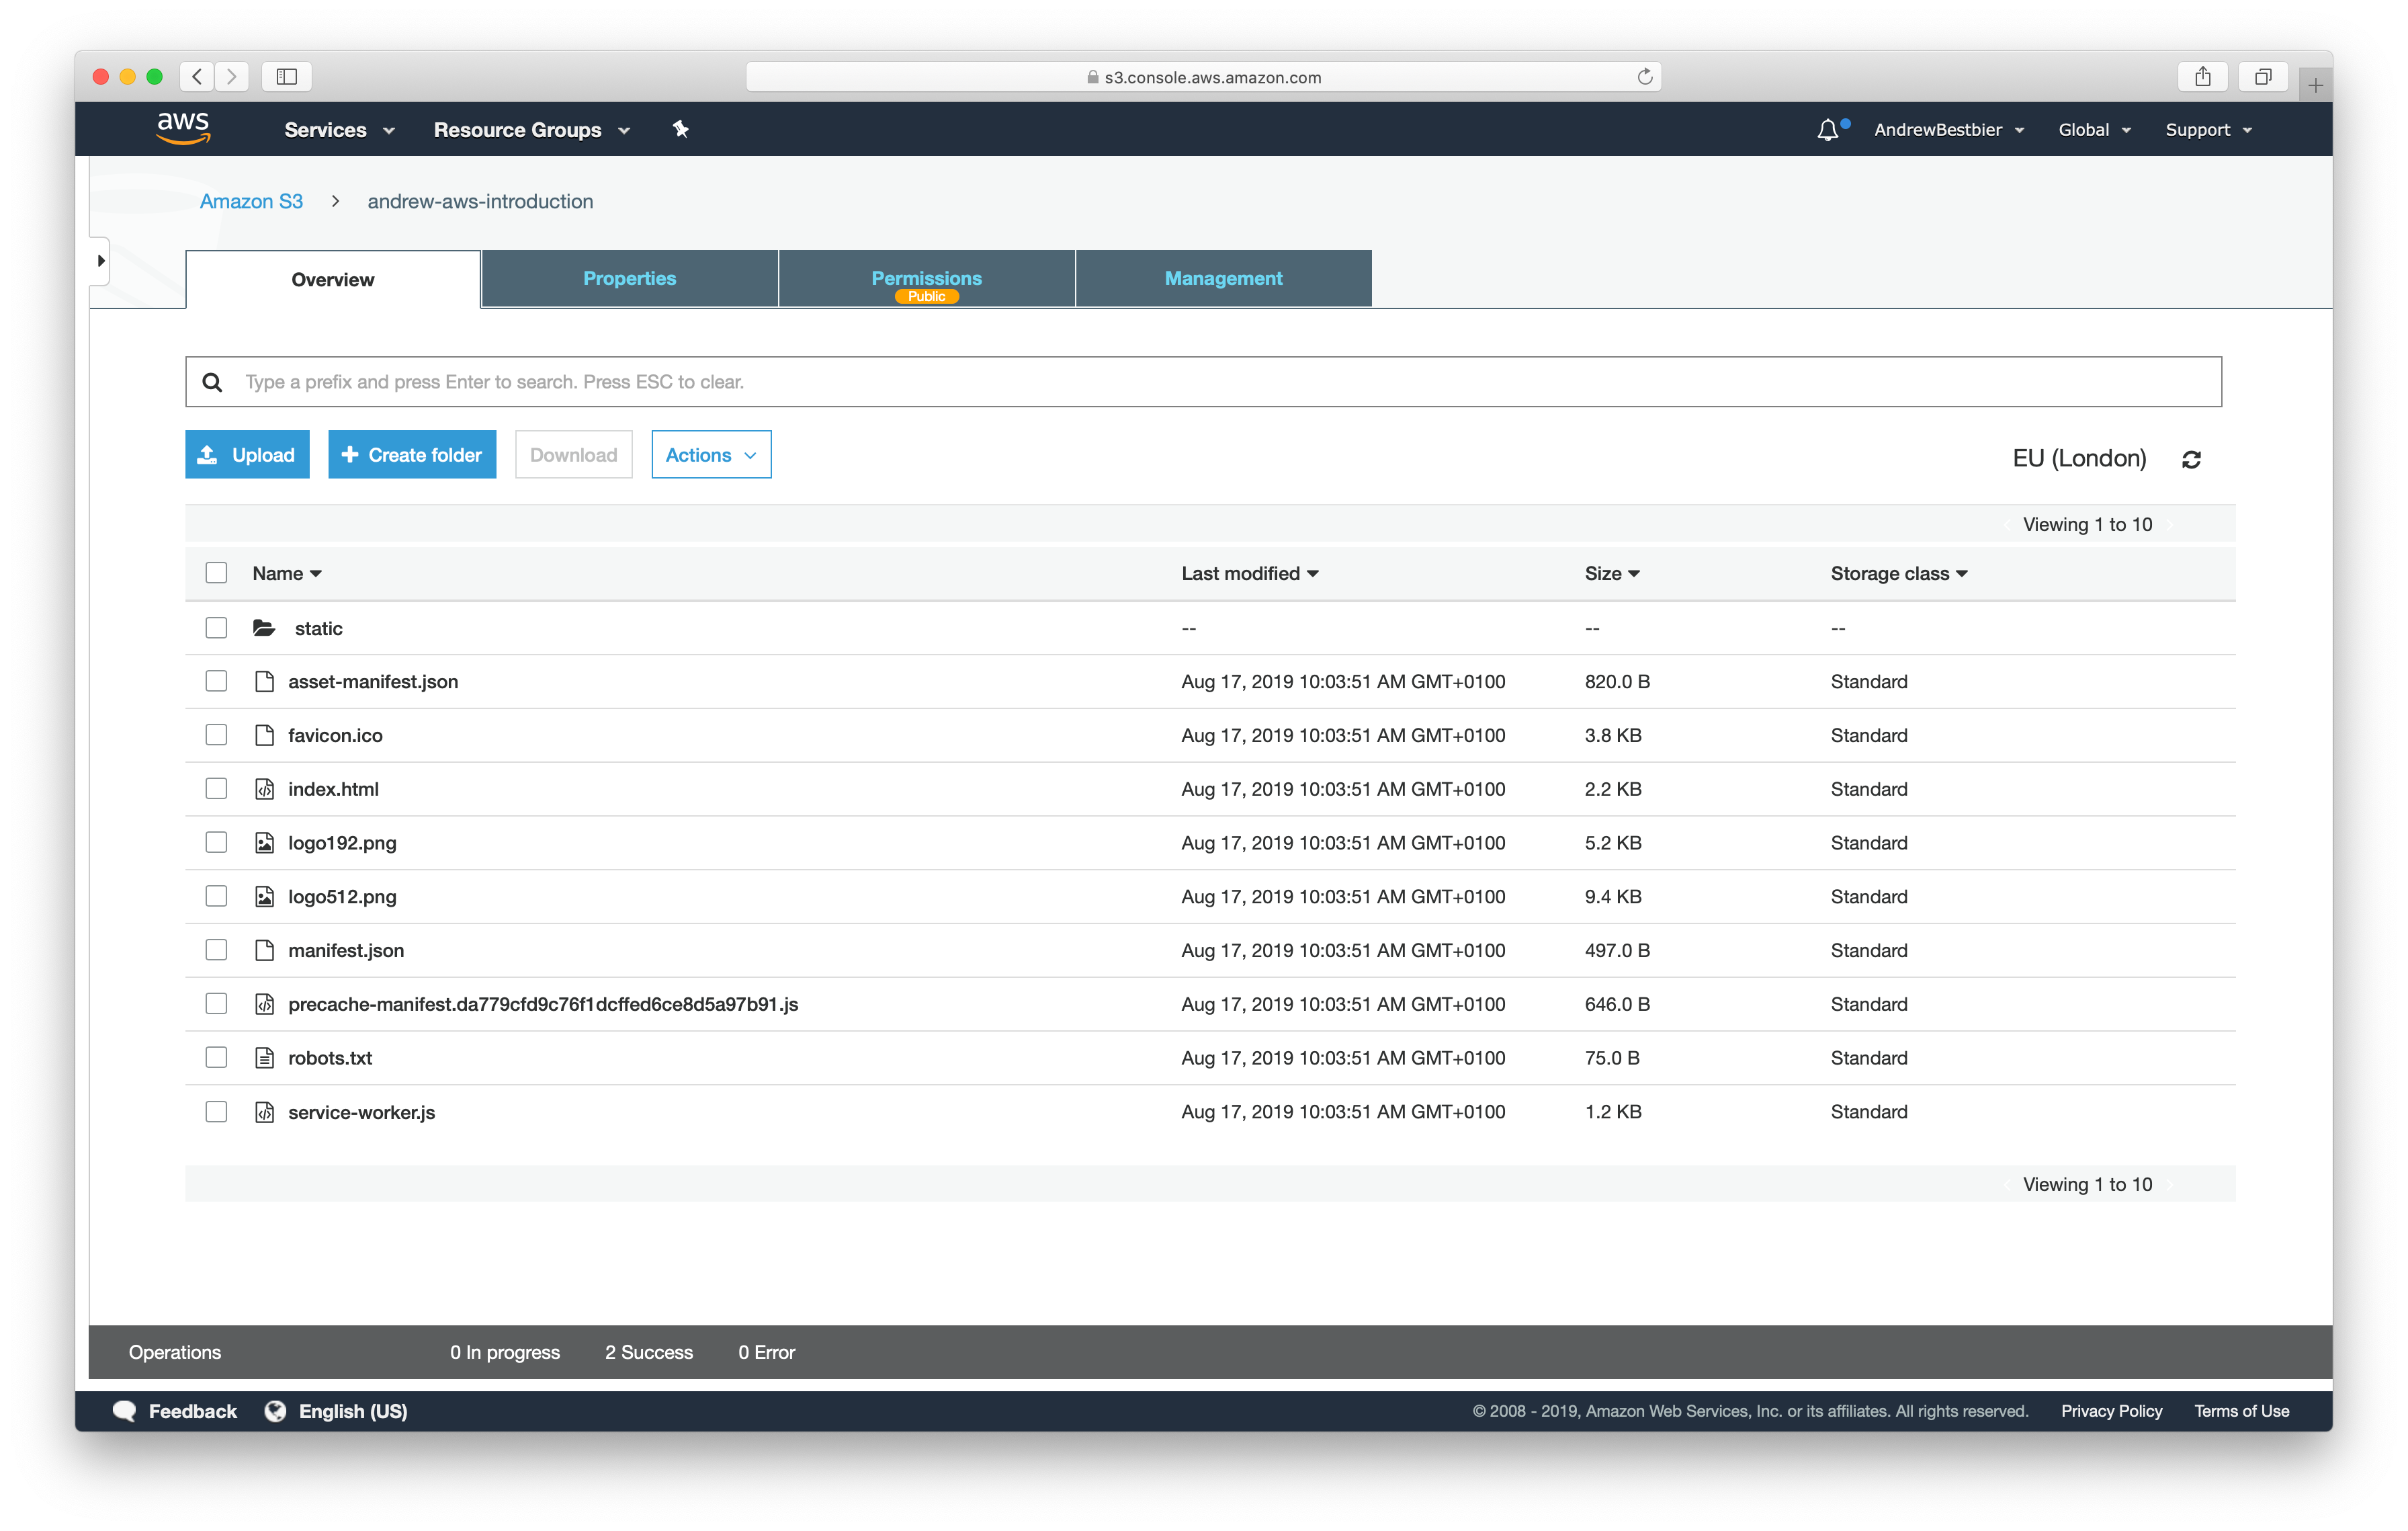
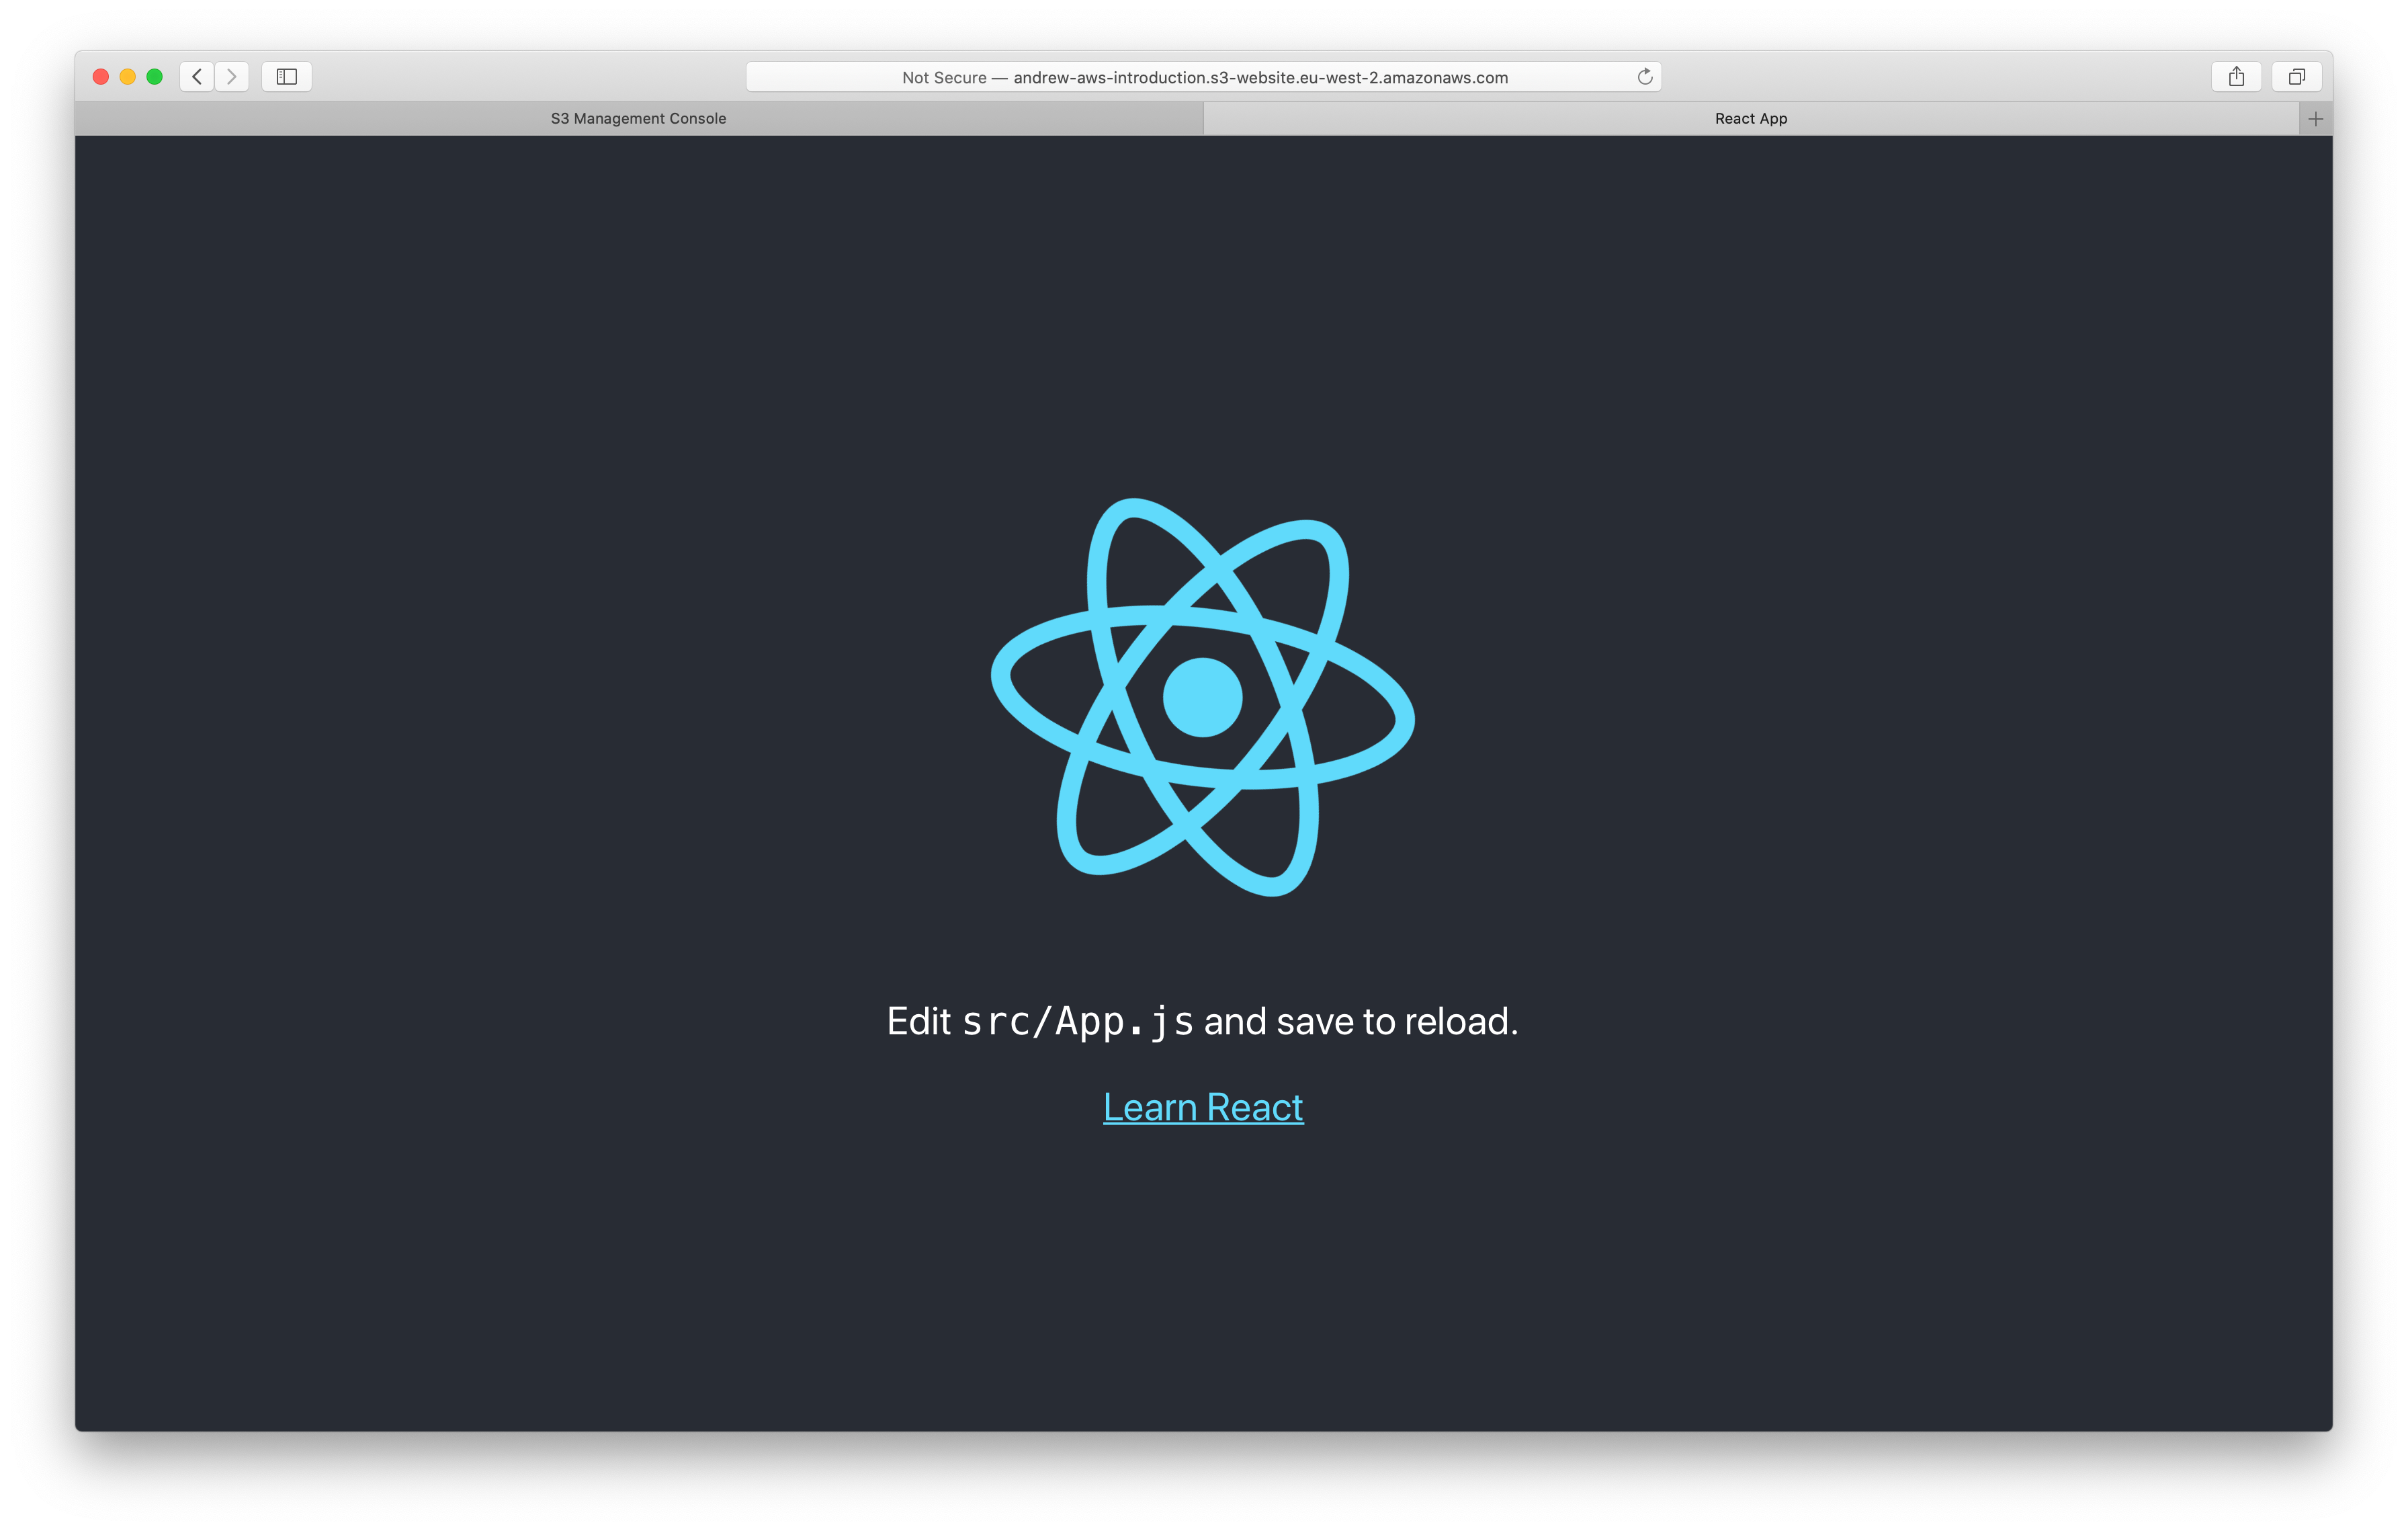
If you navigate to the bucket’s url, you should see your React application:
Continuous Deployment:
In this step we will set up continuous deployment so that each code push to your repository will automatically be deployed to your S3 bucket. To do so, we will be using Buddy https://buddy.works.
First, login to Buddy. If this is your first time using this service, you should see this introductory screen:

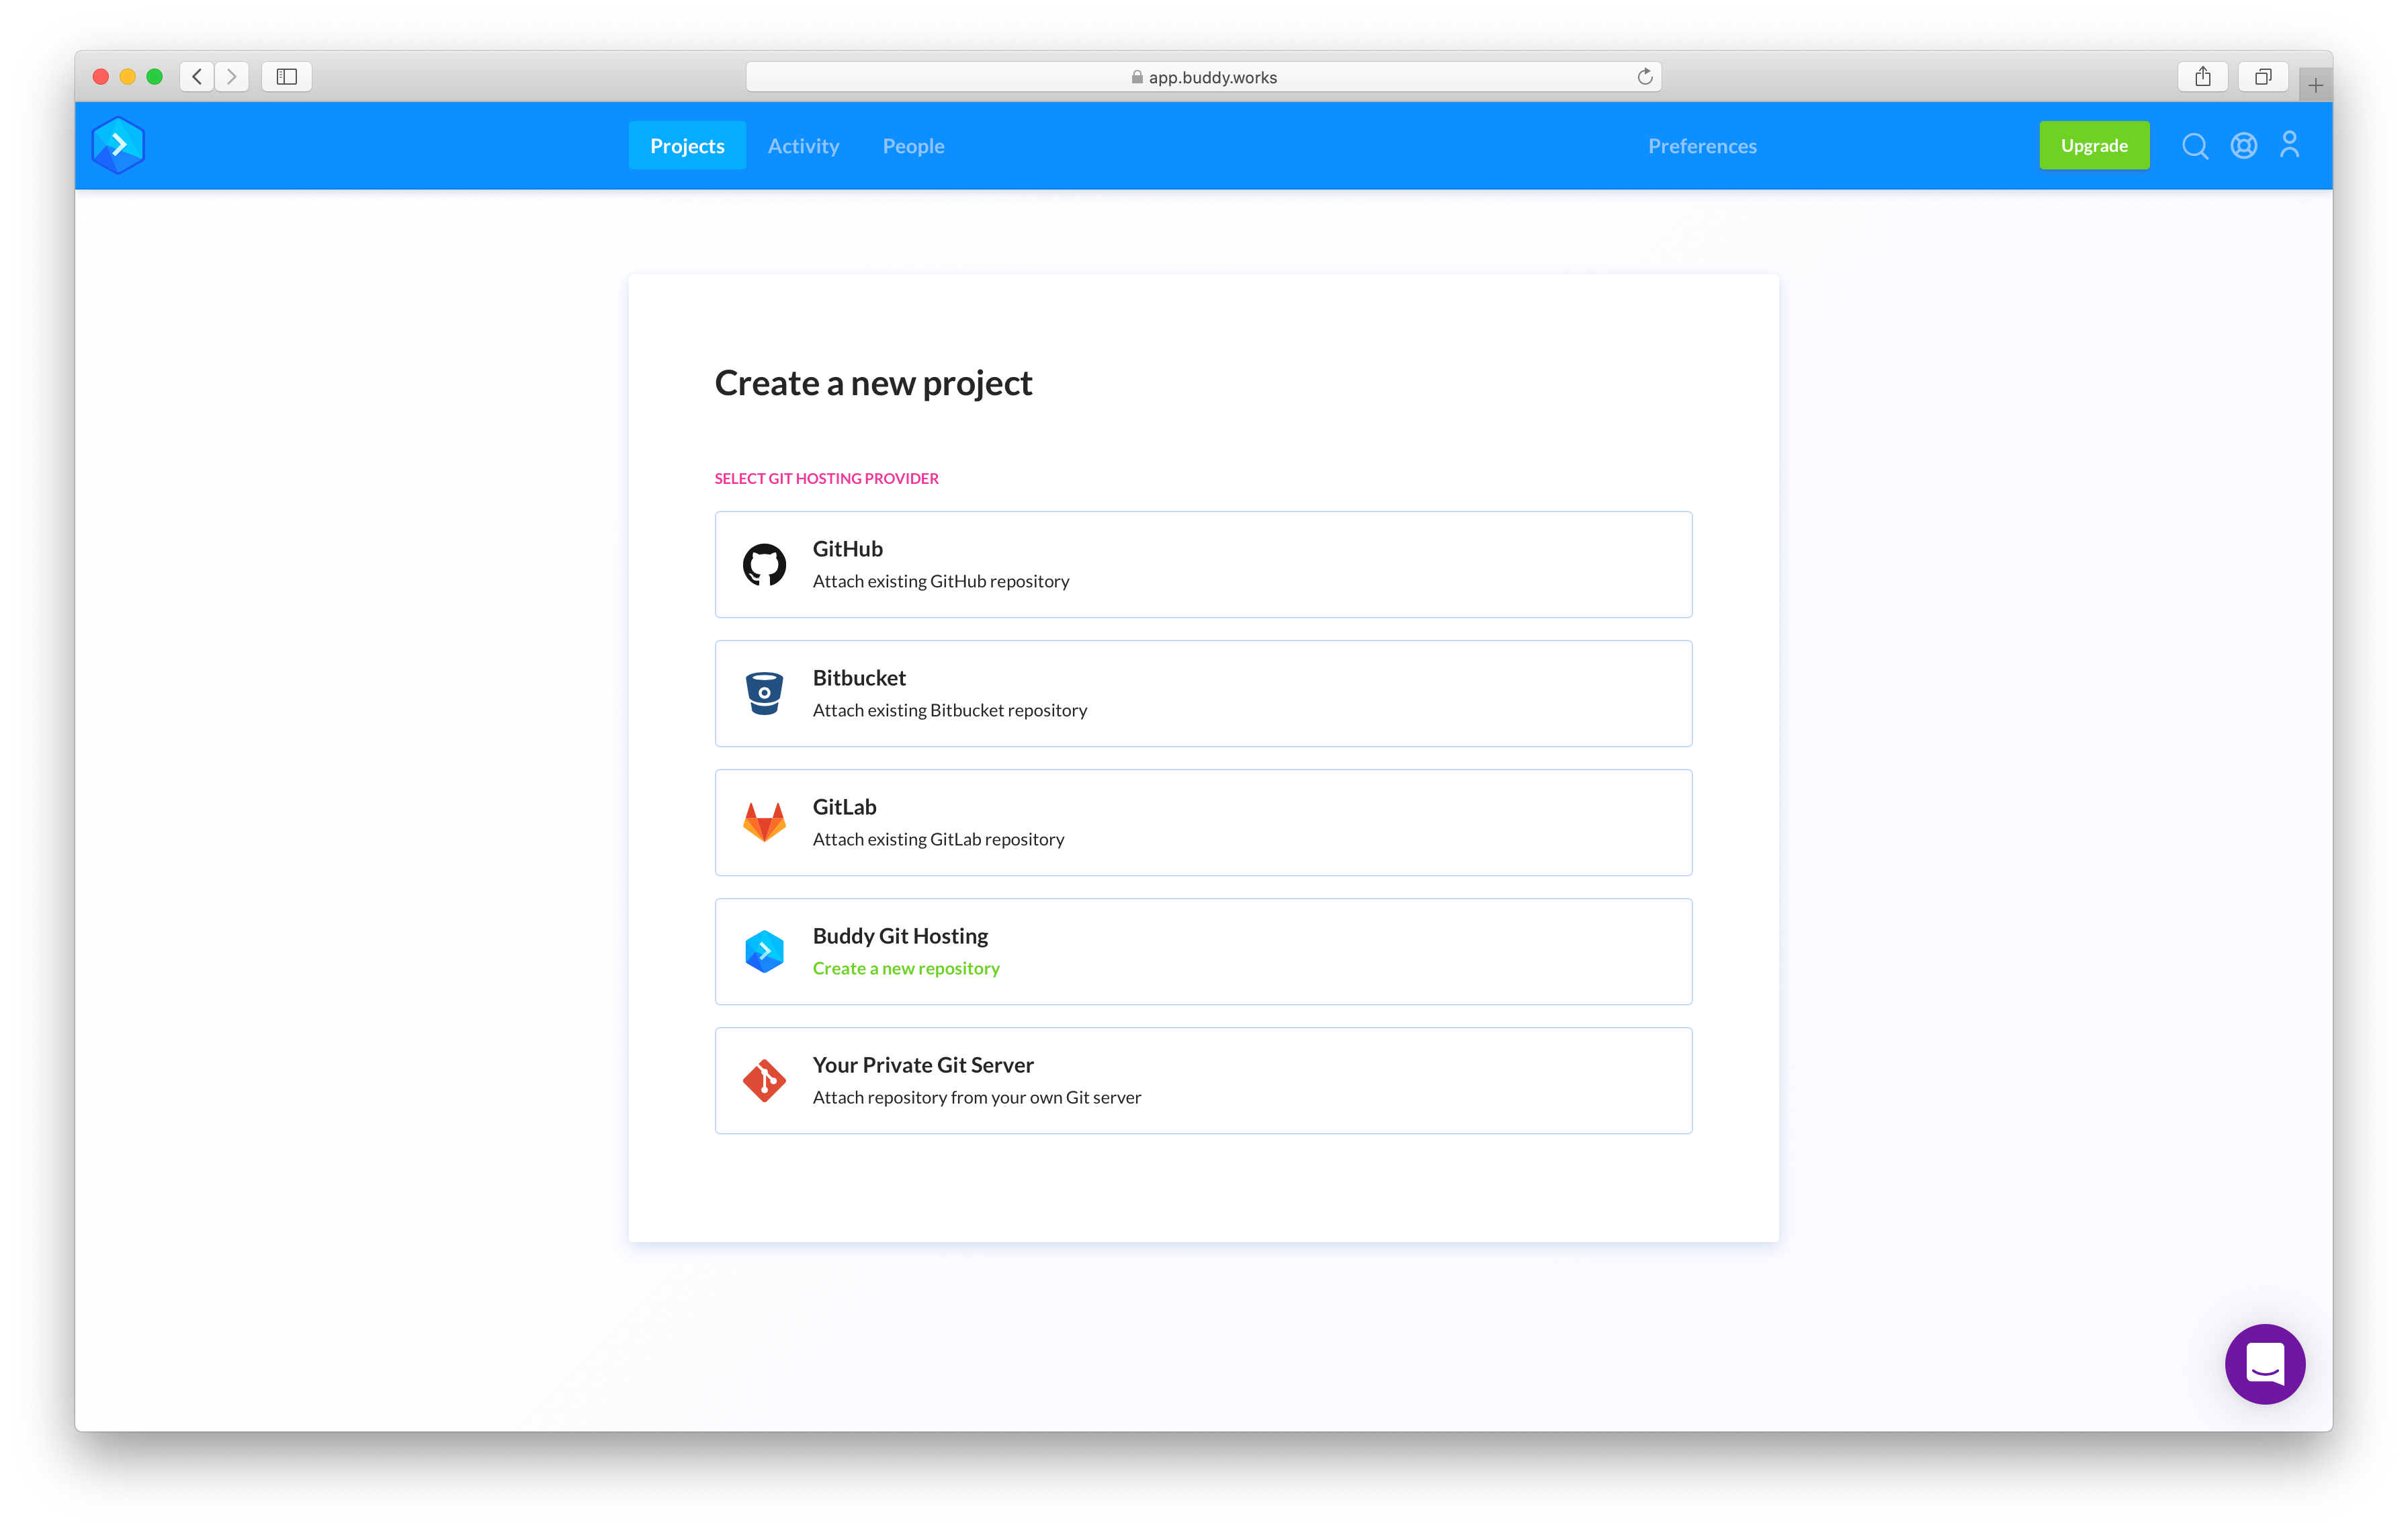
Create a new project by connecting to Github and selecting the repository you created earlier:
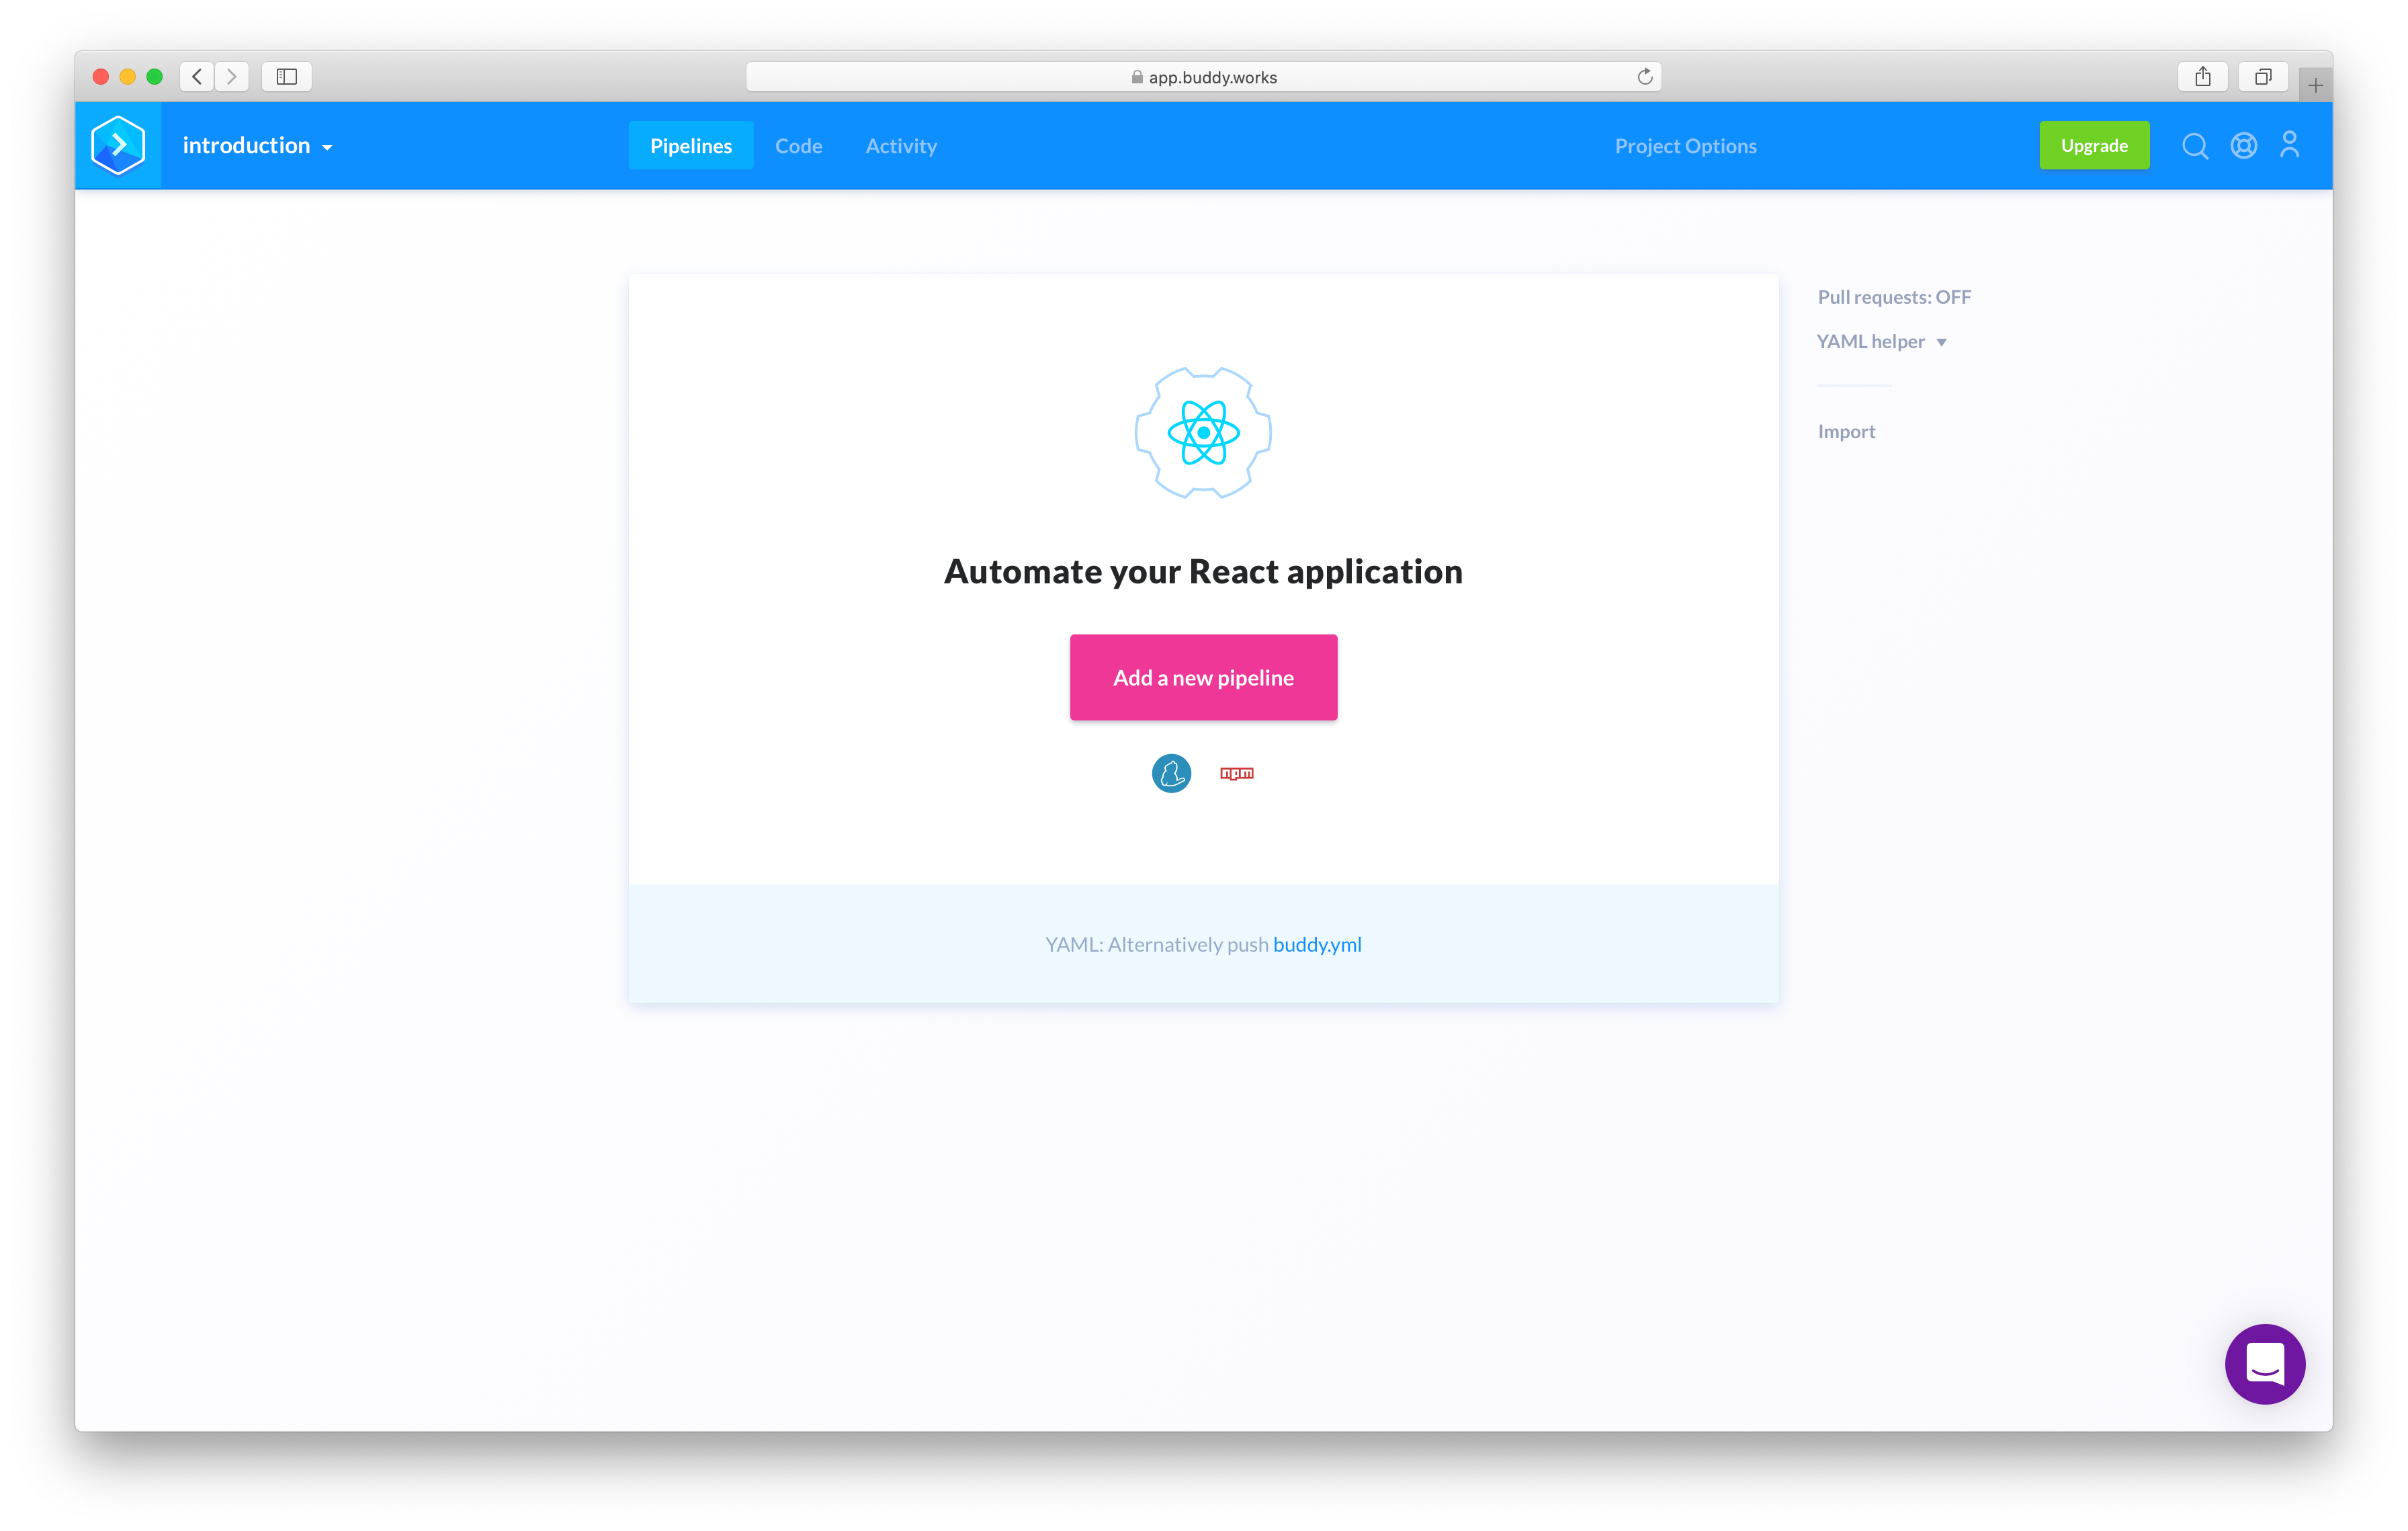
Once you have linked Buddy and Github successfully we can build a new deployment pipeline:
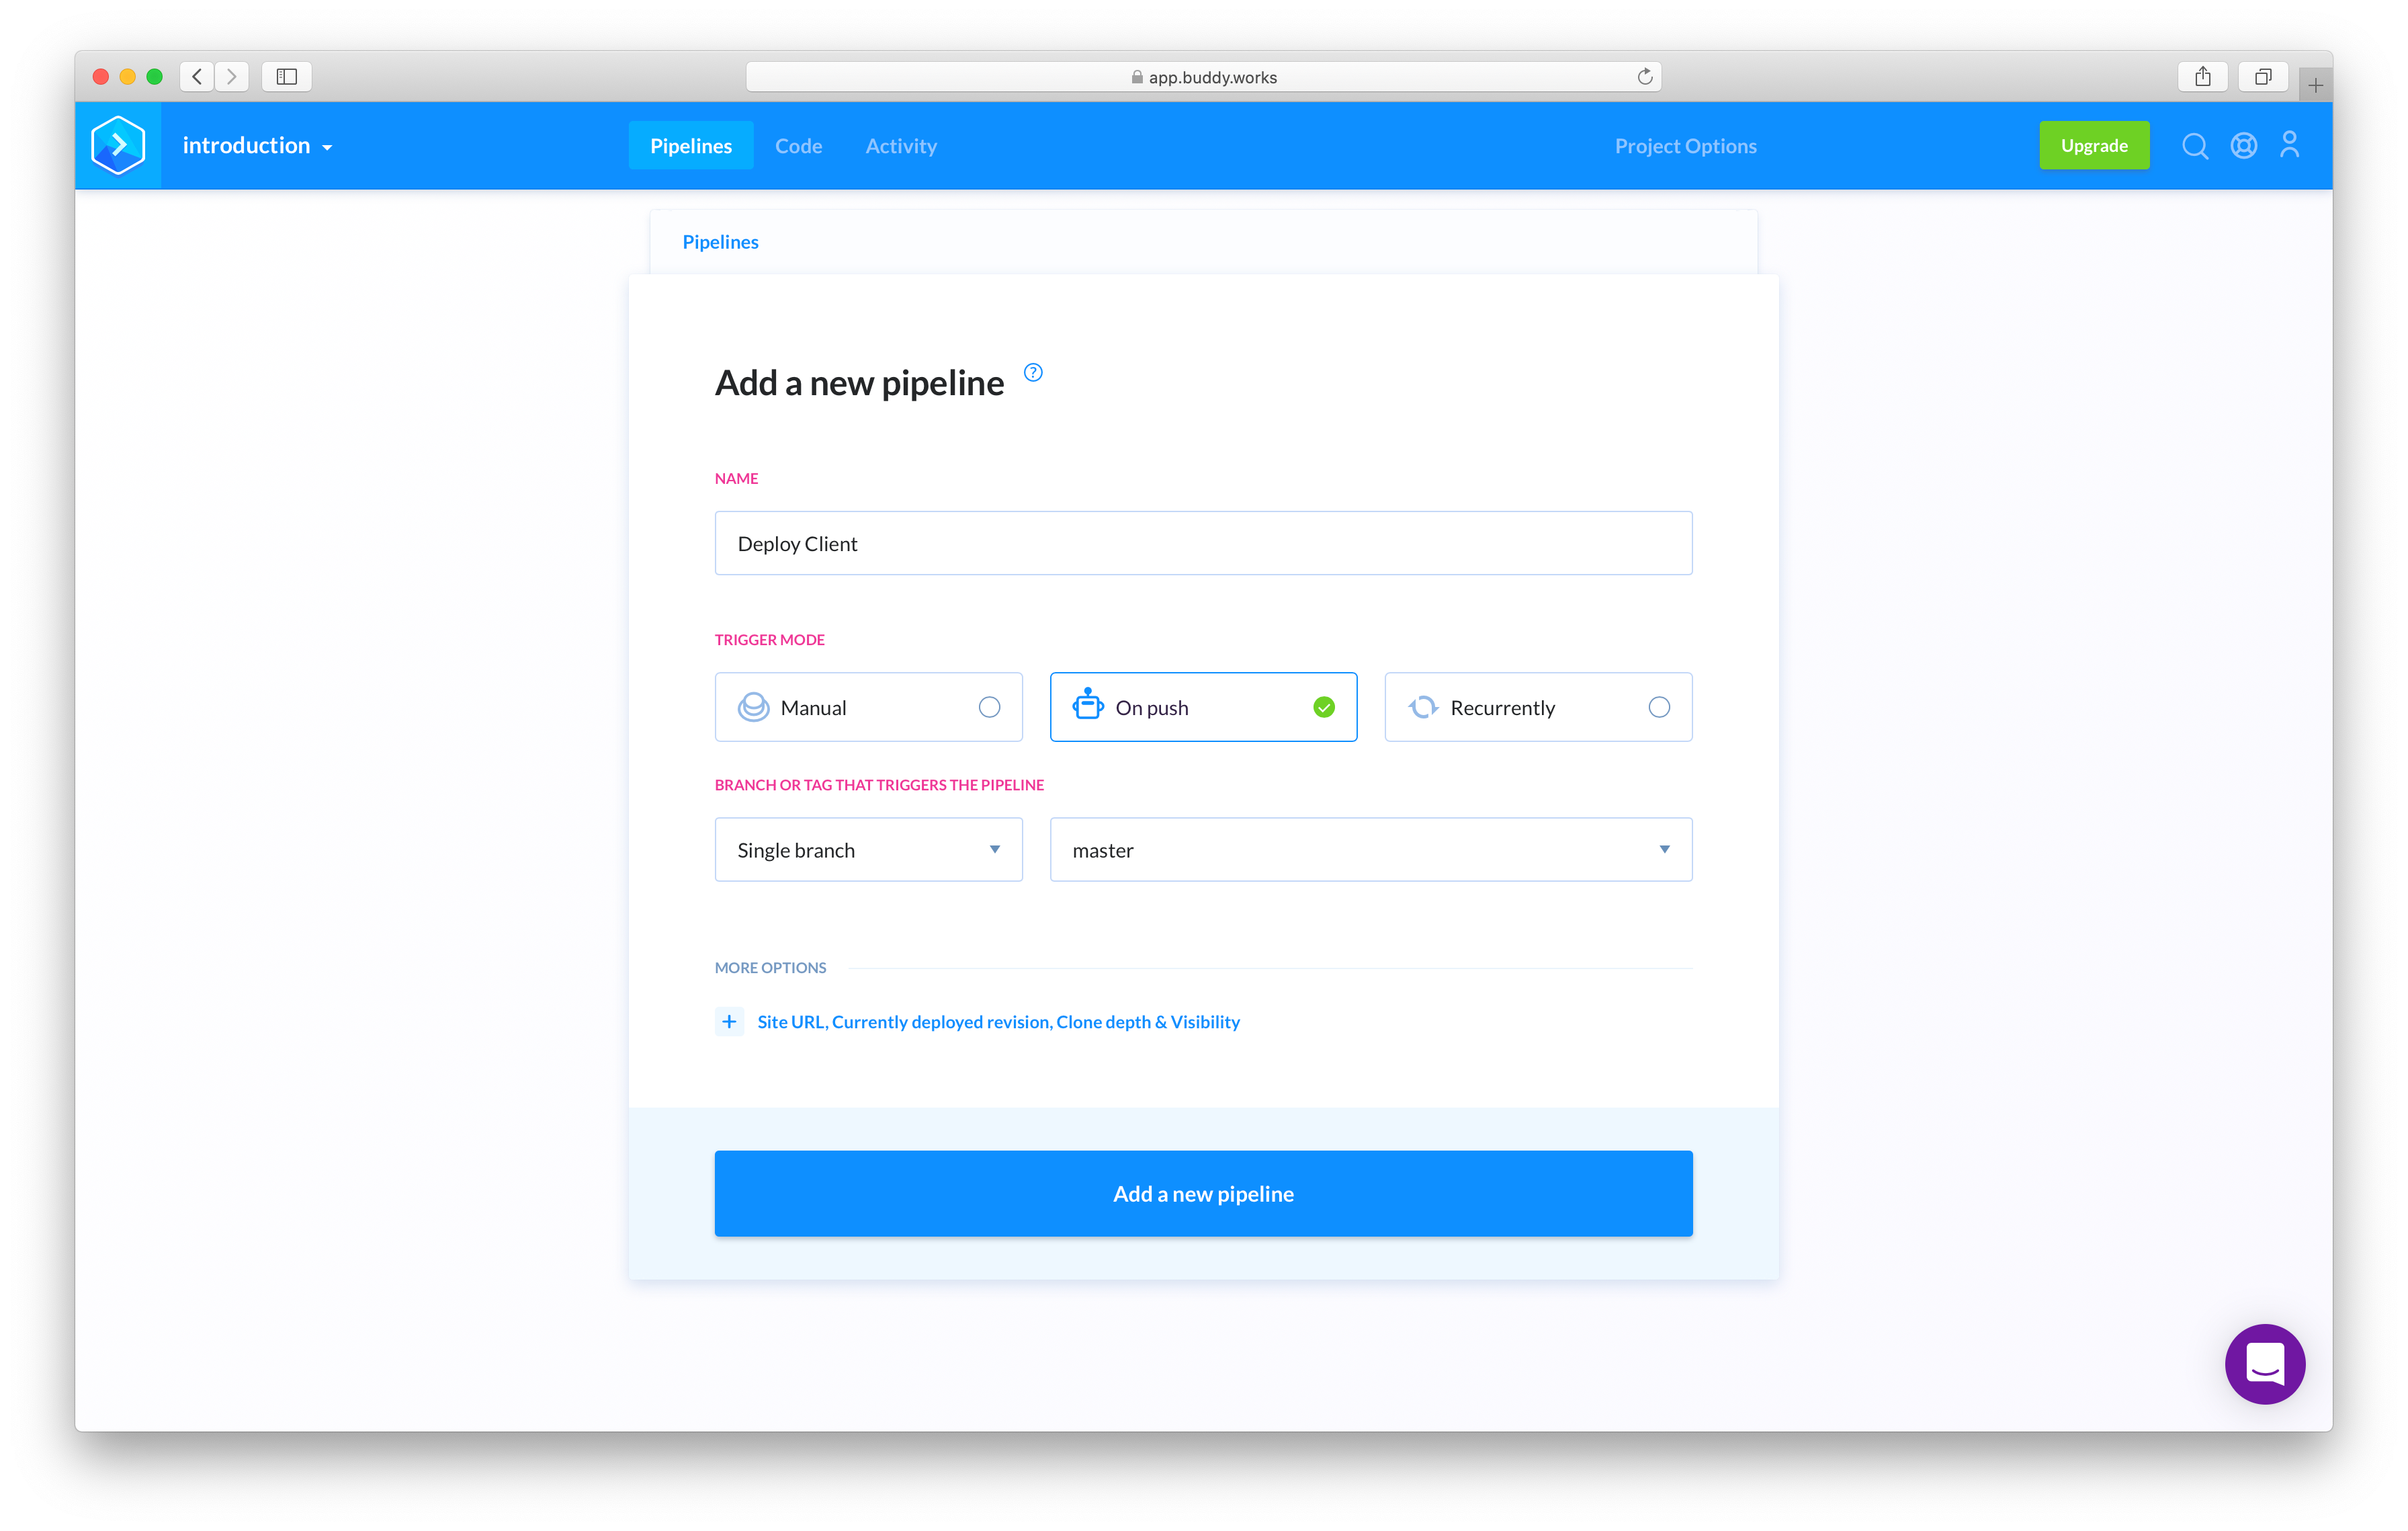
Call your pipeline whatever you wish and trigger the pipeline On push:
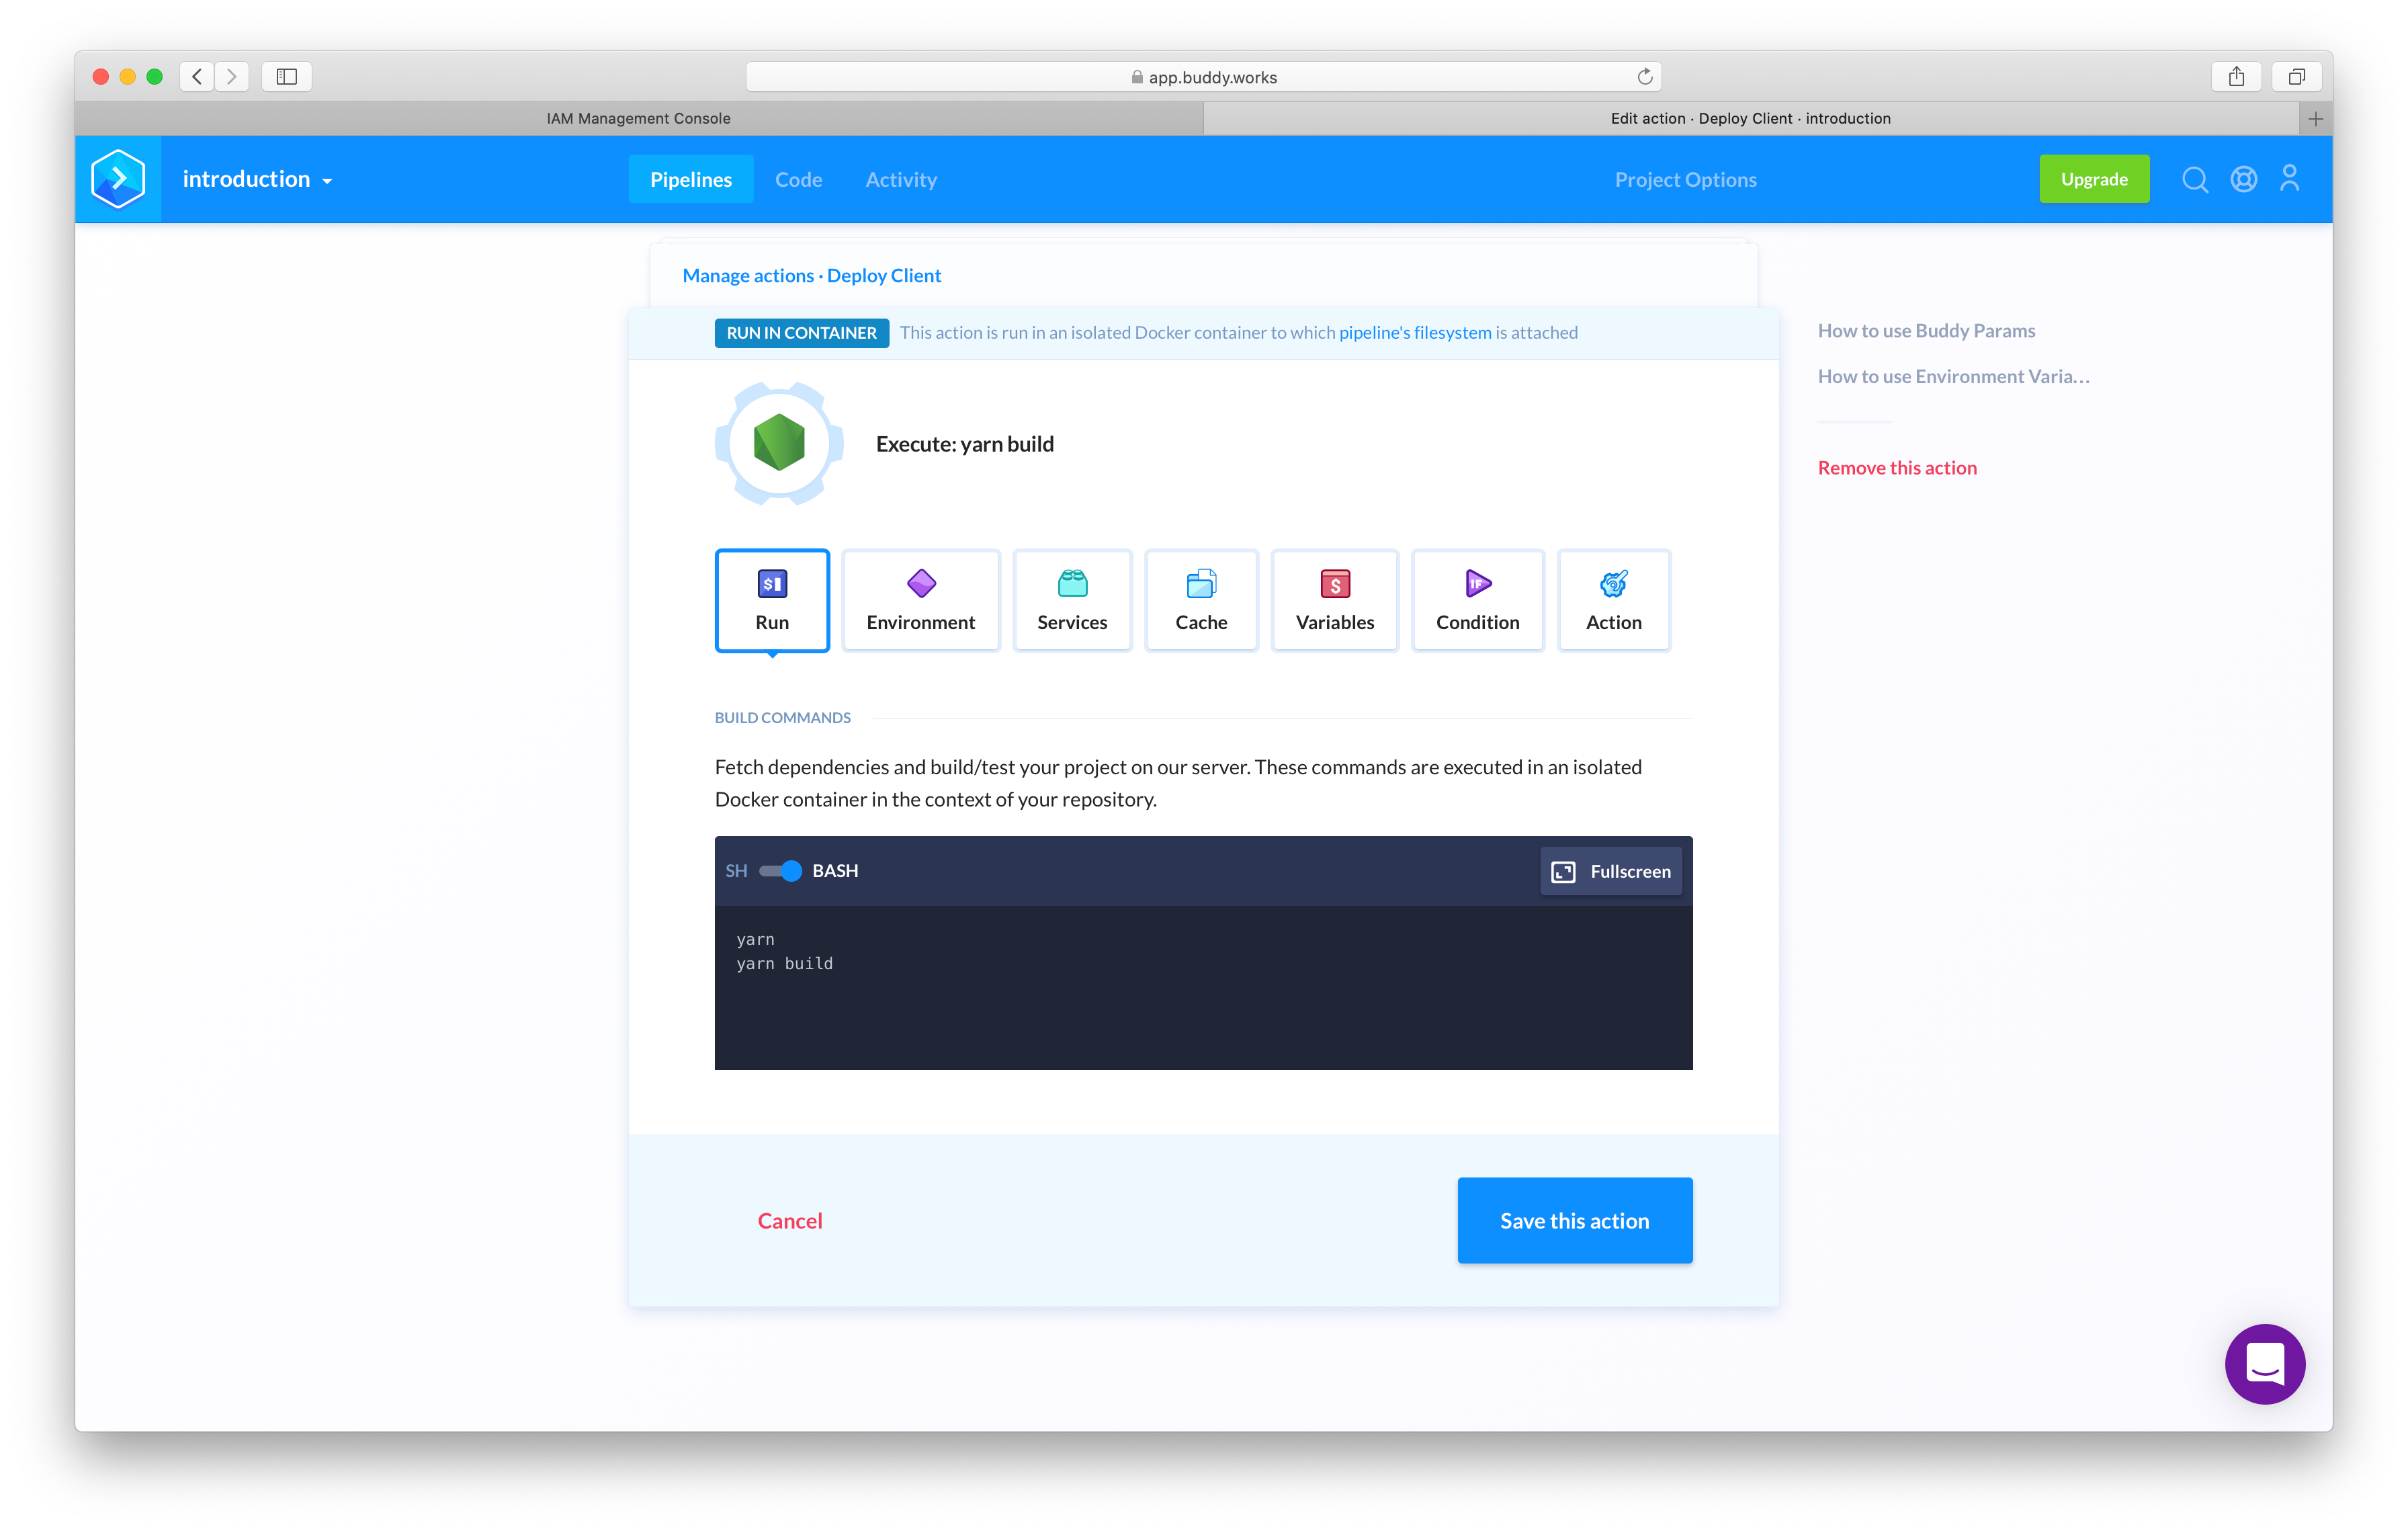
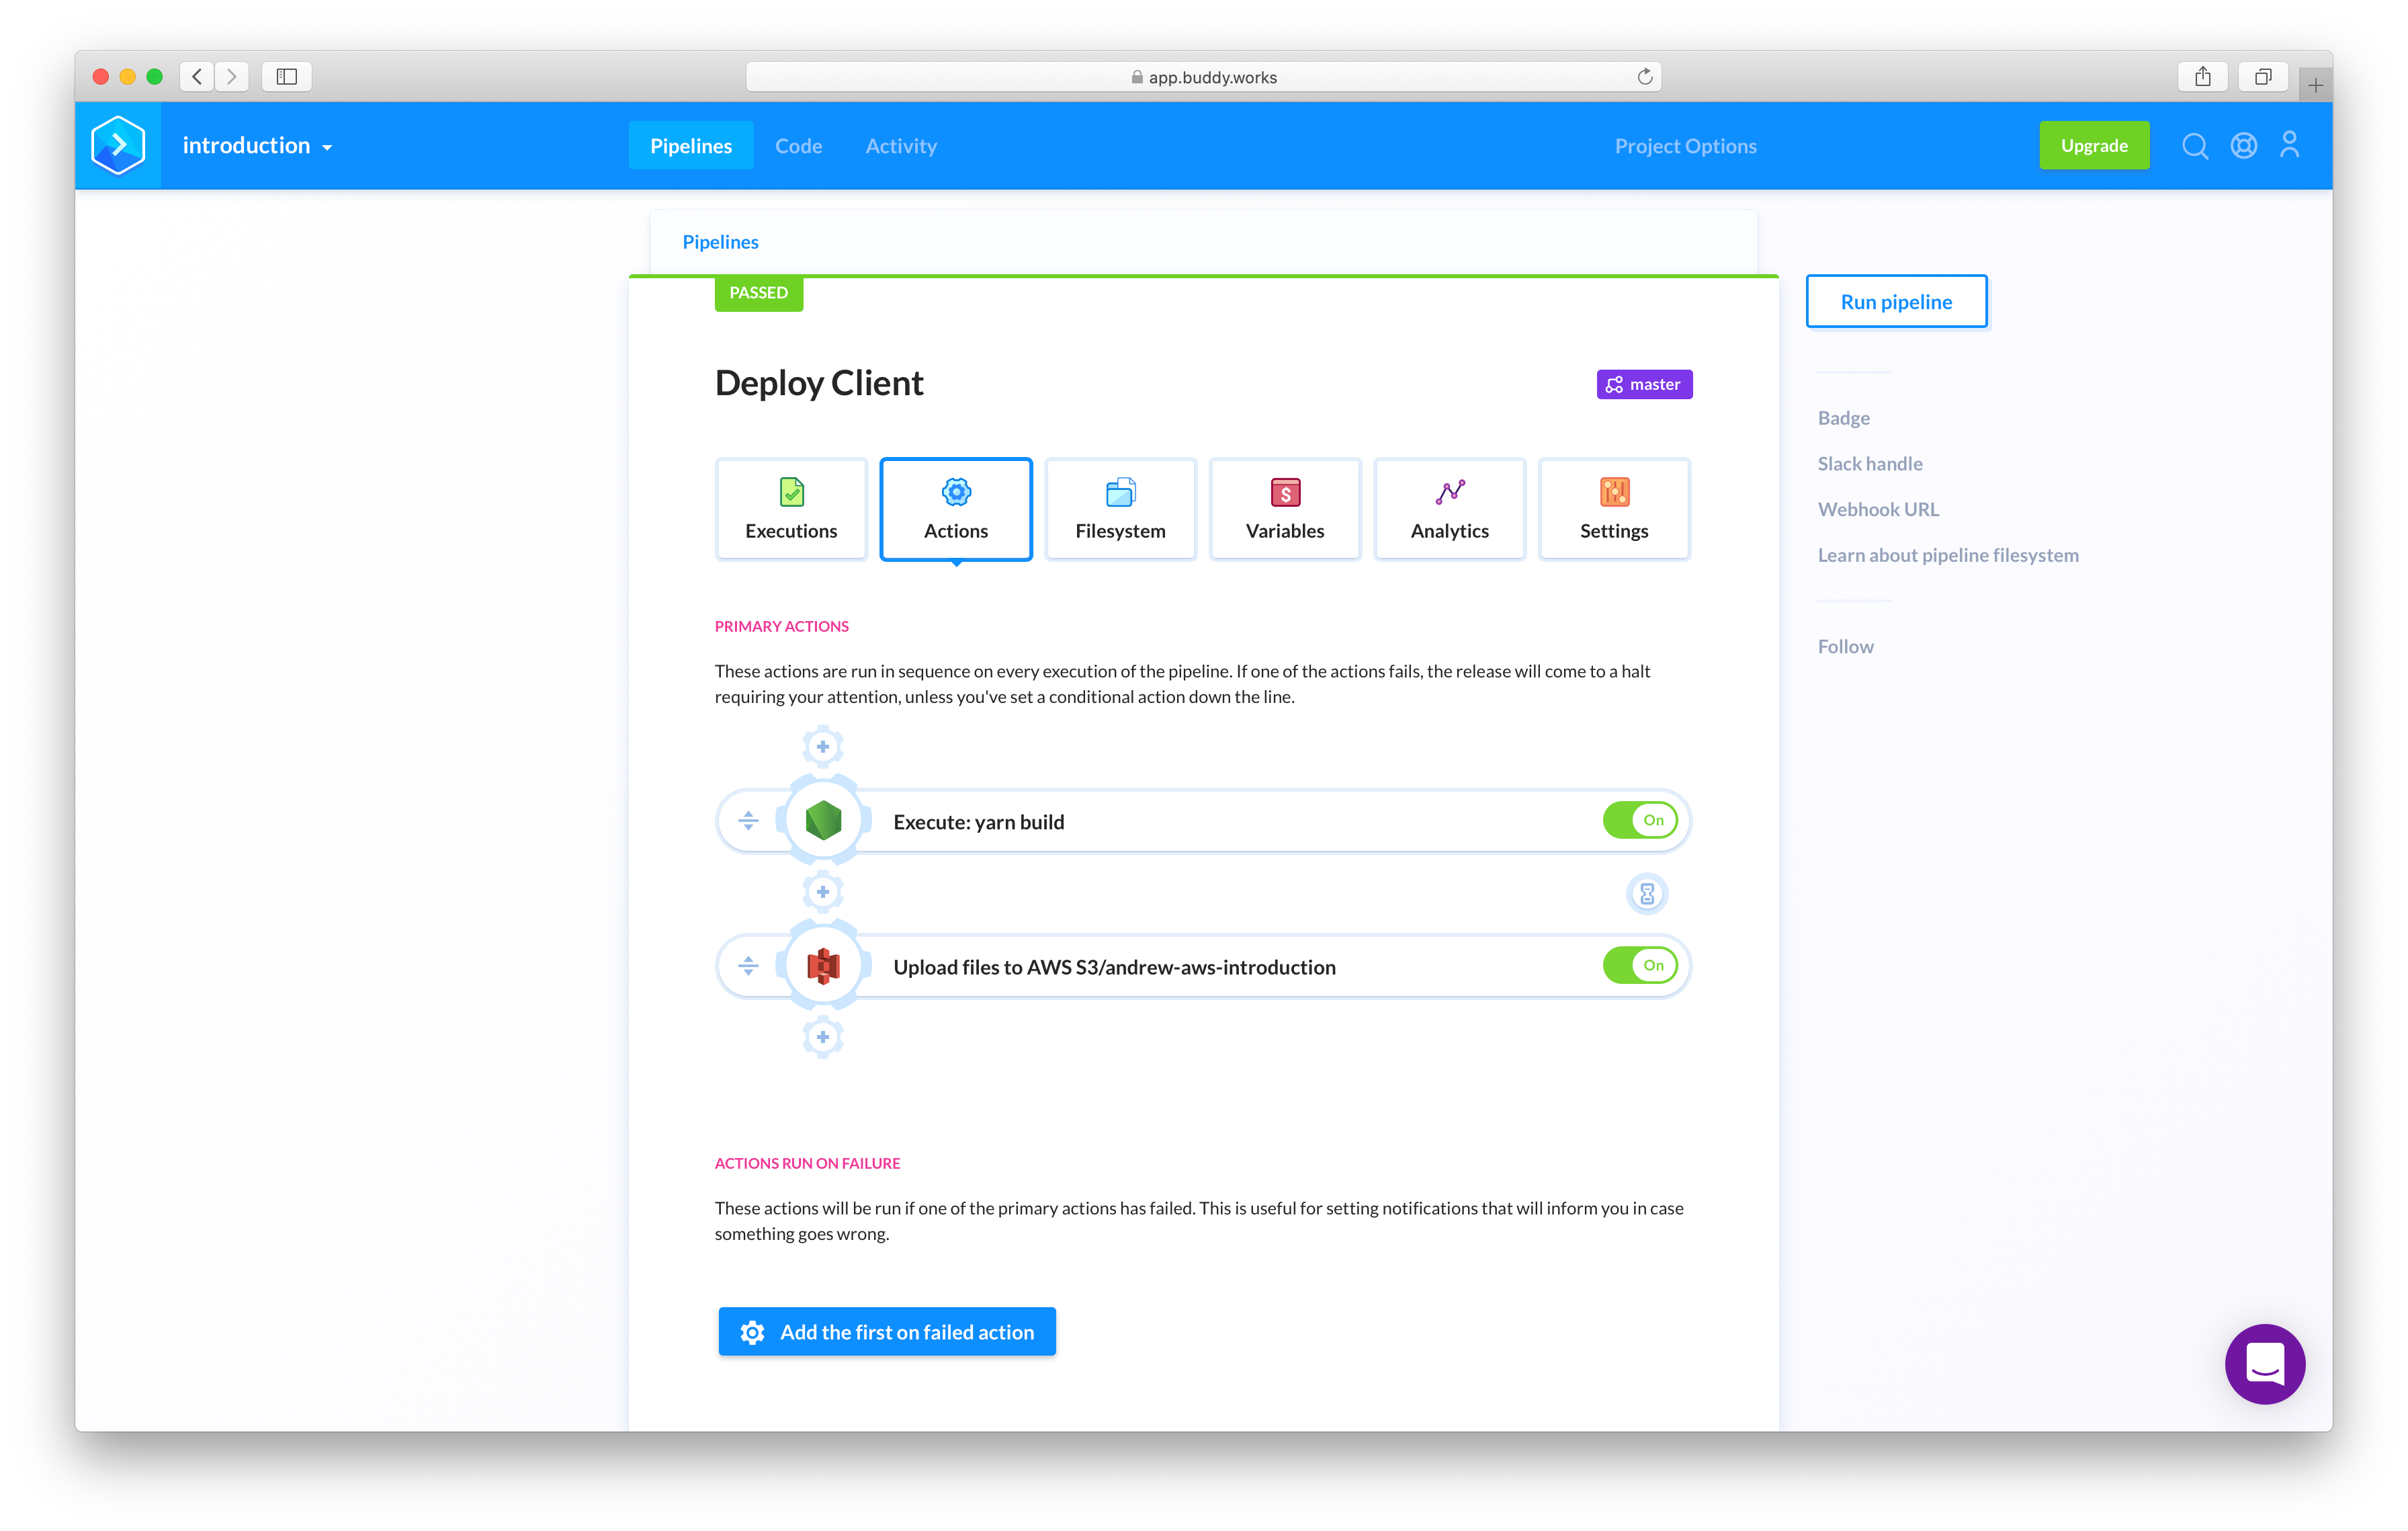
A few actions then need to be defined. The first is building your application from the source code to be ready for deployment. Click add the first action and search for ‘Node.js’. Ensure that the following commands are run:
yarn // Installing dependencies

yarn build // Building your application


Now, on every push to your repository, your application will be built. We now need to add another action to take these built files and deploy them to your S3 bucket. Unfortunately, connecting Buddy to AWS is not as simple as it is with Github. You need to create a special account so that Buddy can programatically control some resources on your AWS account. In this example, we want Buddy to be able to access and write files to your new bucket.
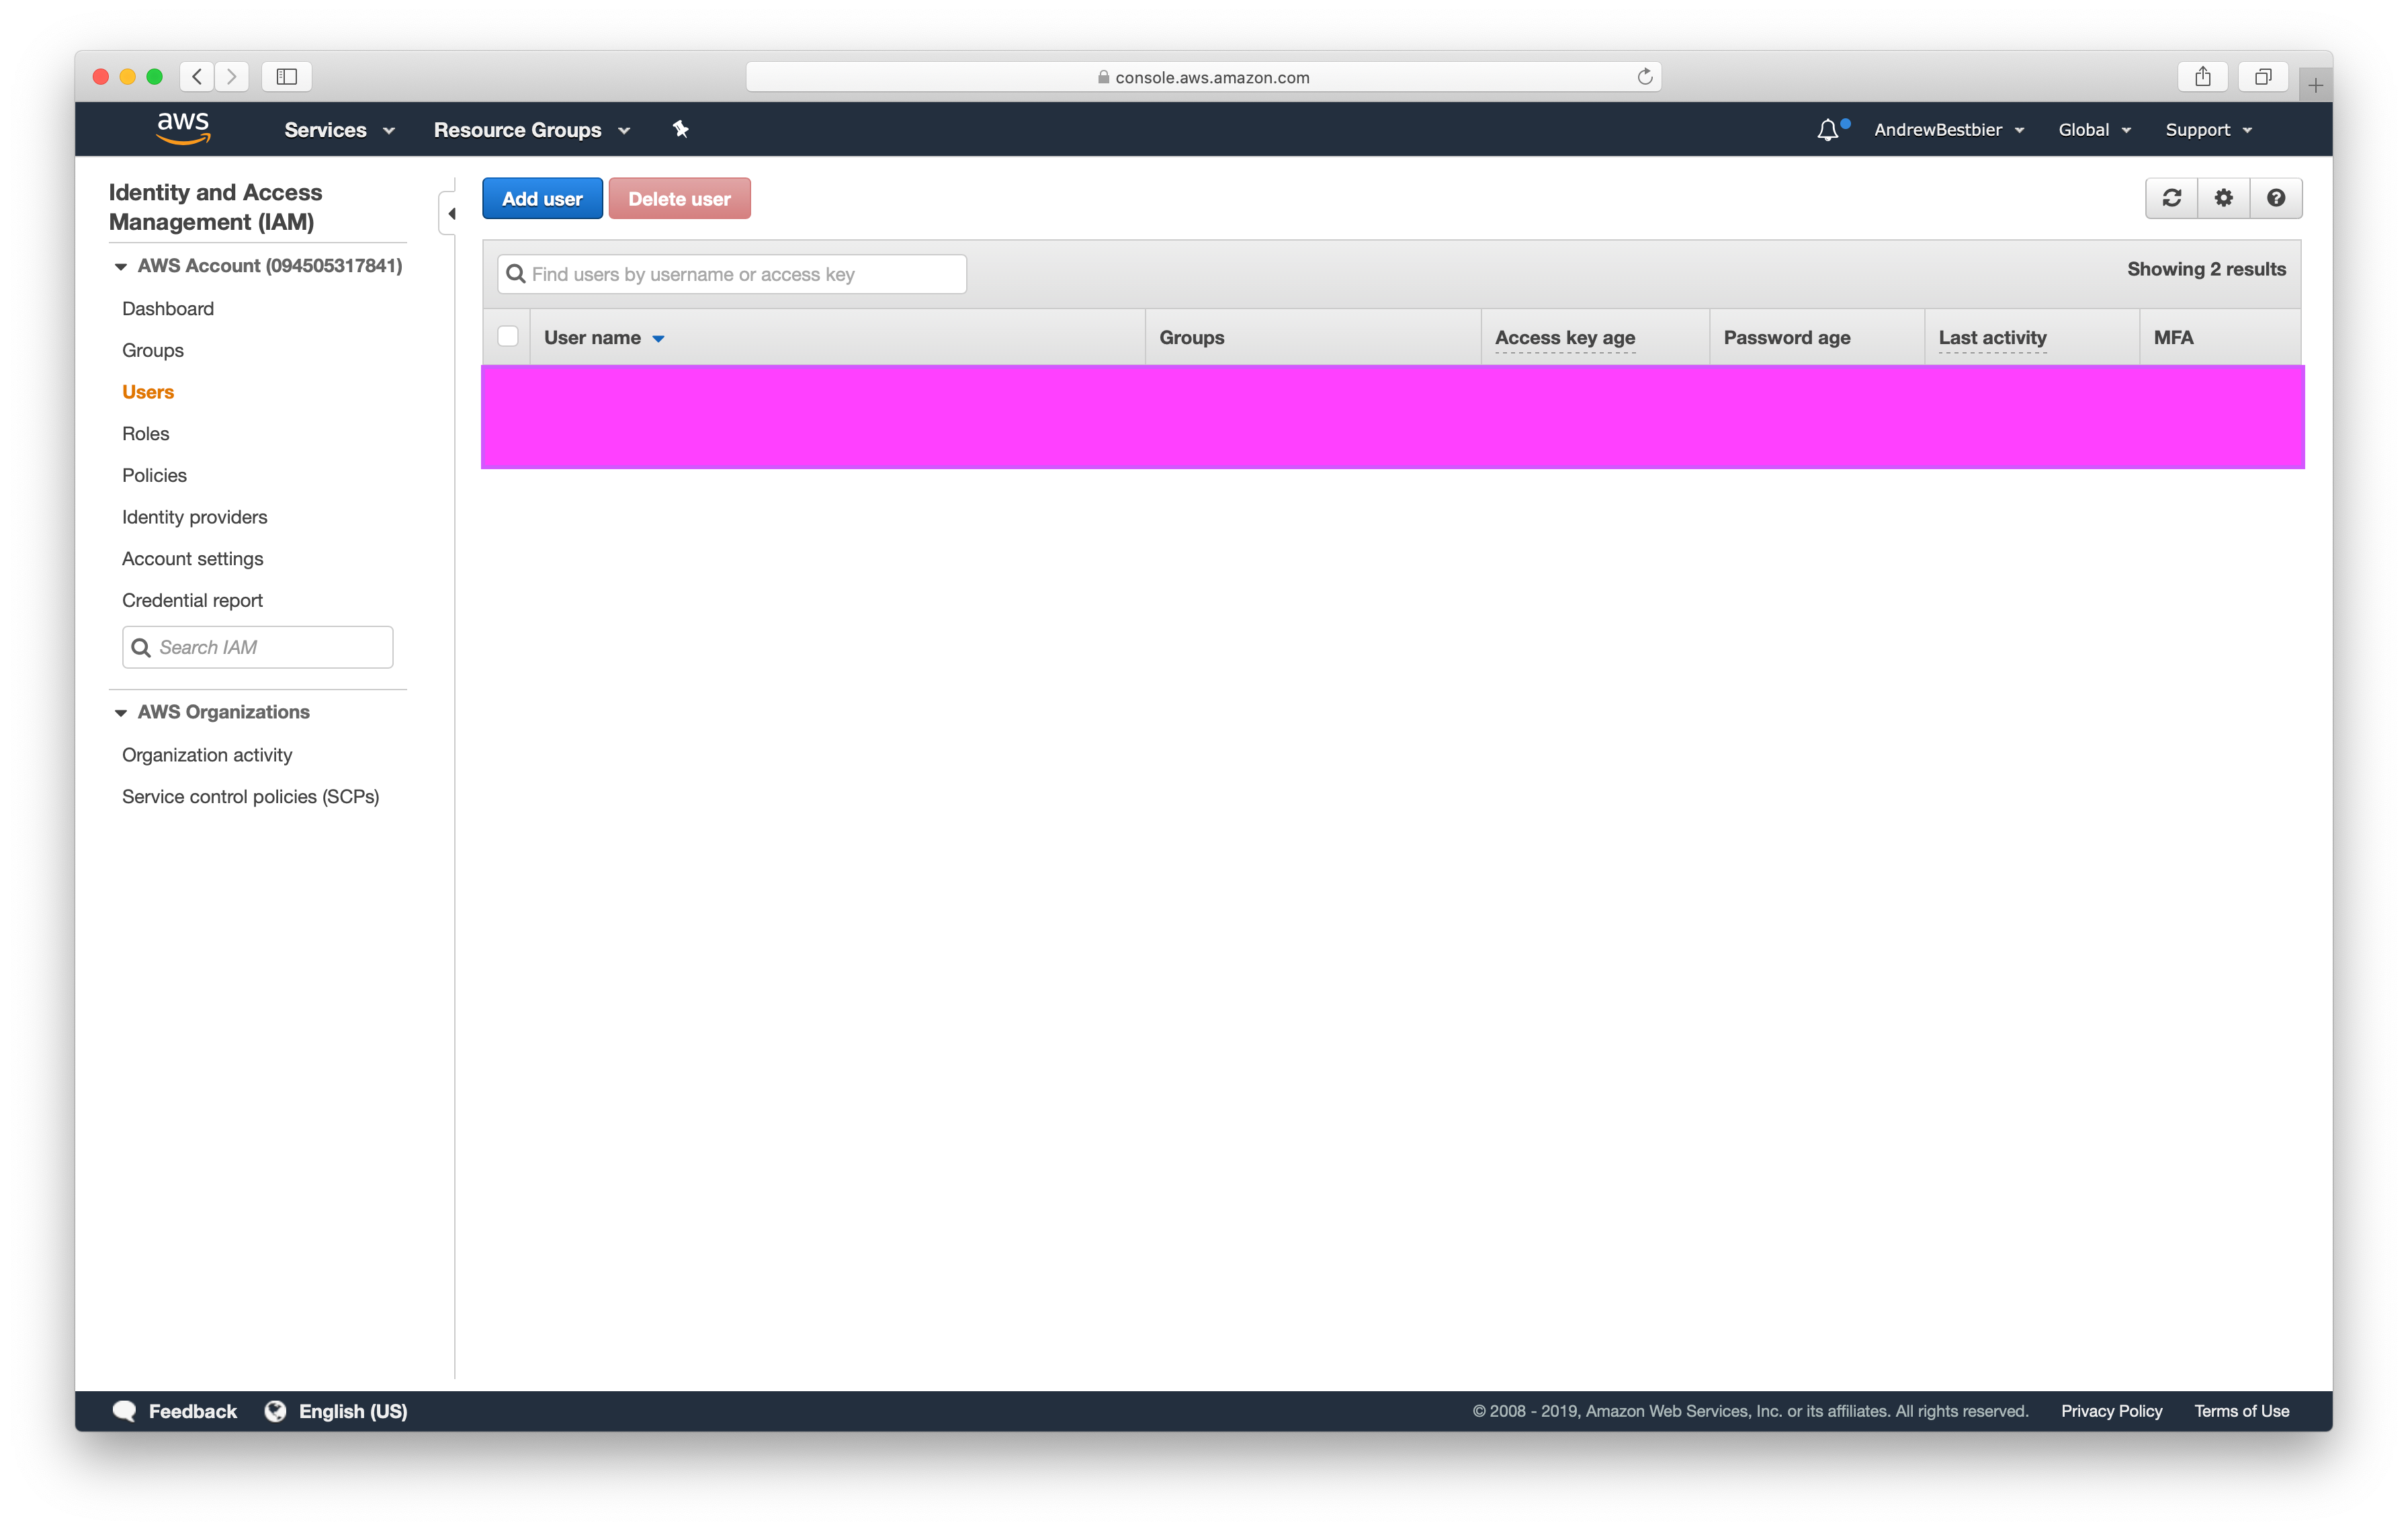
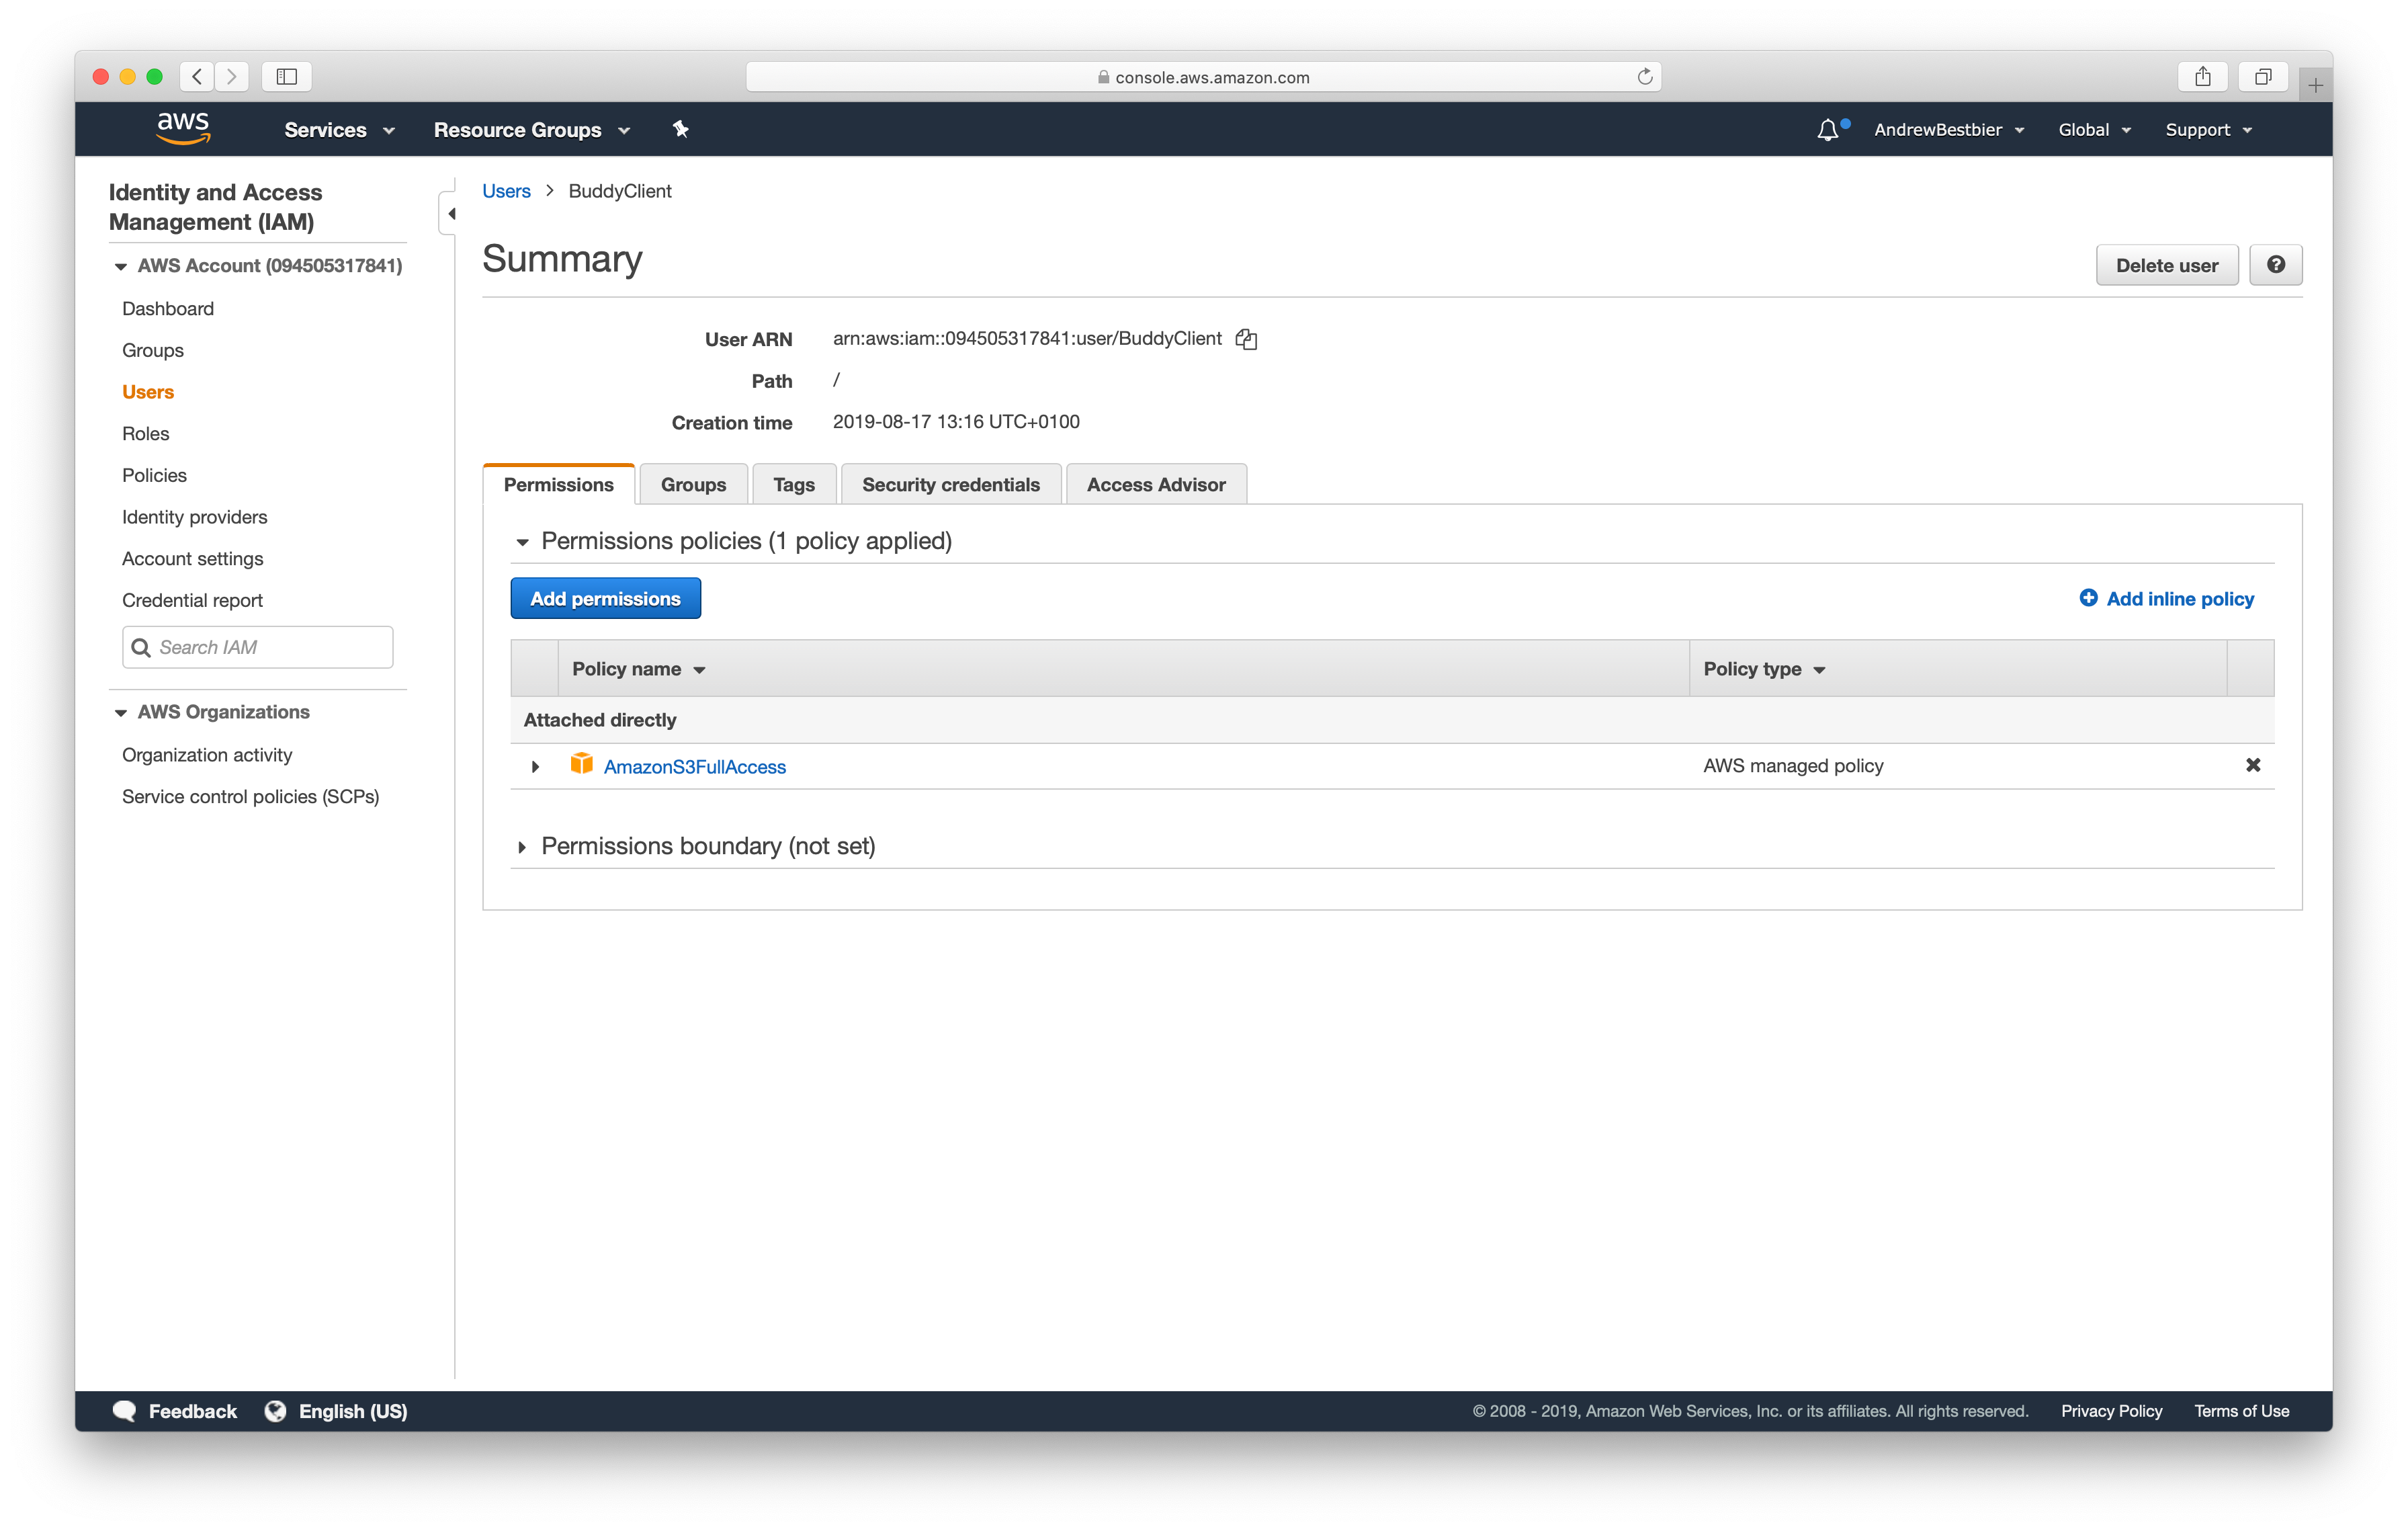
Navigate to the IAM (Identity Access Management) service in AWS and click Users.
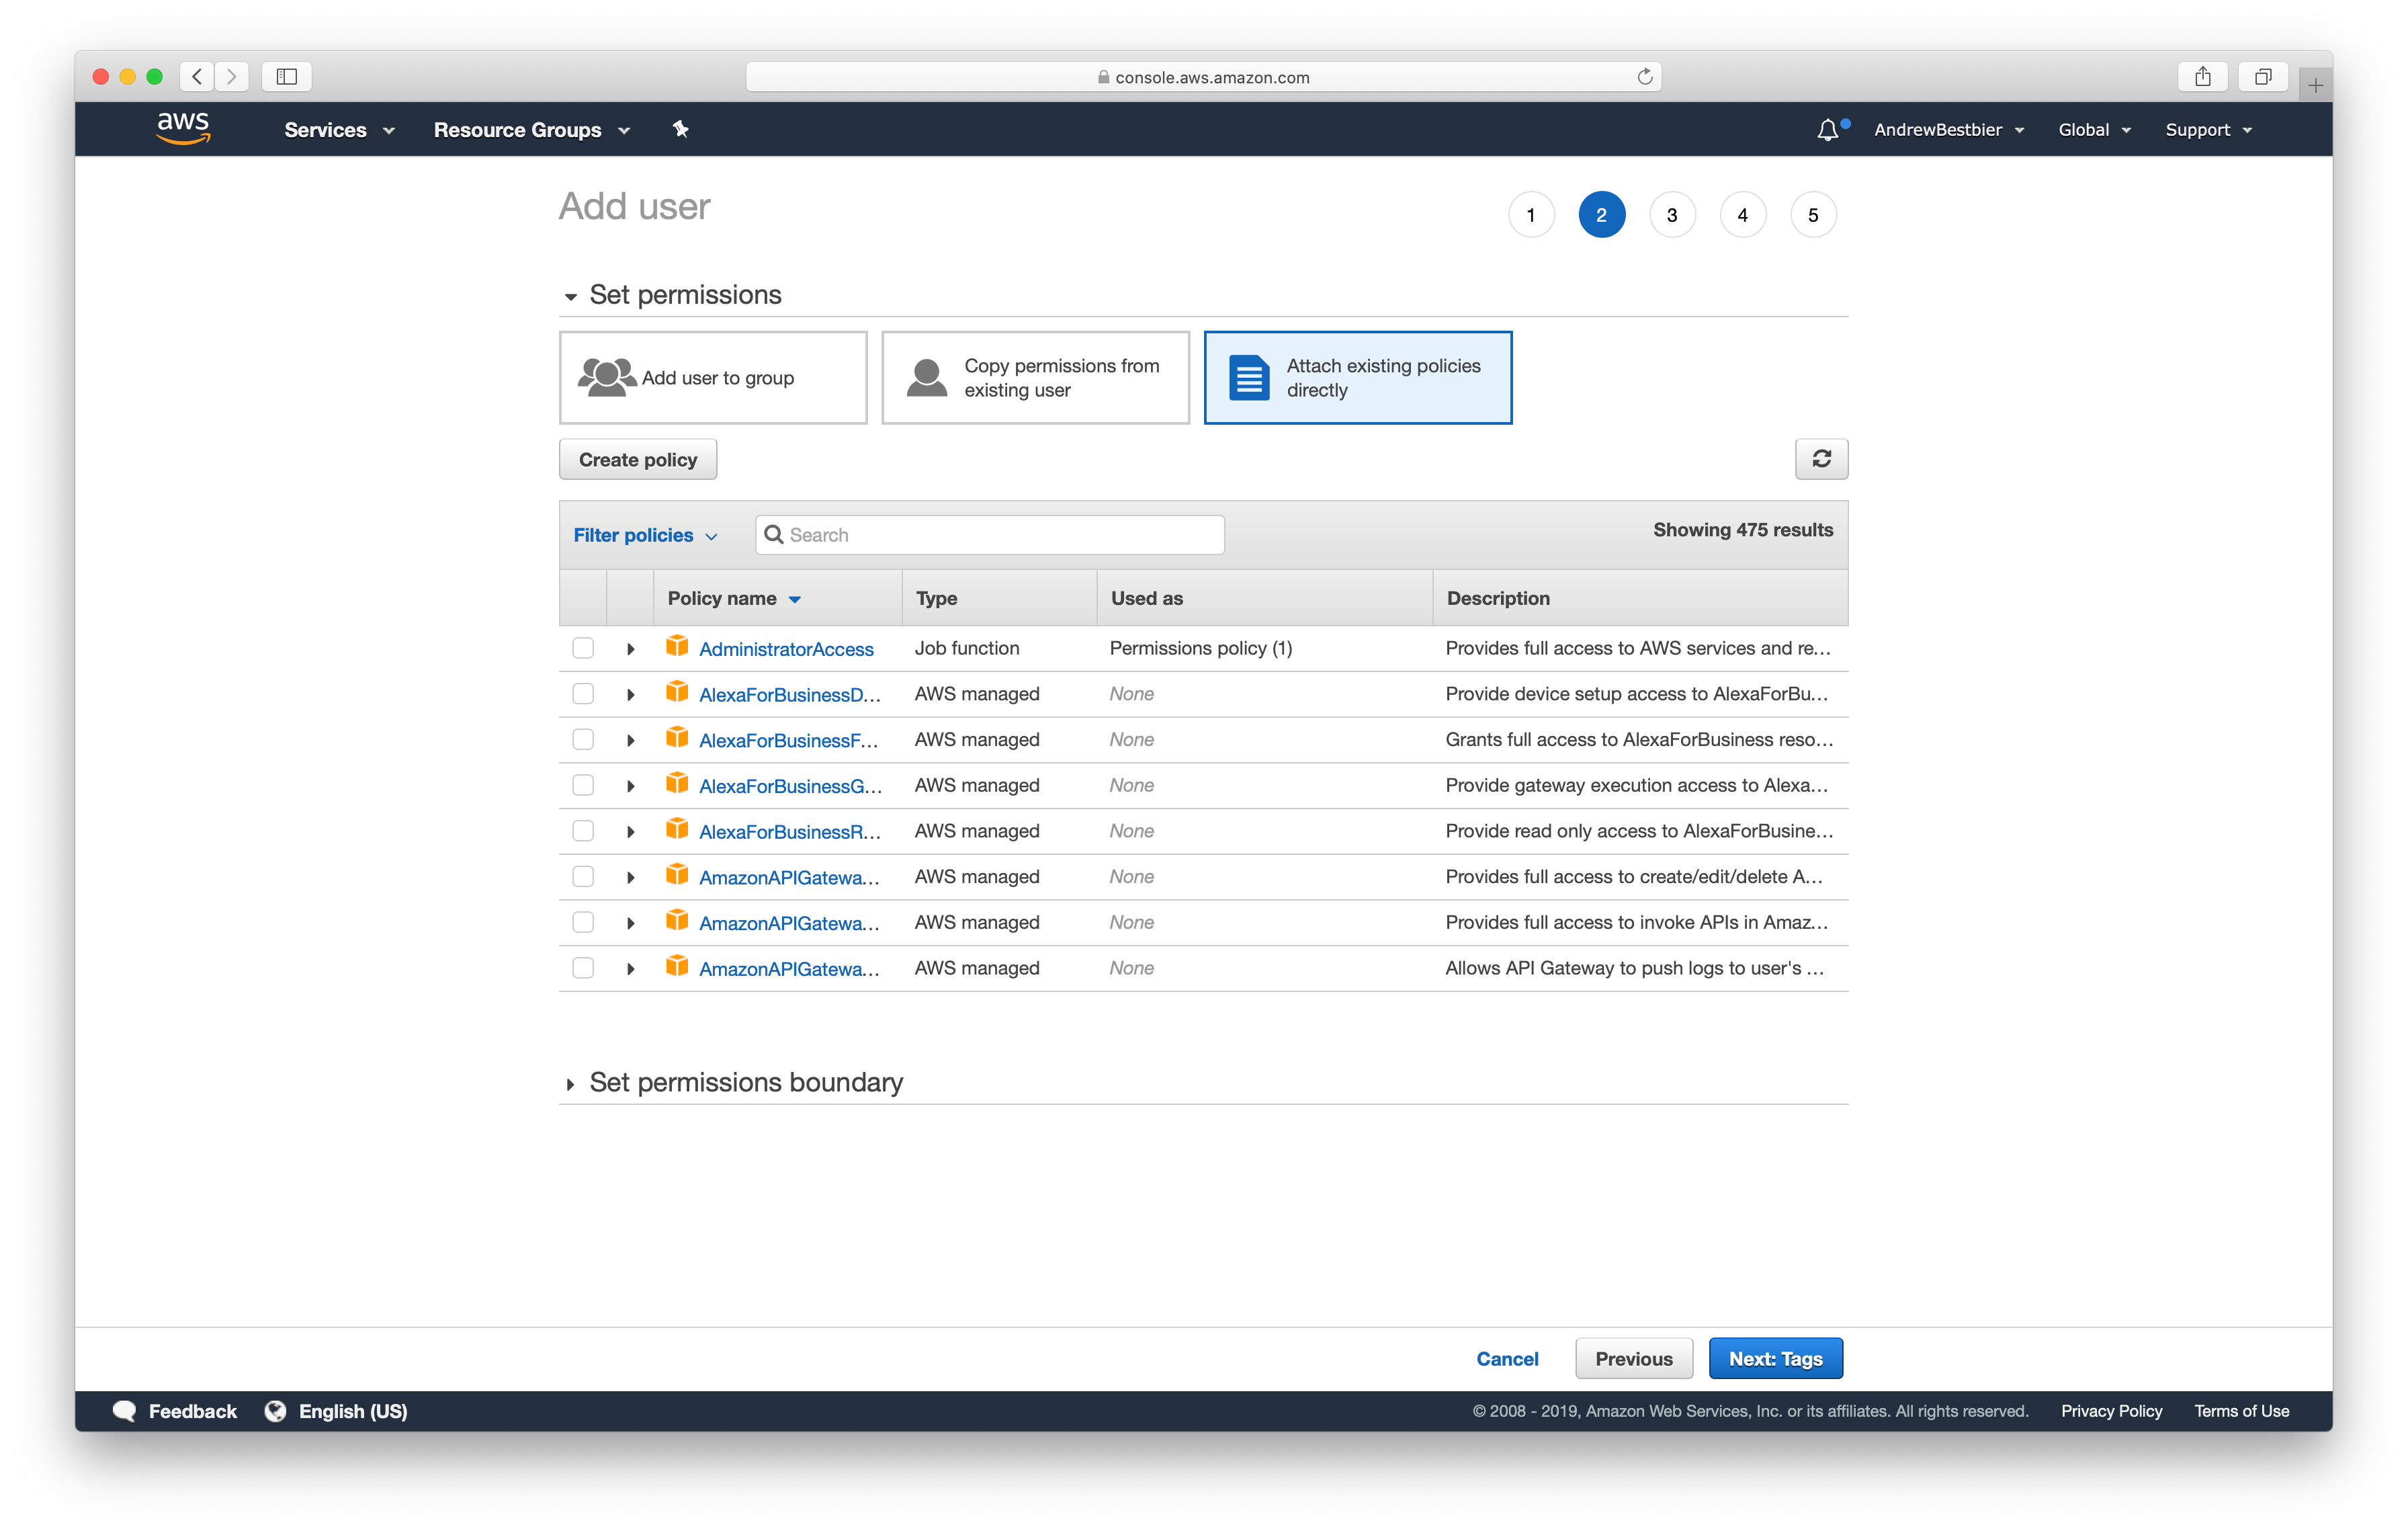
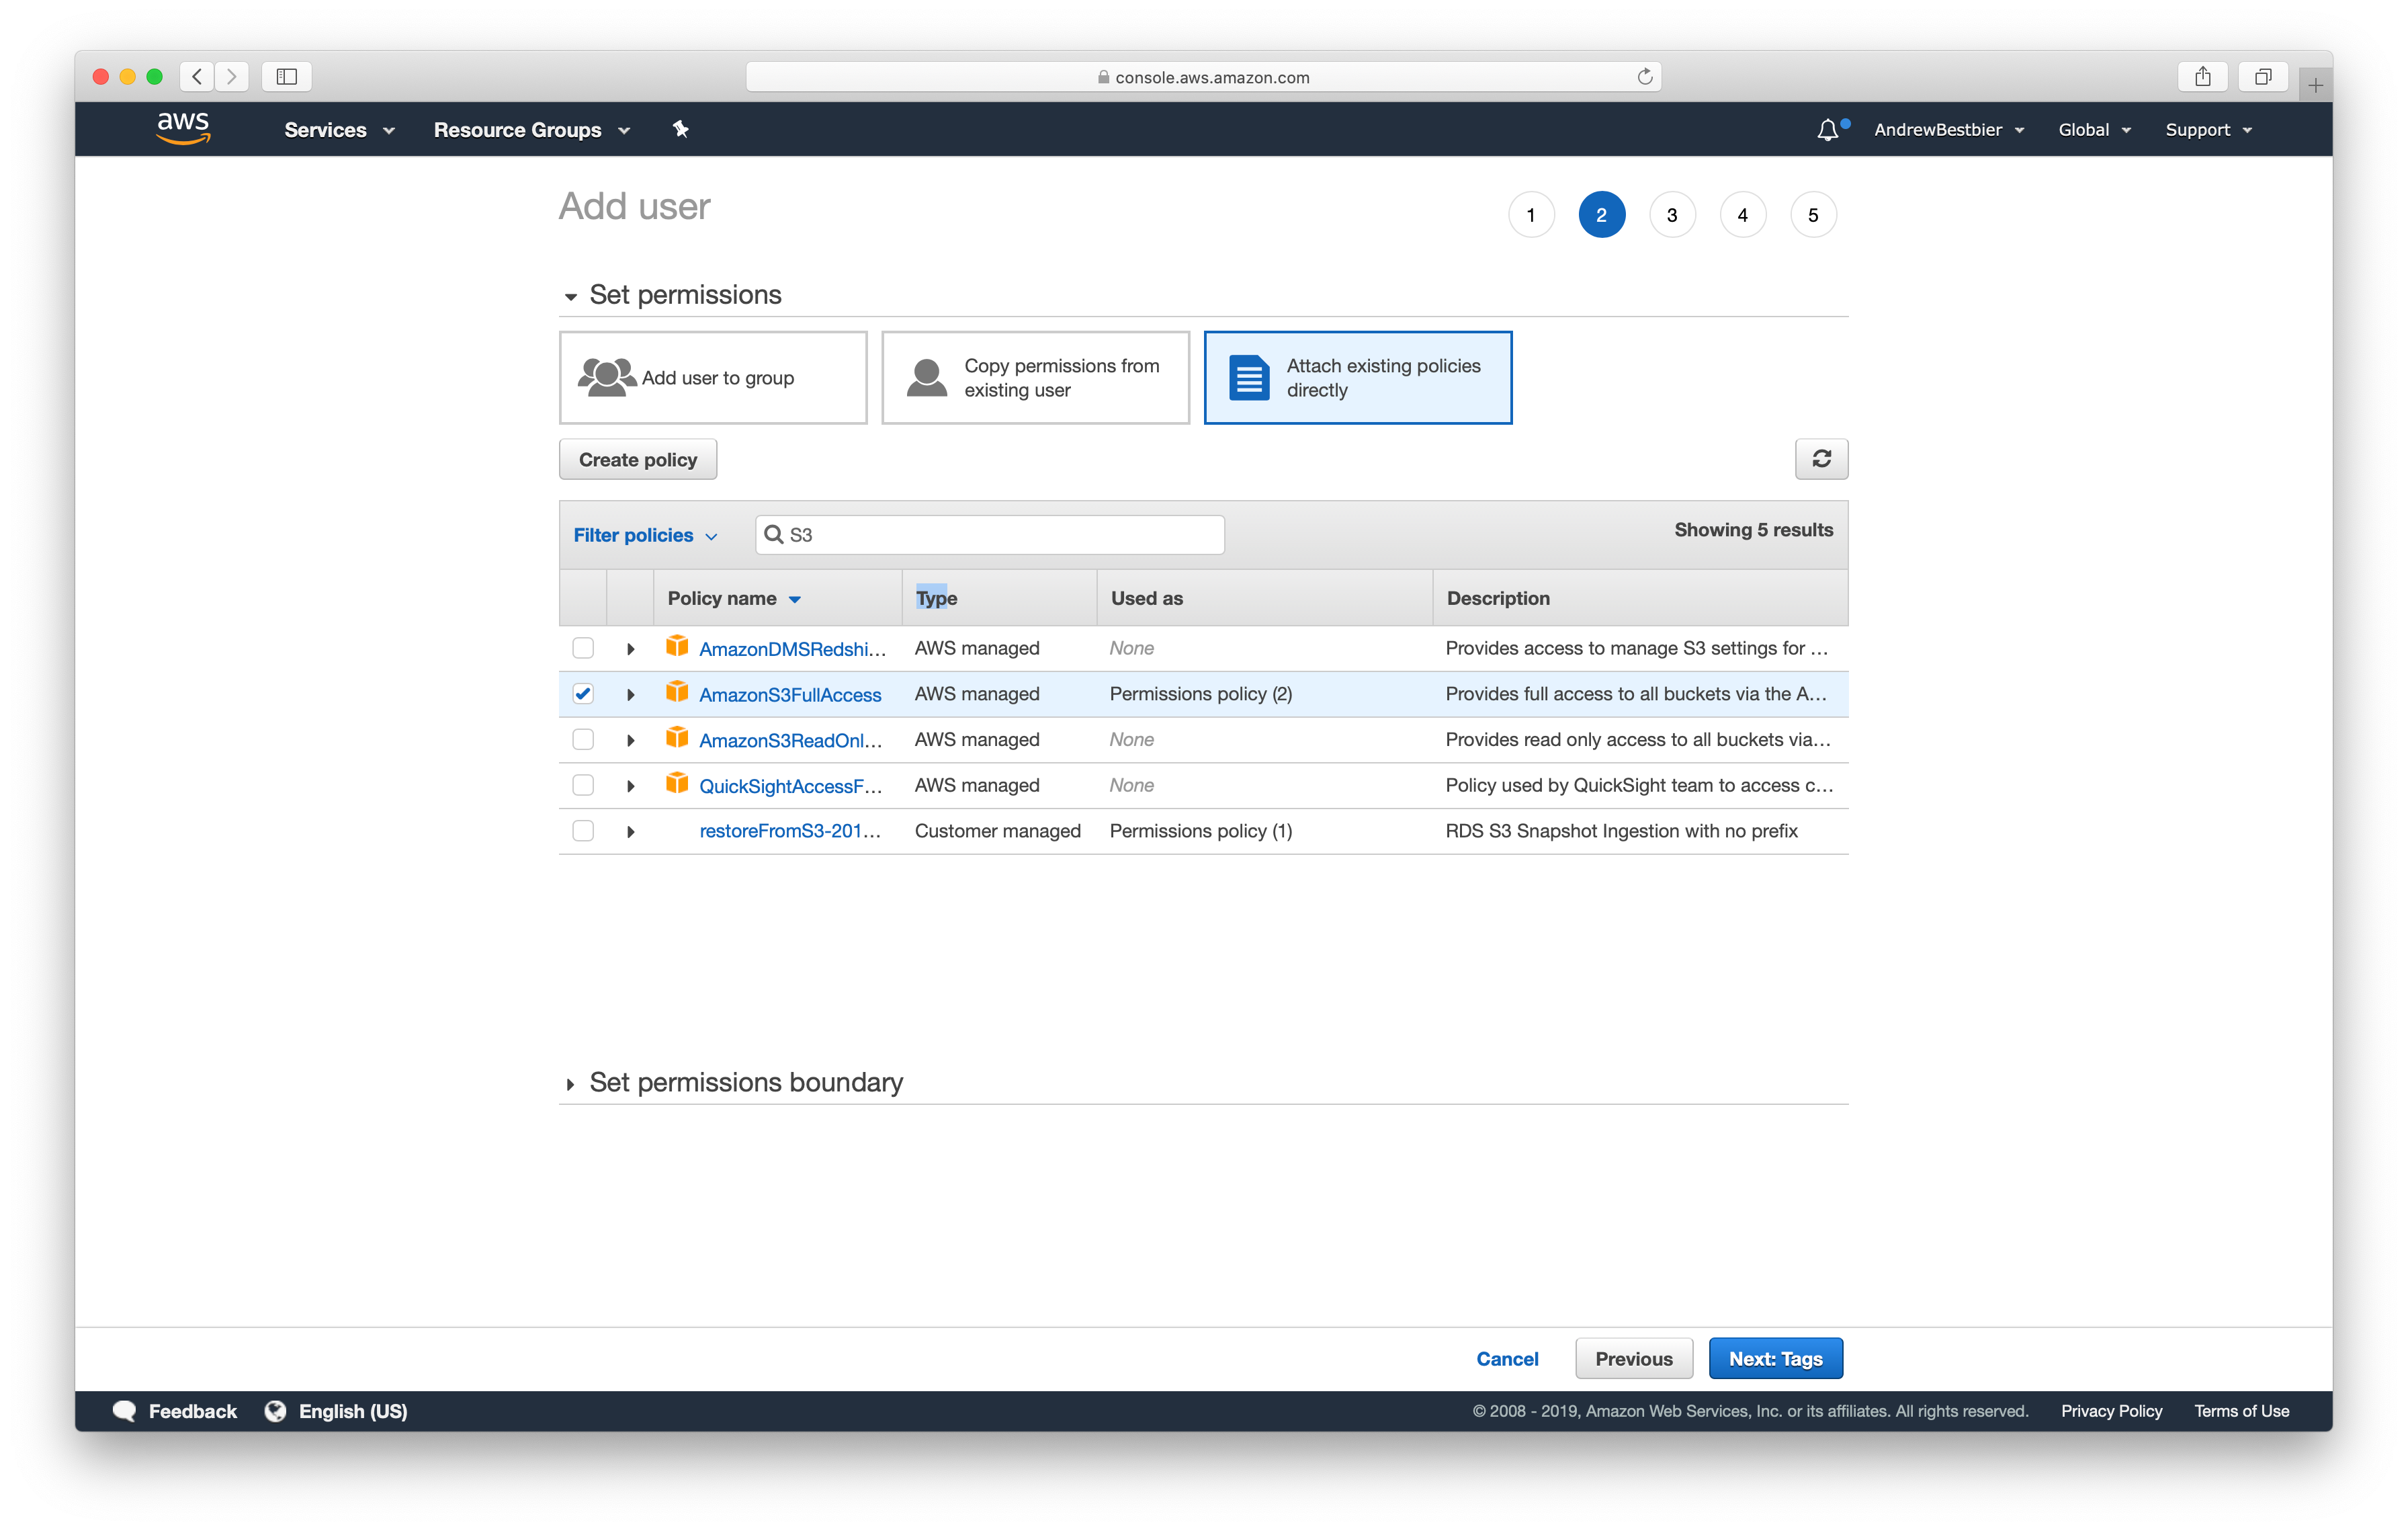
Click Add user give them a username (I chose BuddyClient) and select Programmatic access.

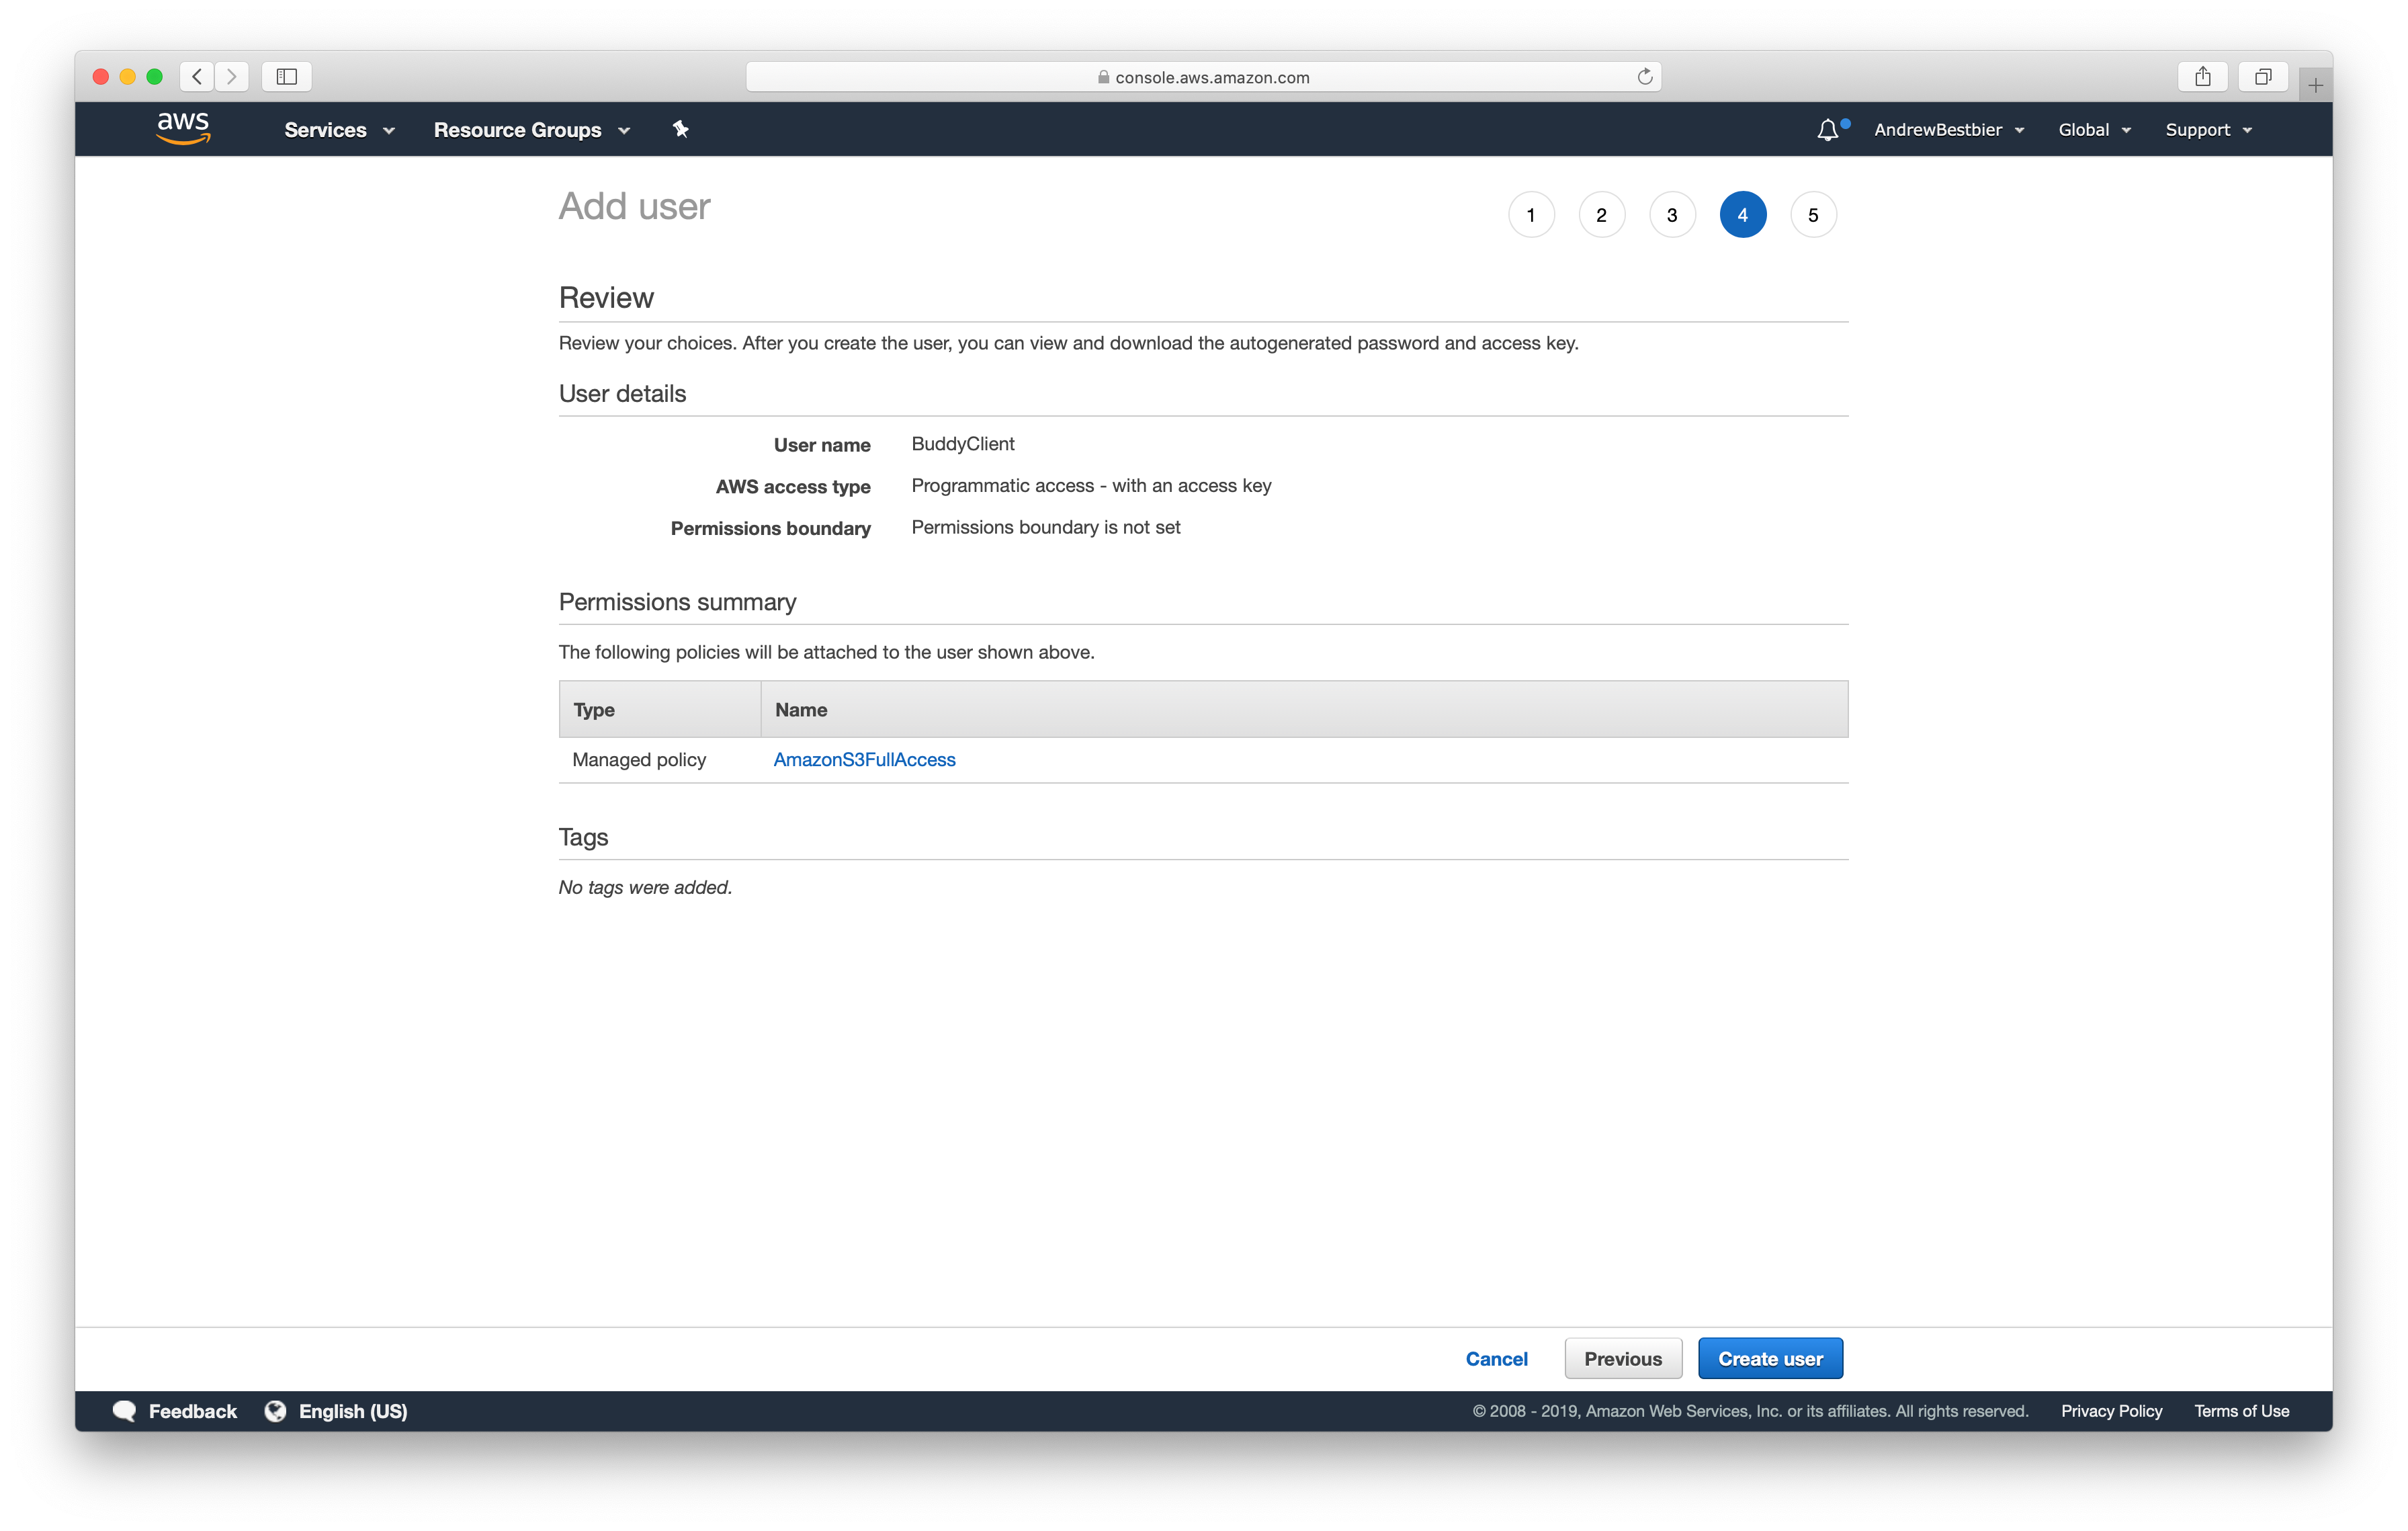
On the Permissions page click Attach existing policies directly and search for AmazonS3FullAccess. This policy will enable Buddy to write to your new bucket without being able to access any other AWS resource.
Click Next and add tags if you wish. Finally, click Create user:
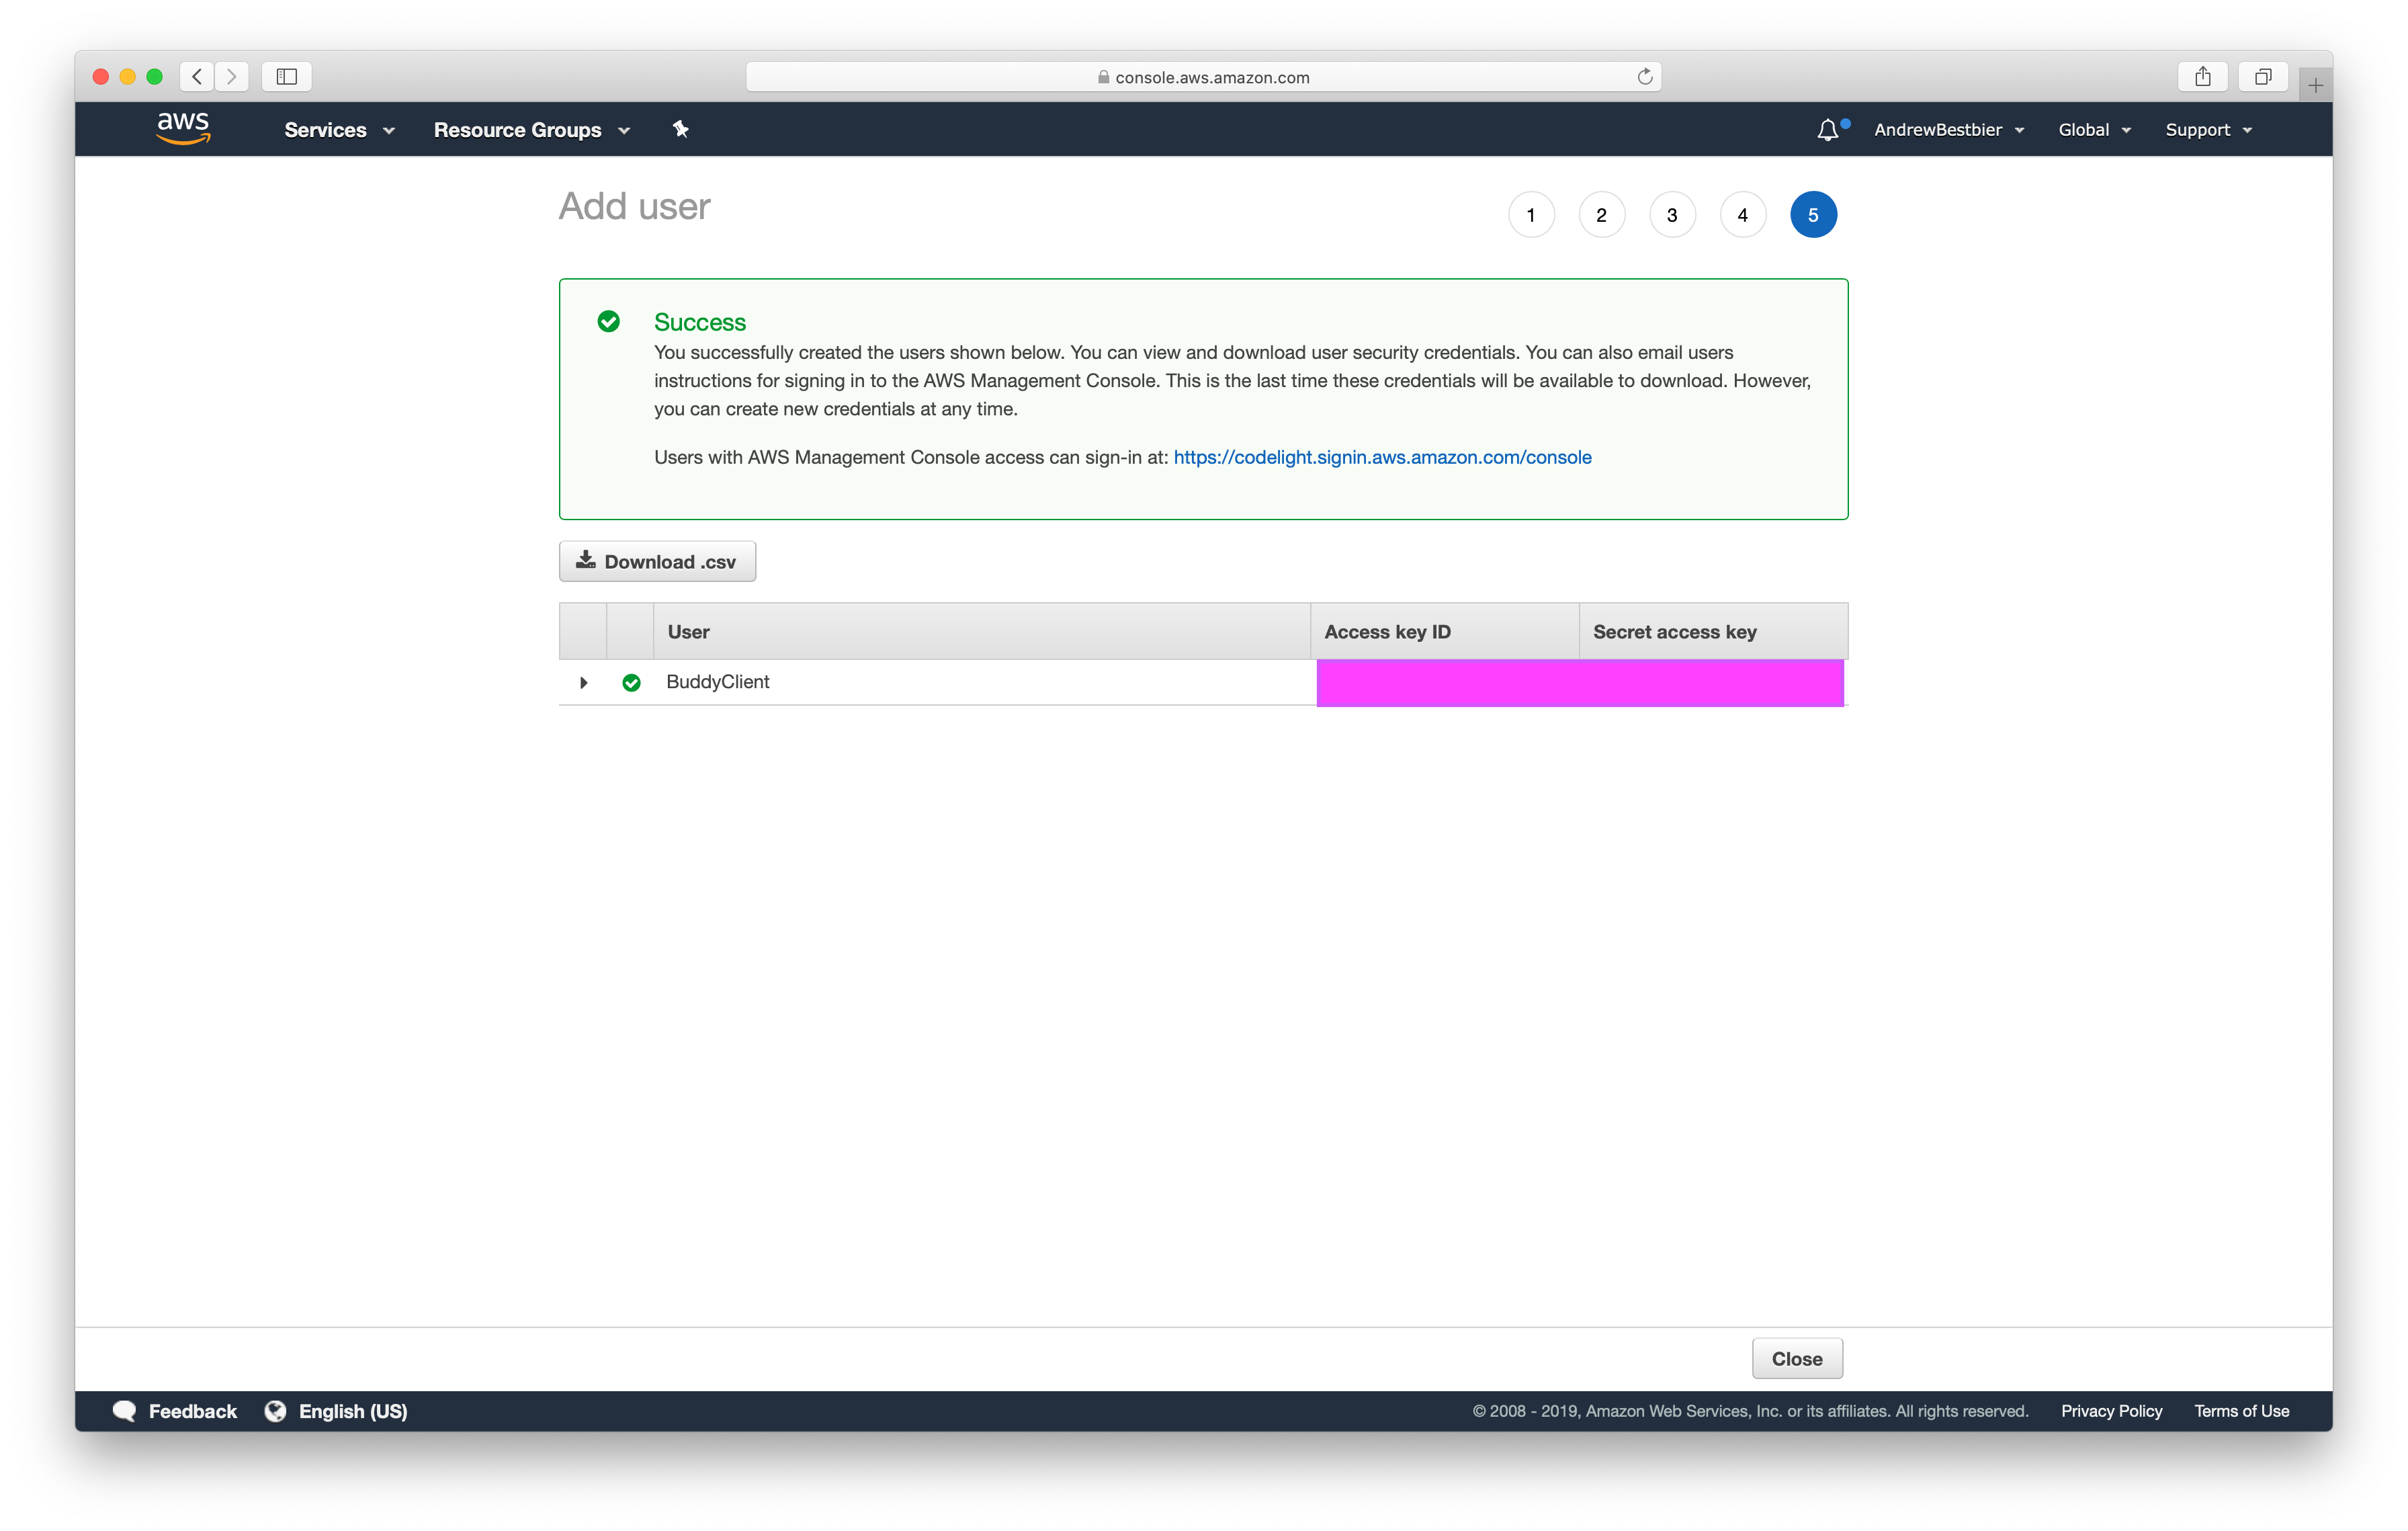
You will now see an Access key ID and Secret access key. Copy these to a secure location as this is your only opportunity to view these credentials.
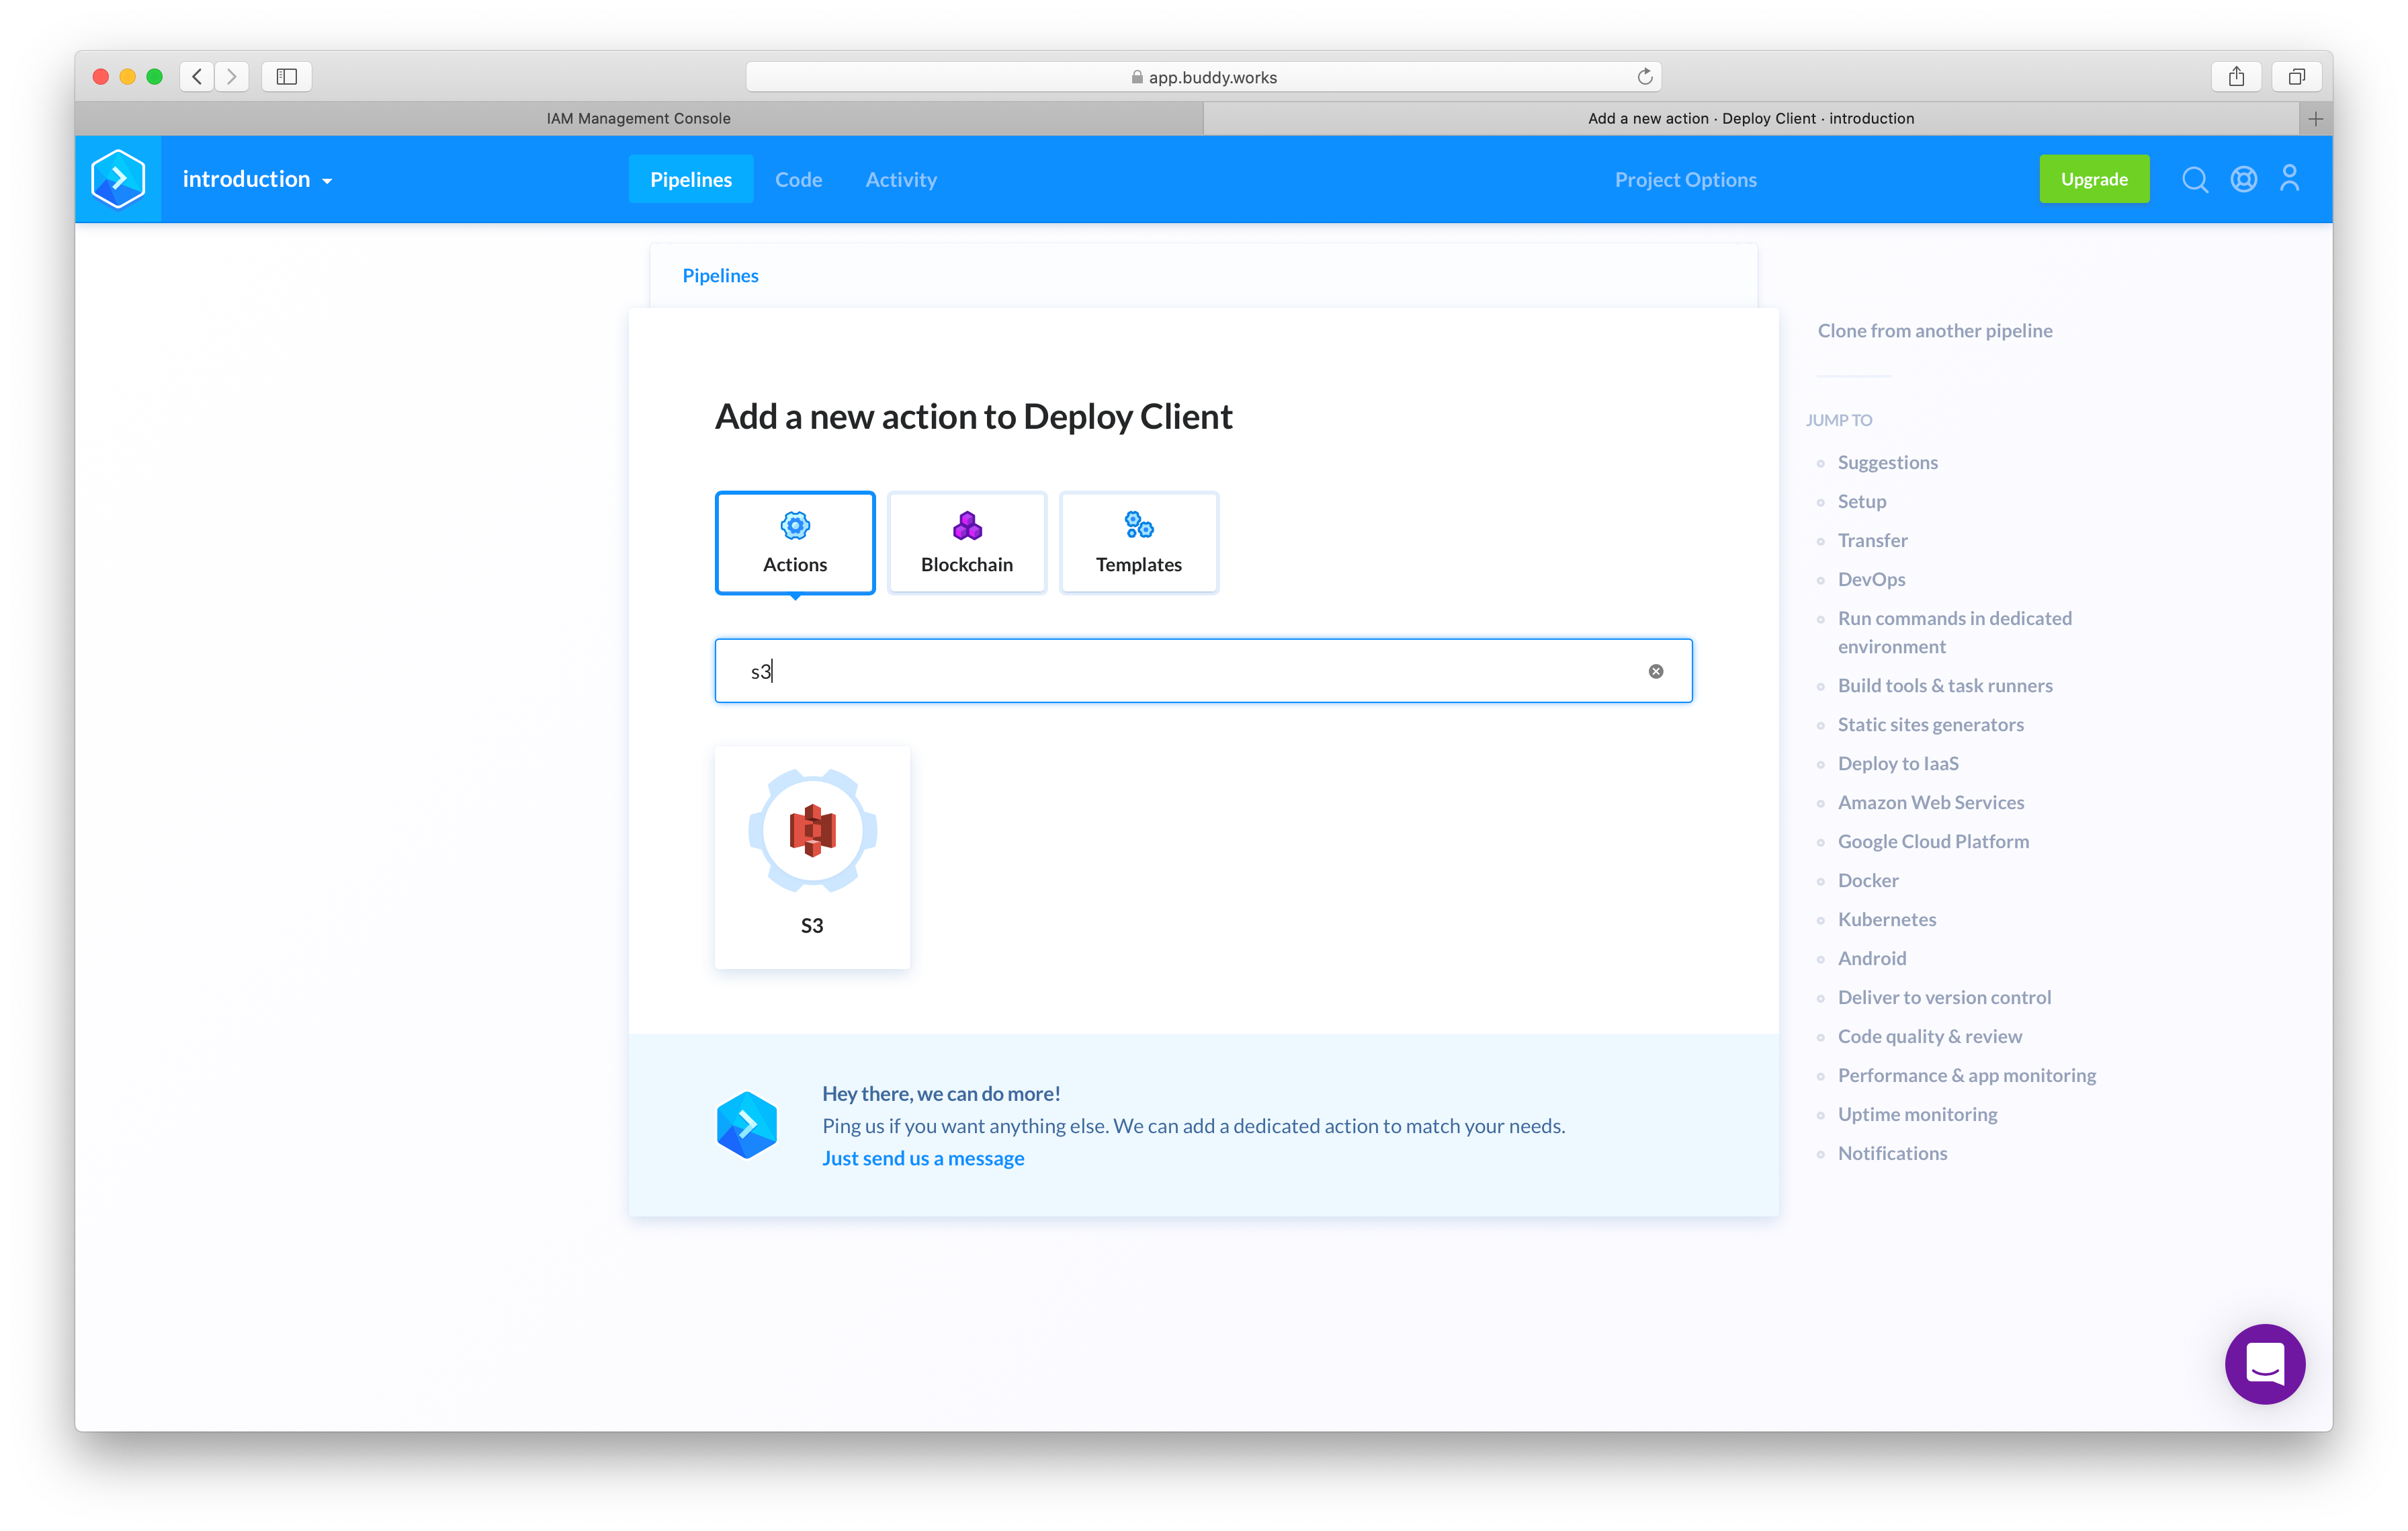
Now switch back to Buddy so that we can add a new action to our pipeline. Search for ‘S3’:
A modal will then appear prompting you to input the credentials we generated earlier through IAM:
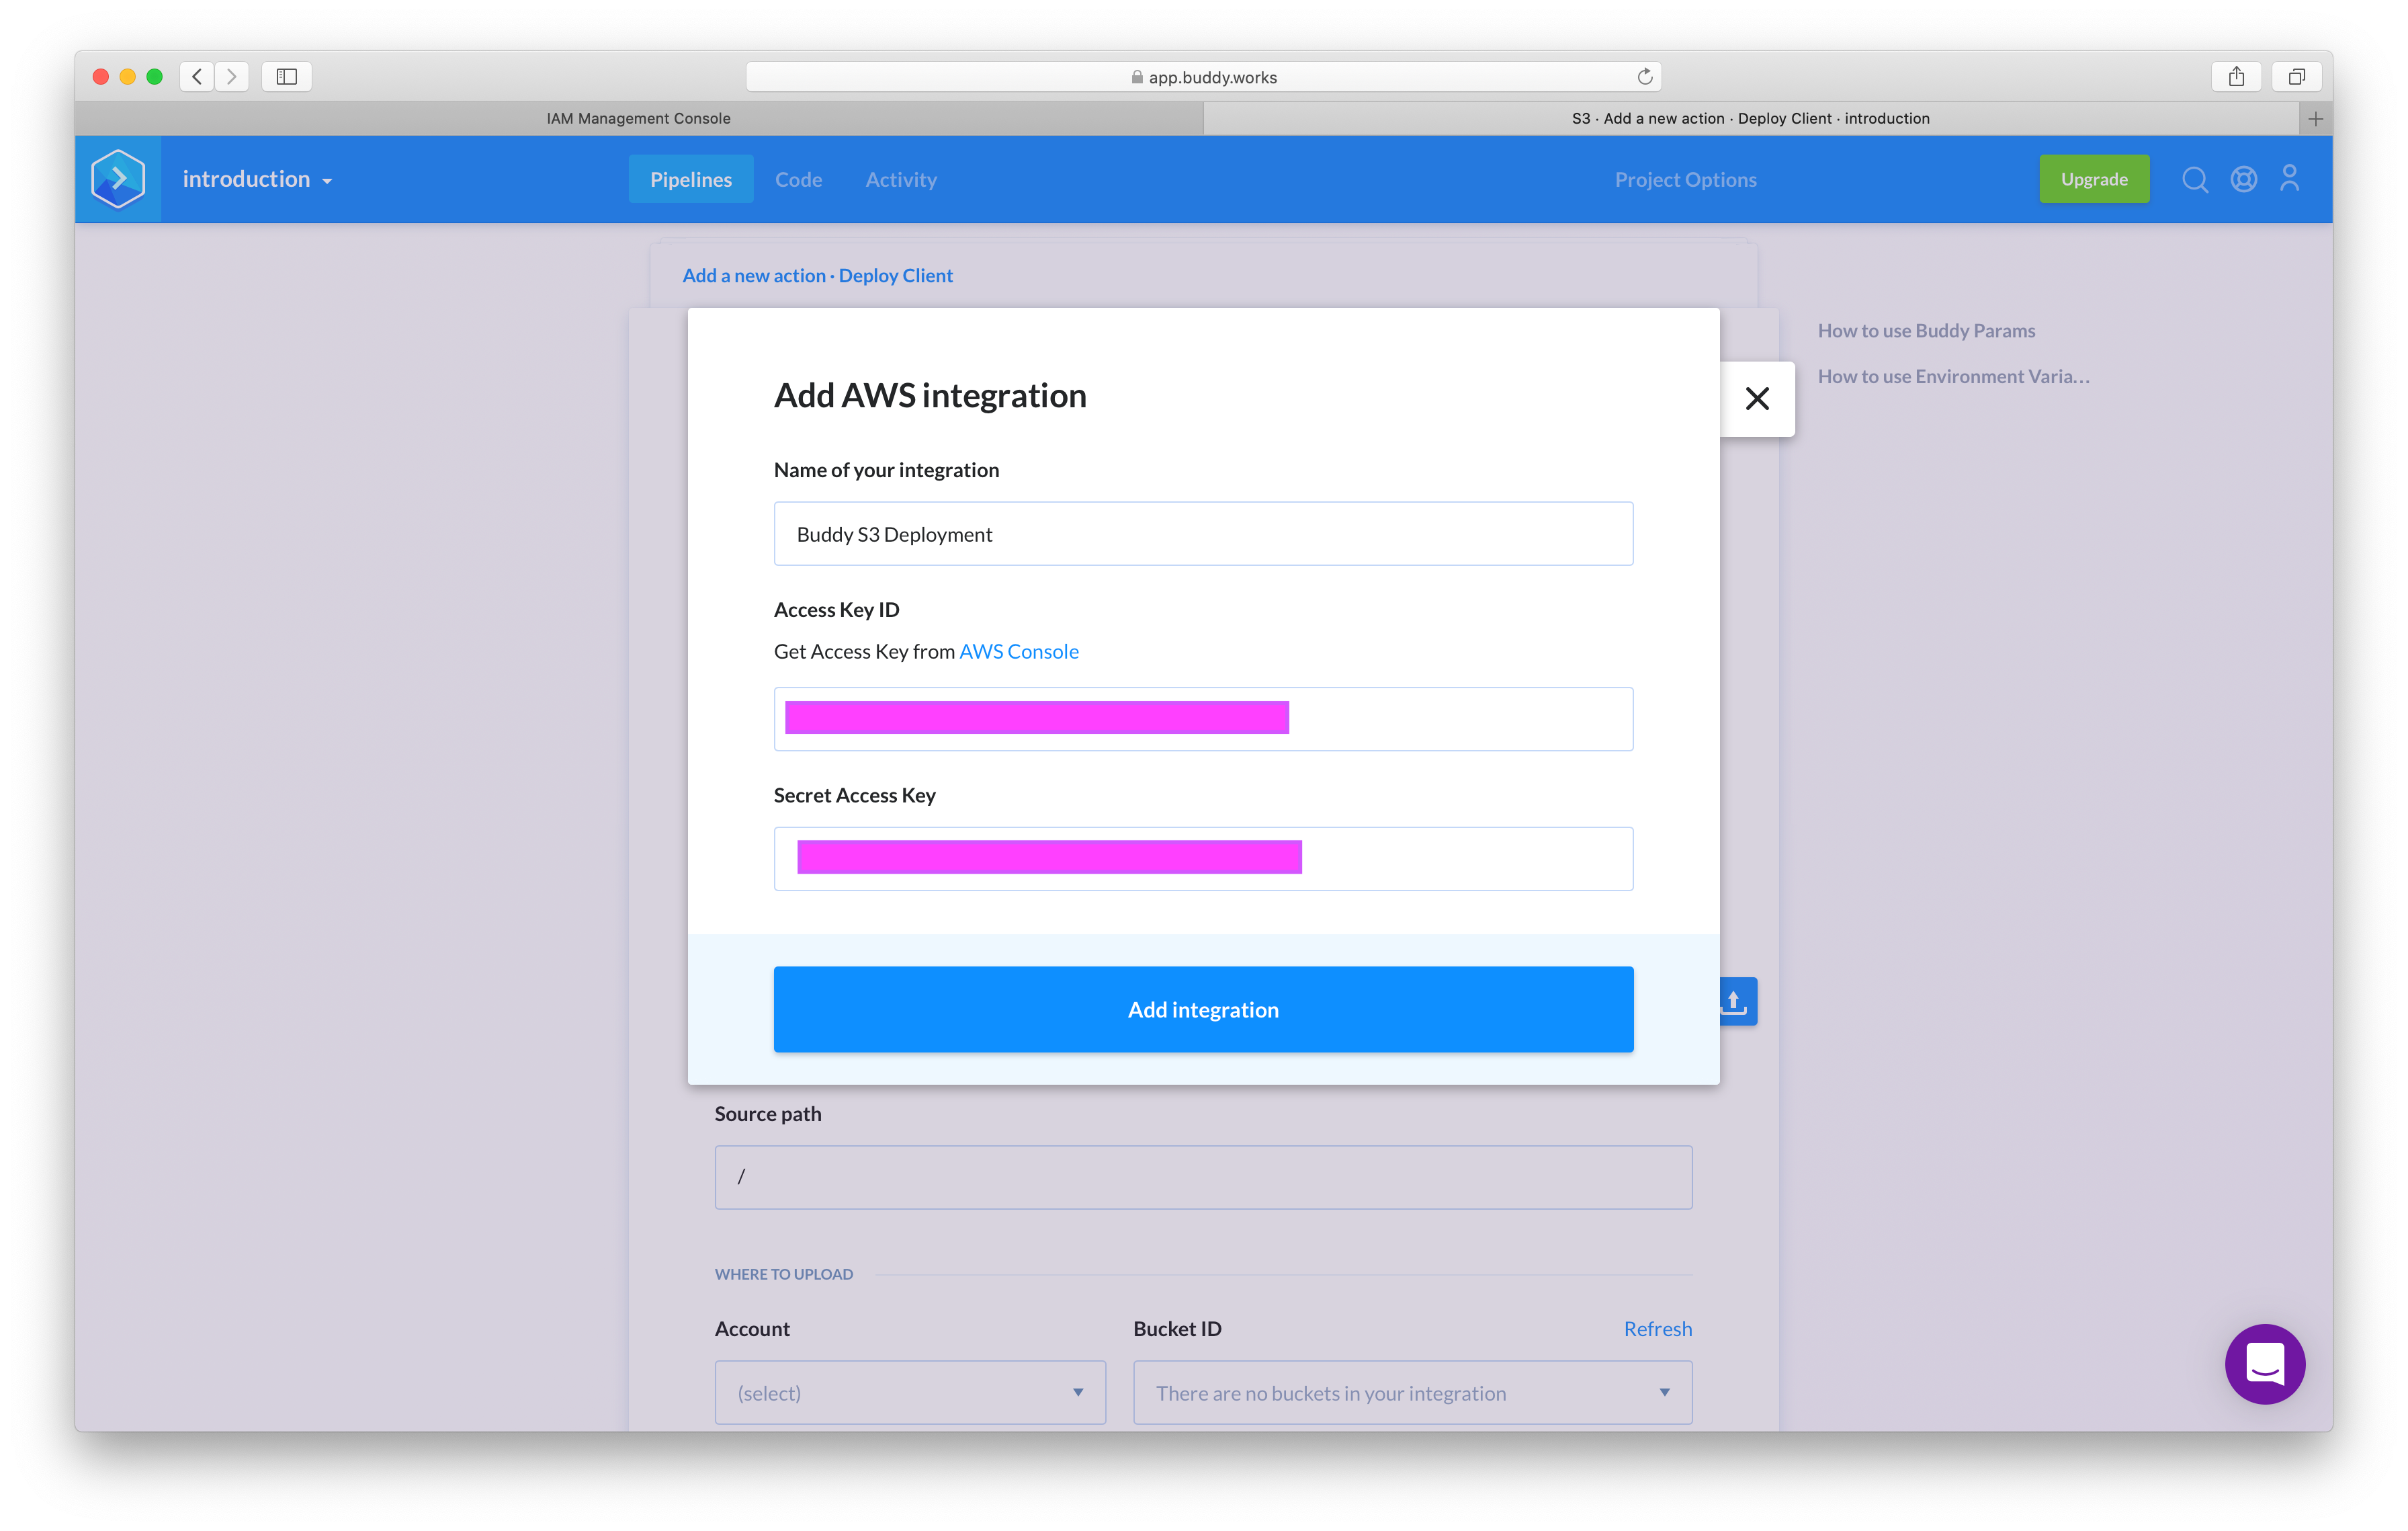
Then configure the action as follows:
- Set the source to ‘Pipeline Filesystem’ as this is where your built application from the previous step now lives
- Set the ‘Source path’ to
/build - Set the ‘Bucket ID’ to the bucket you created earlier
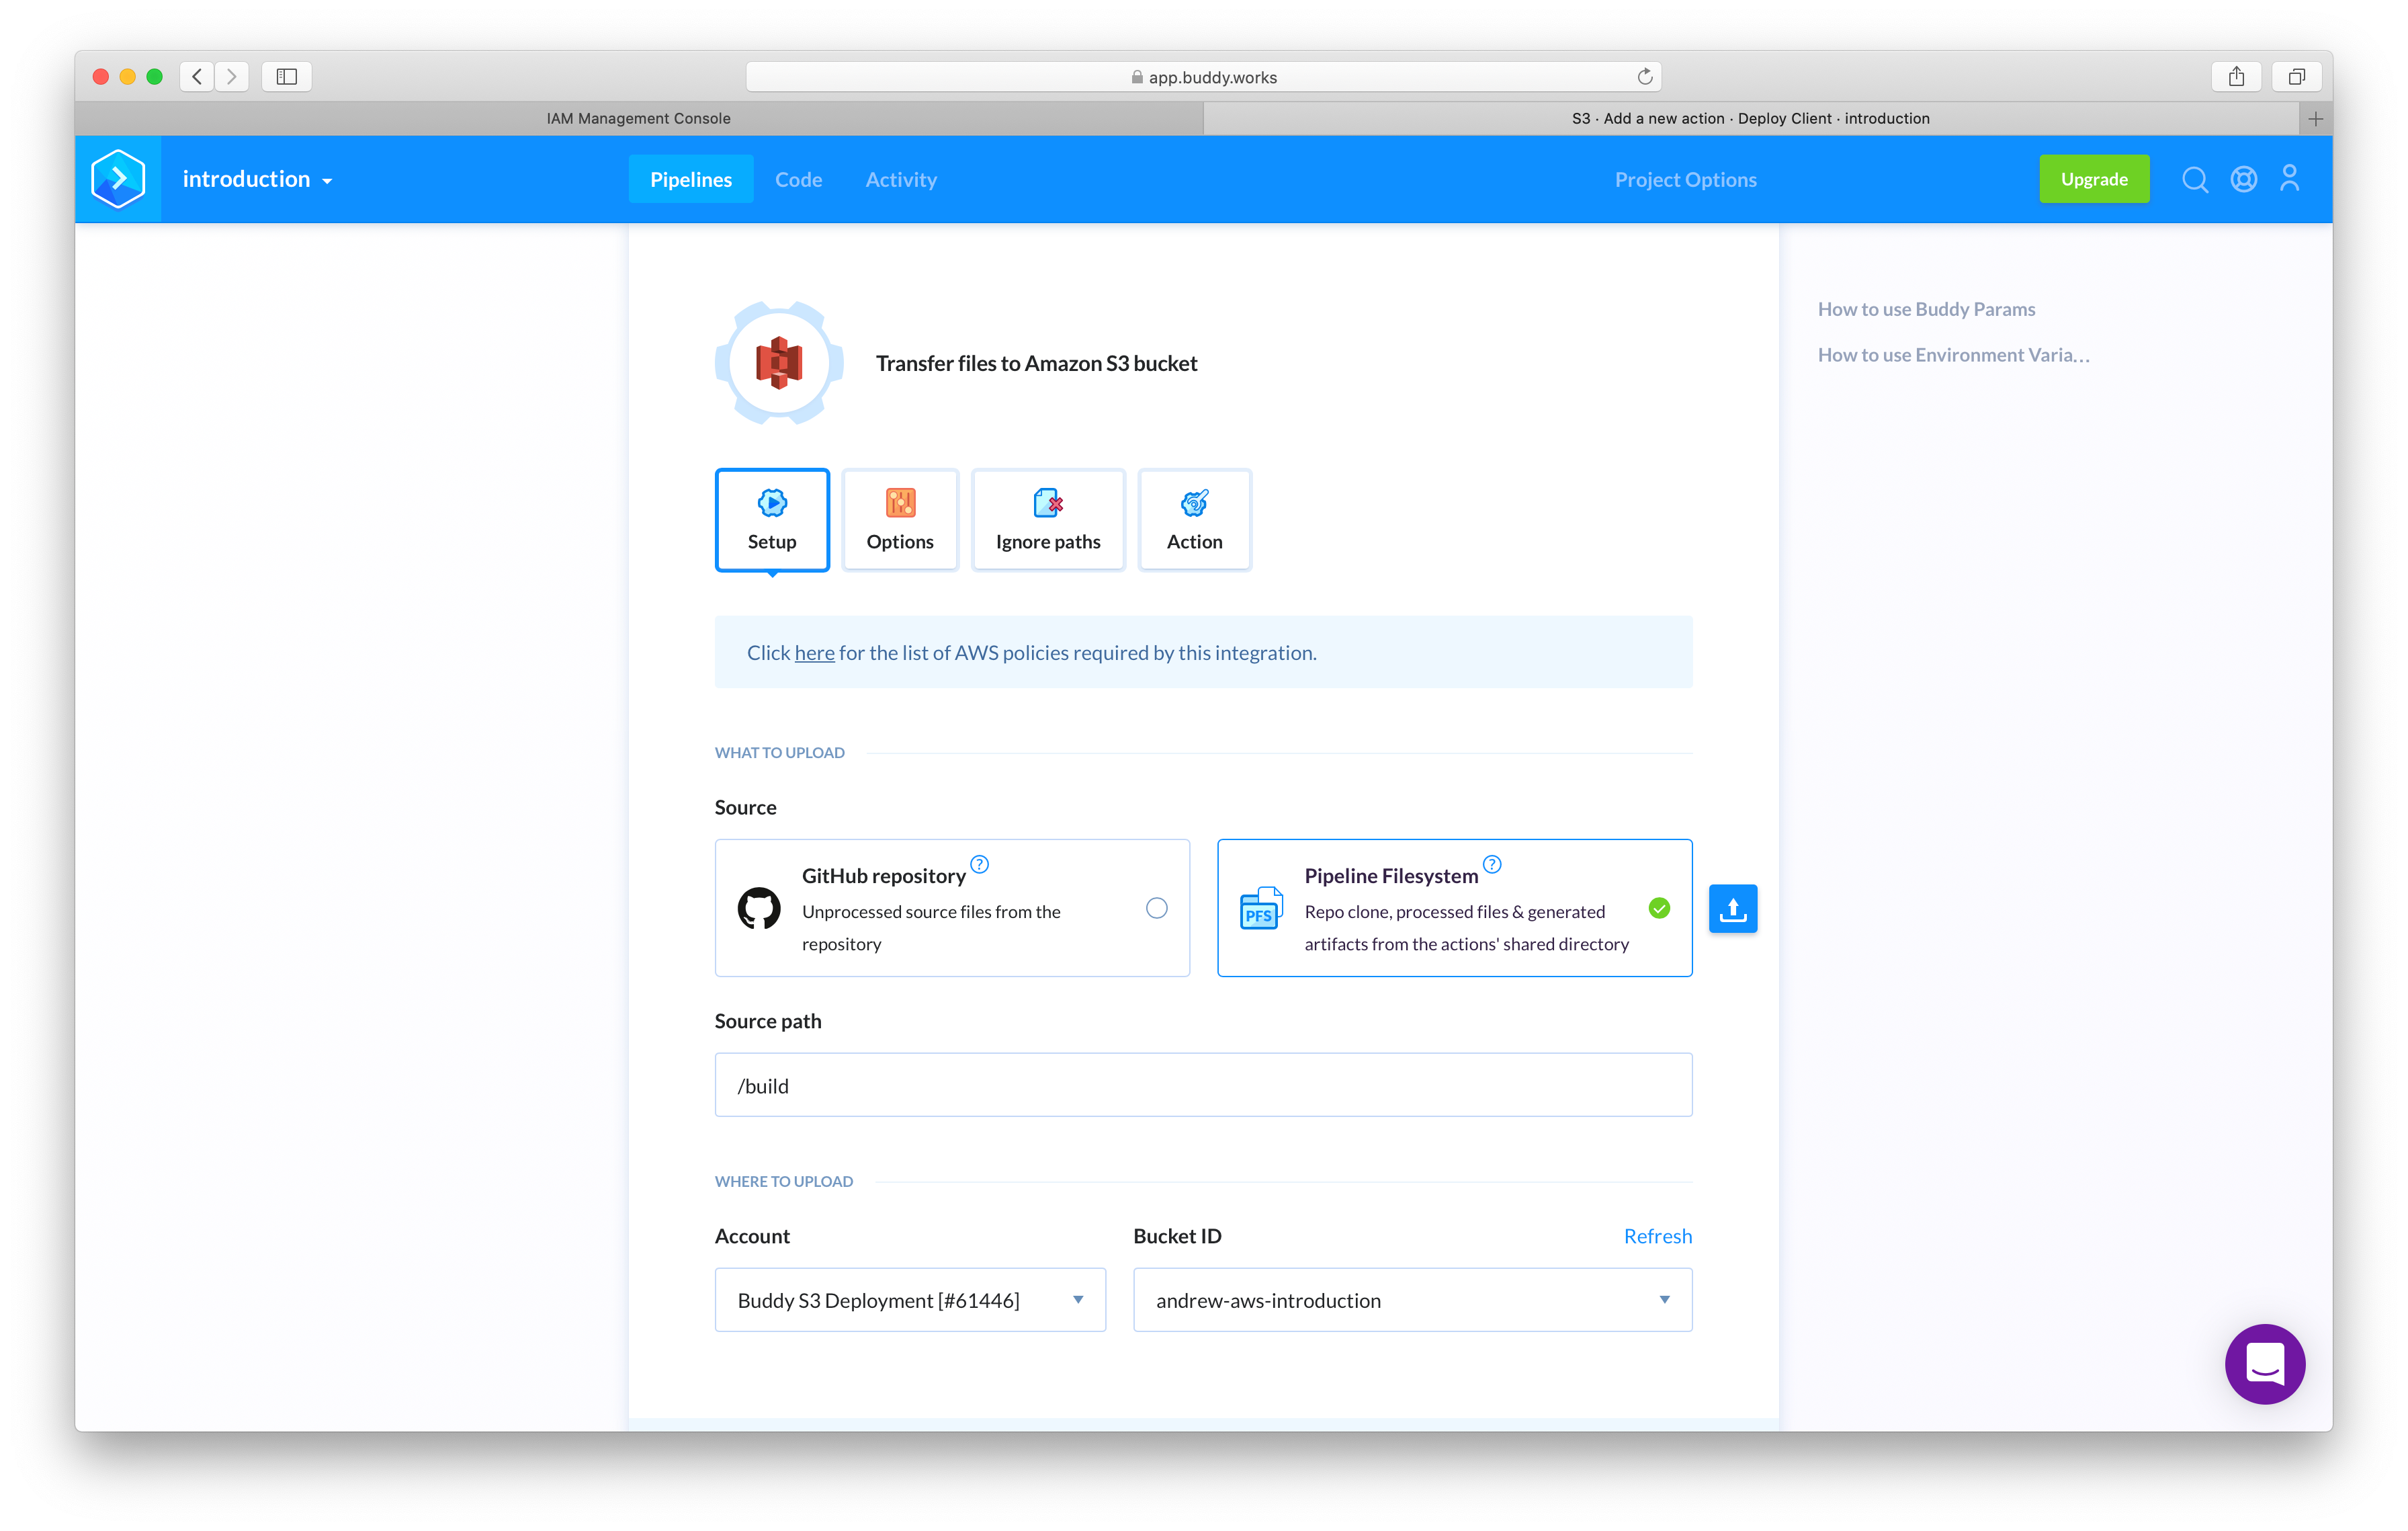
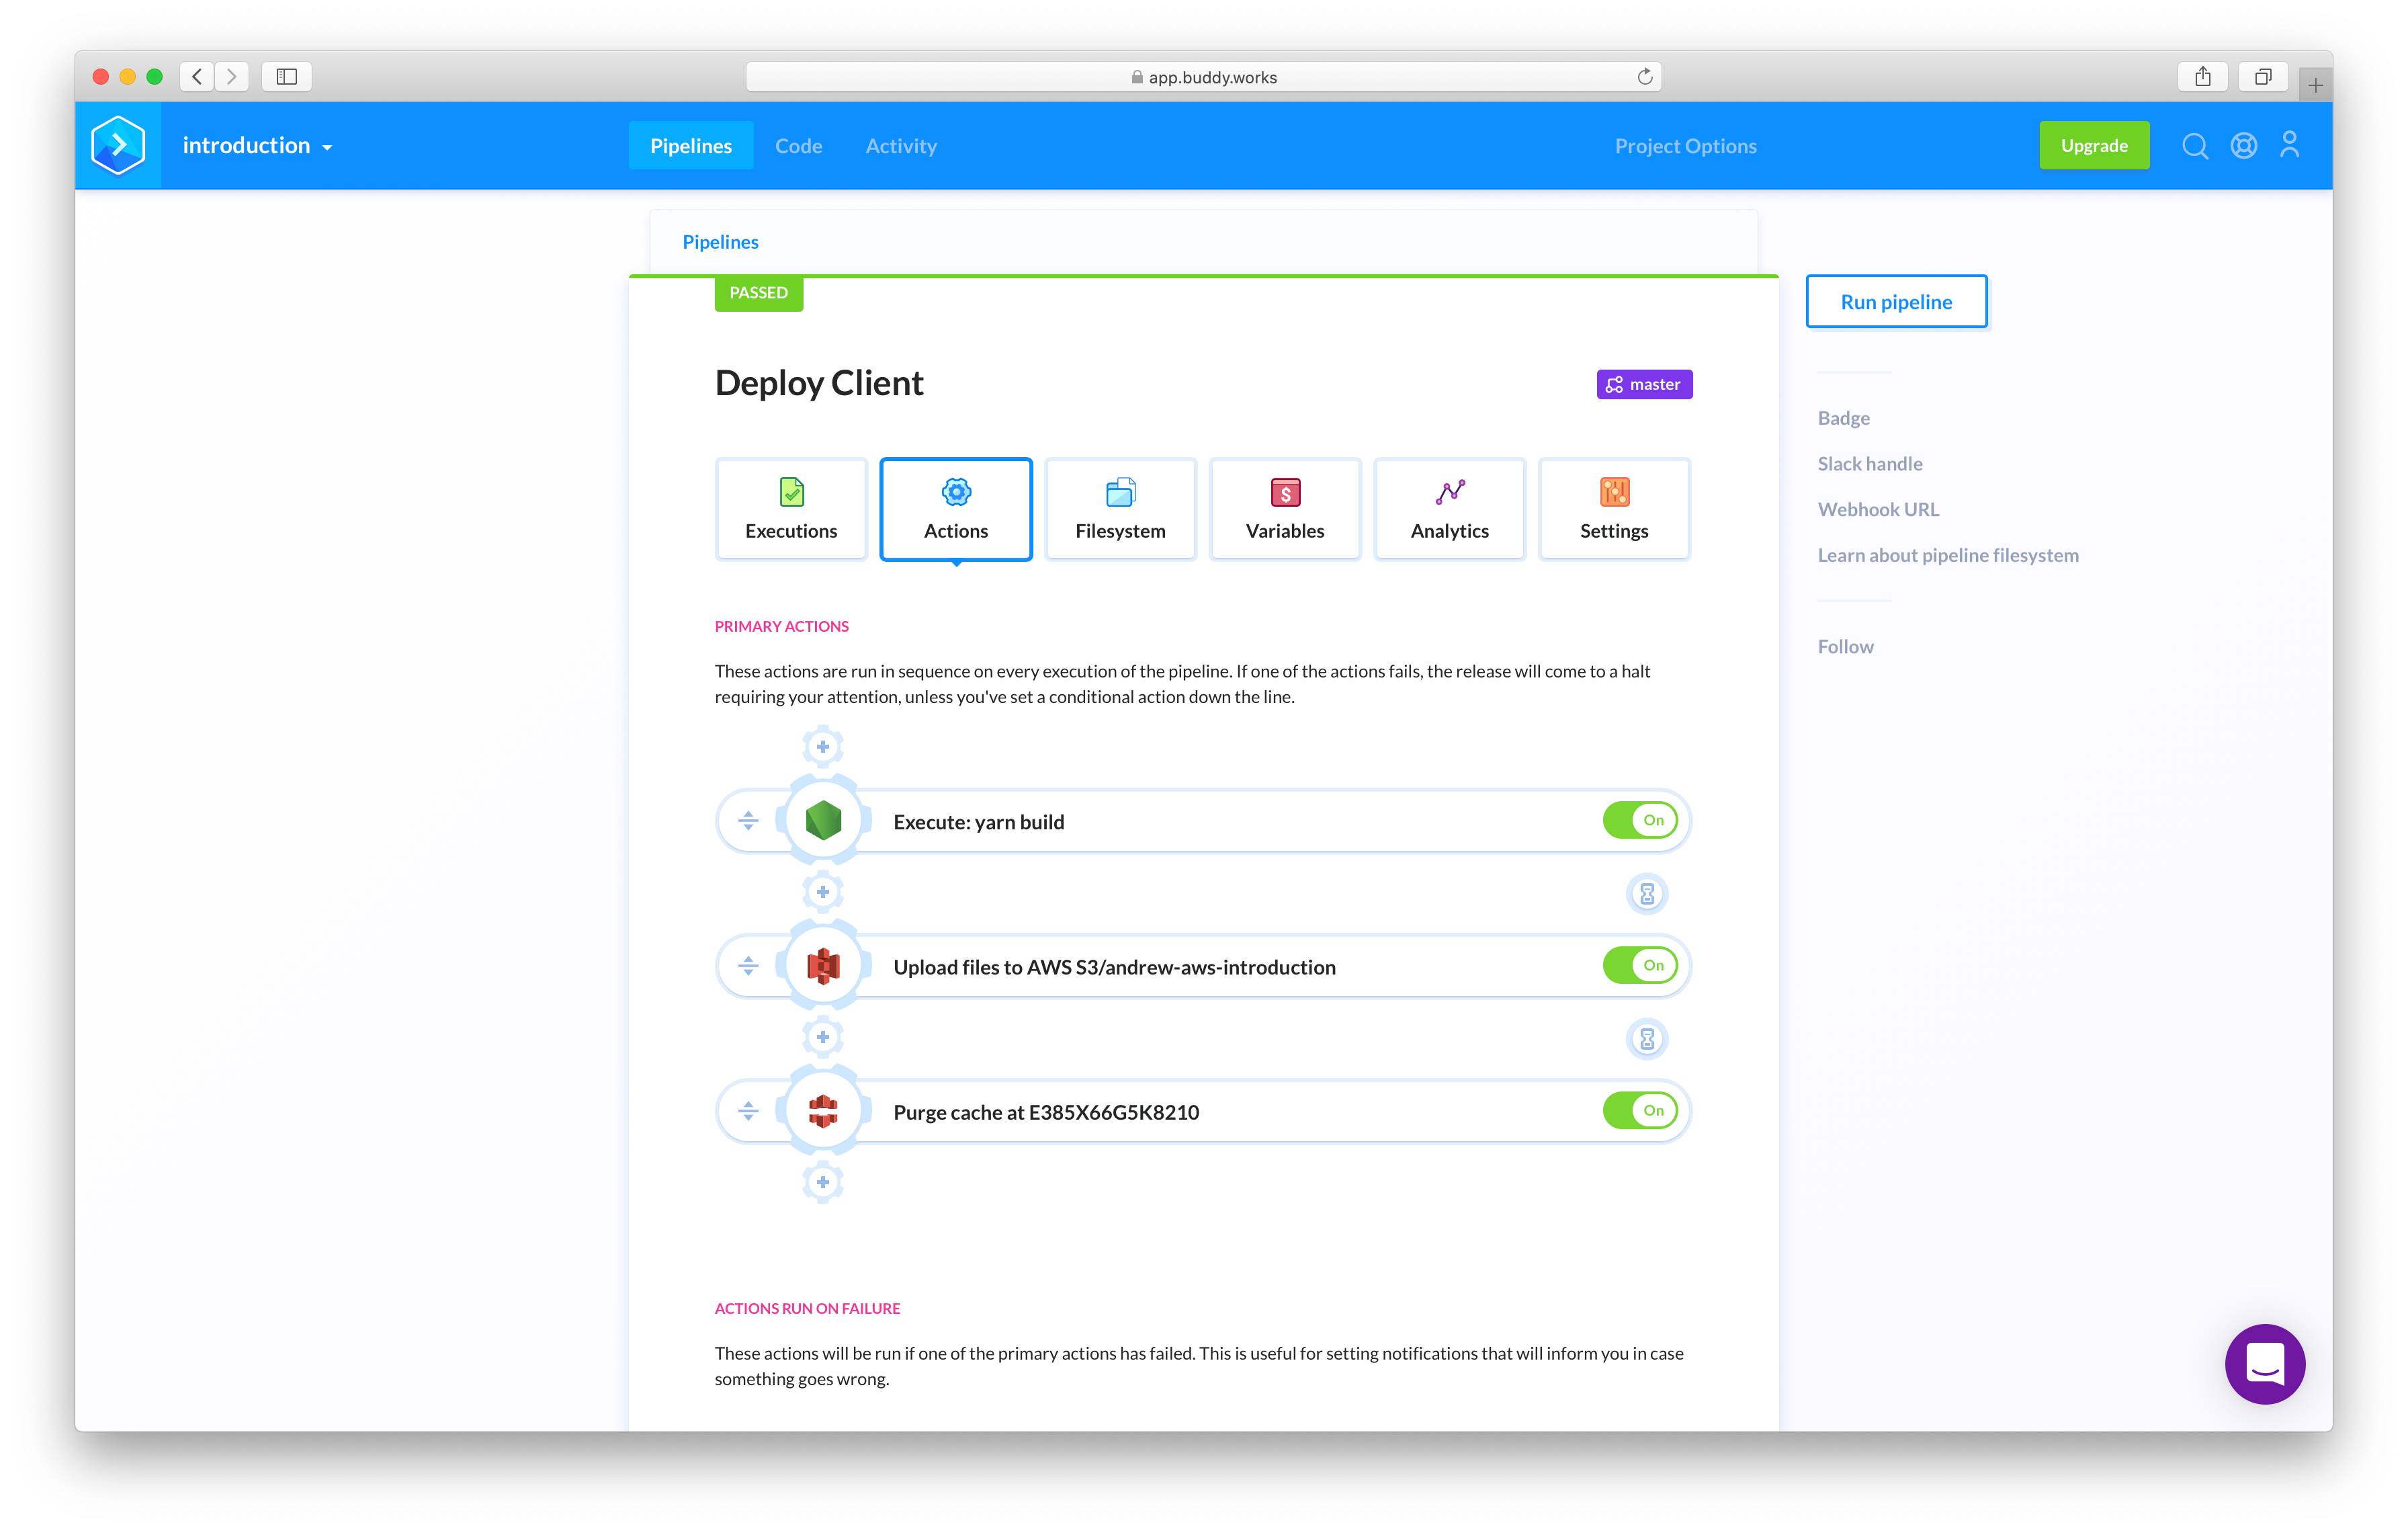
Your pipeline should now look like this:
Click Run pipeline to check that everything is working properly:
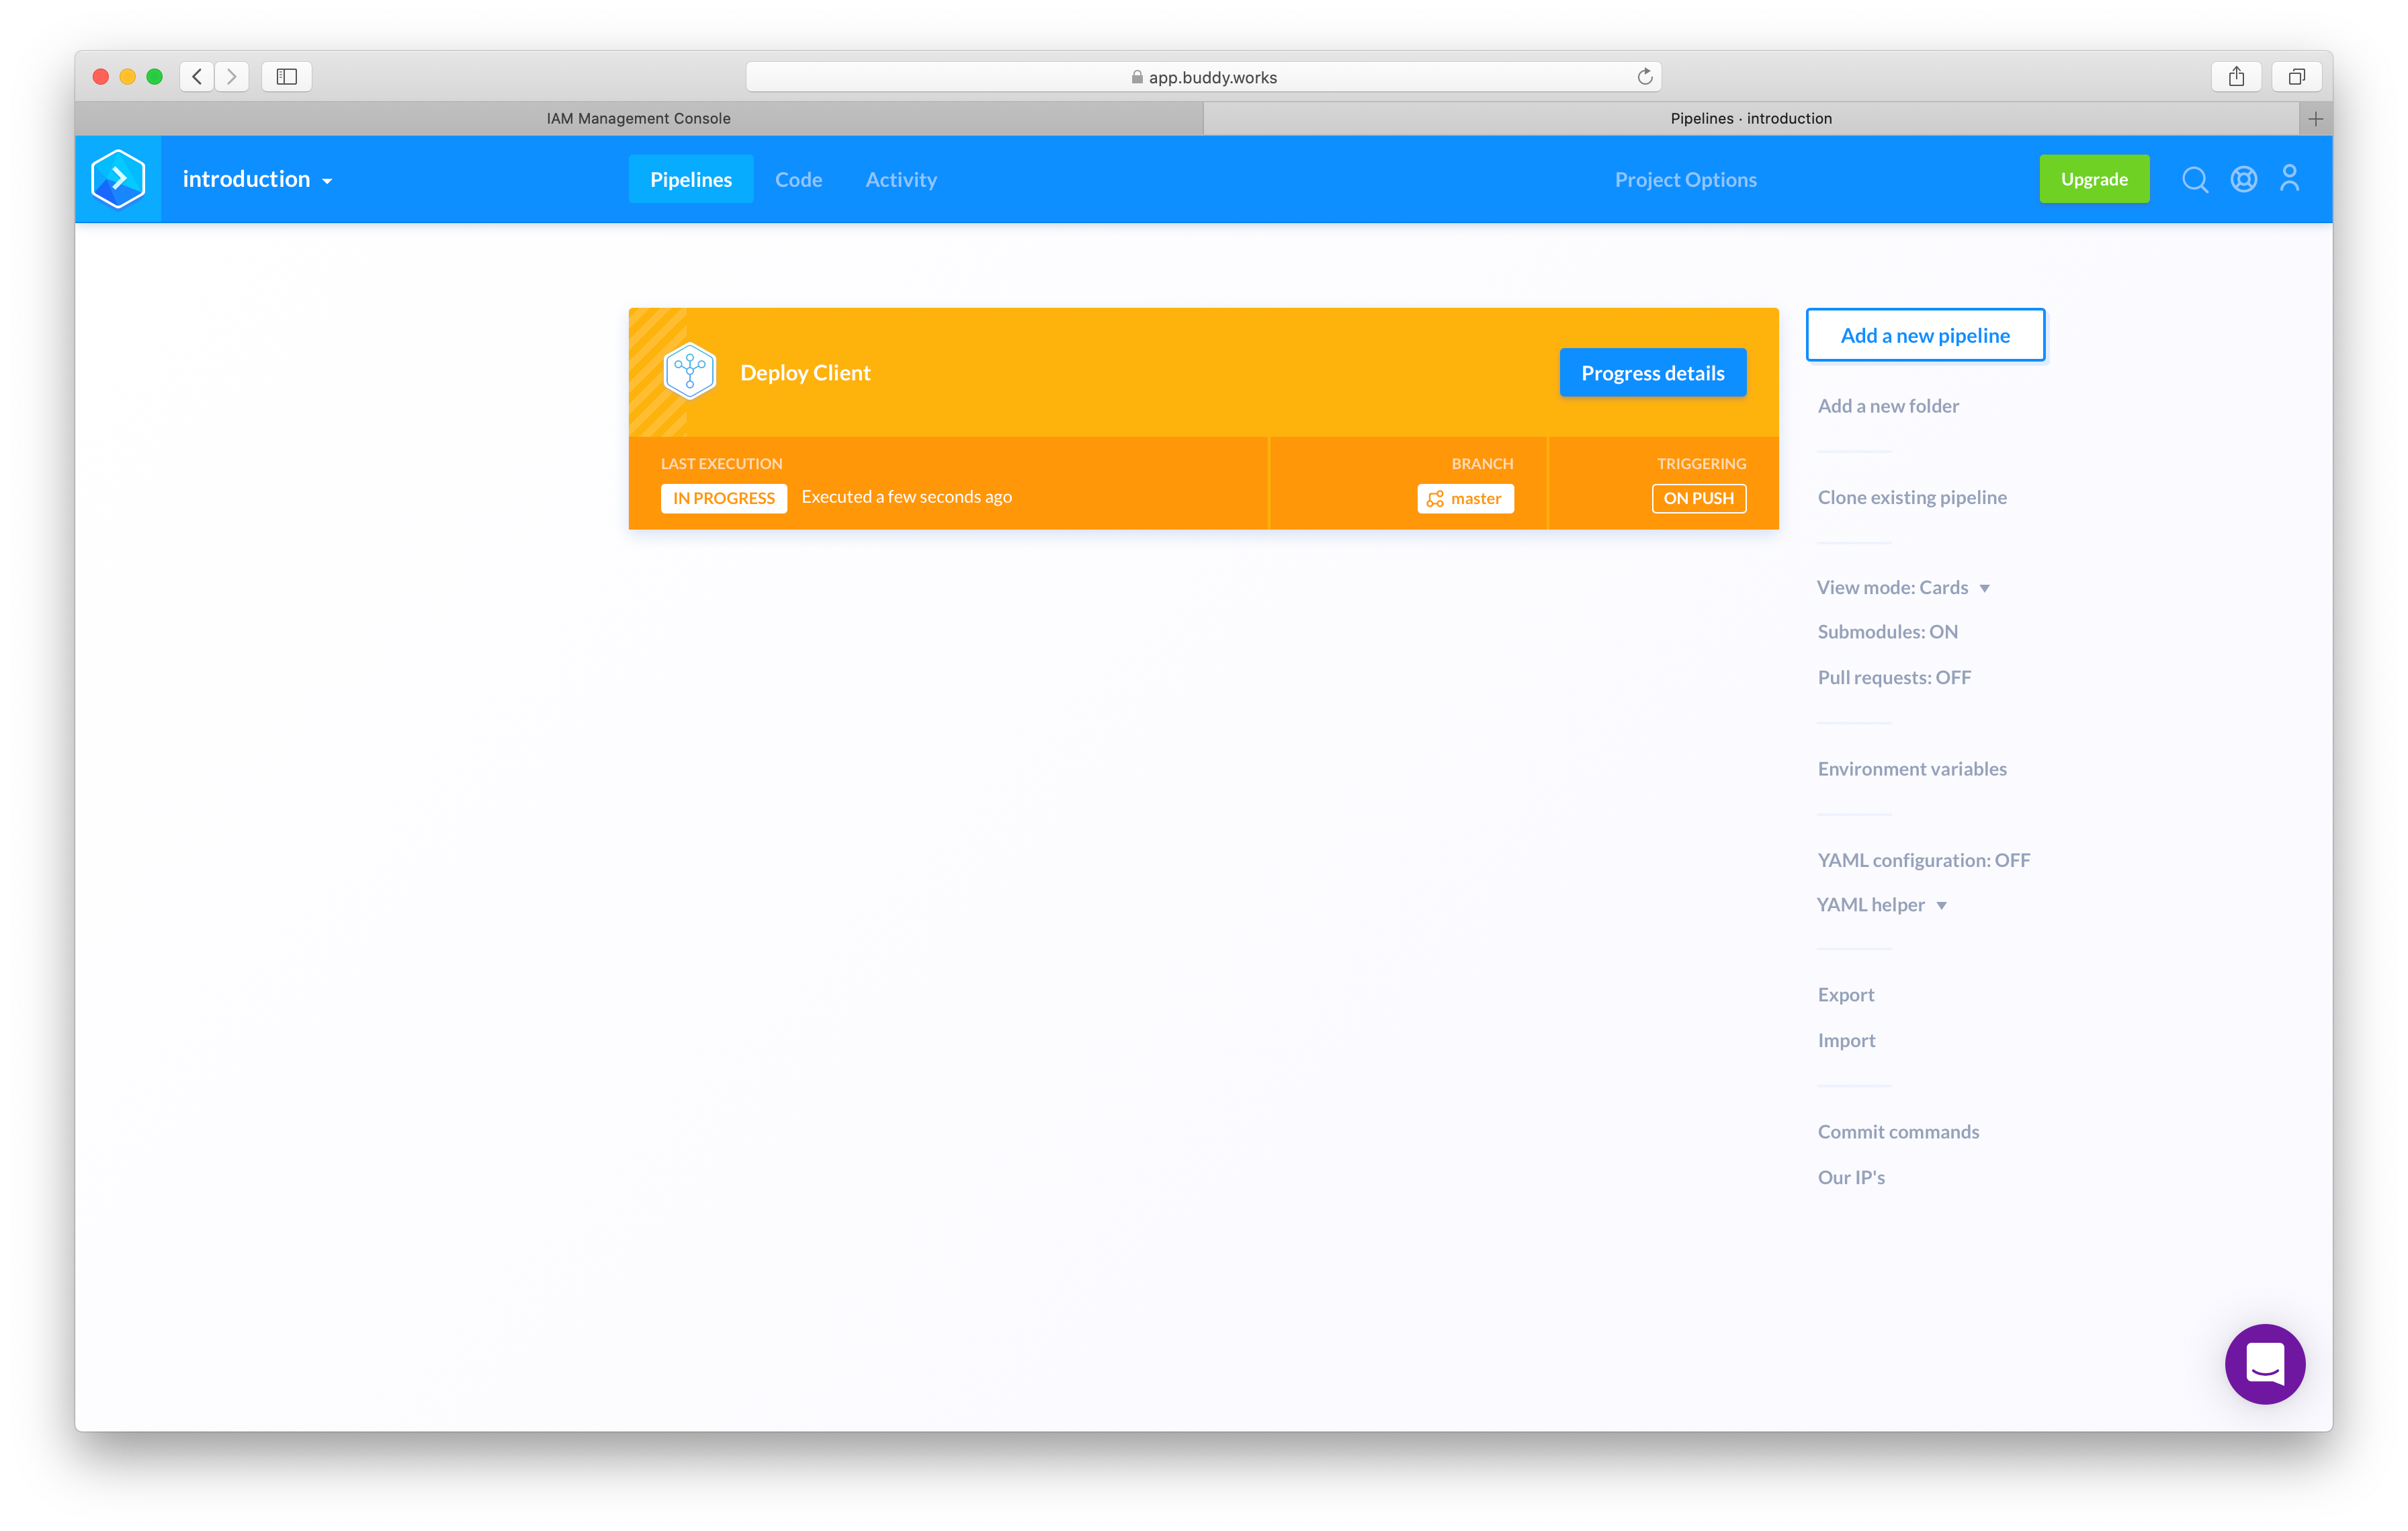

Now test this all out by making a change locally and pushing a commit to Github. Buddy should automatically run your pipeline and deploy your app to S3.
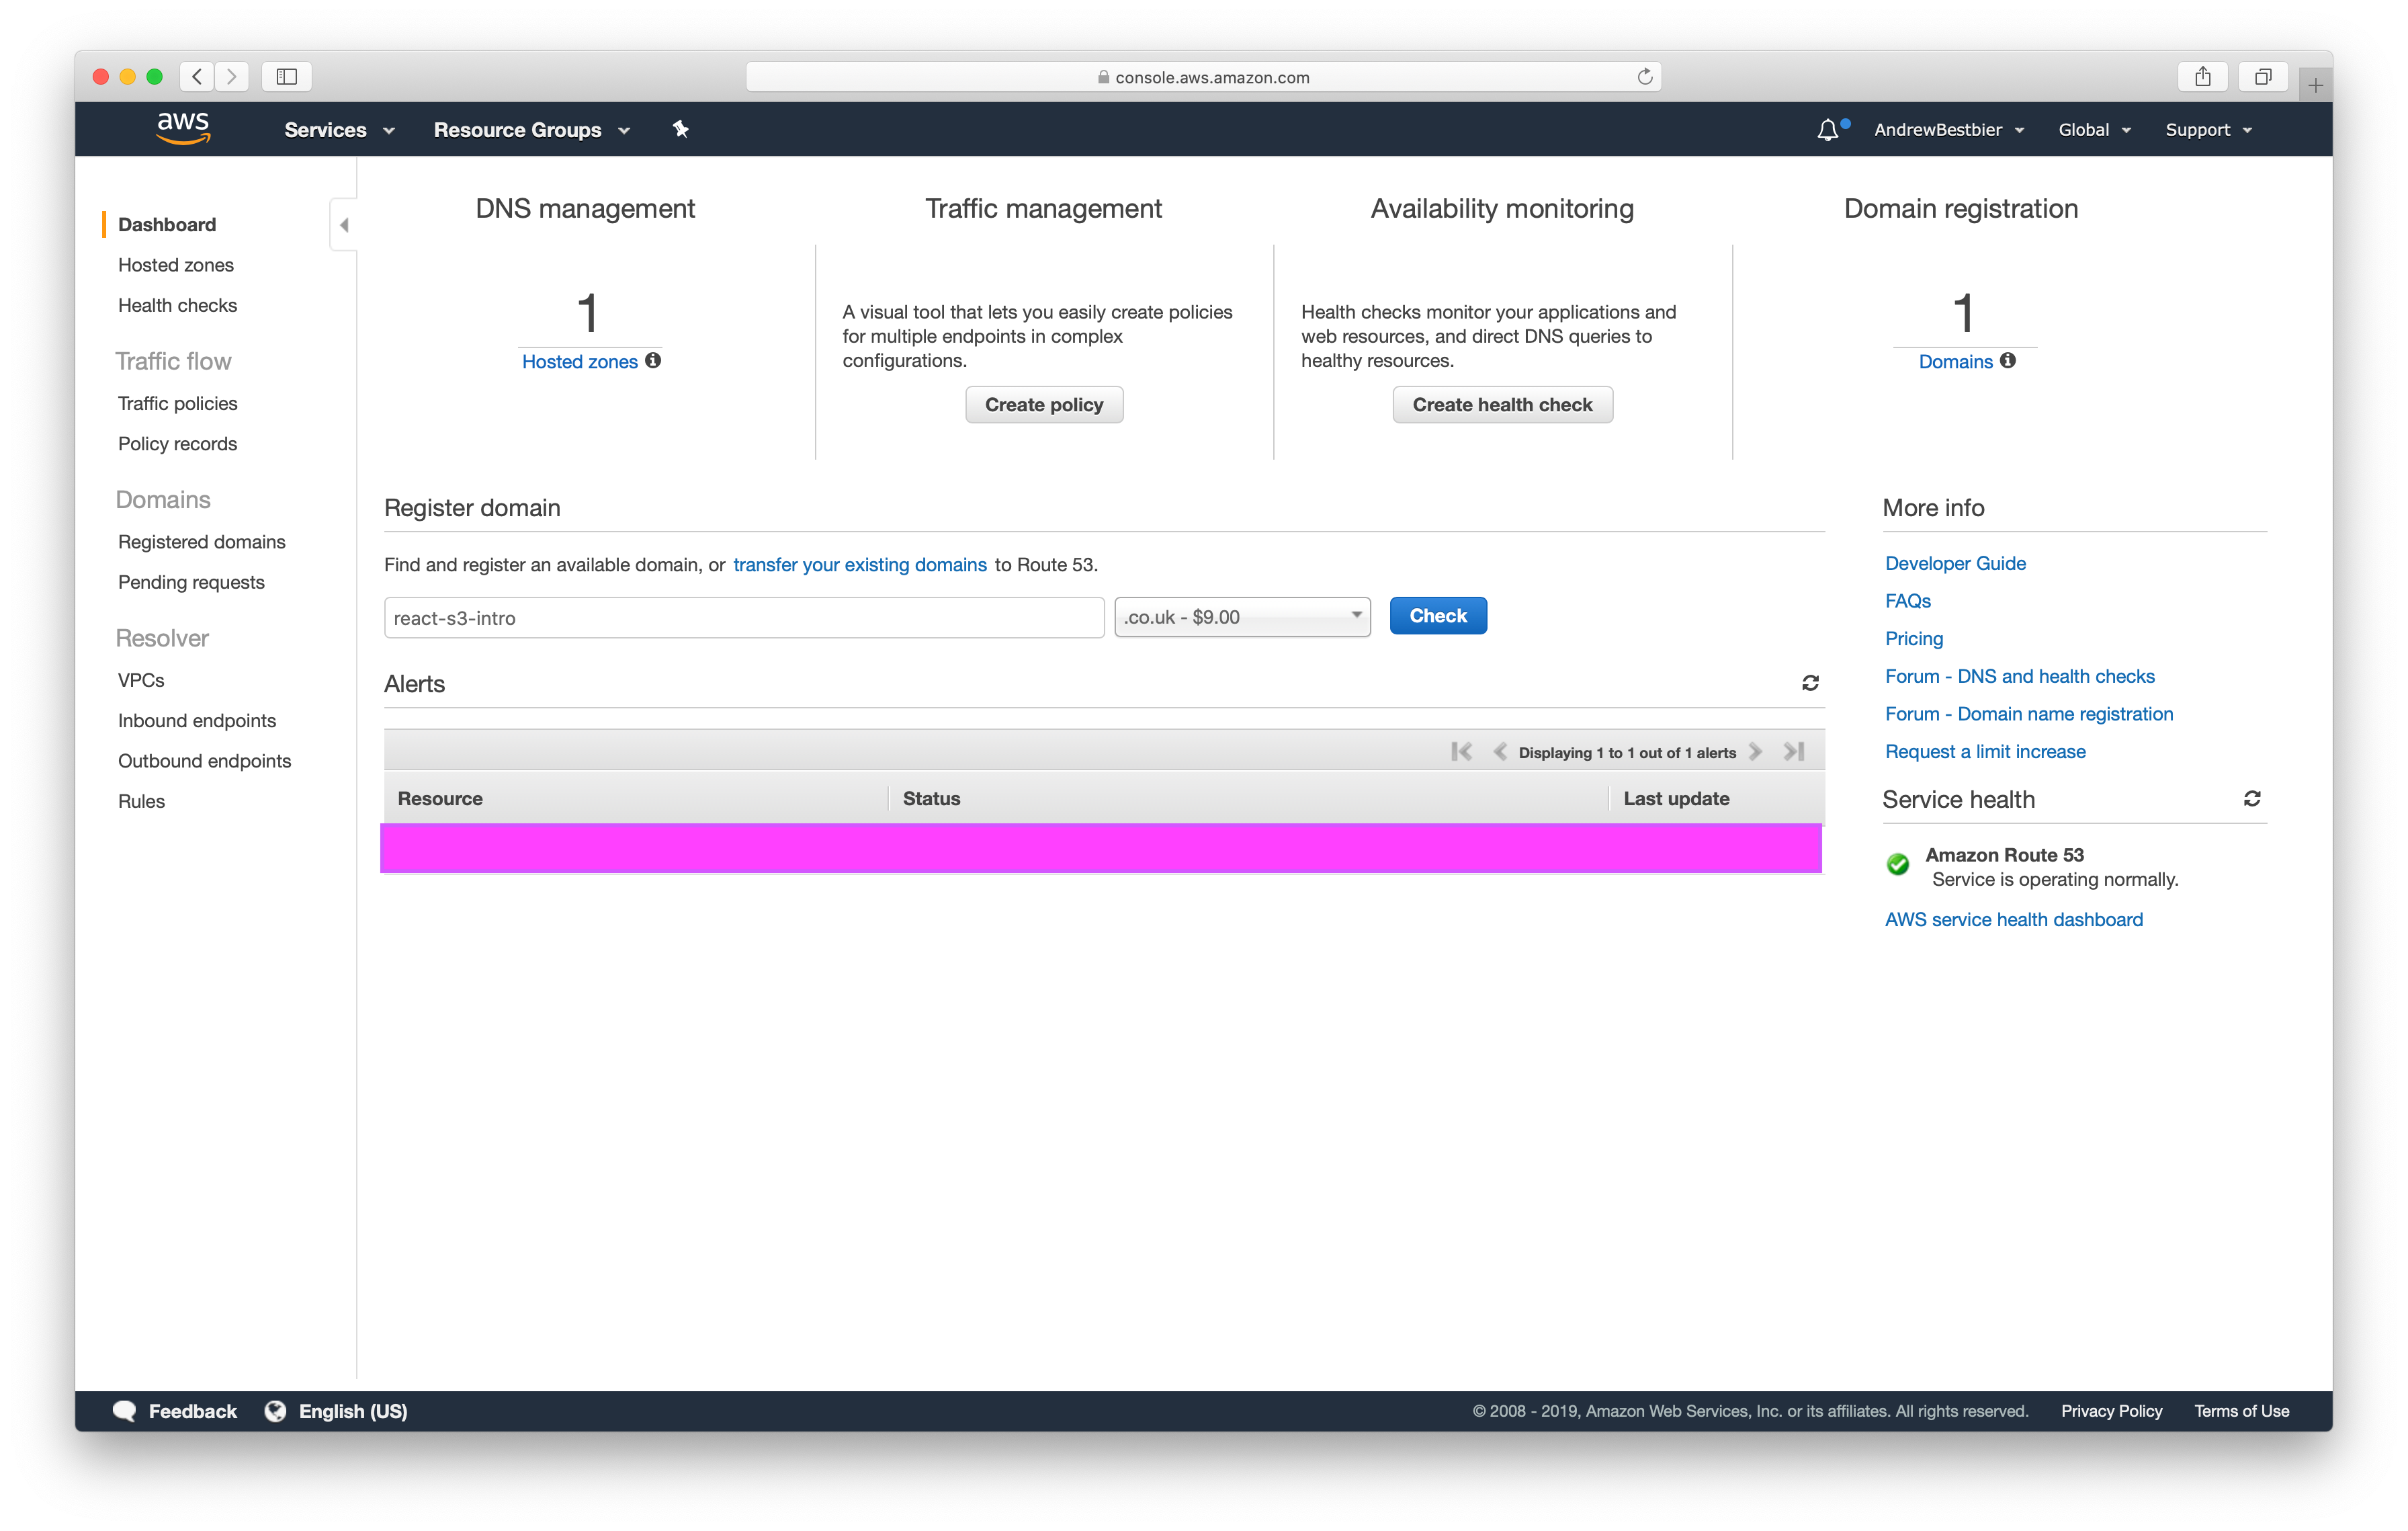
Buying a Domain name:
At the moment your application has an ugly url which we can fix by purchasing a domain through Route 53 which is Amazon’s scalable DNS and Domain registration service.
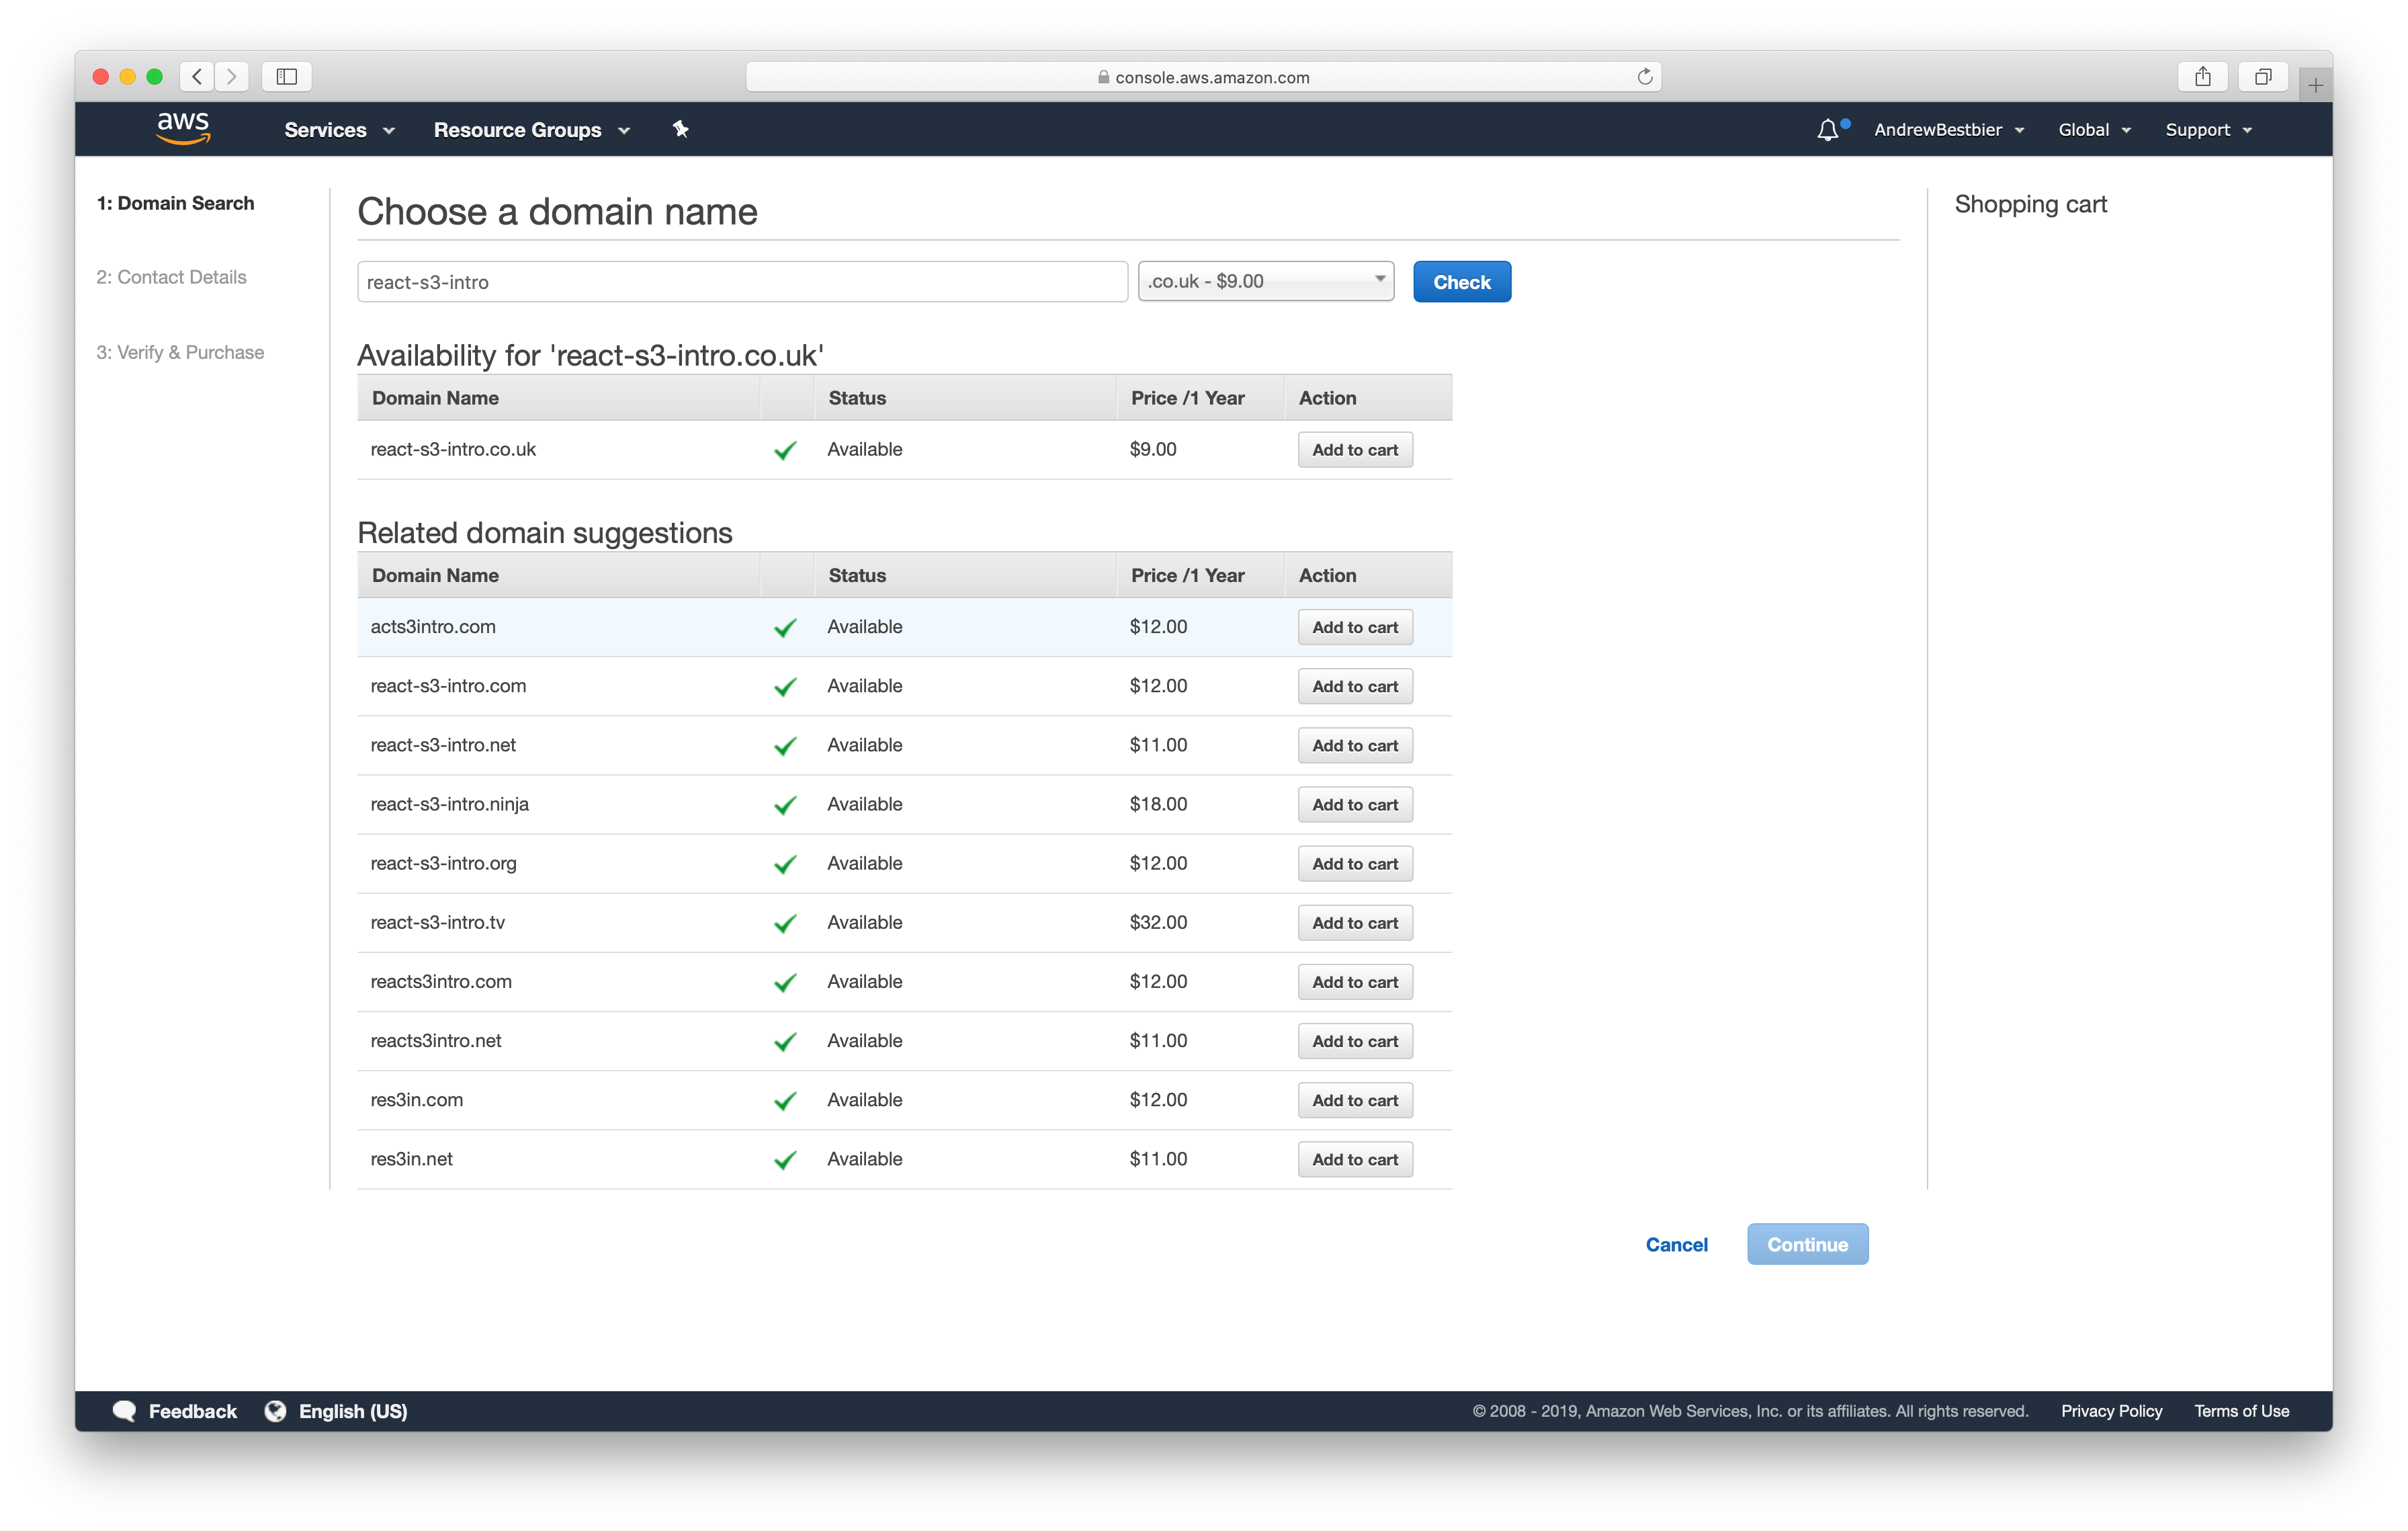
First, navigate to Route 53 and type the domain name you wish to buy. In case, I typed ‘react-s3-intro.co.uk’:
Fortunately this domain was available so I added it to my Shopping cart:
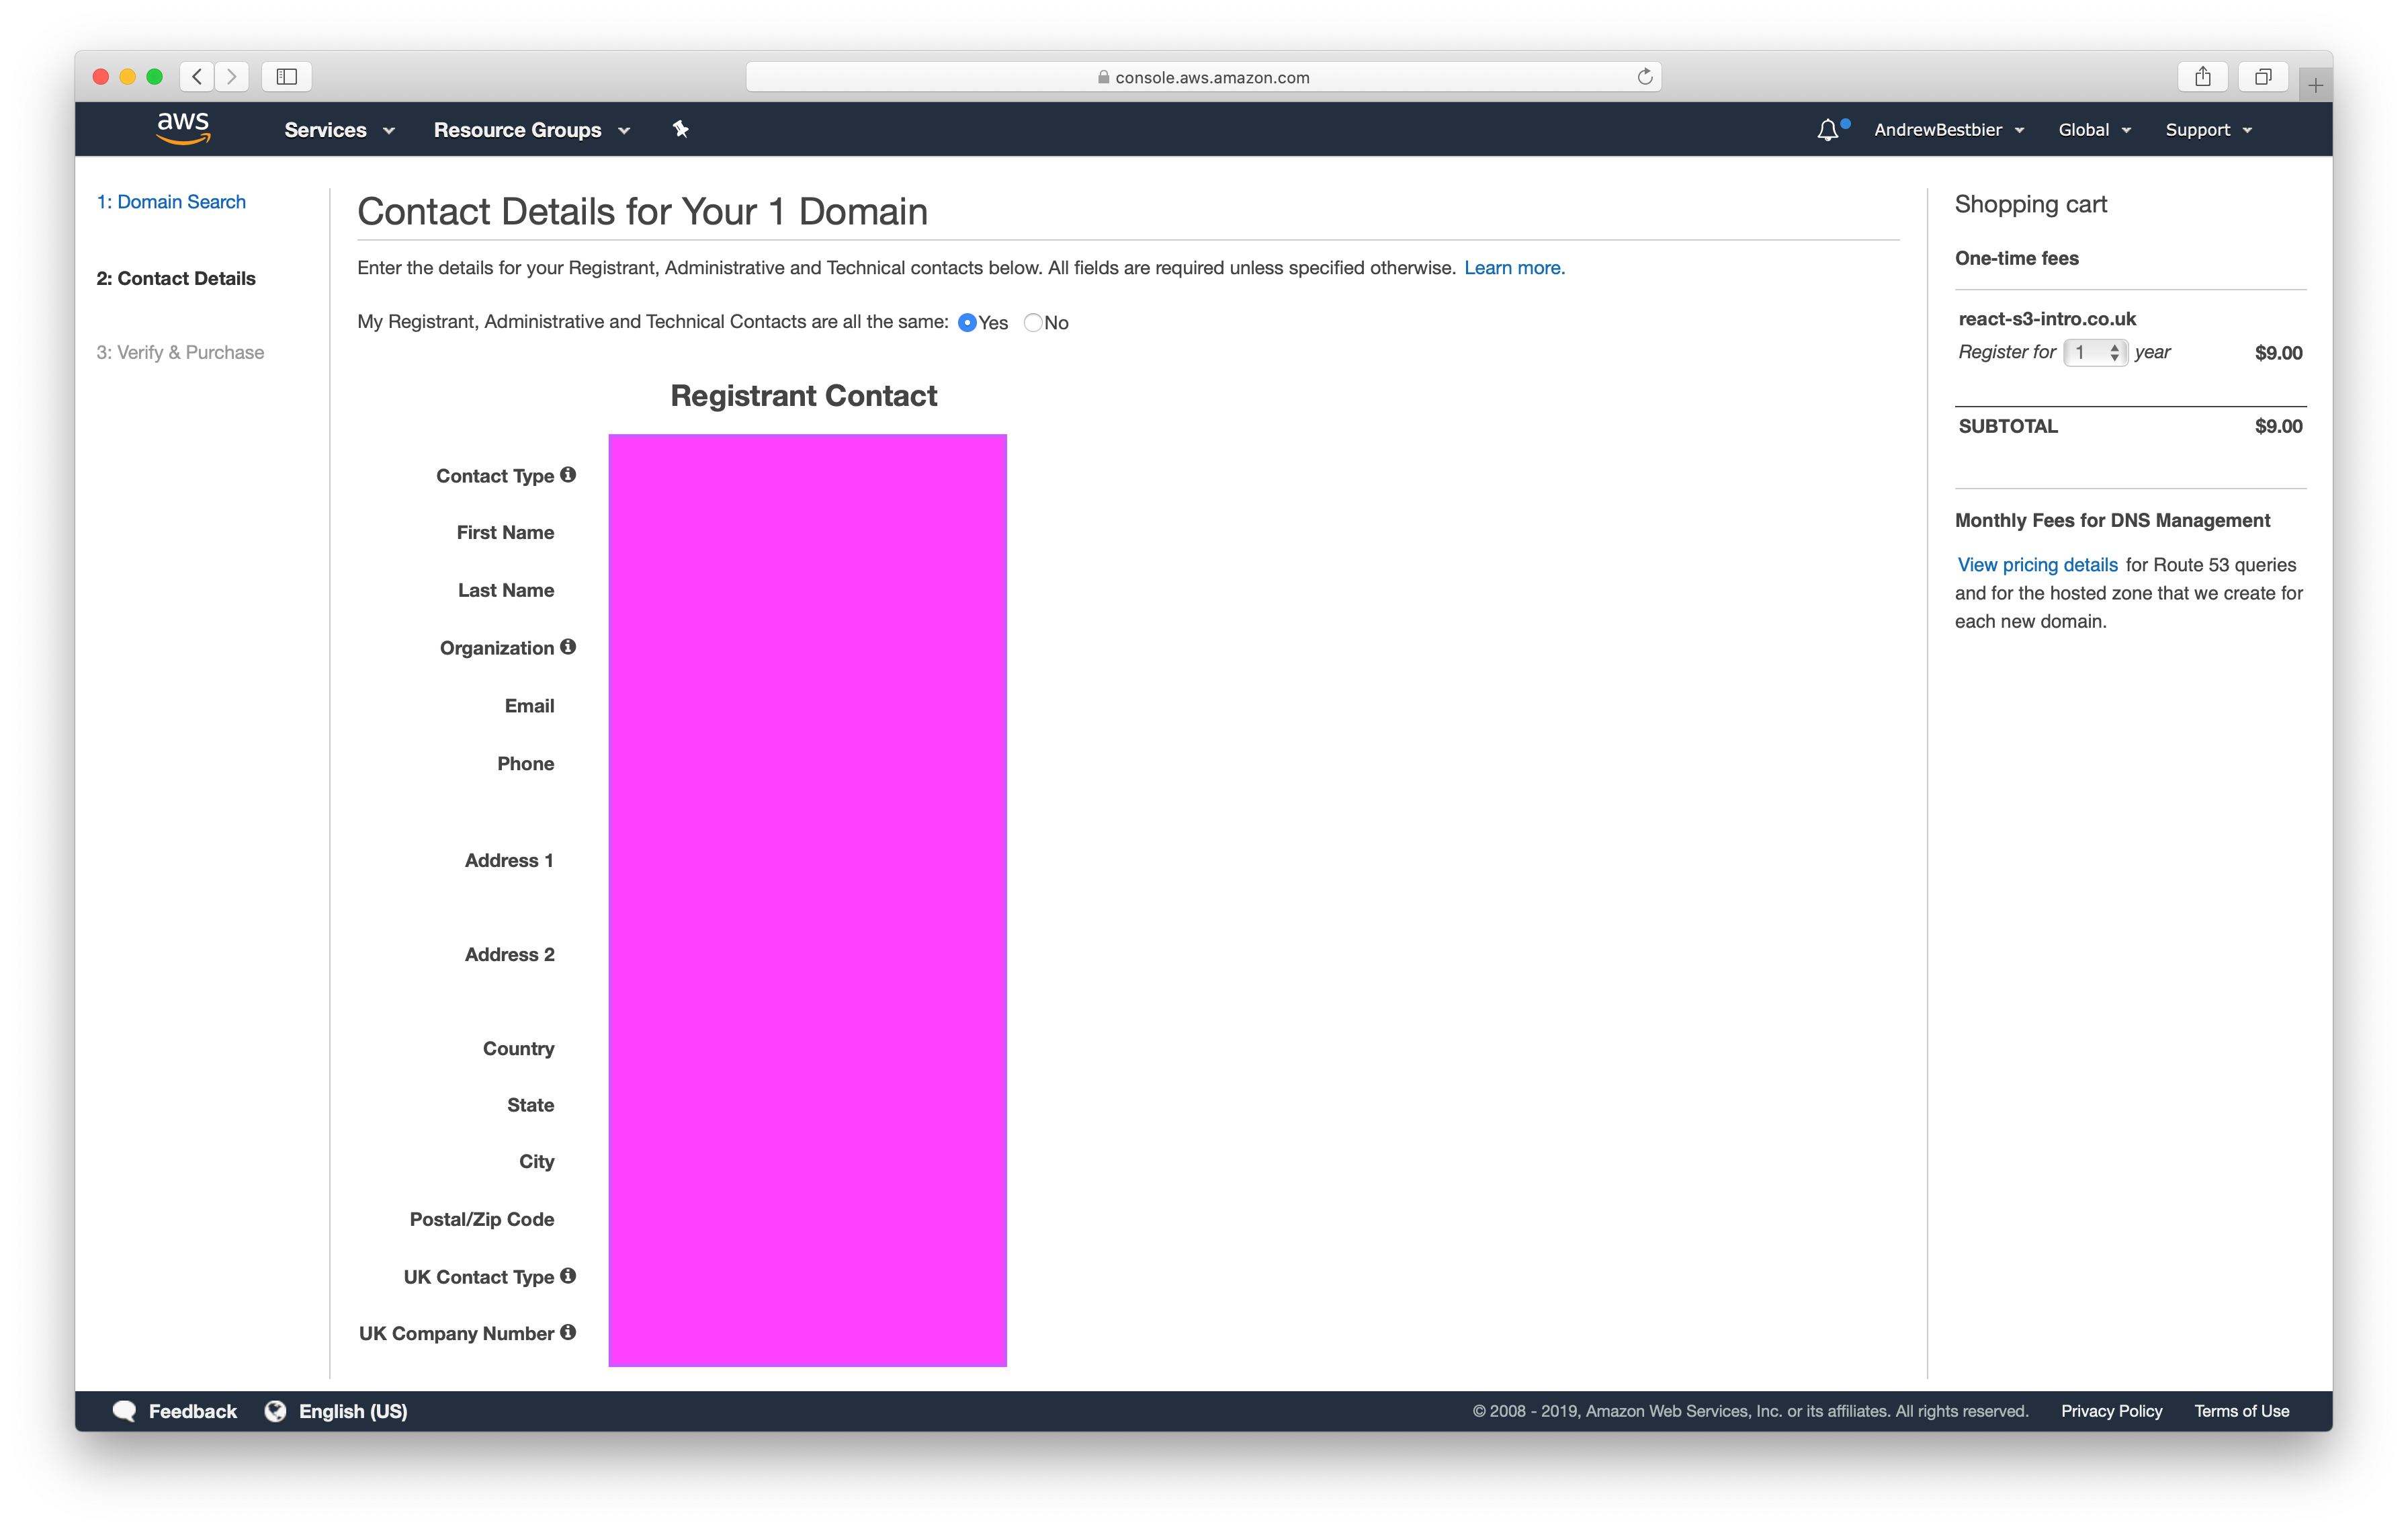
AWS then requires a few personal details which I have blocked out below. Agree to the terms and click Complete purchase:
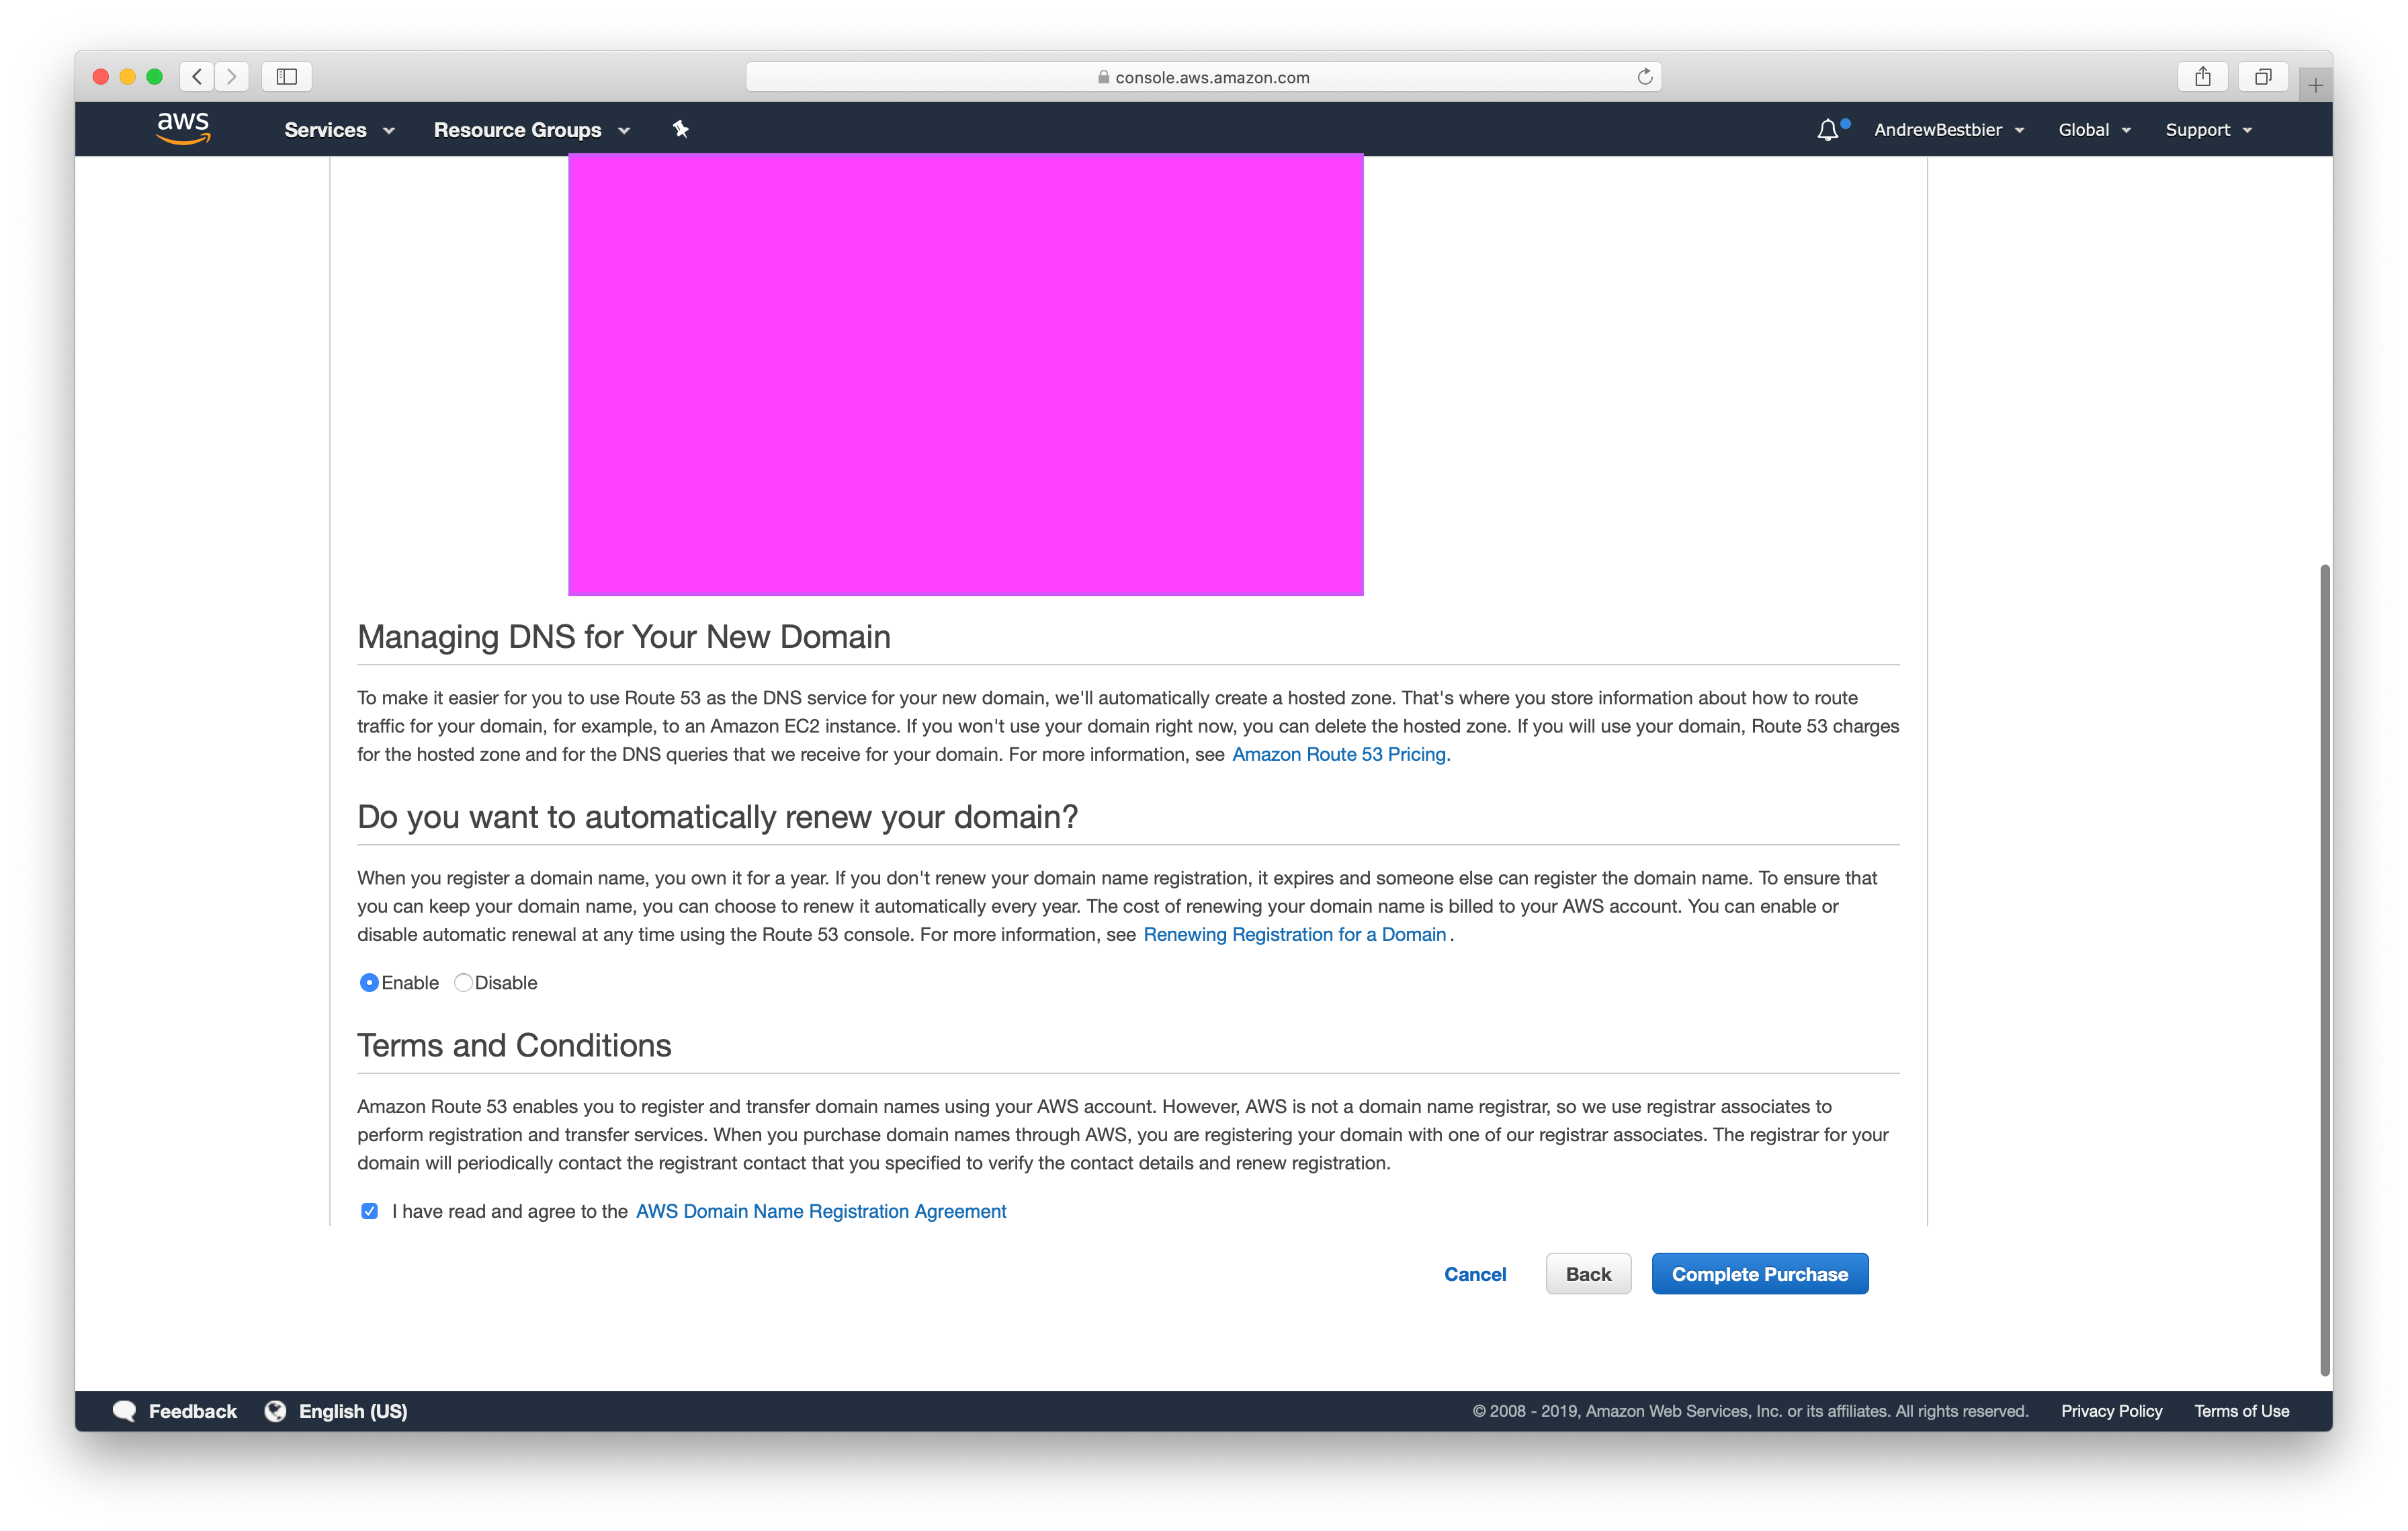
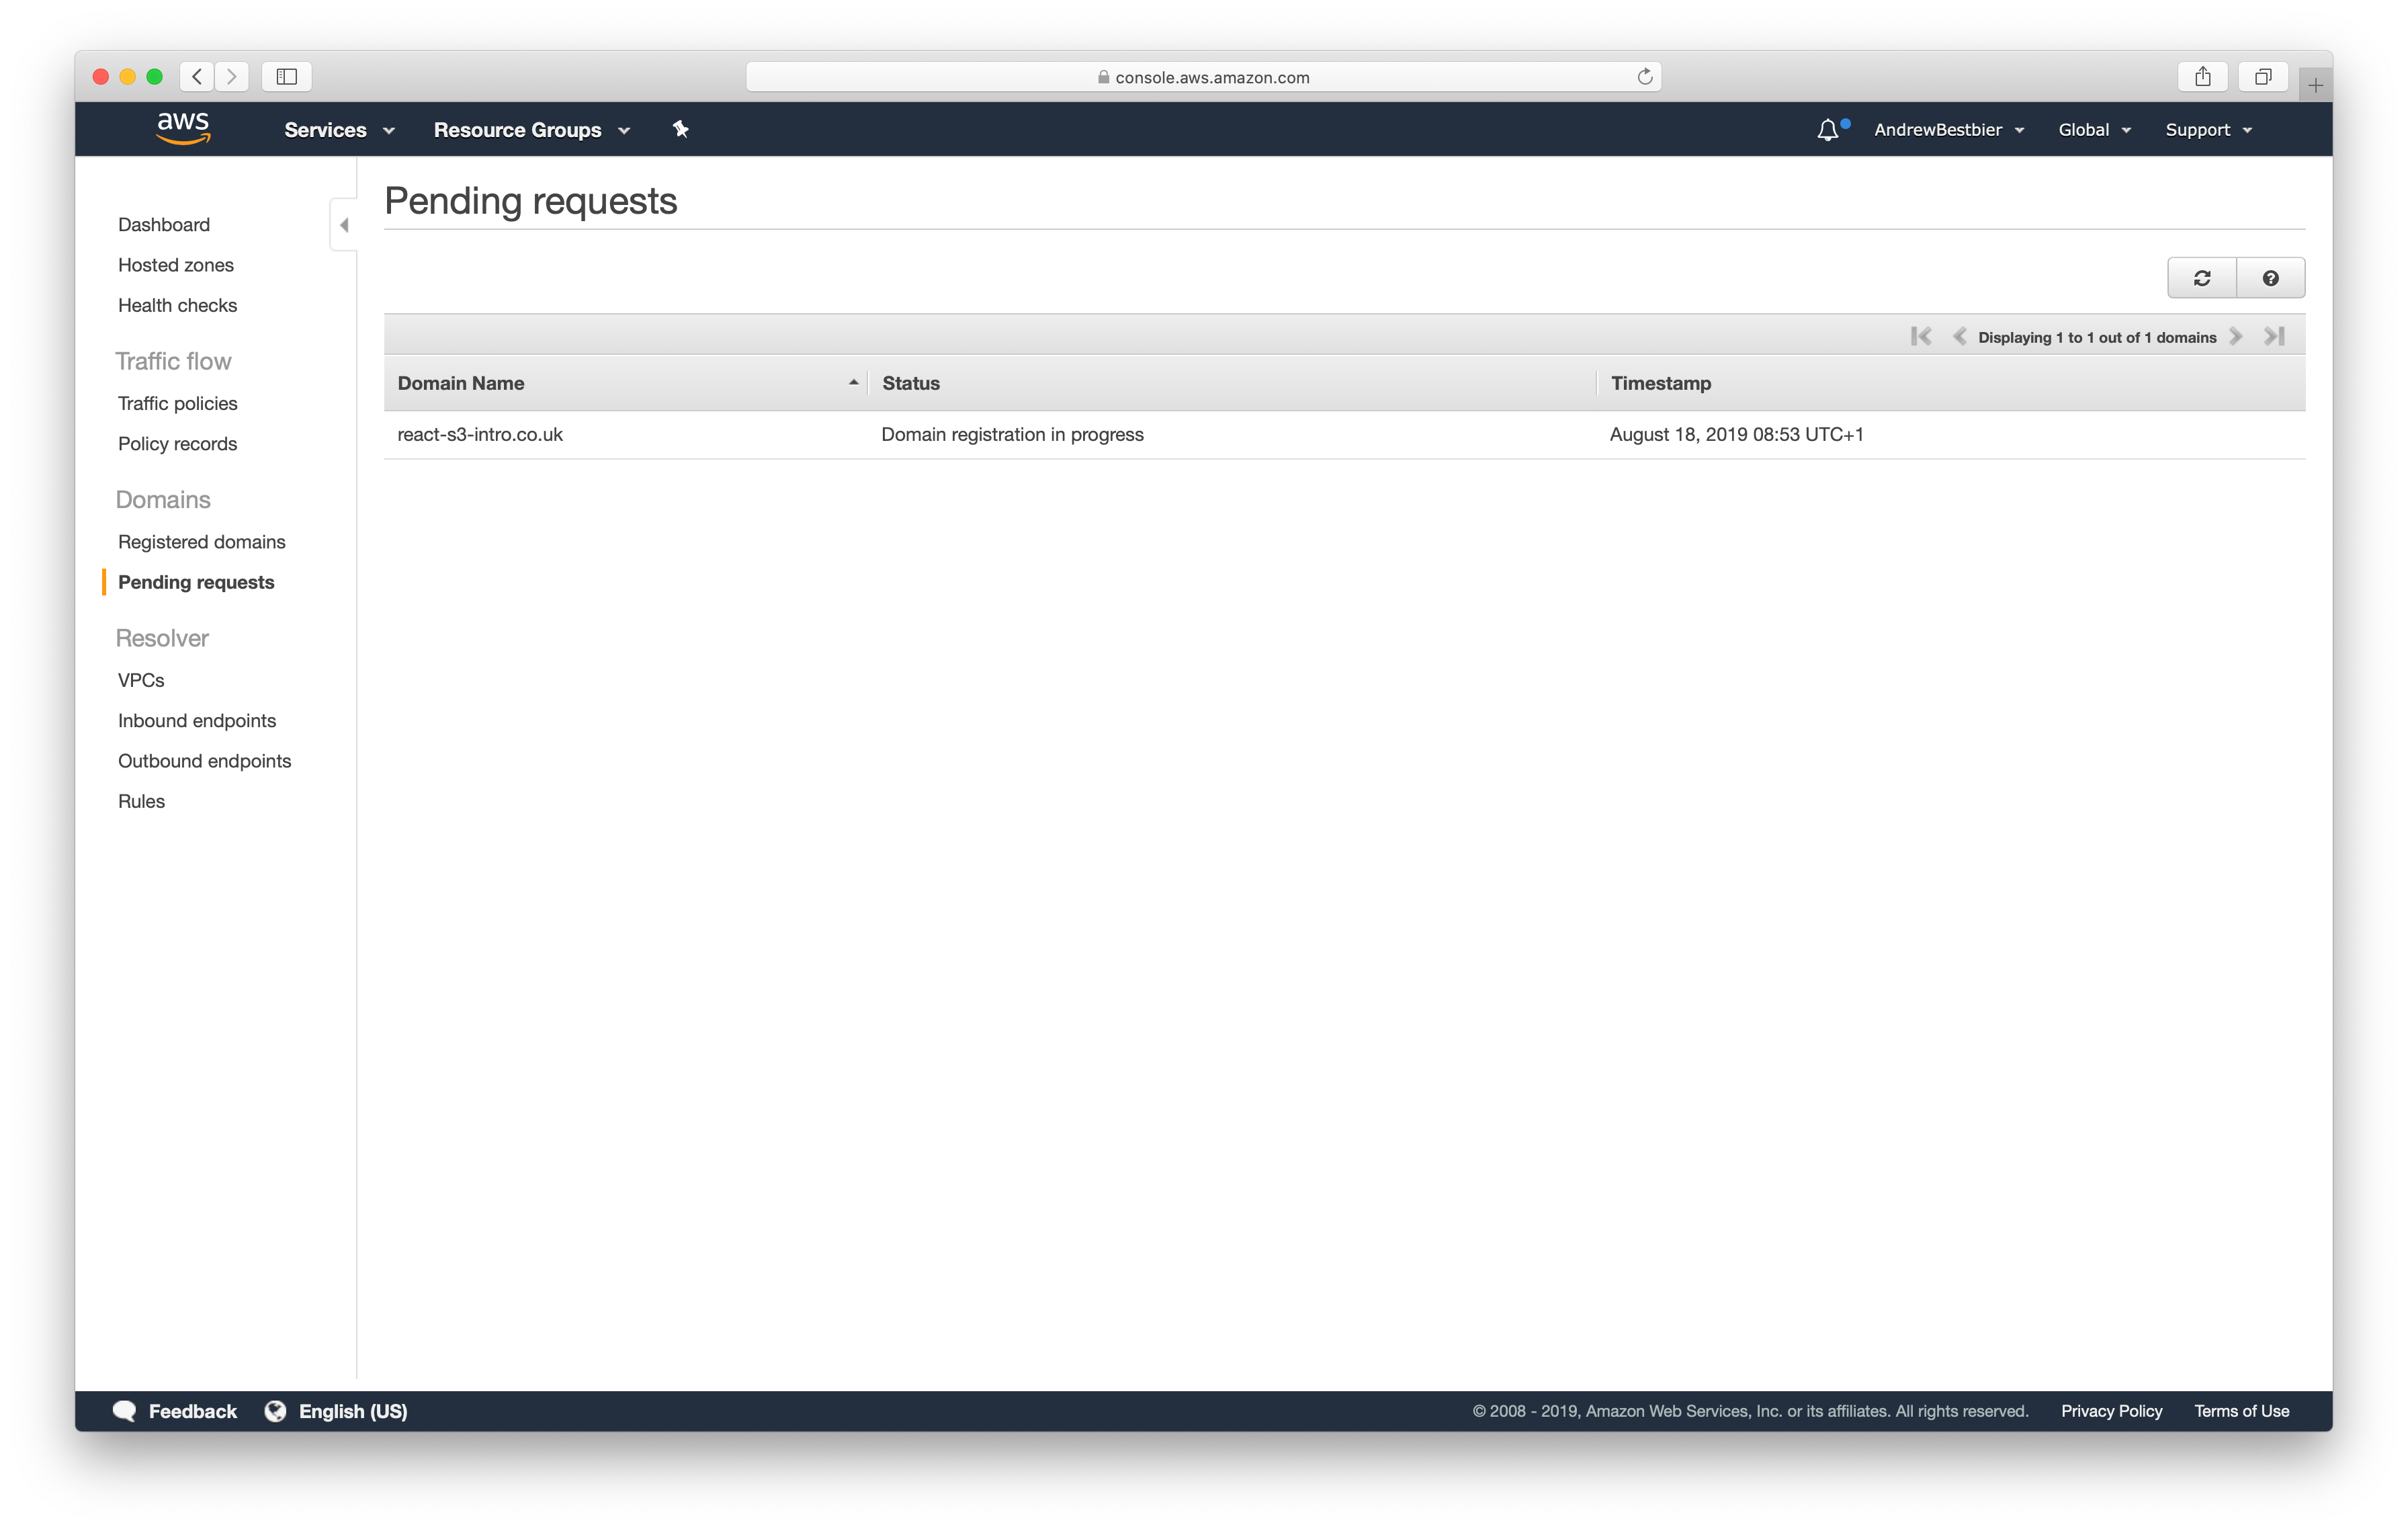
This can take a few days to register (although it took me only 10 minutes). We will now pause any further work on Route 53 and come back to it at a later stage.
HTTPs and a CDN:
Important! for this step you will need to change your region to Northern Virginia as your CDN is global and therefore needs a certificate based in Northern Virginia. This step trips many people up.
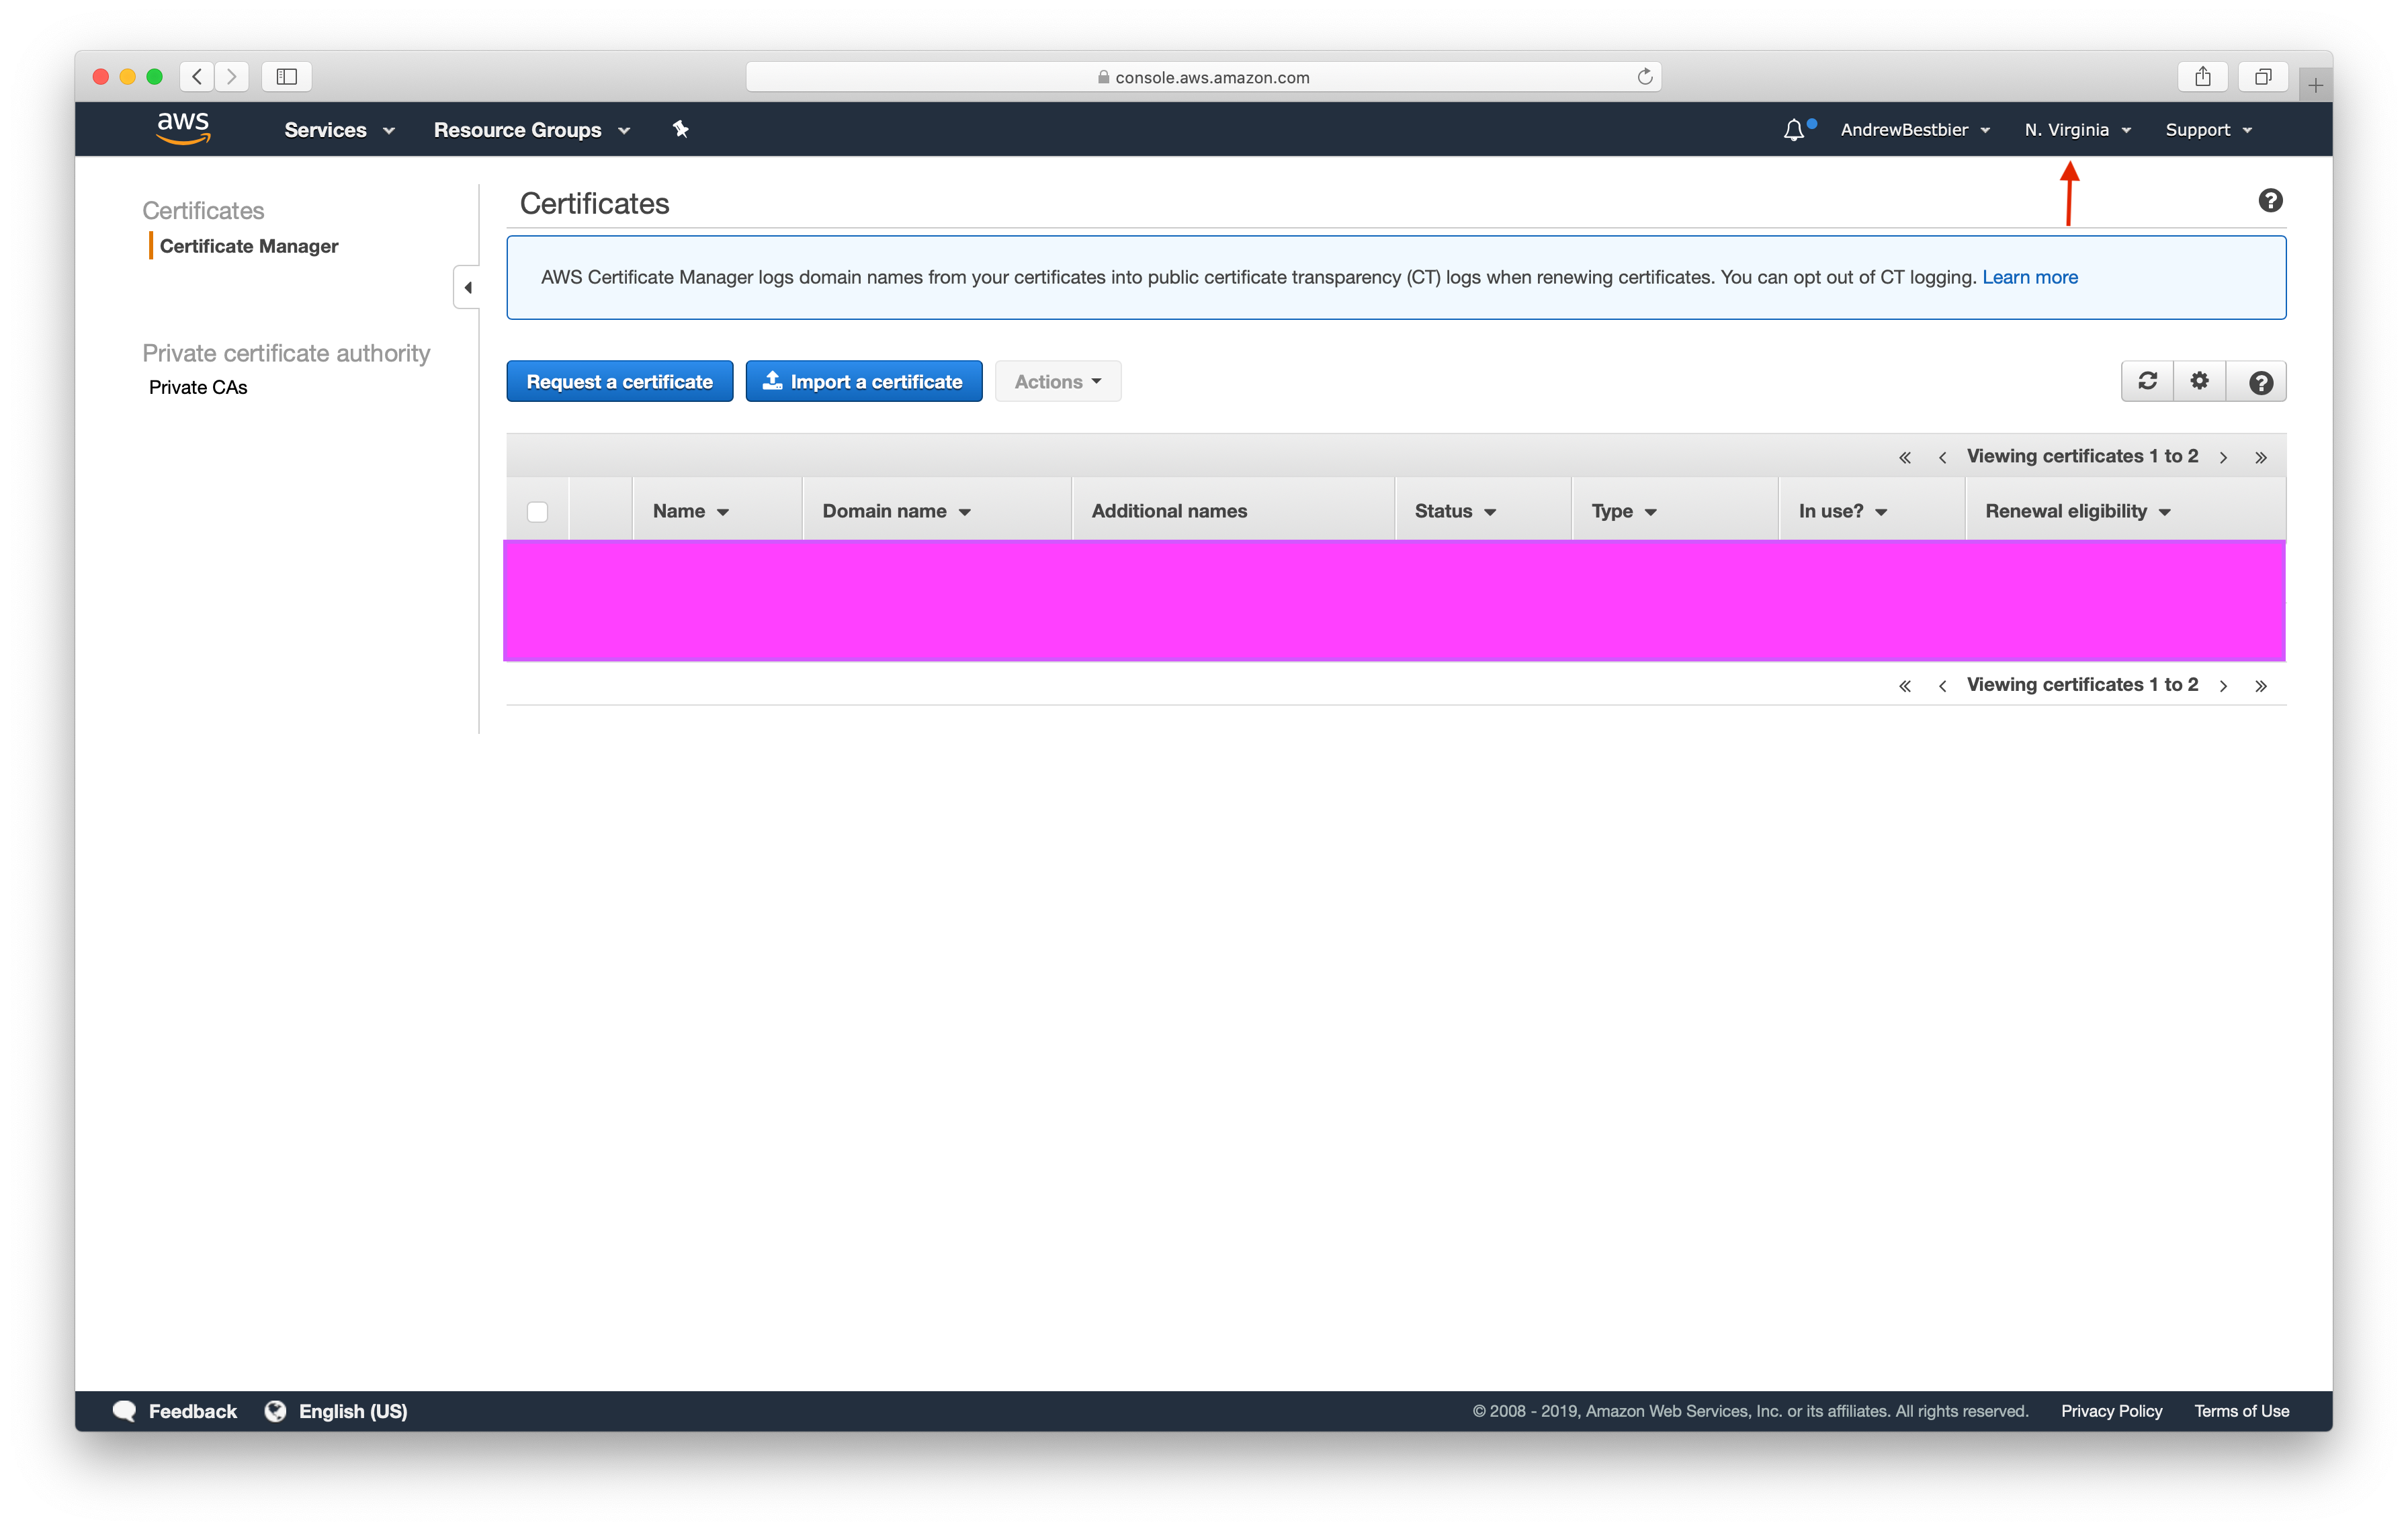
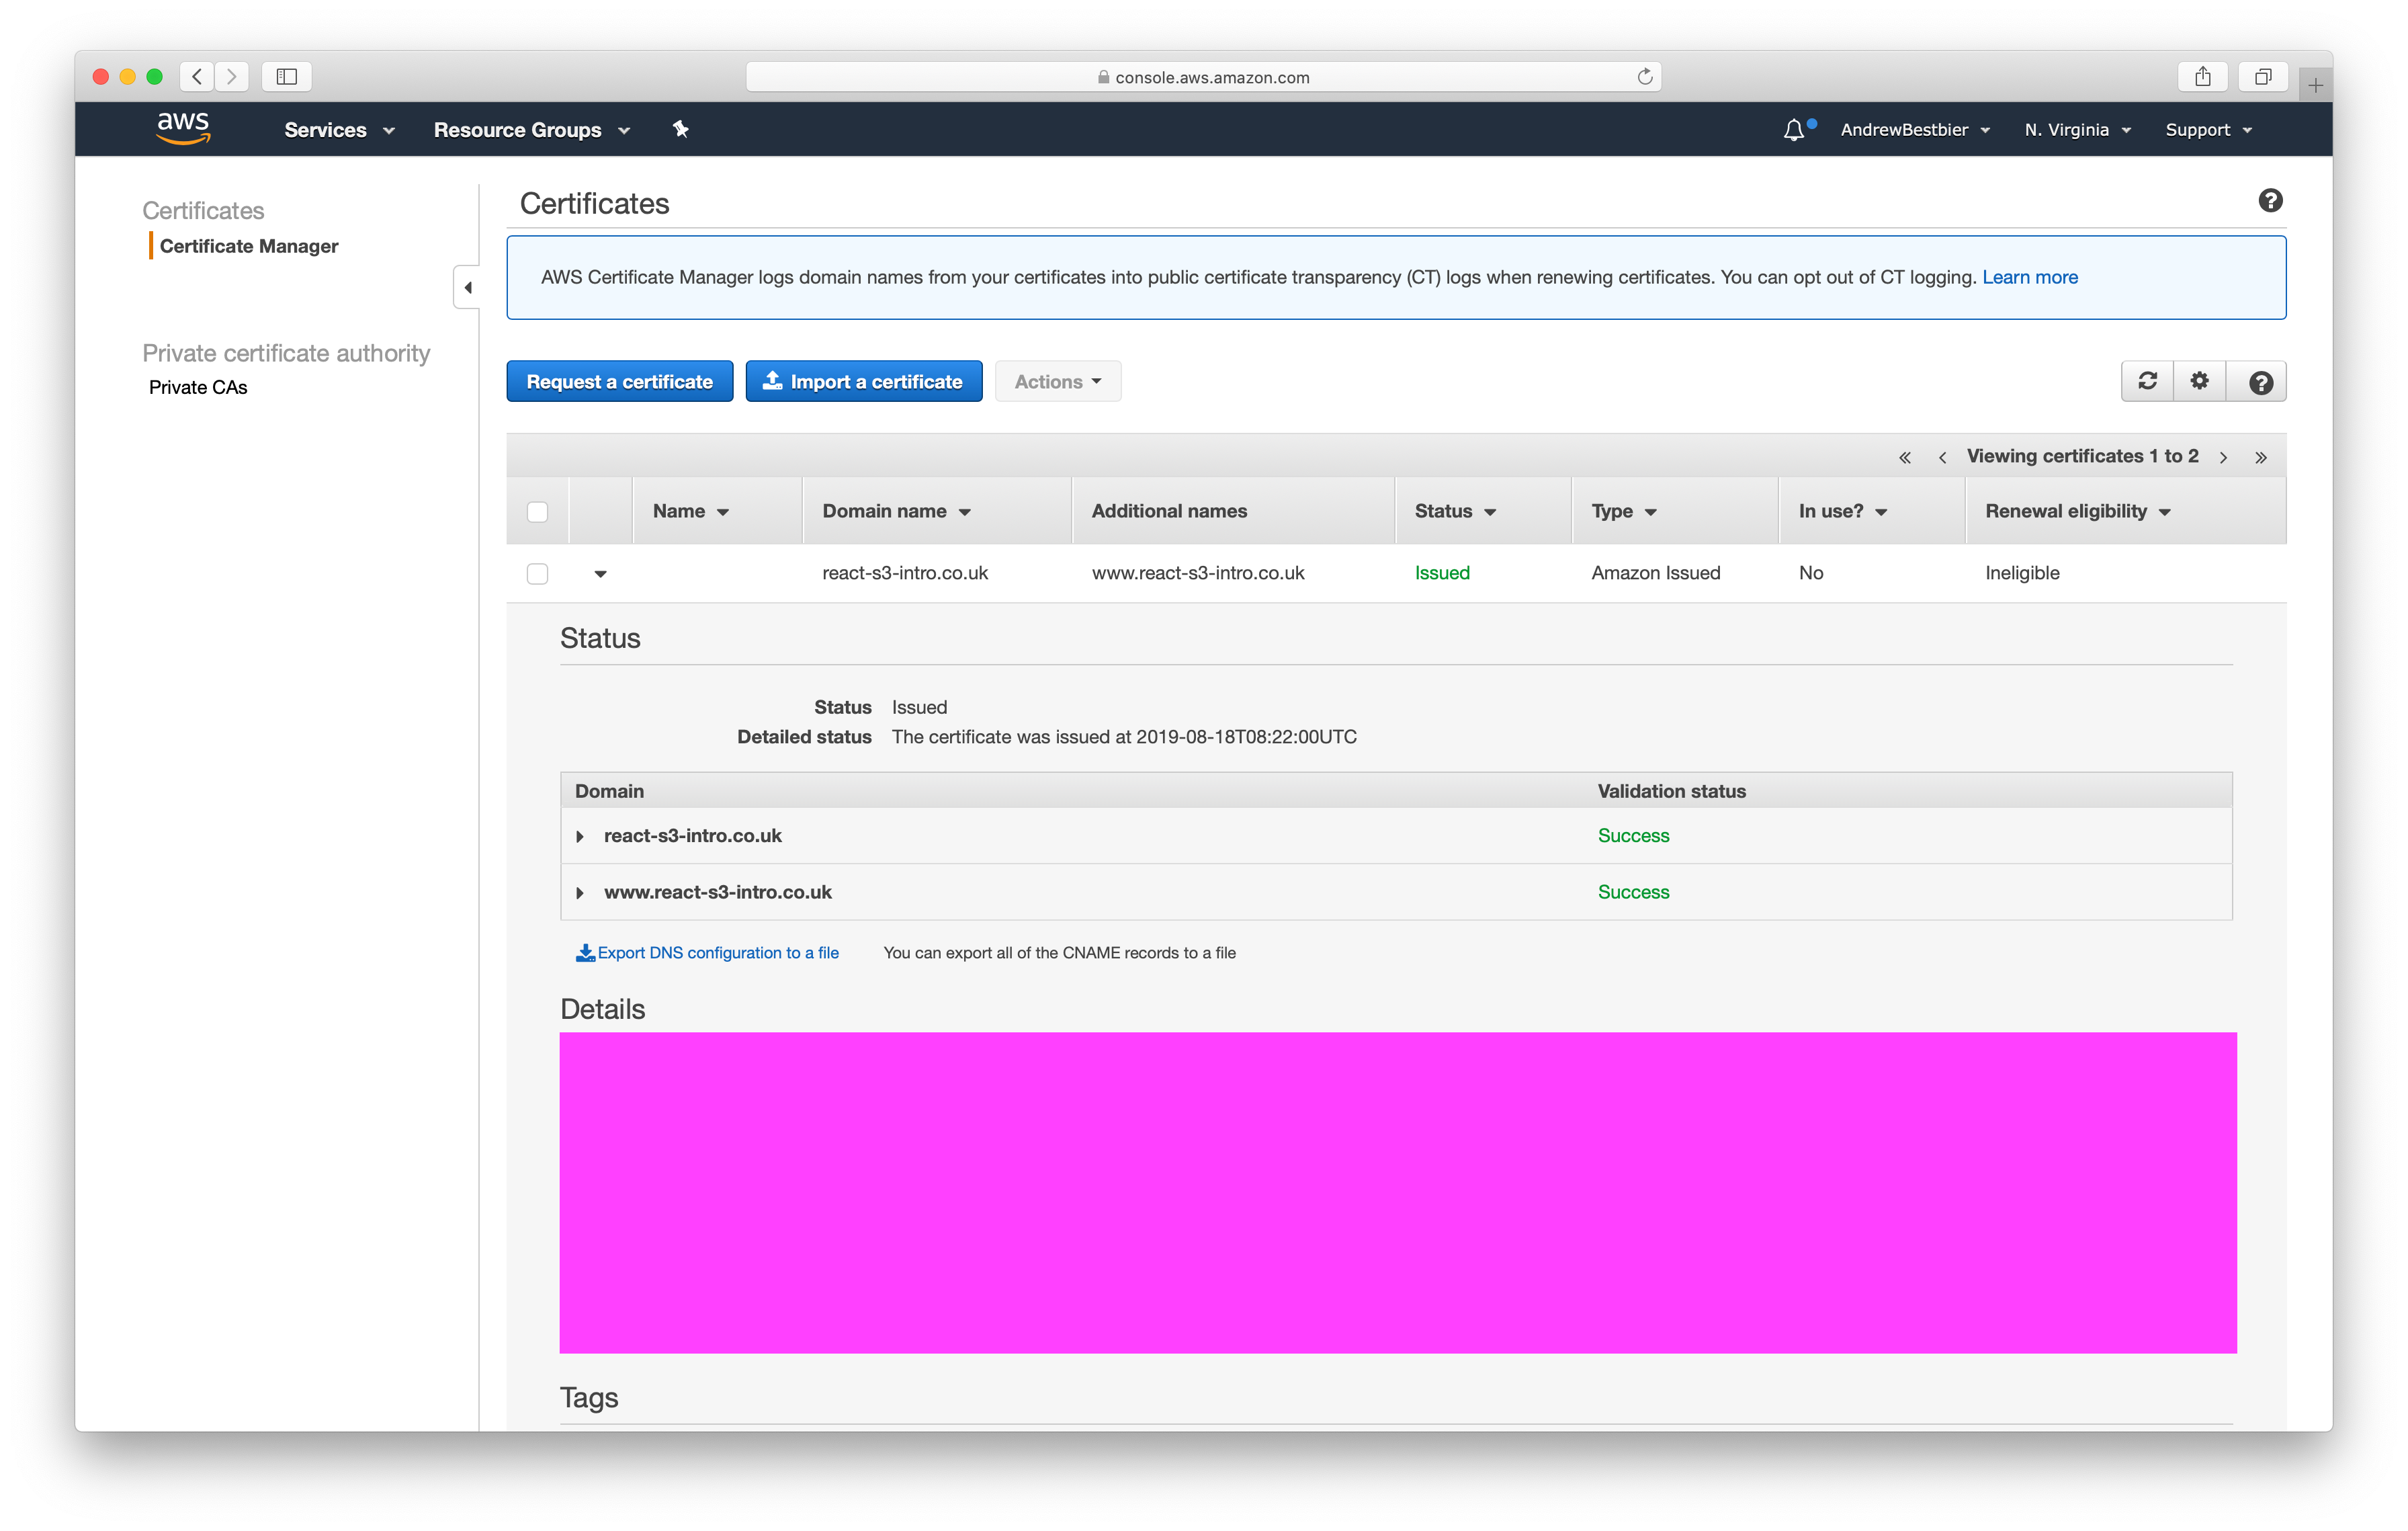
Click on Certificate Manager which is Amazon’s service that provisions and manages and deploys SSL/TLS certificates. On this screen click Request a certificate:
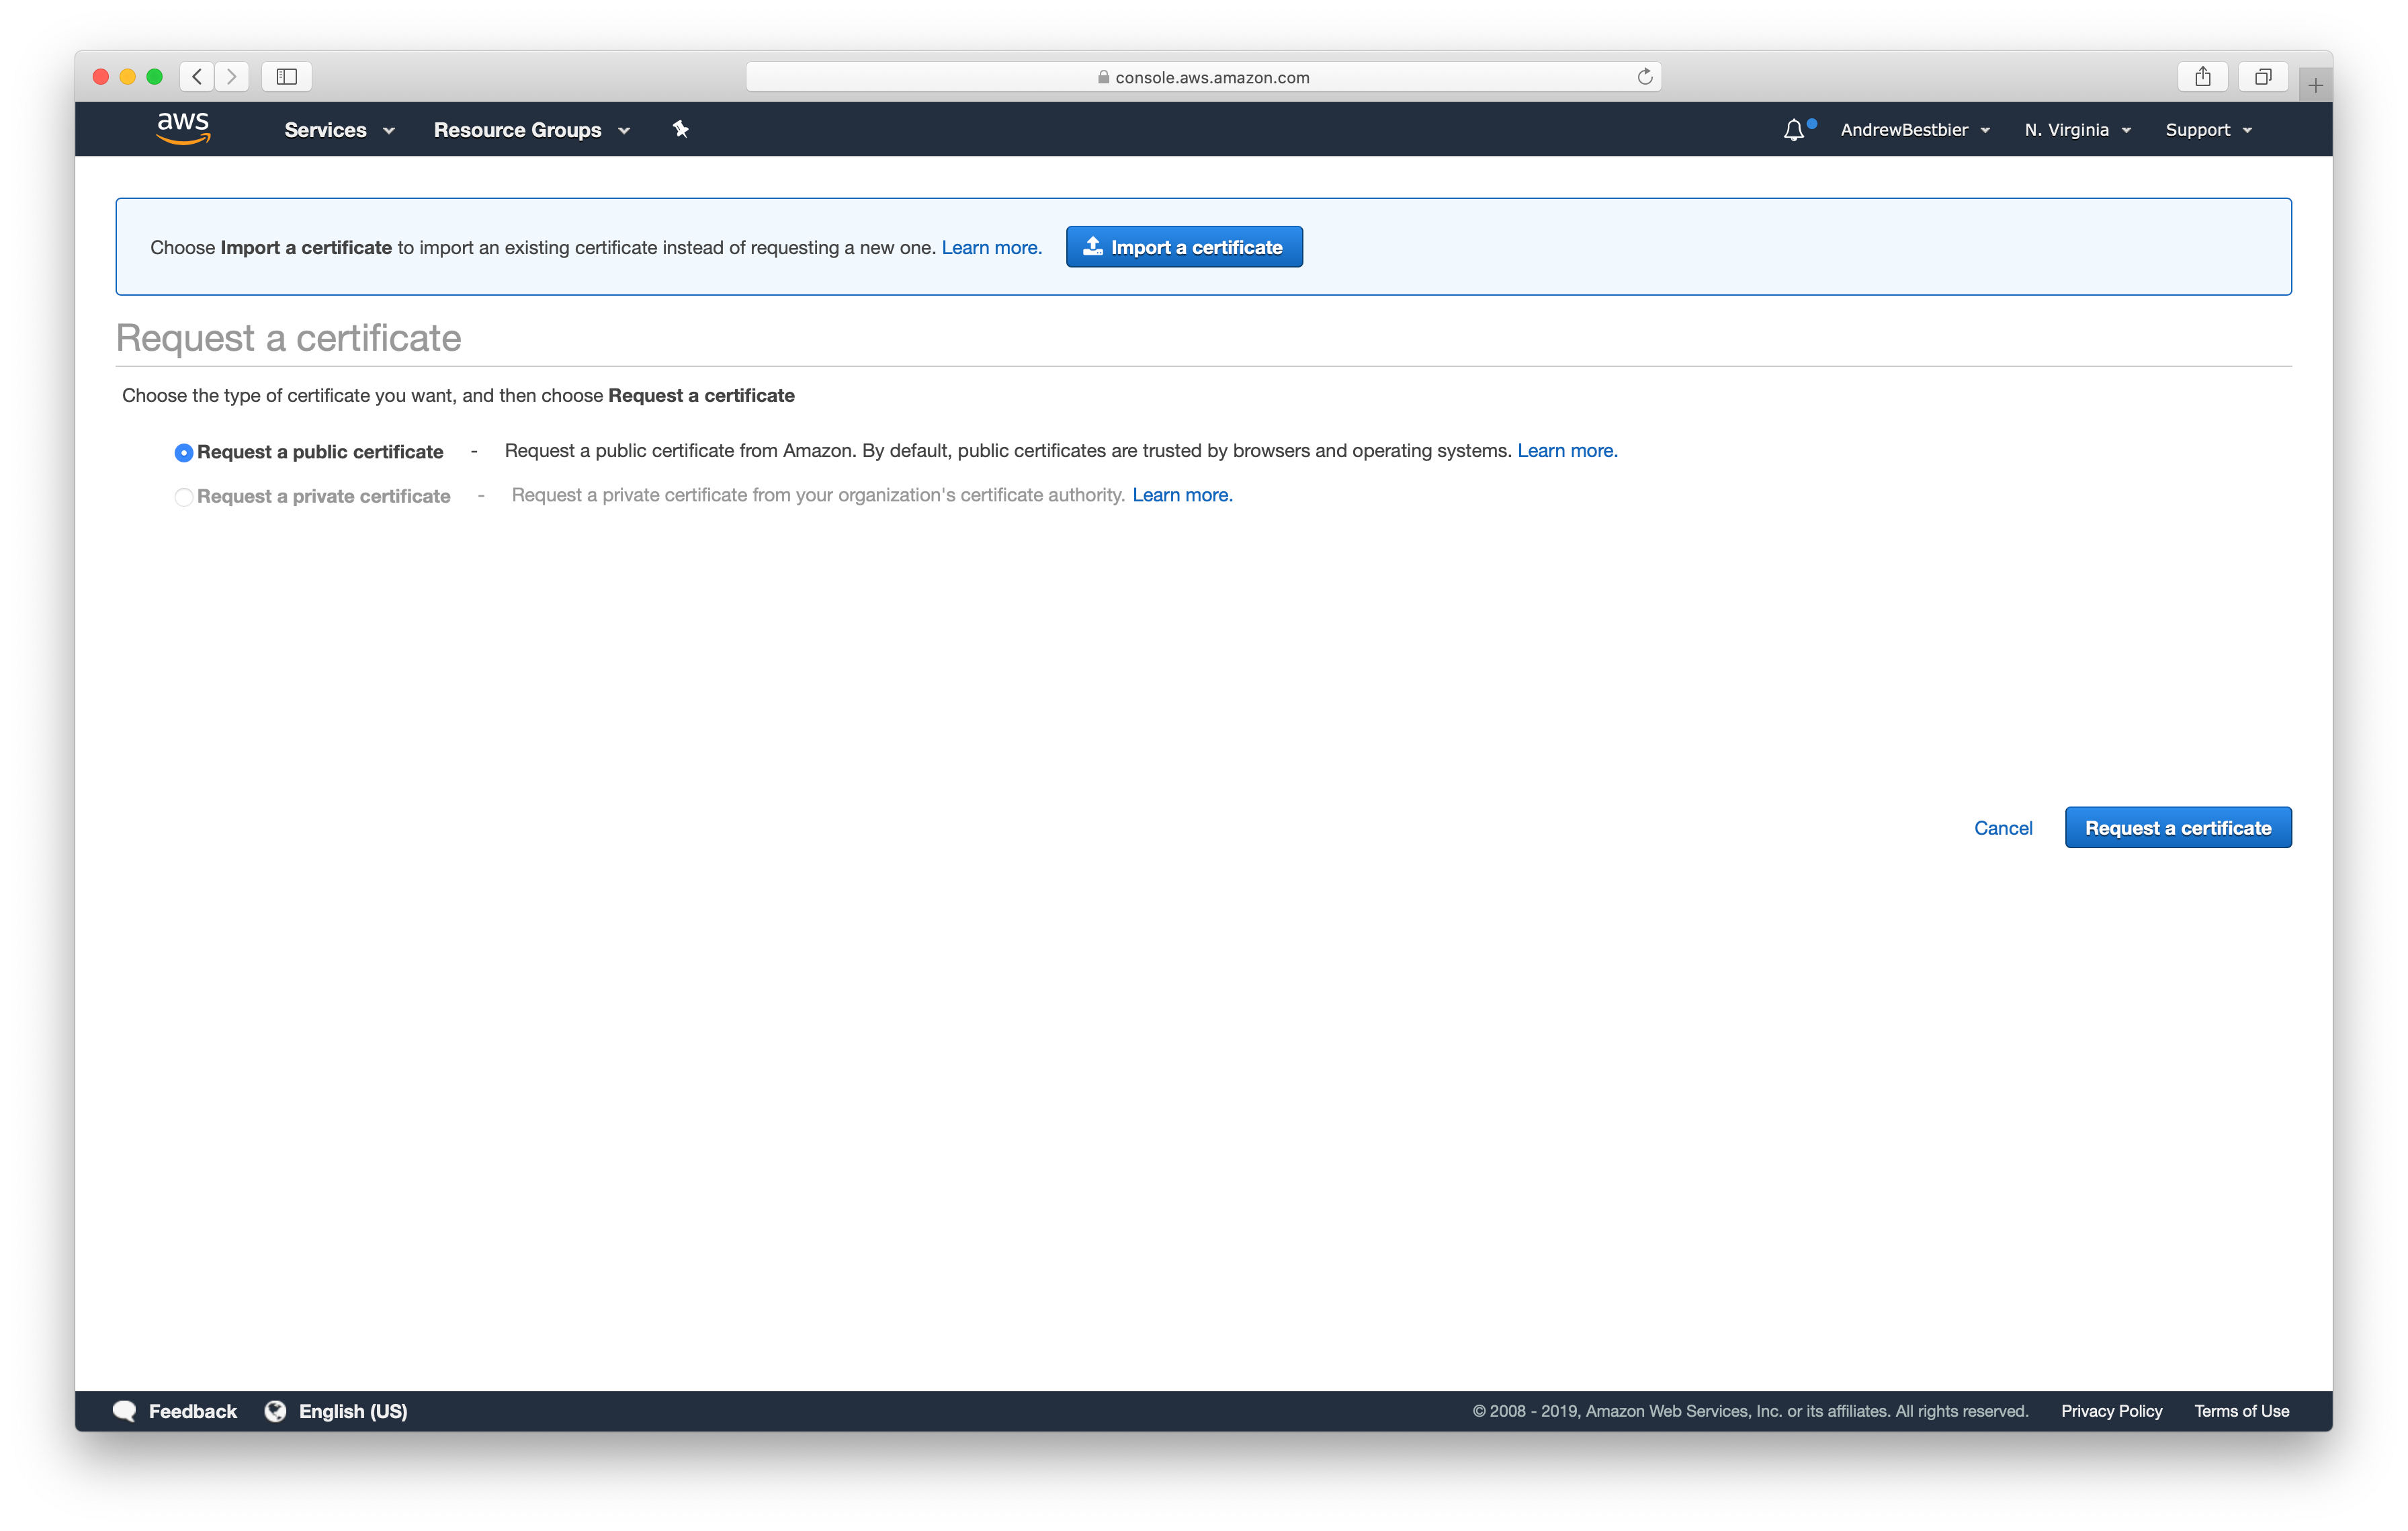
Click Request a public certificate, and then Request a certificate
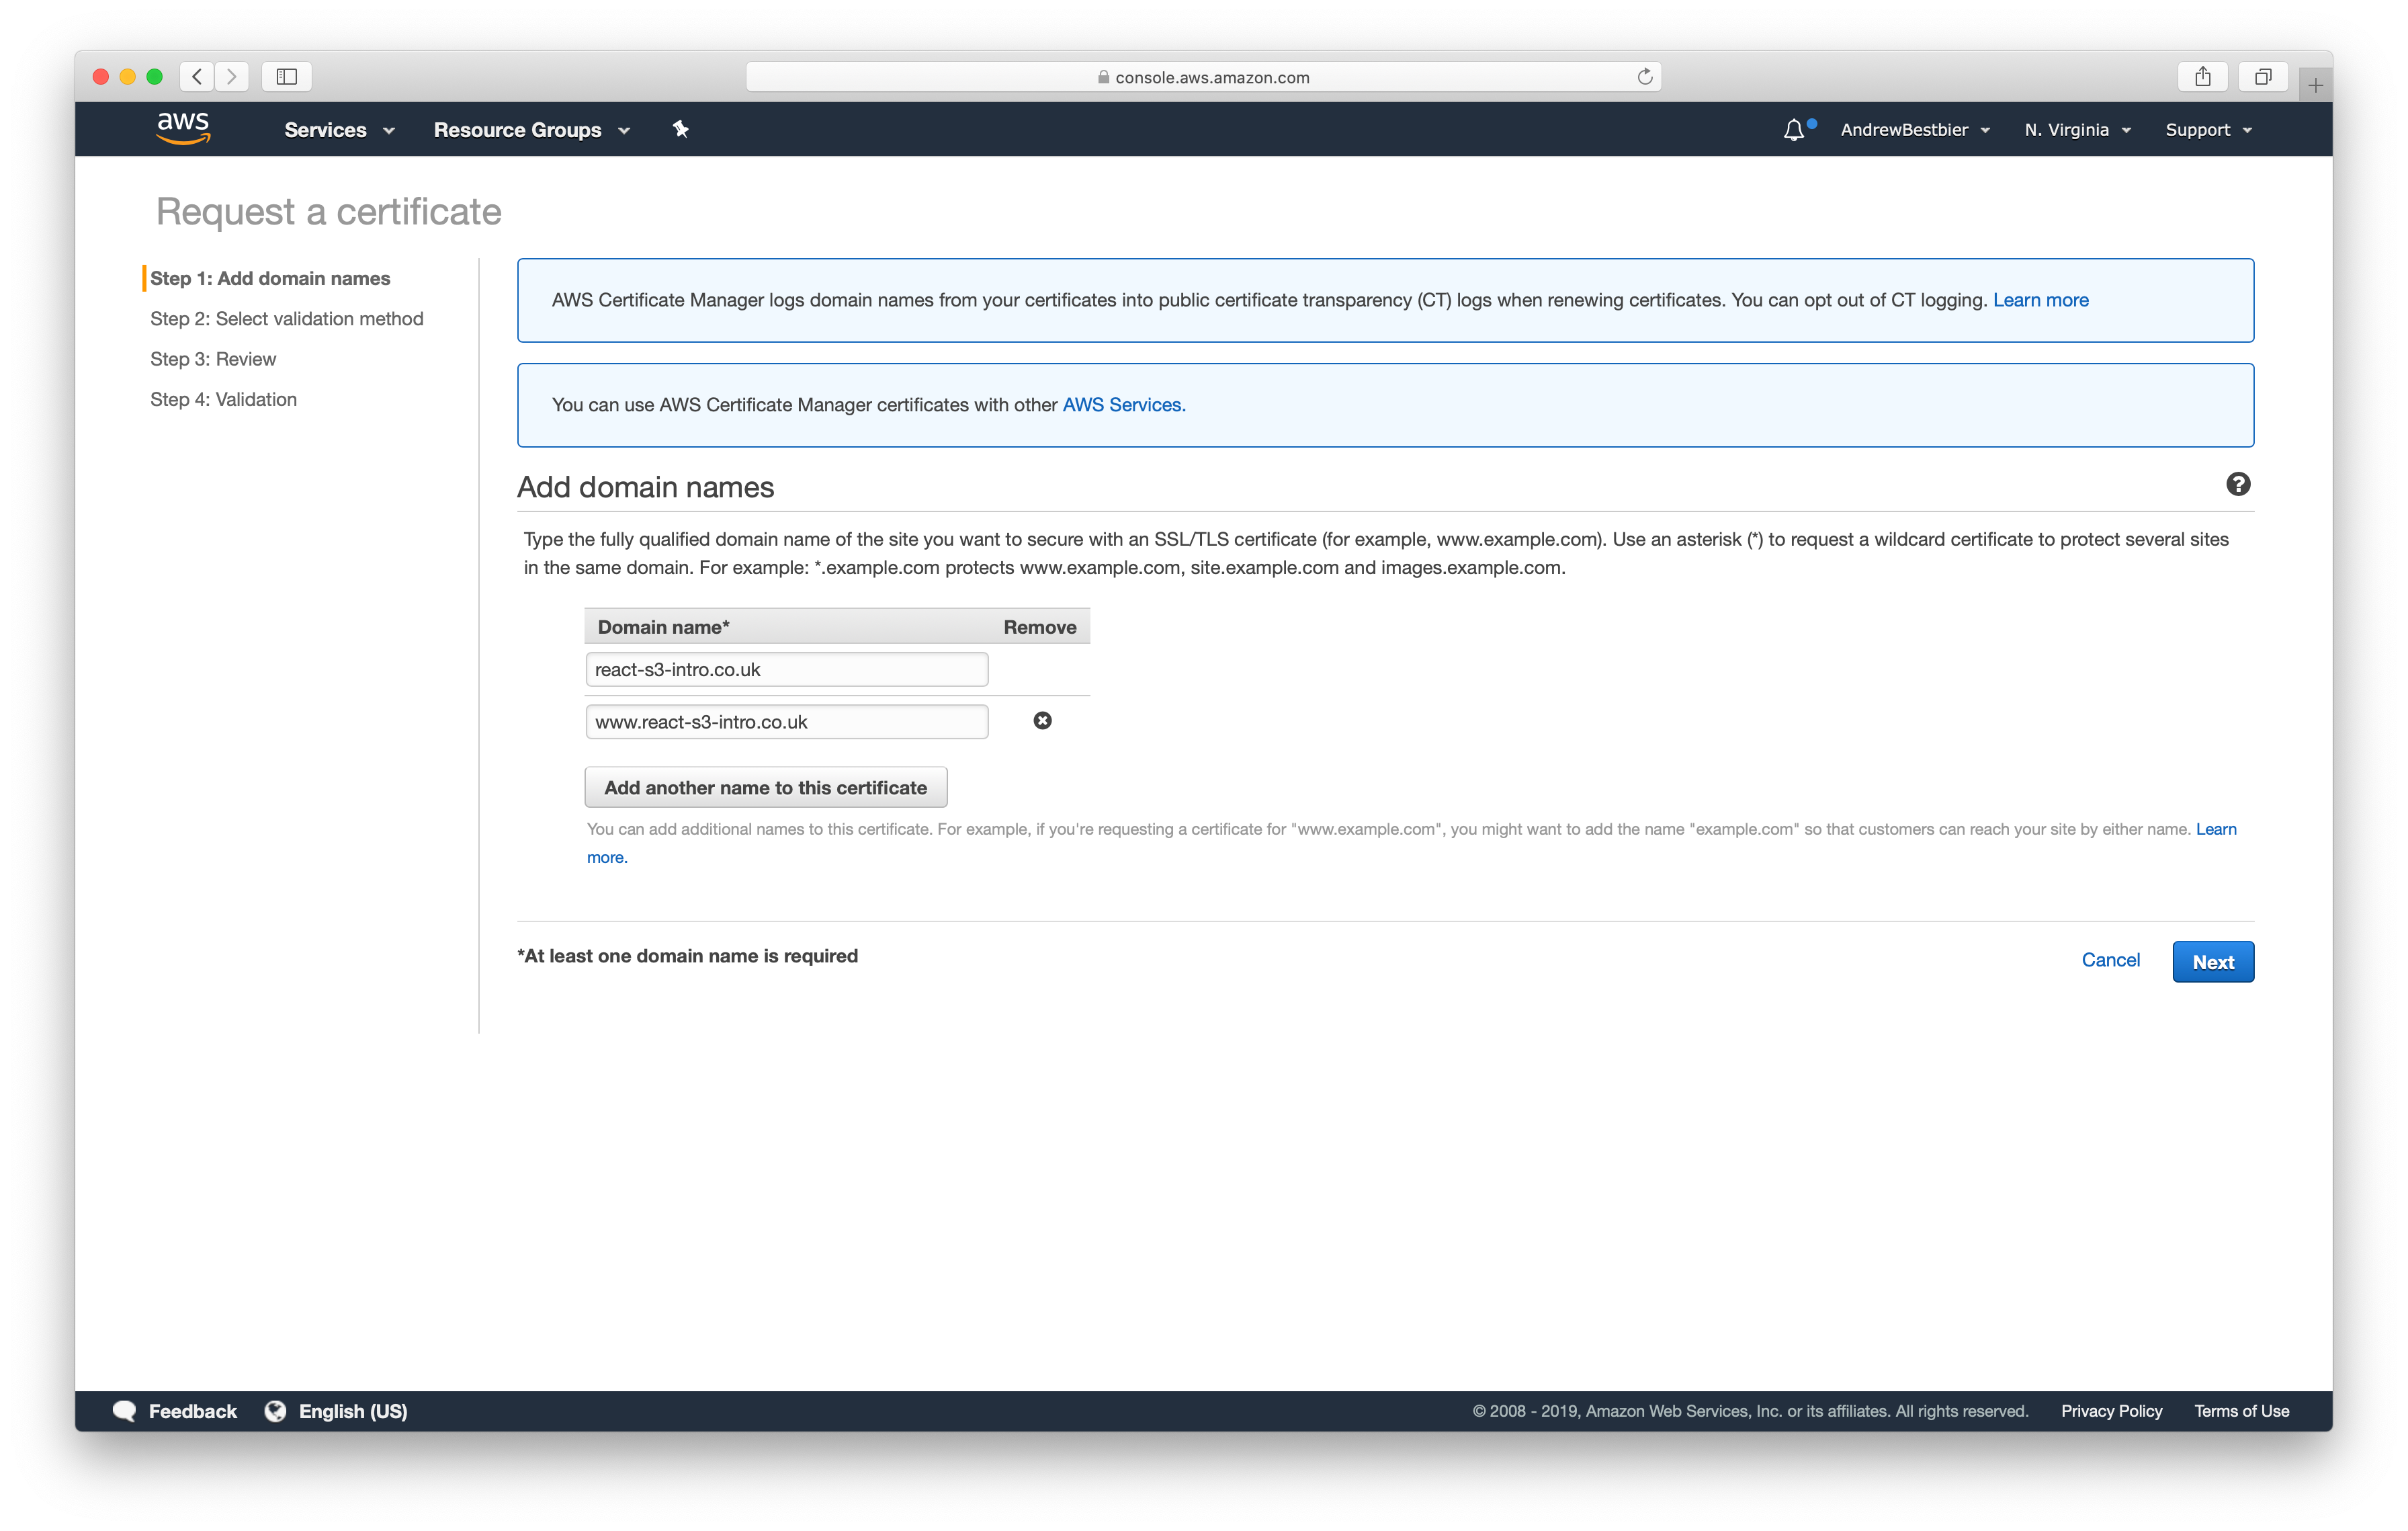
You then need to add the details of the domain name you purchased earlier. In my case, these were react-s3-intro.co.uk and www.react-s3-intro.co.uk respectively. If you wish, you can also use a wildcard
Click Next, DNS validation and Review

To validate your certificates automatically through AWS, click the small arrow next to each Domain. These should expand to reveal buttons saying Create record in Route 53. Click these buttons so that AWS can configure all this for you
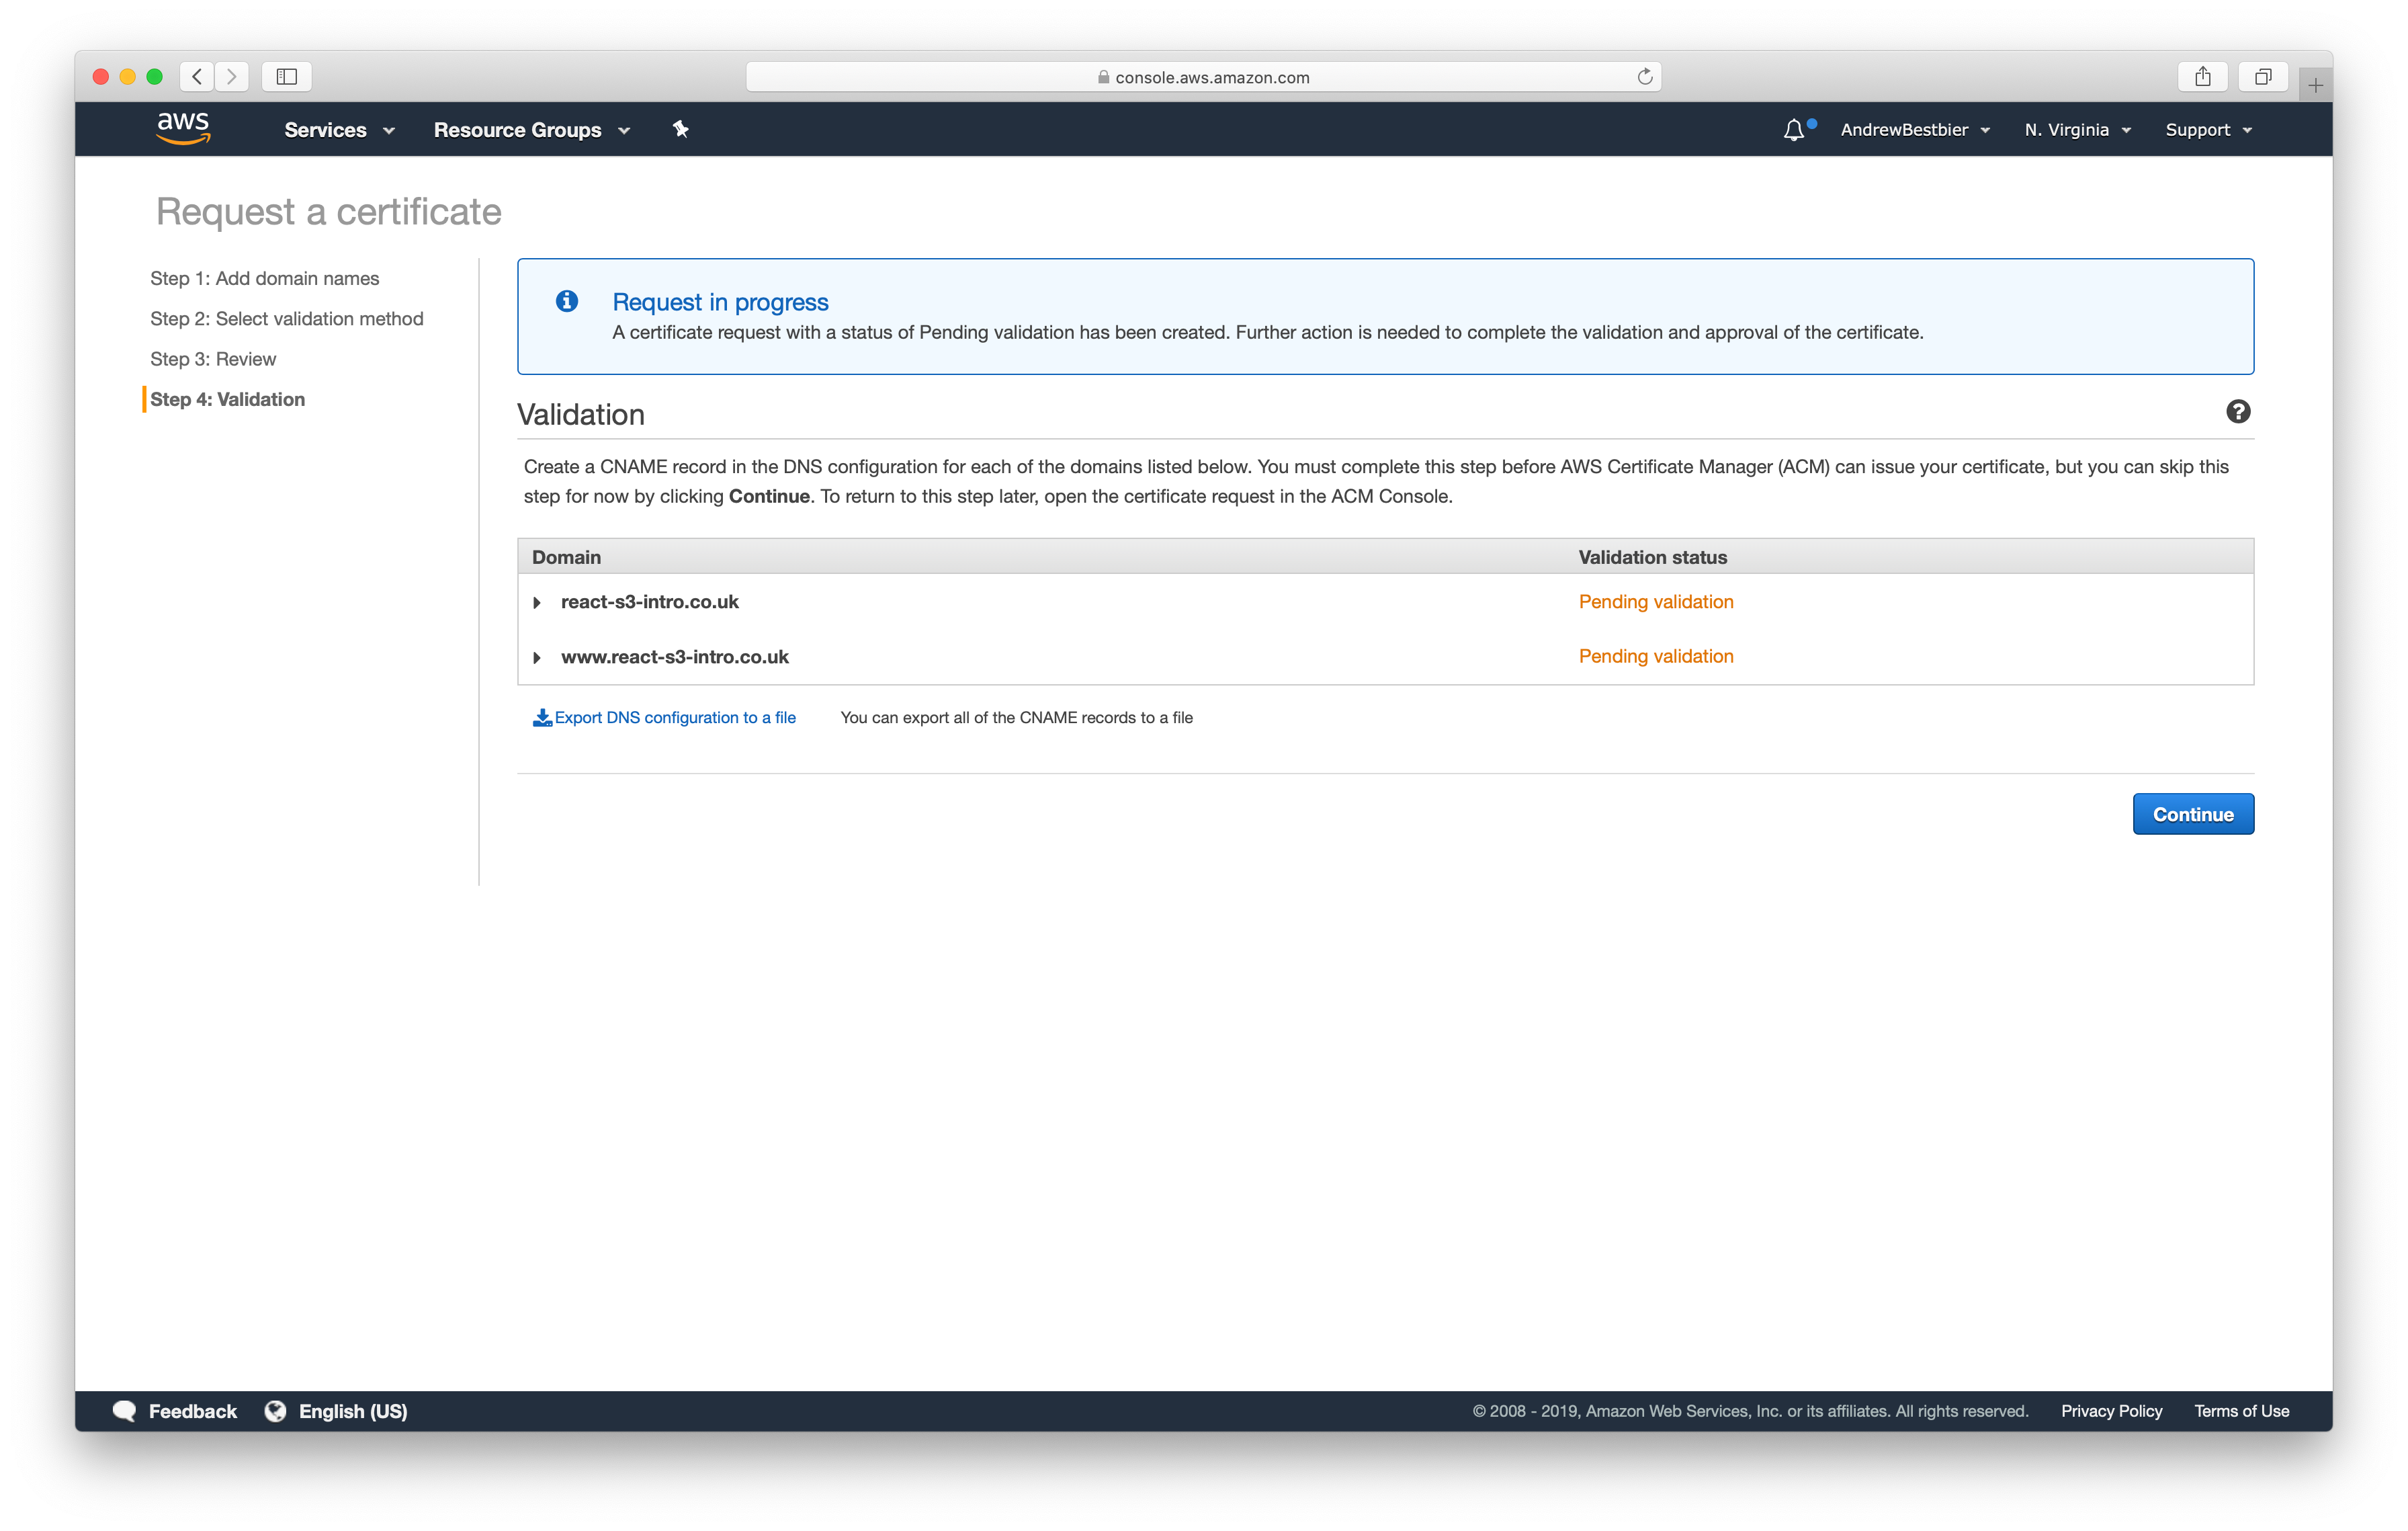

Click Continue and wait for your certificates to be validated
Create a CDN with CloudFront:
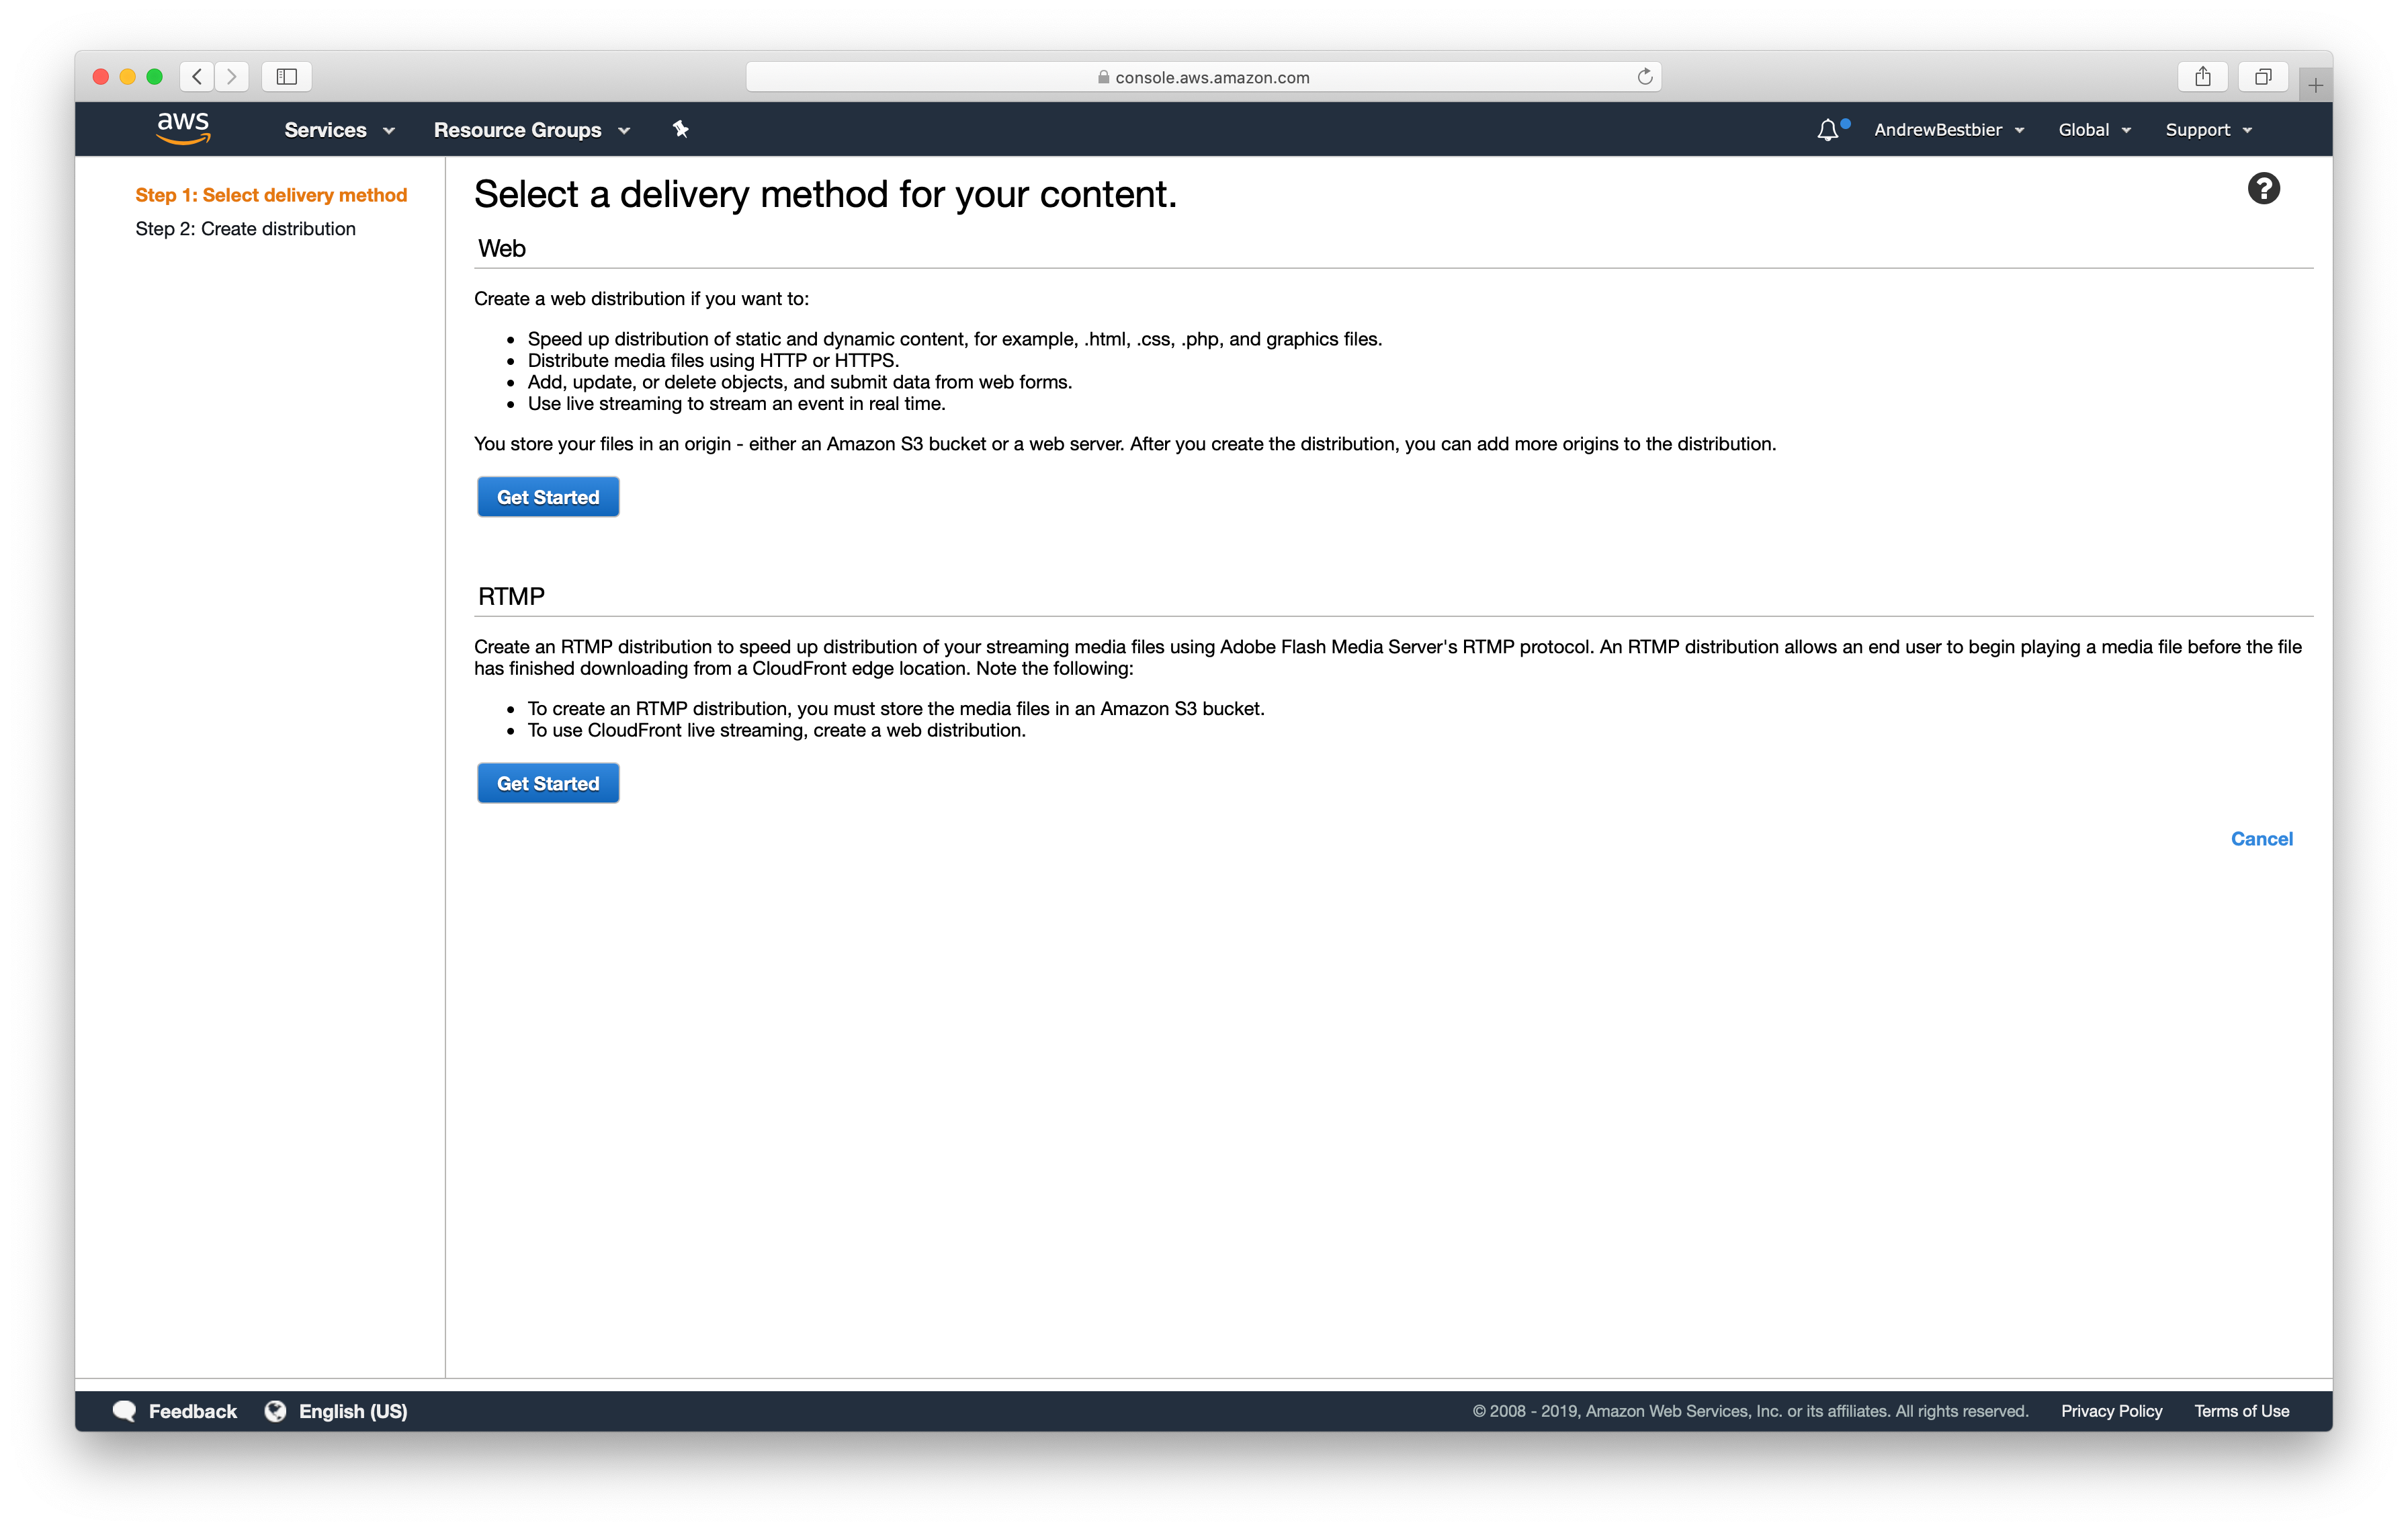
Next, we will create a CDN through CloudFront so that your website can be accessed quickly anywhere in the world. Open CloudFront and then click Create Distribution

Select Web as the distribution you wish to create
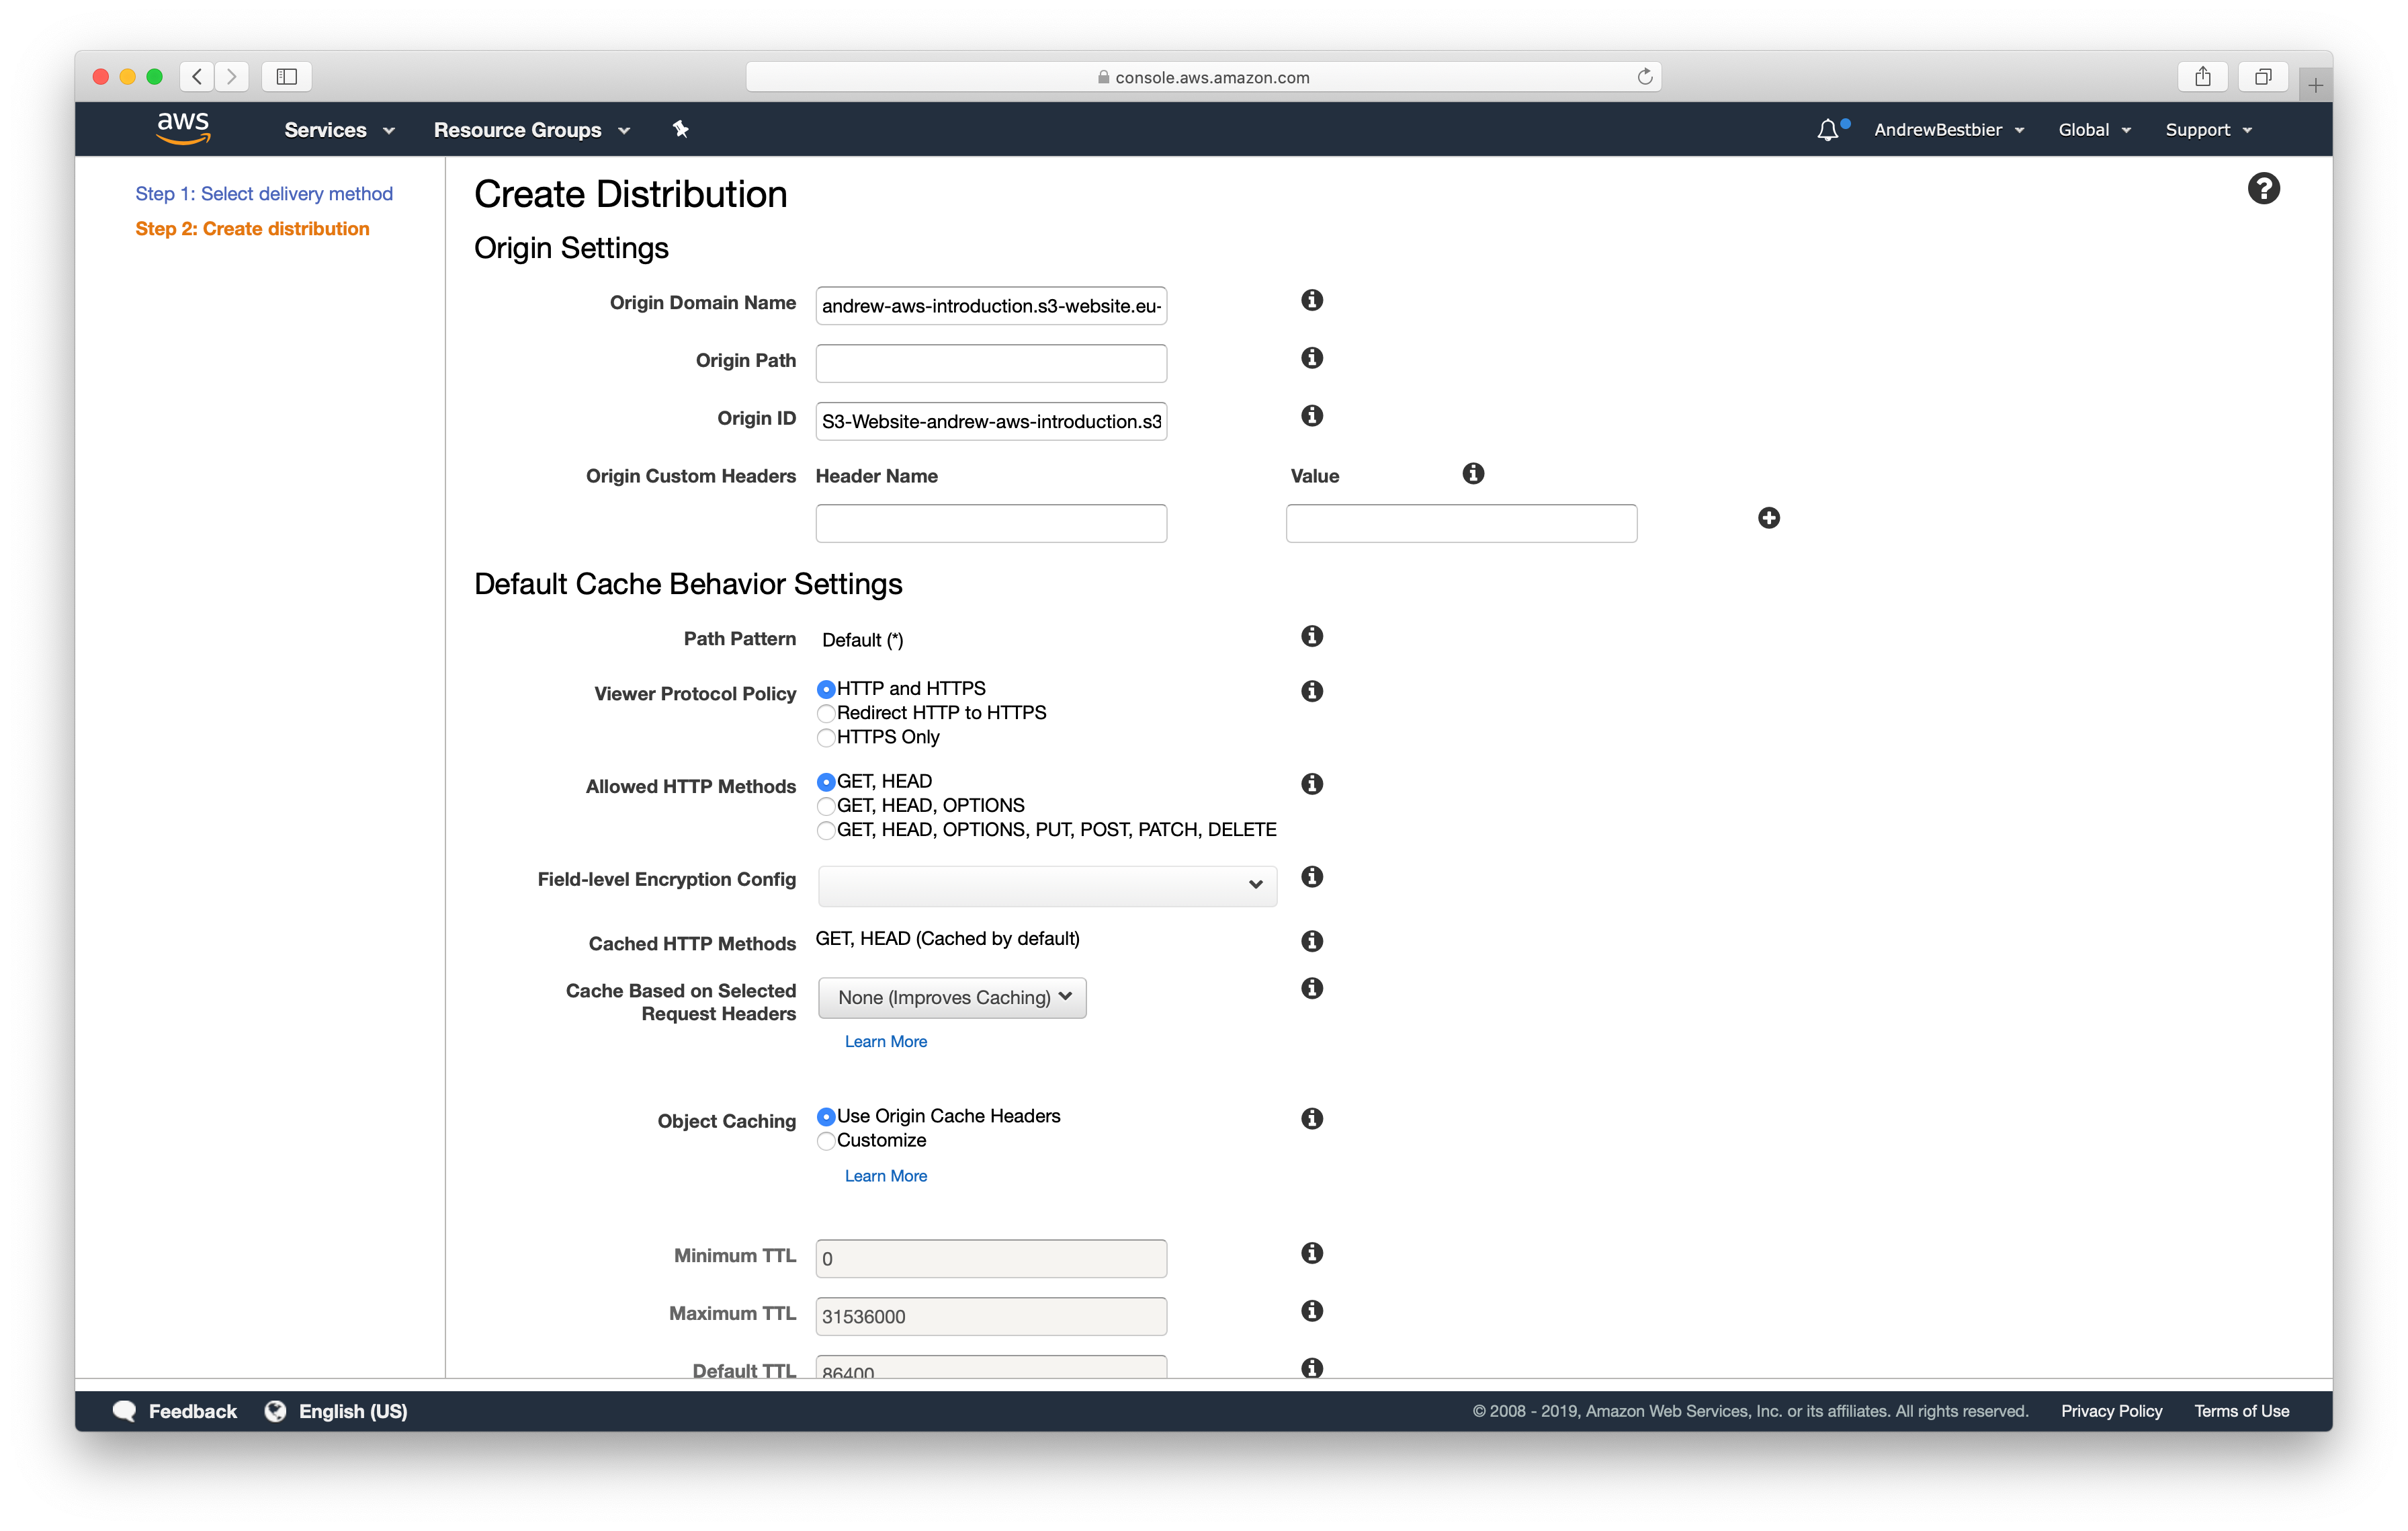
For ‘Origin Domain Name’, input the url of your S3 bucket (note that you shouldn’t use the dropdown here, input it yourself)
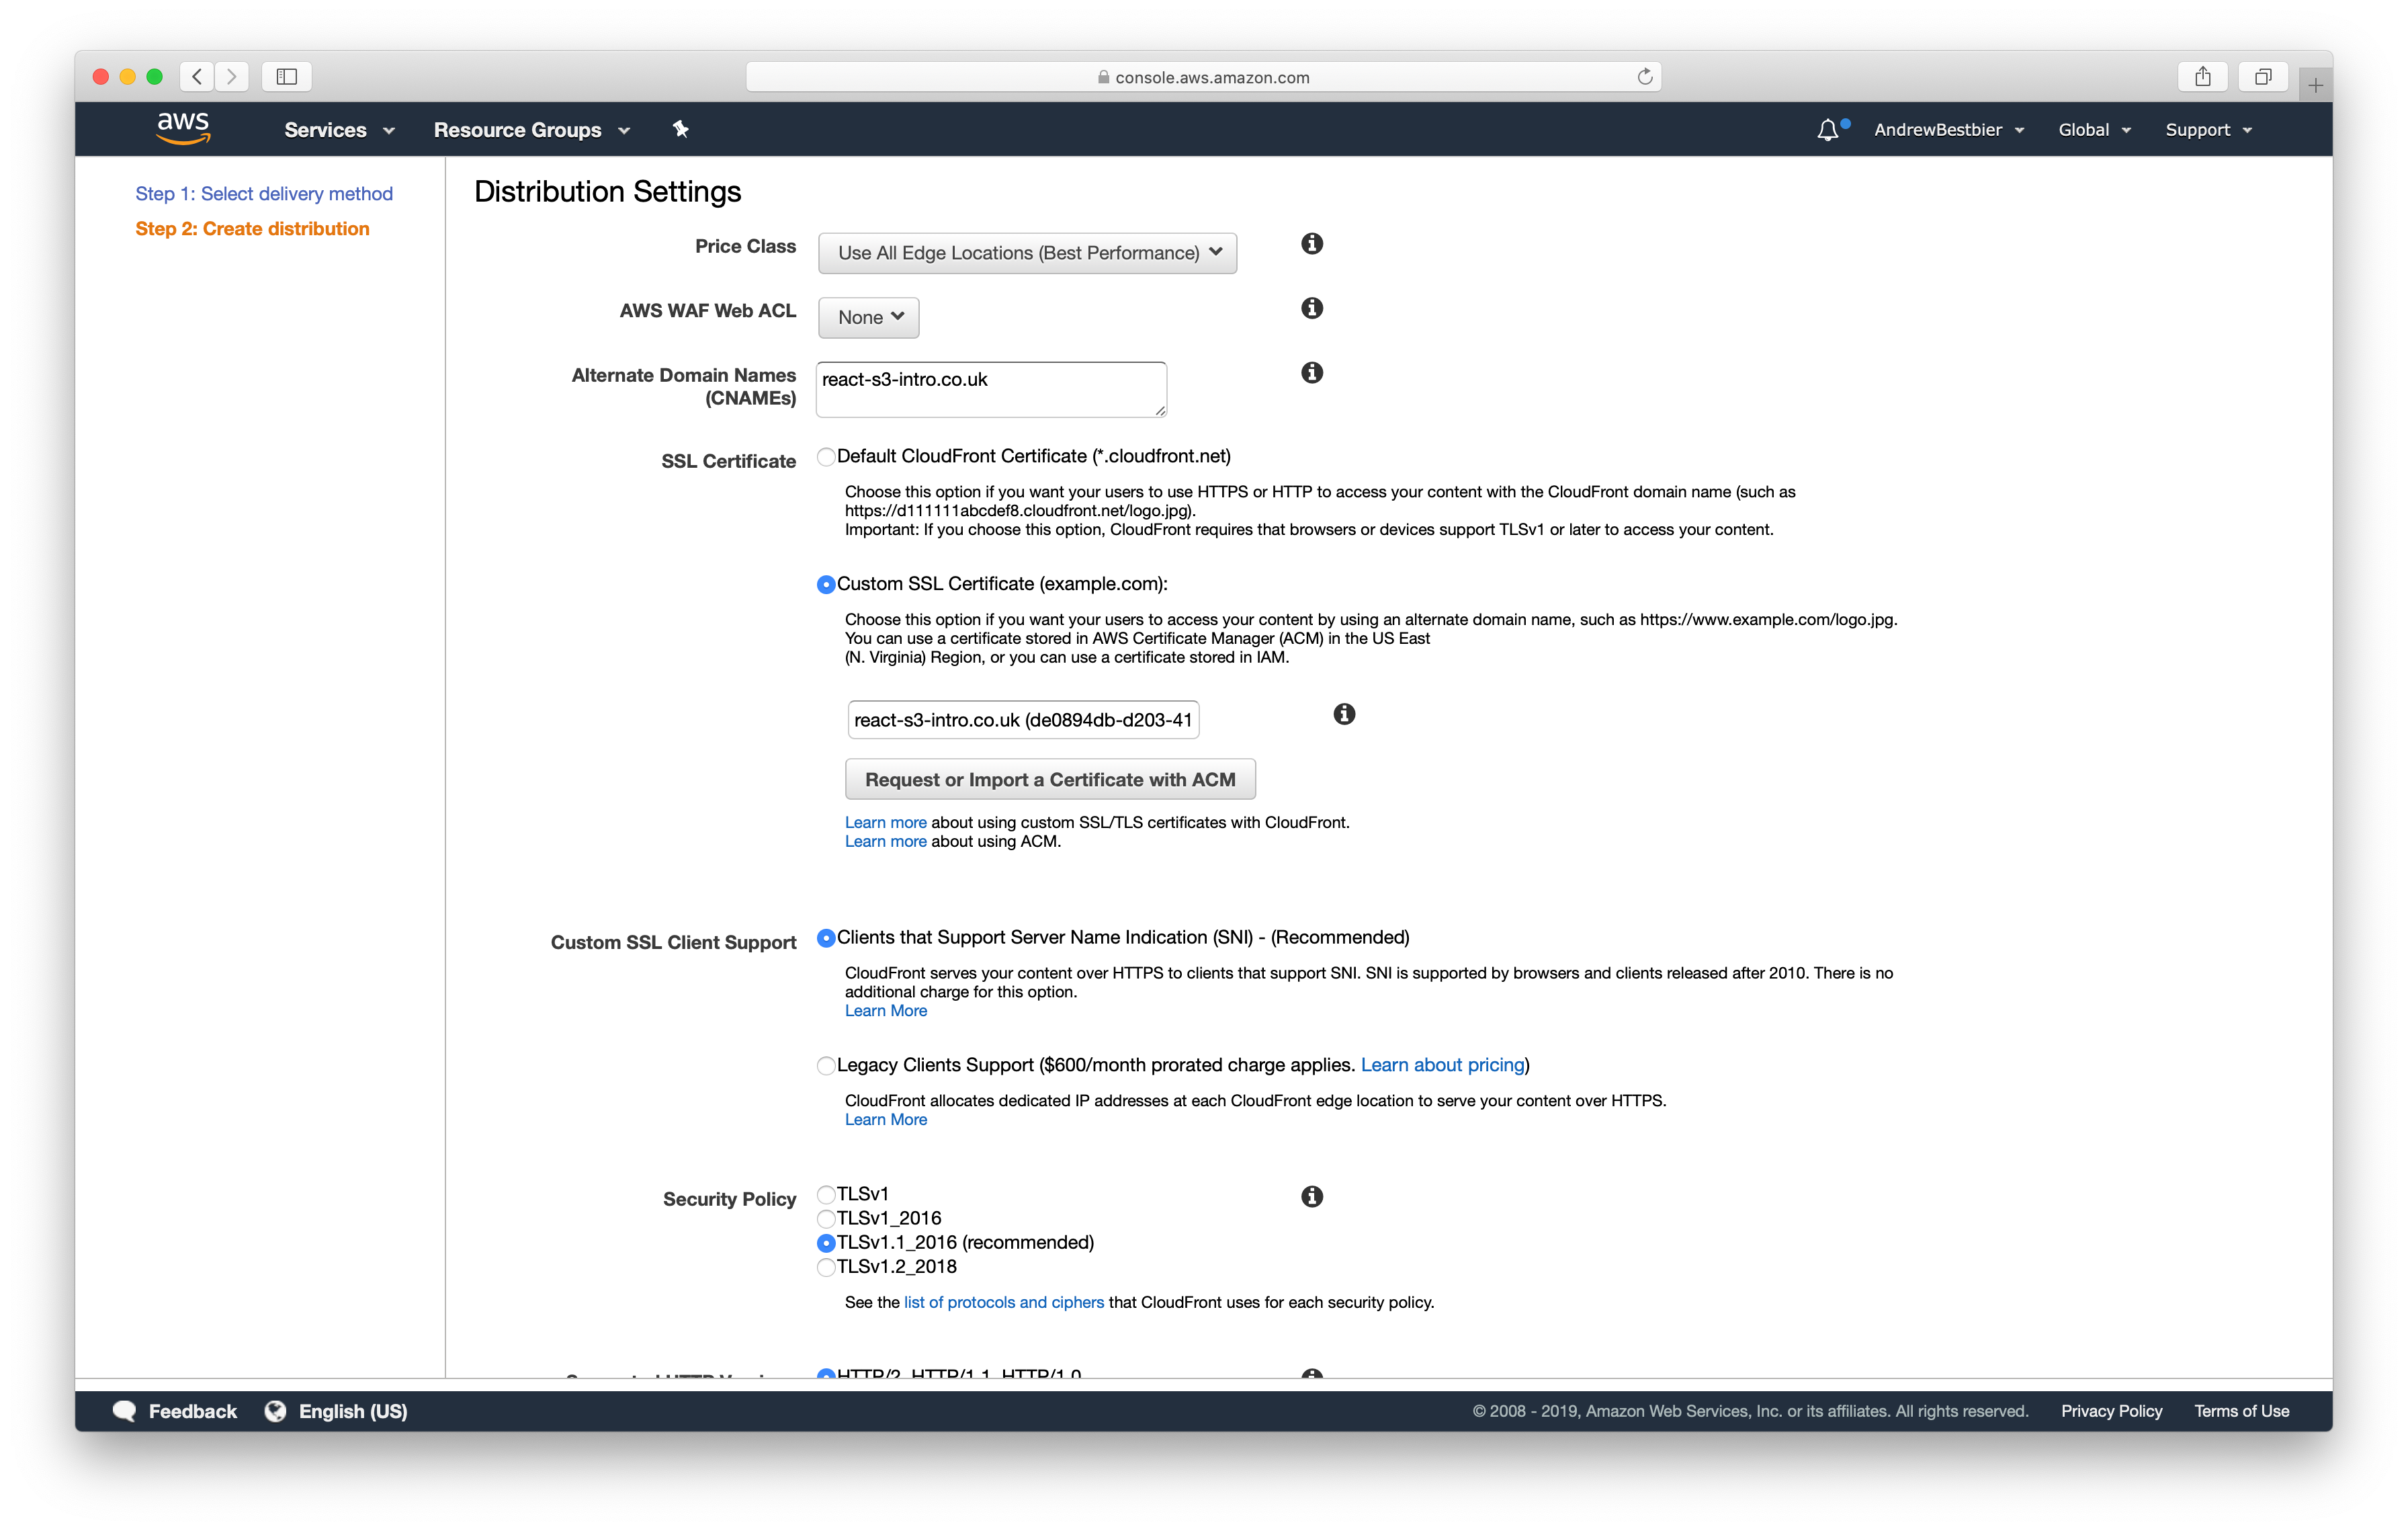
Further down the page, input your new domain name in ‘Alternate Domain Names’ (mine is react-s3-intro.co.uk). Below that, select Custom SSL Certificate and select your newly created certificate. If your certificate does not appear, you probably missed the step earlier where I specified that it must be create in the Northern Virginia region
No further changes are needed so create the distribution and make yourself a coffee as it takes about 30 minutes to spin up

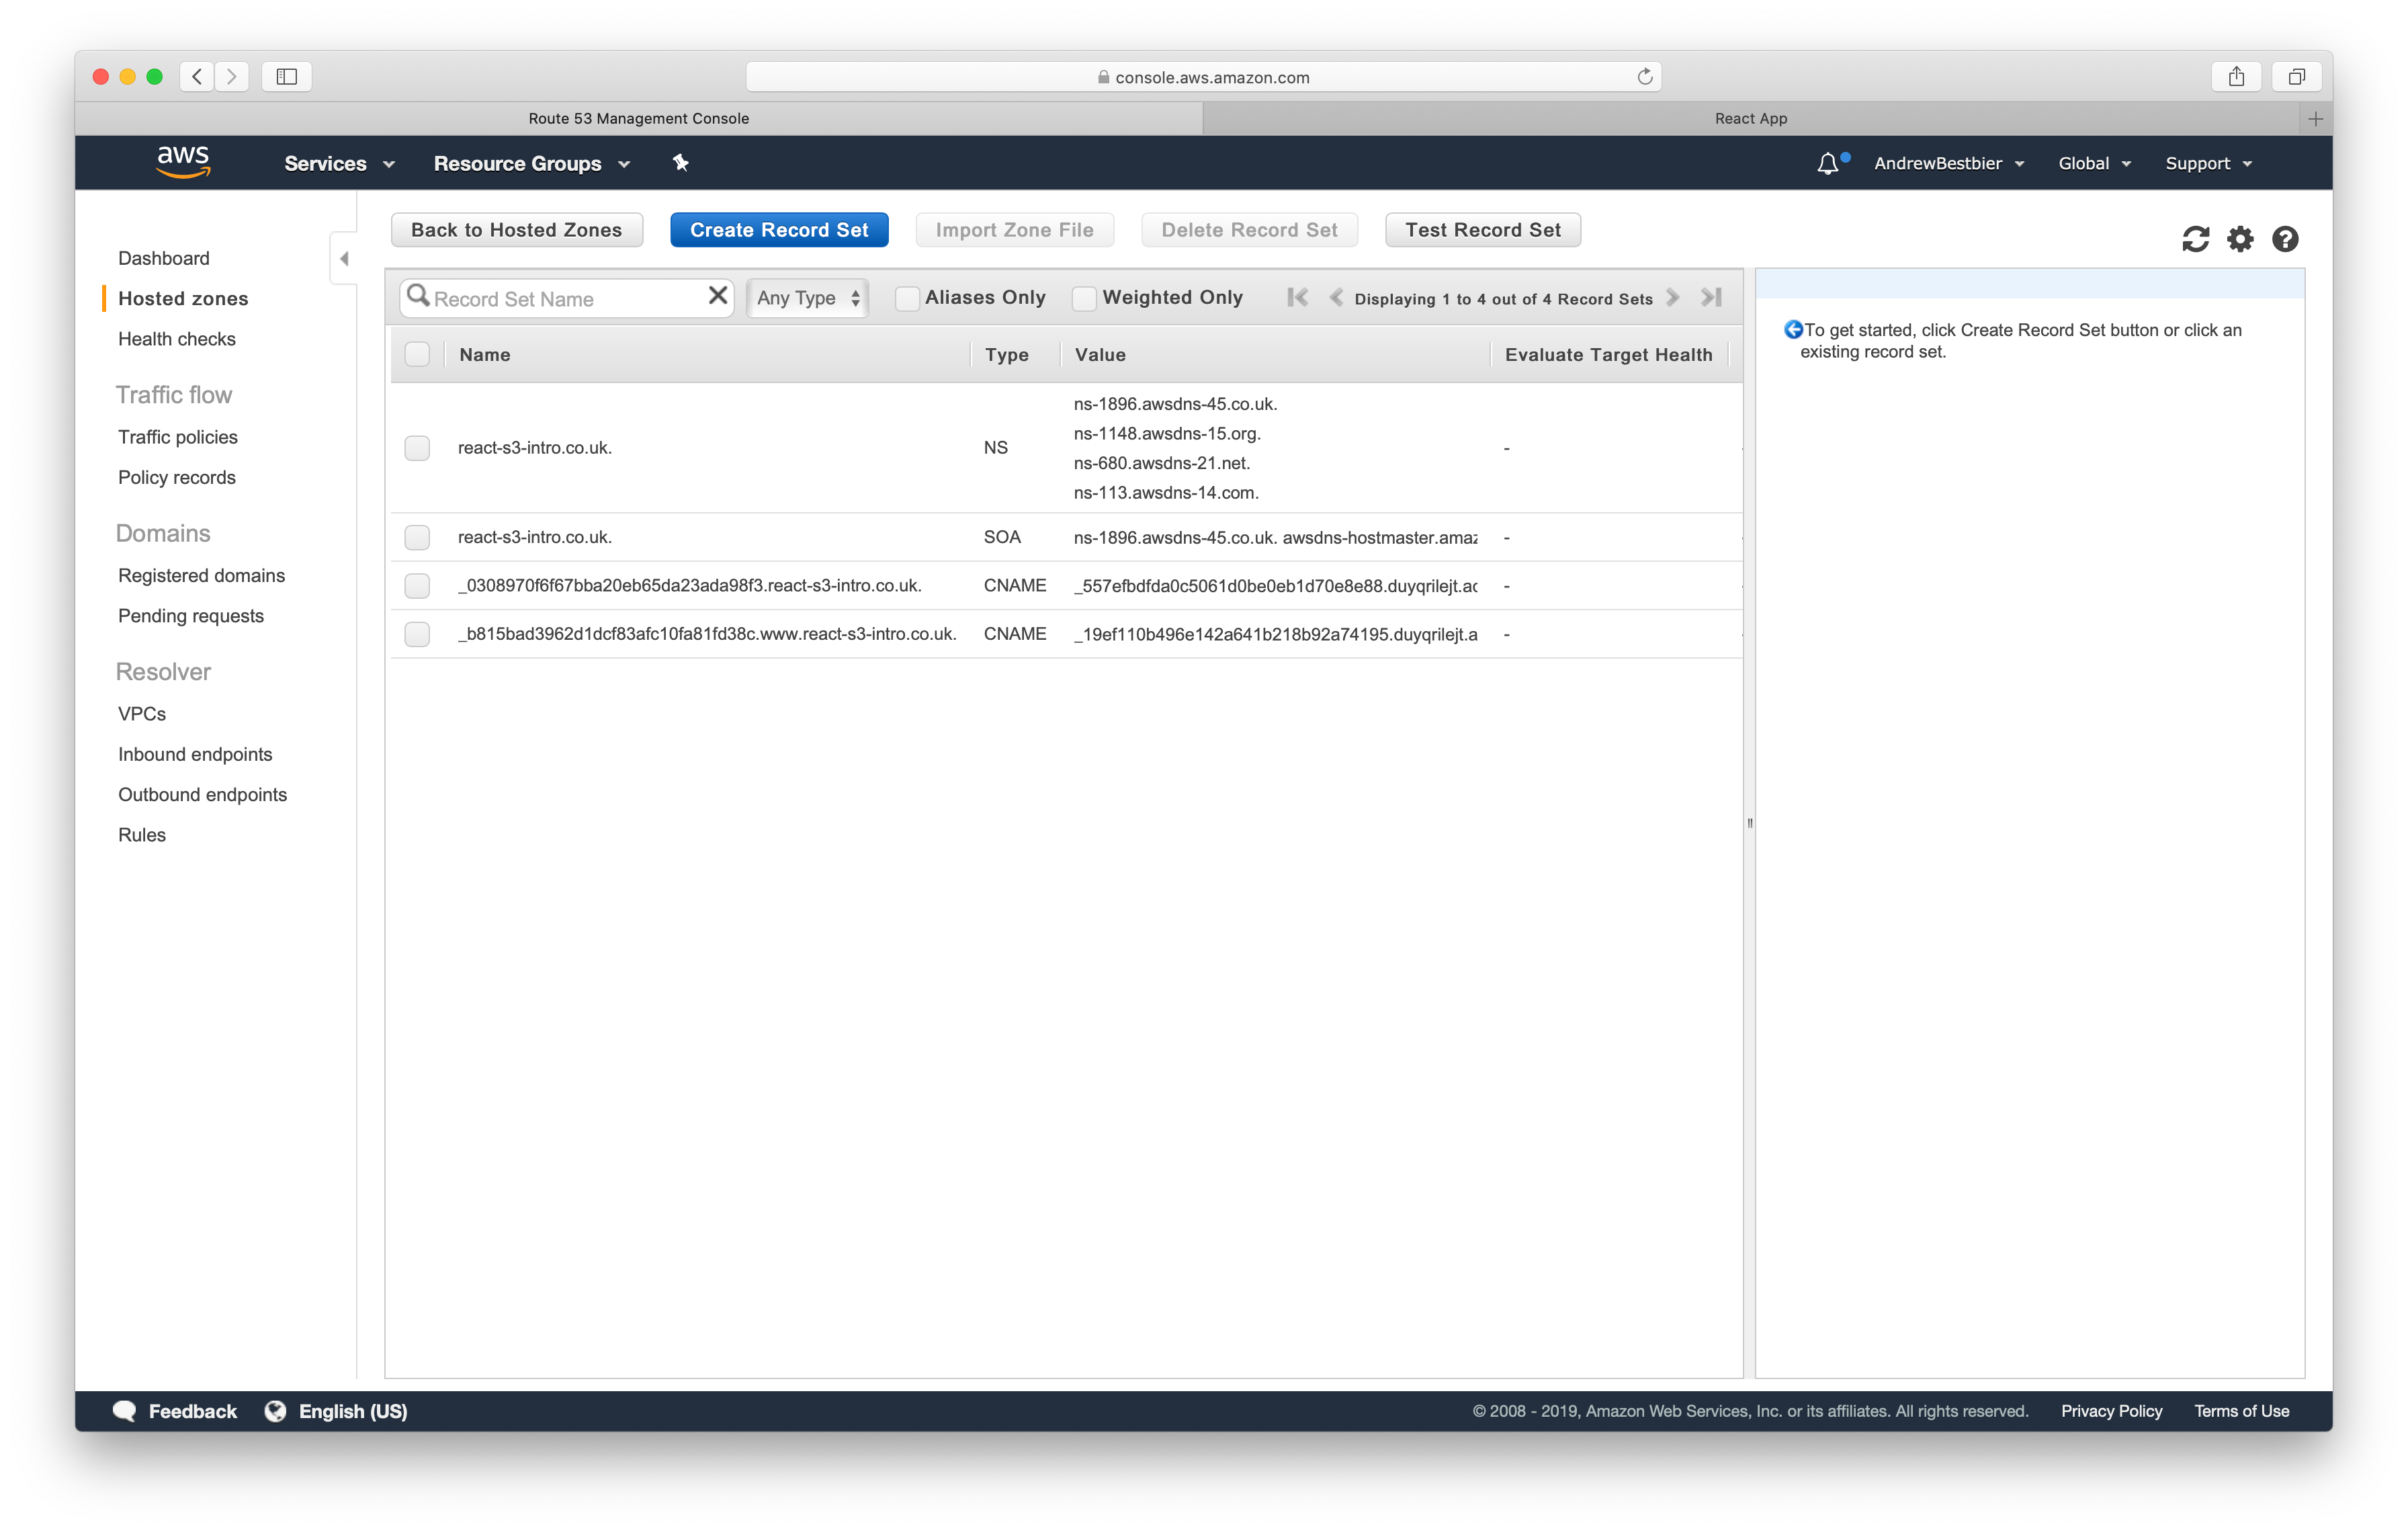
When your CDN is up and running, navigate back to your hosted zone in Route 53
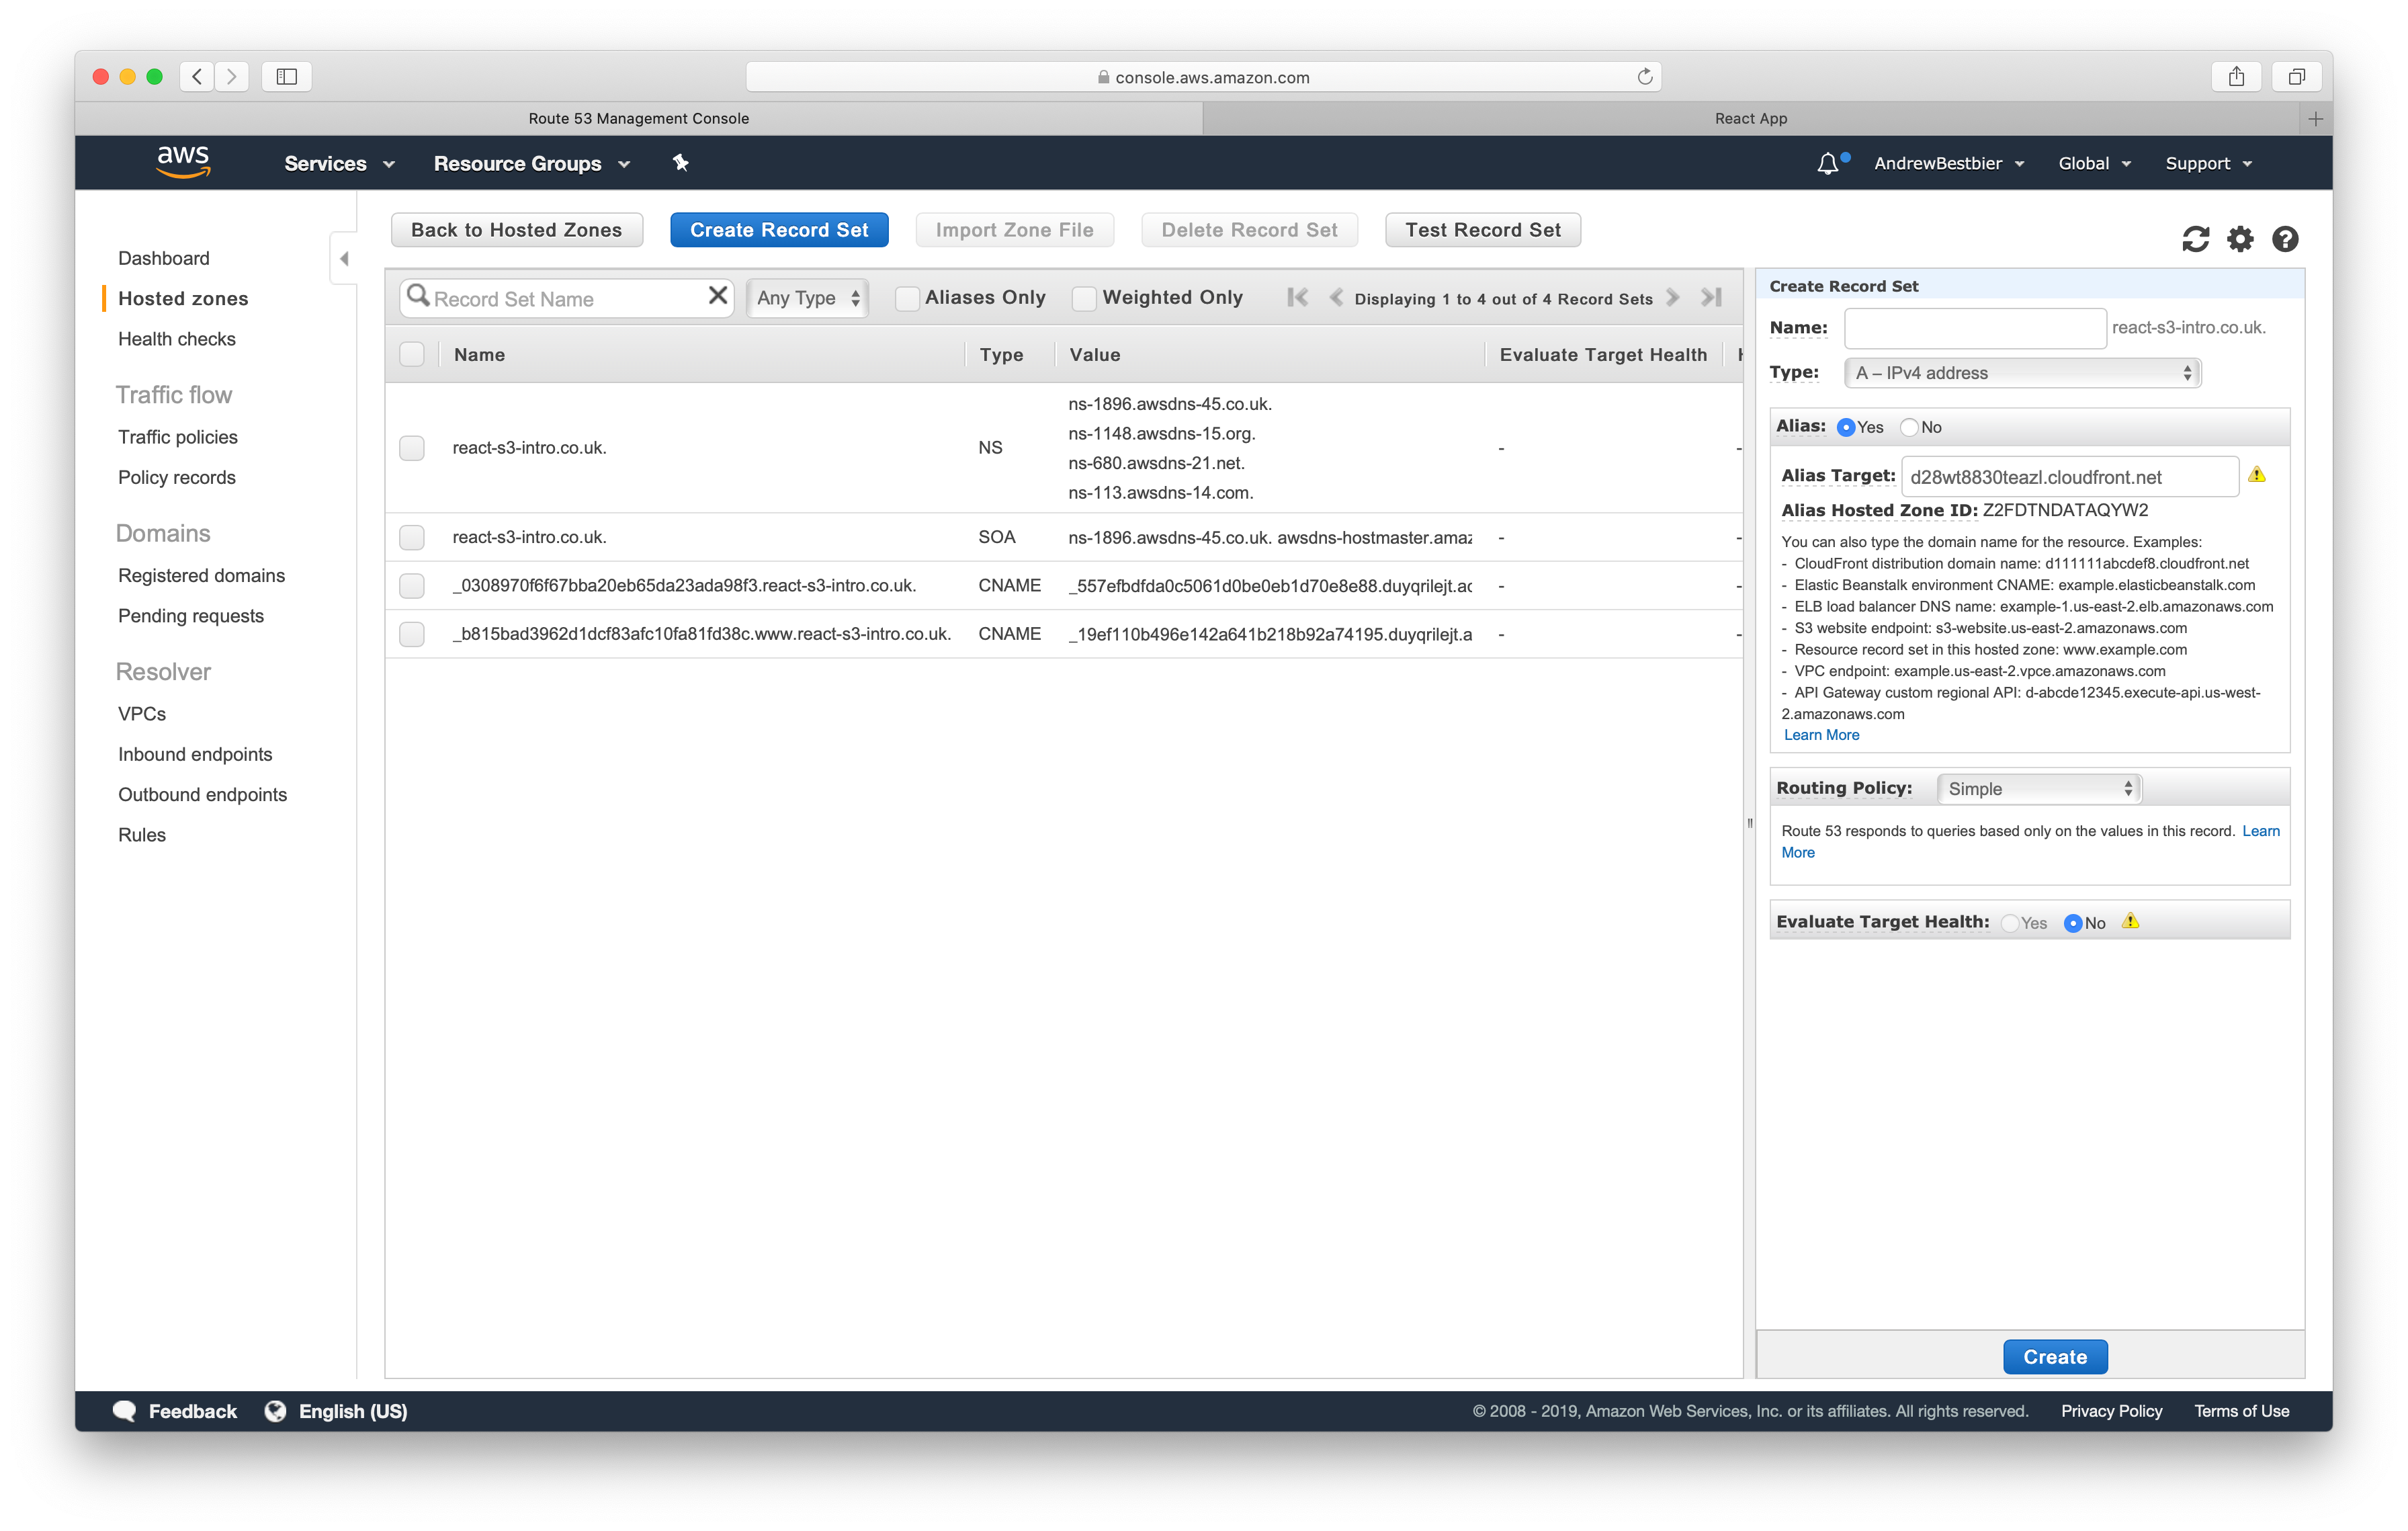
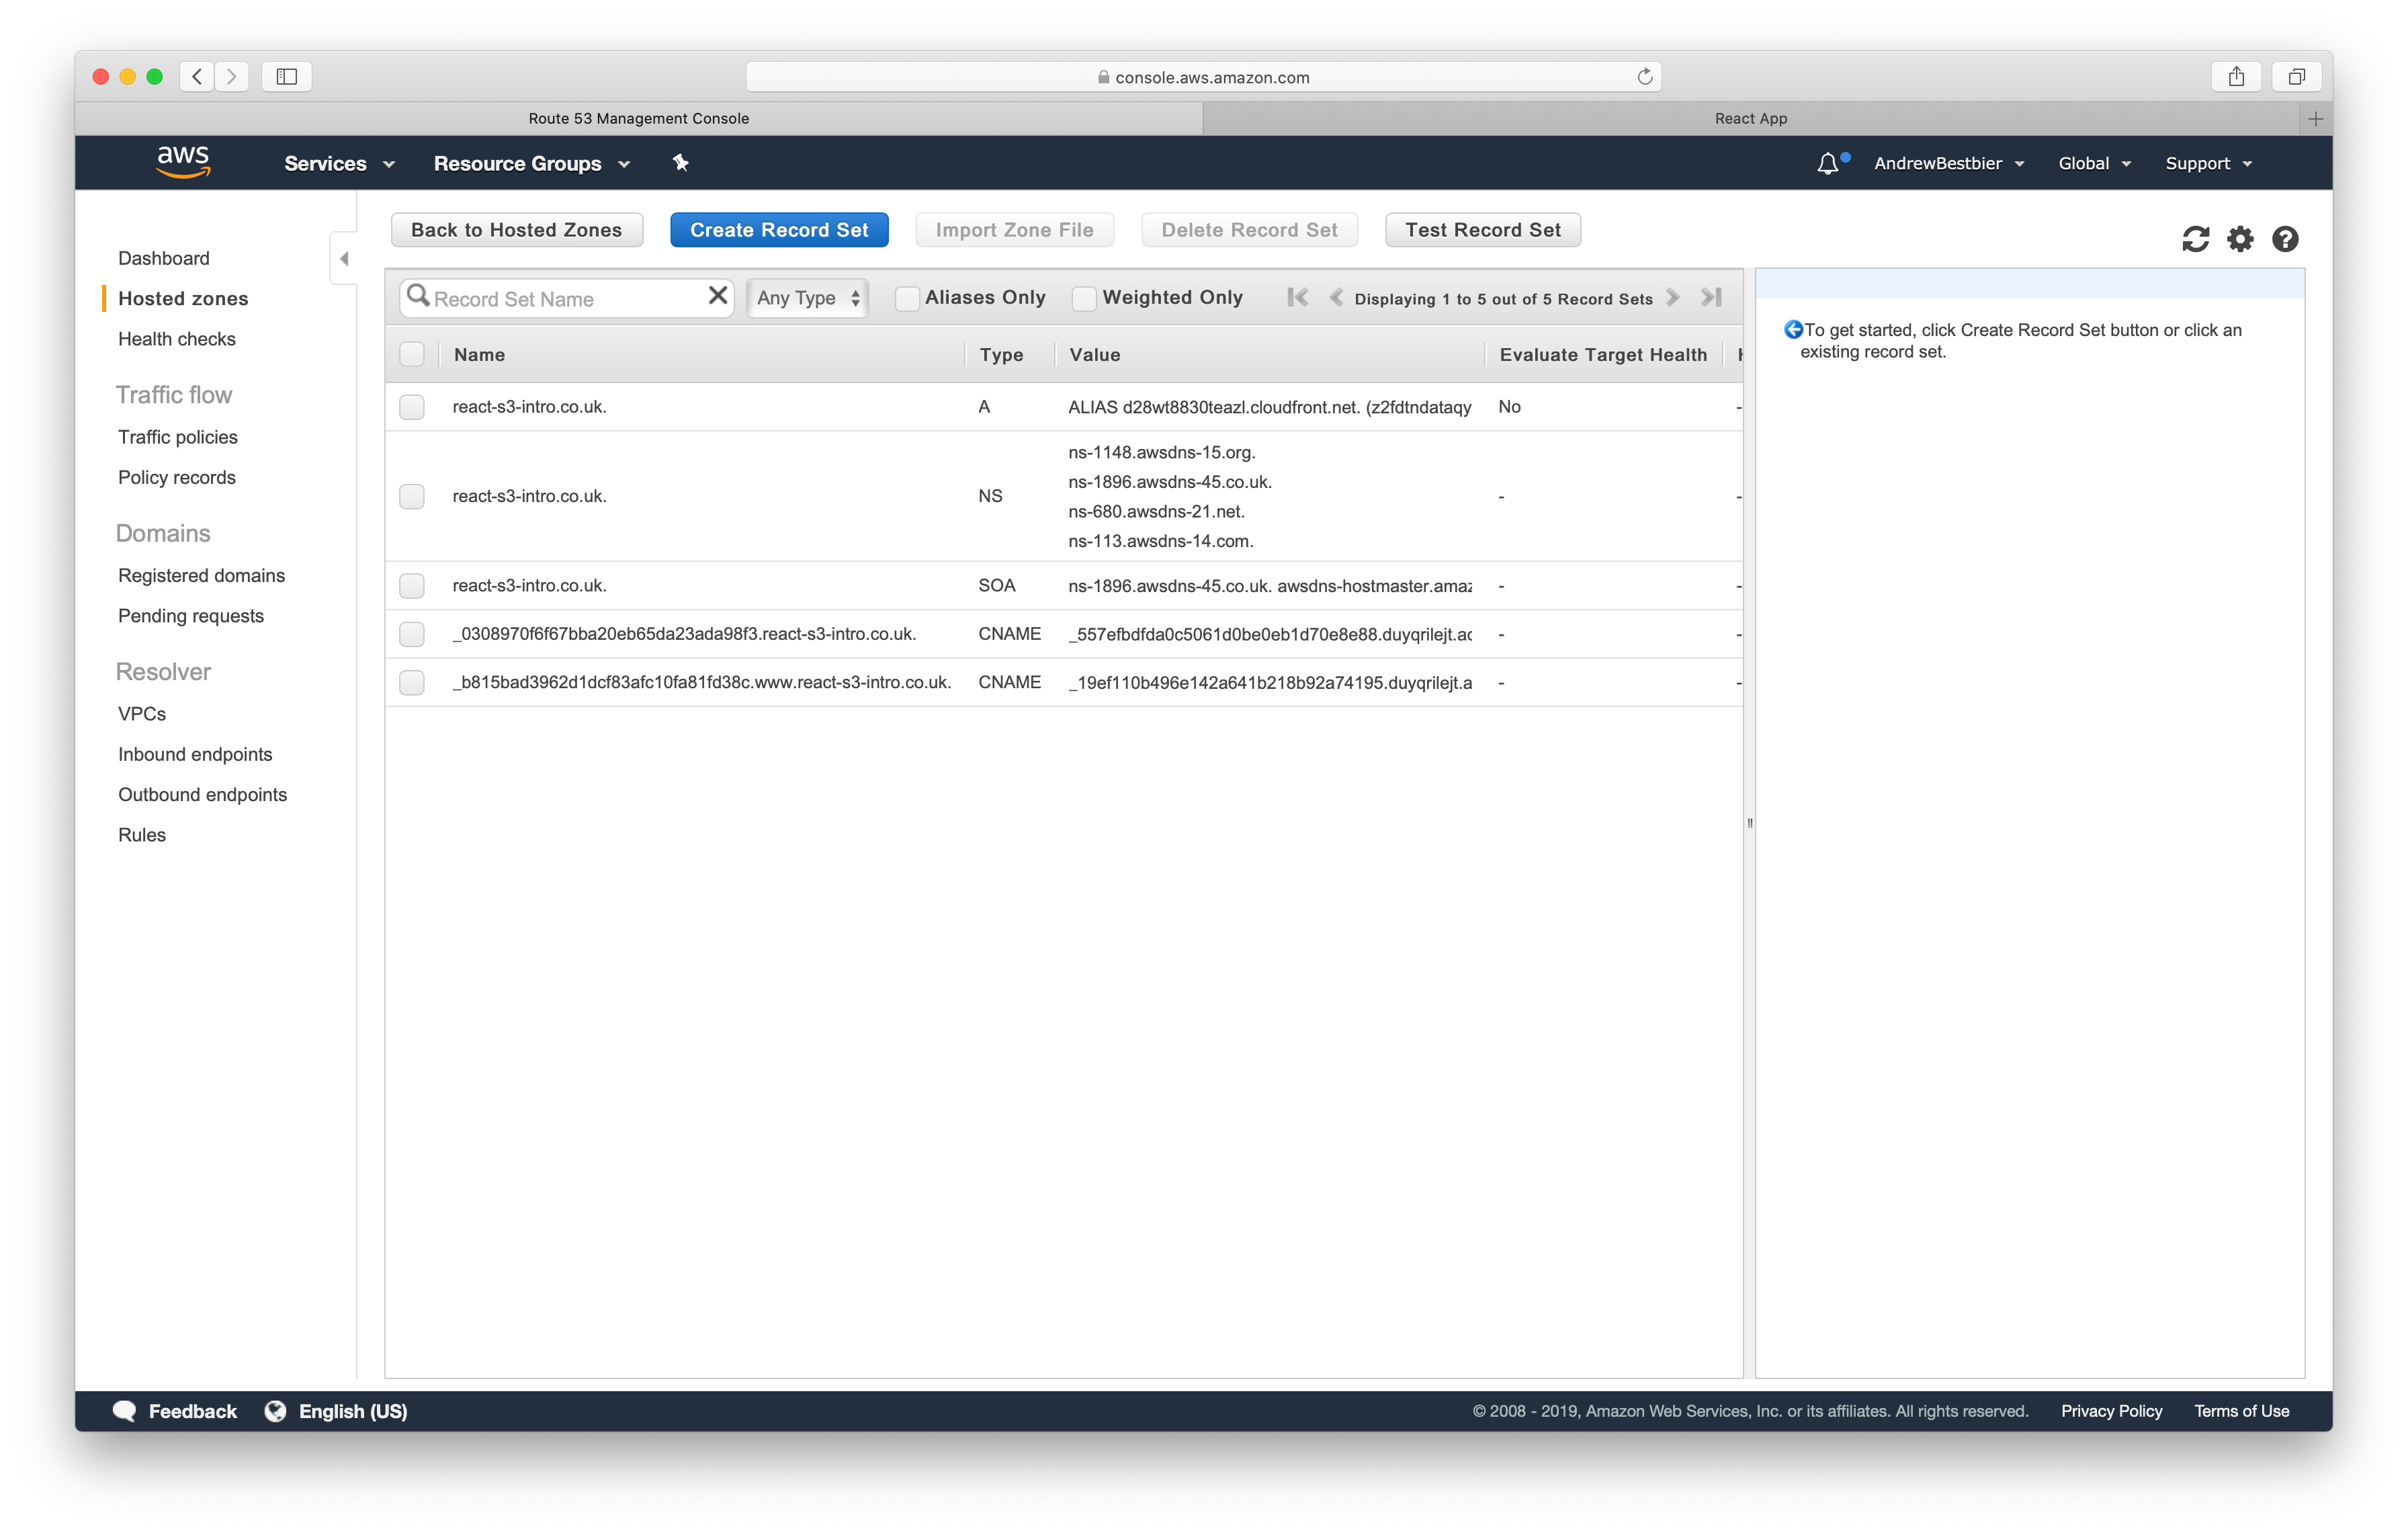
Click Create Record Set and a modal should appear from the right. Leave the ‘Name’ empty, set the ‘Type’ to ‘A — IPv4 address’ and set ‘Alias’ to ‘Yes’. Here the Alias Target should be the url of your newly created CloudFront distribution — this should be available in the drop down box that appears. Finally click Create
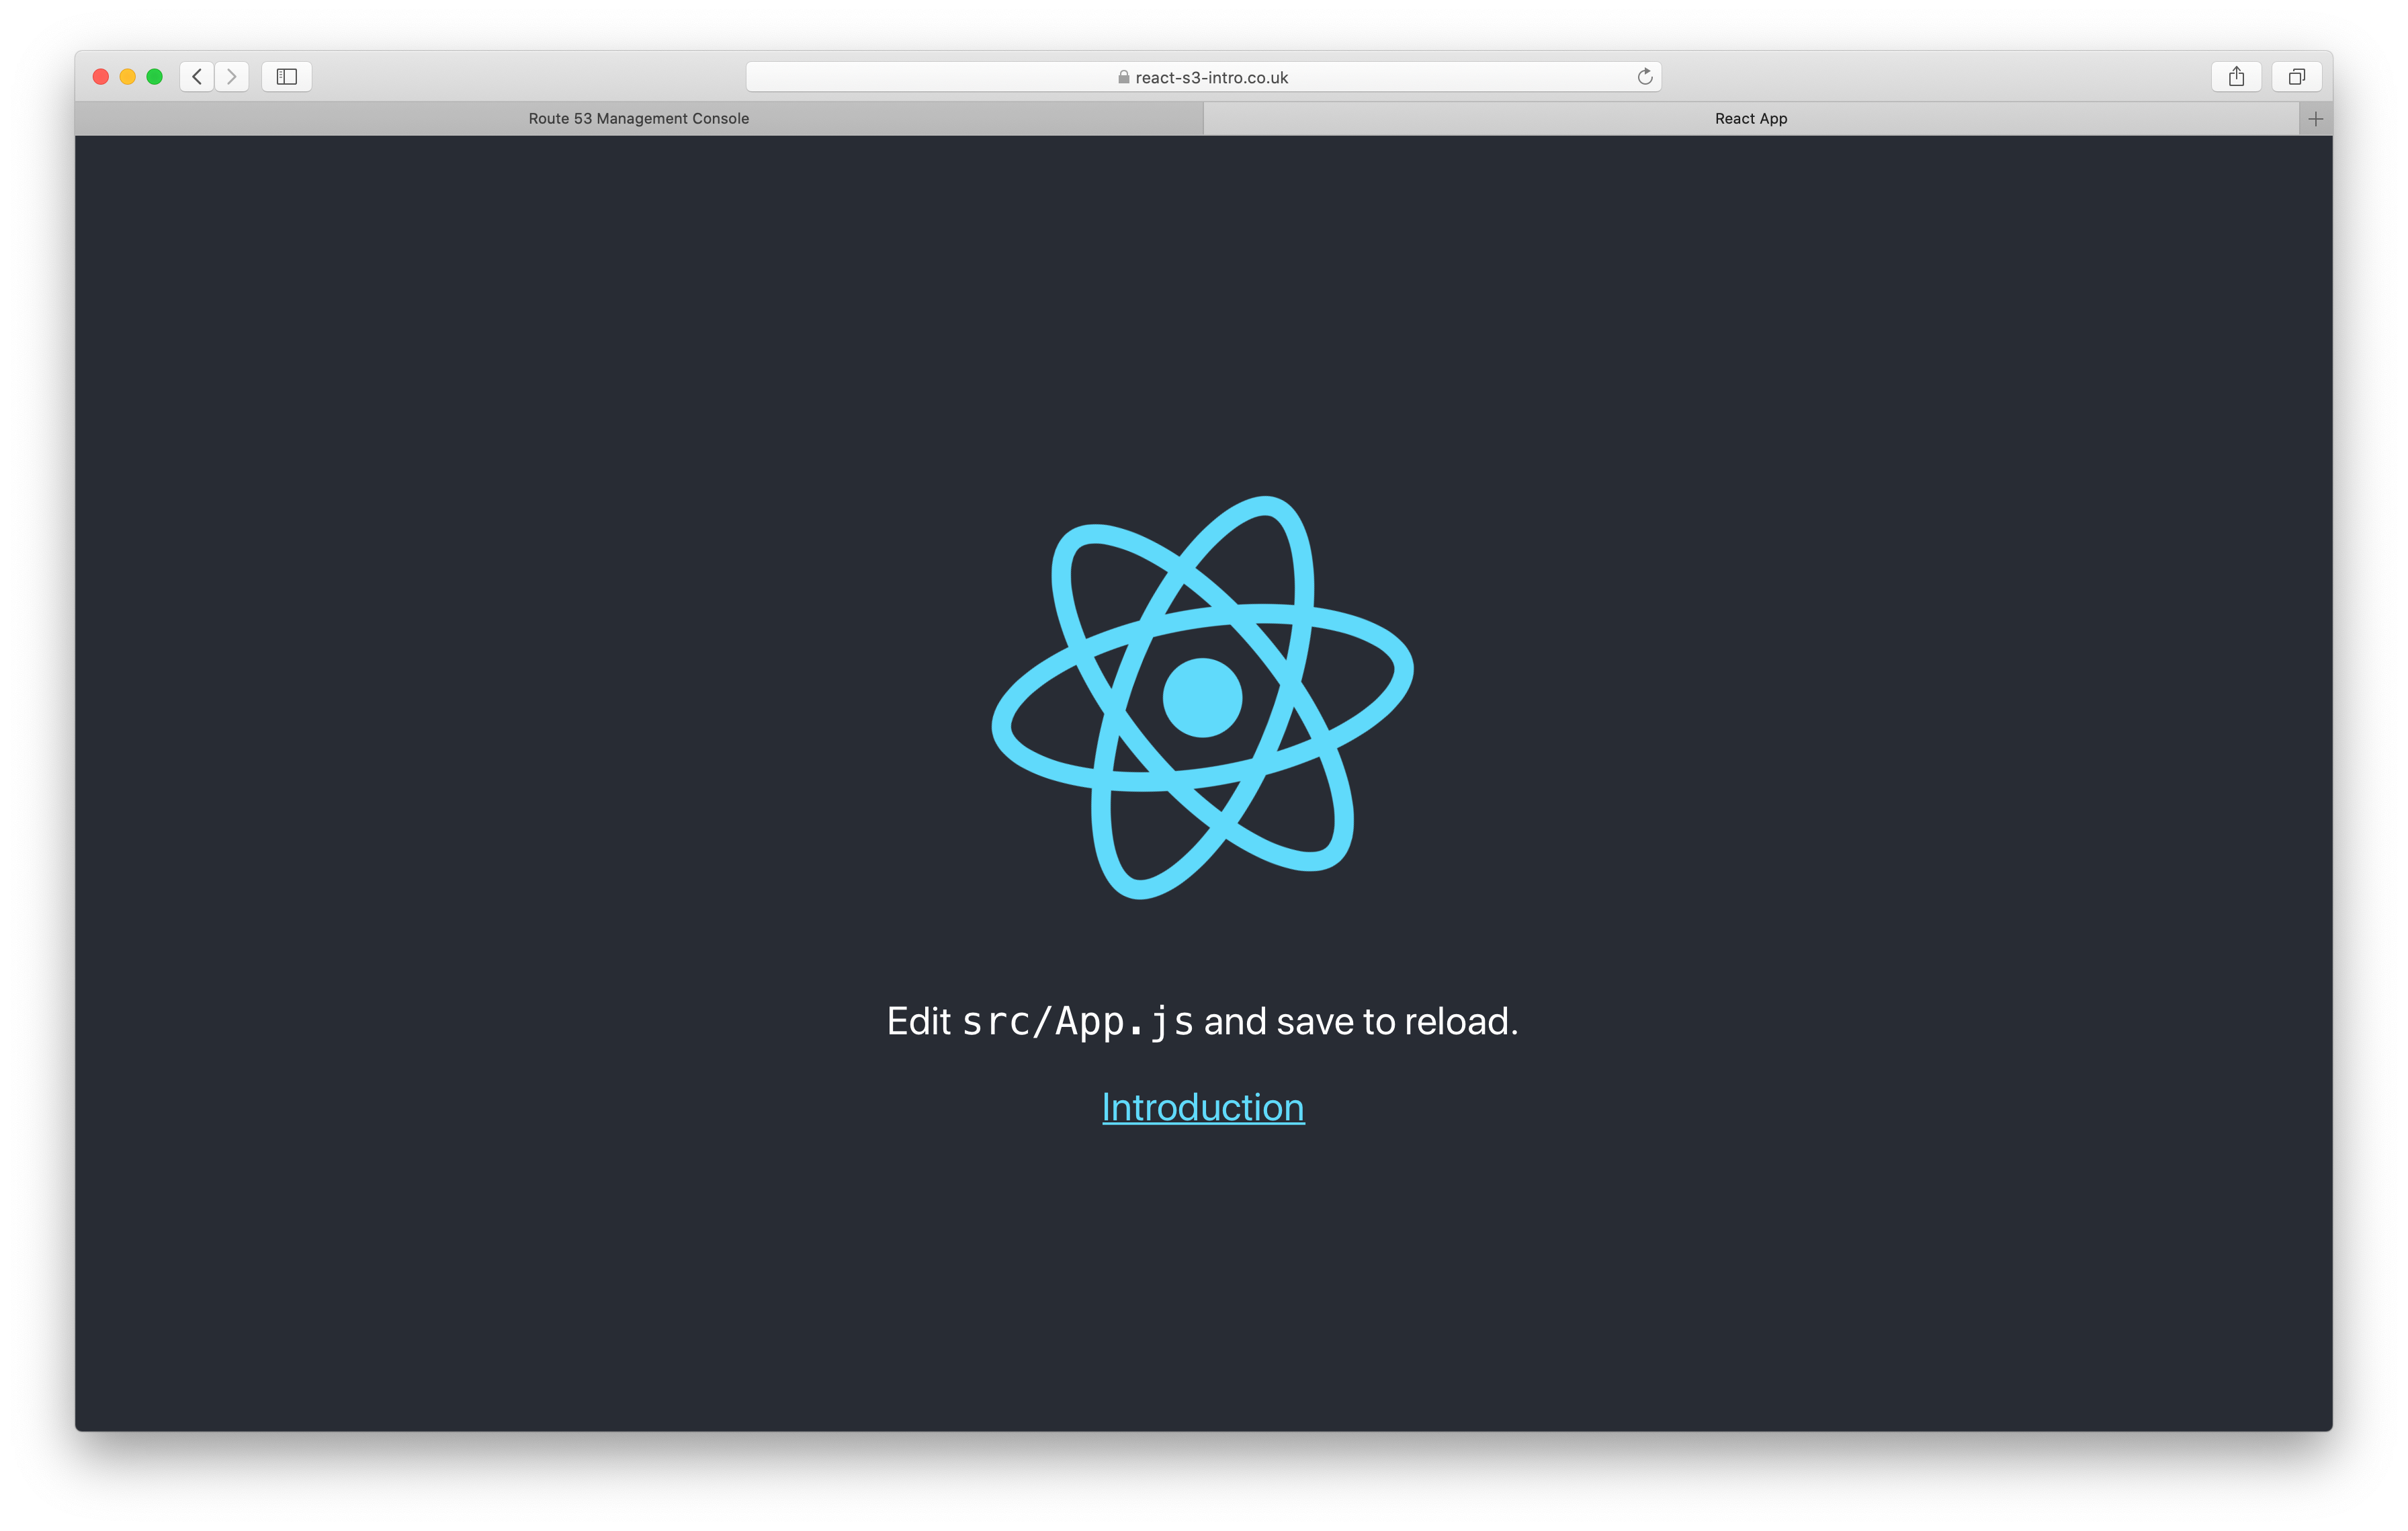
Navigate to https://YOUR_DOMAIN (note the https) and you should see your app securely displayed
Cache purging:
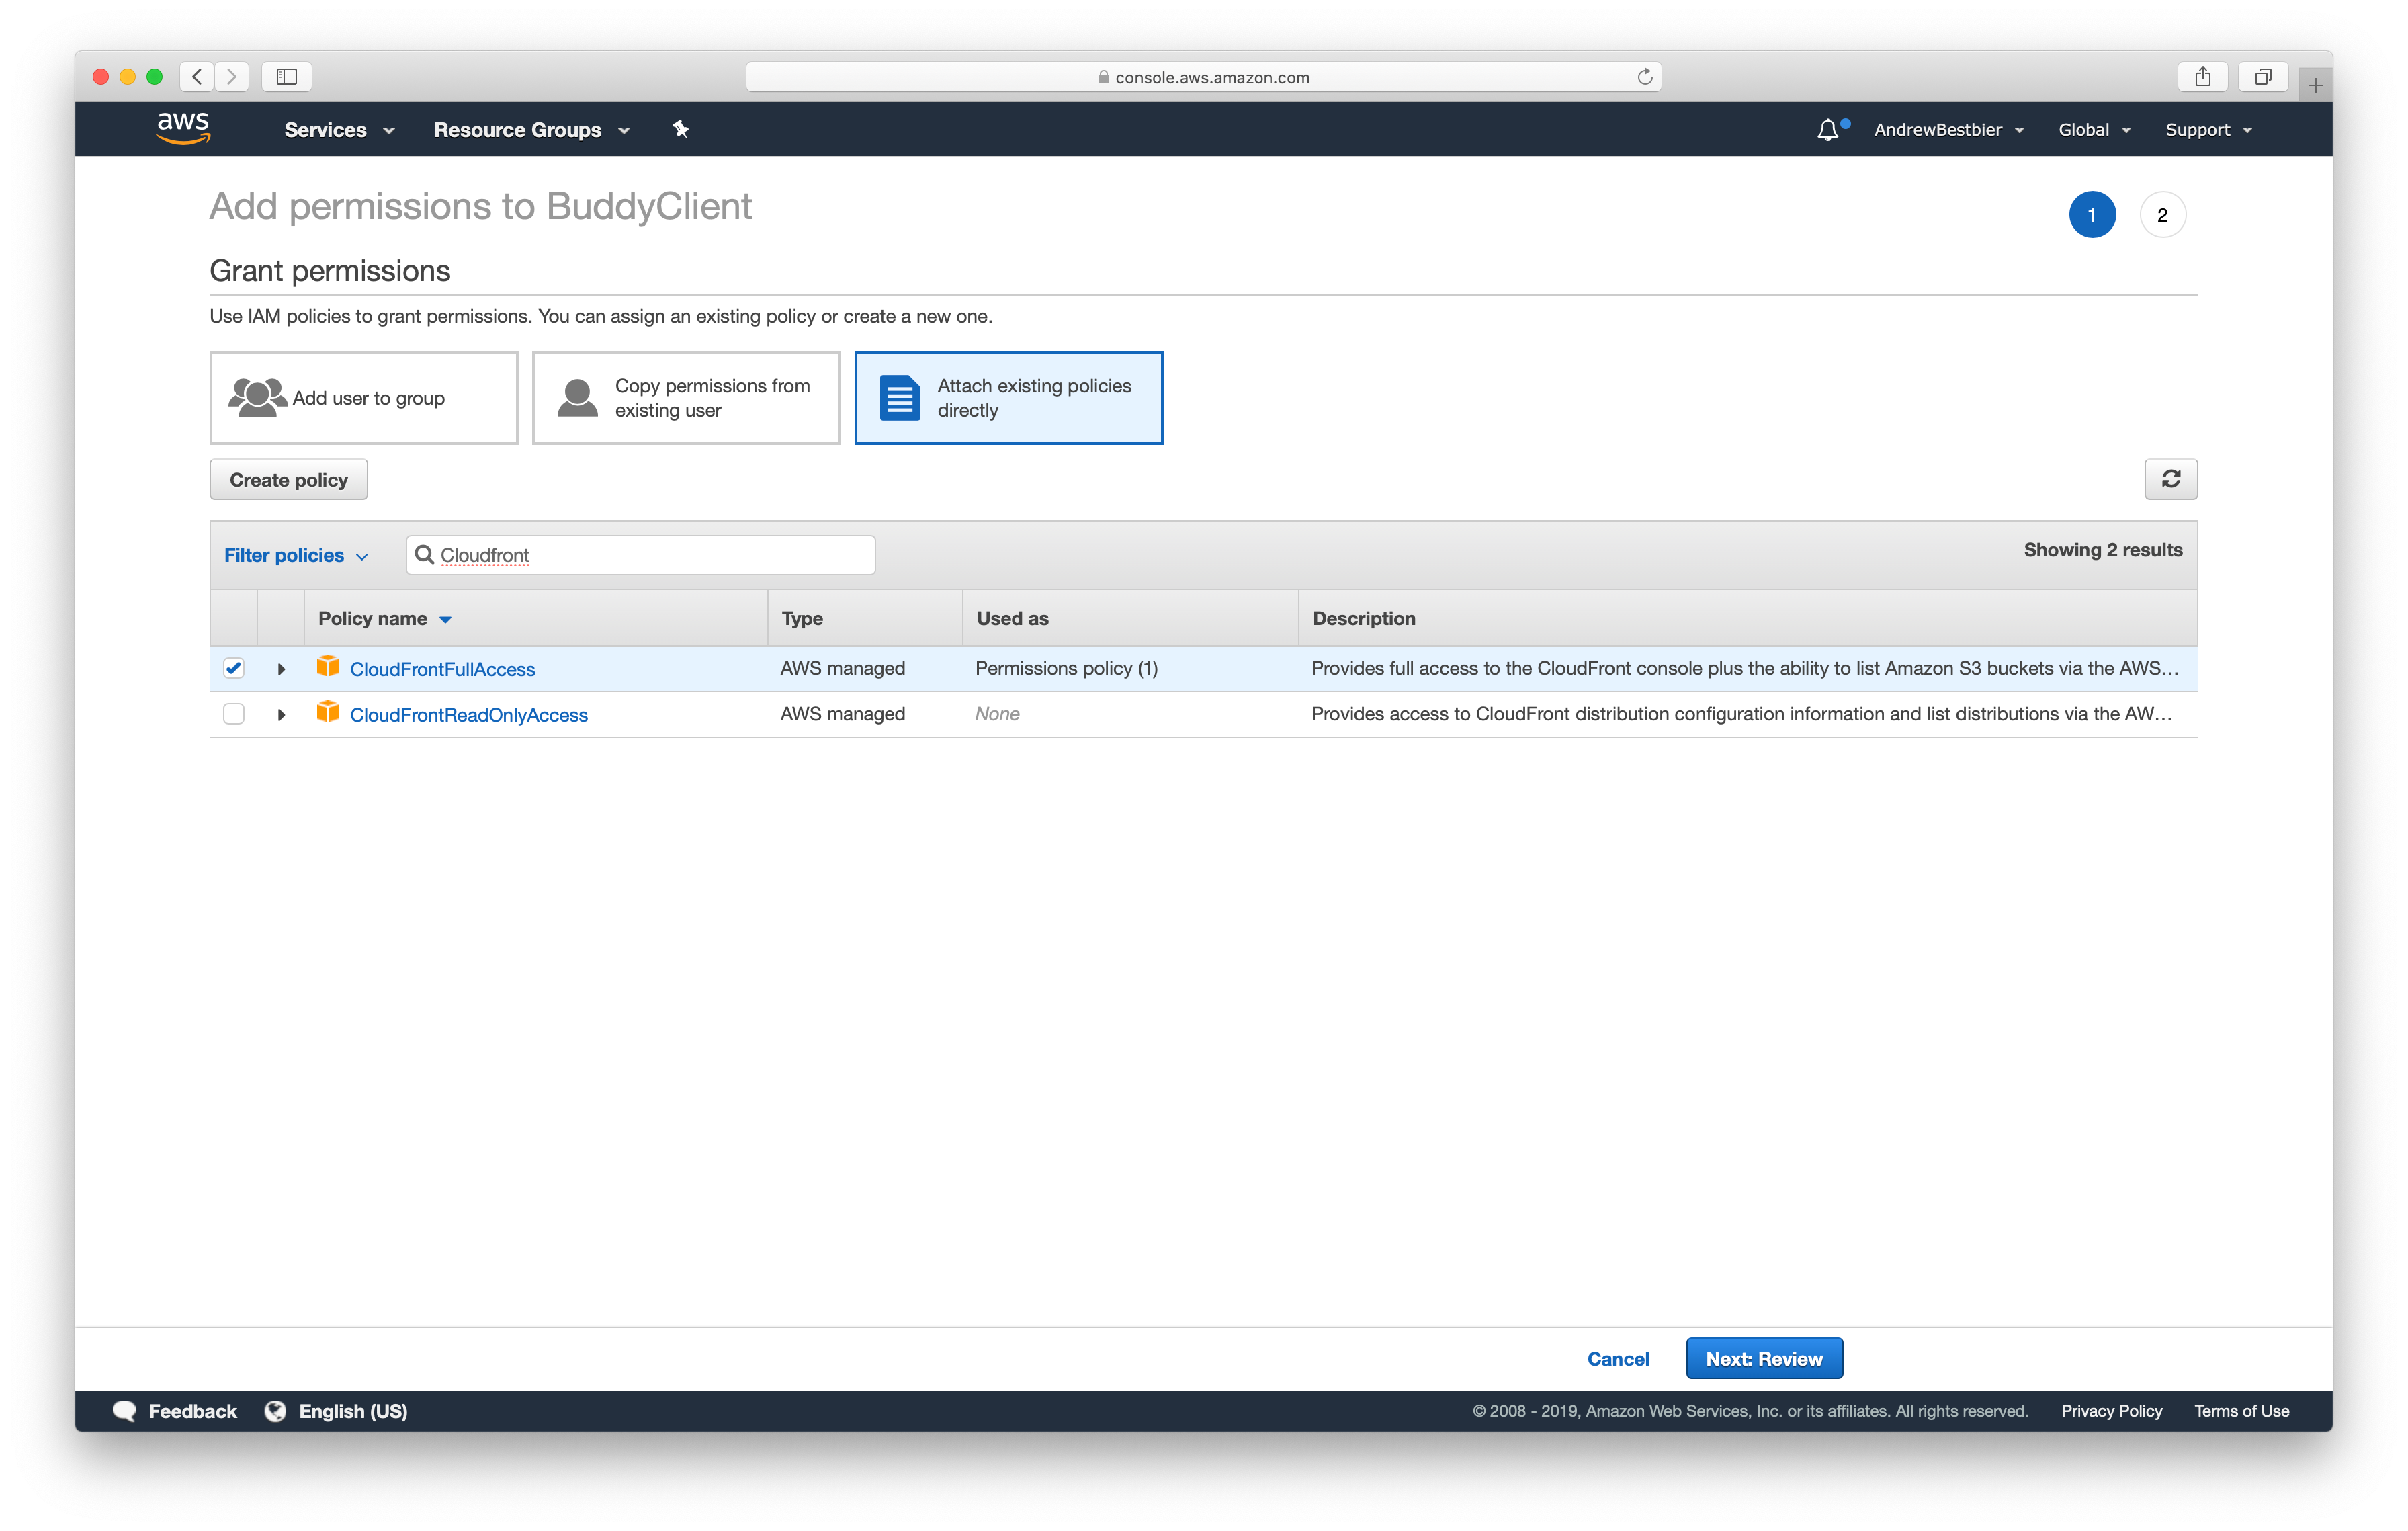
Finally, on each code push we want the caches to be purged on your CDN network. To do this, we need to give Buddy access to CloudFront. Navigate to the User you created earlier in IAM and click Add permissions
Click Attach existing policies directly and search for ‘CloudFrontFullAccess’
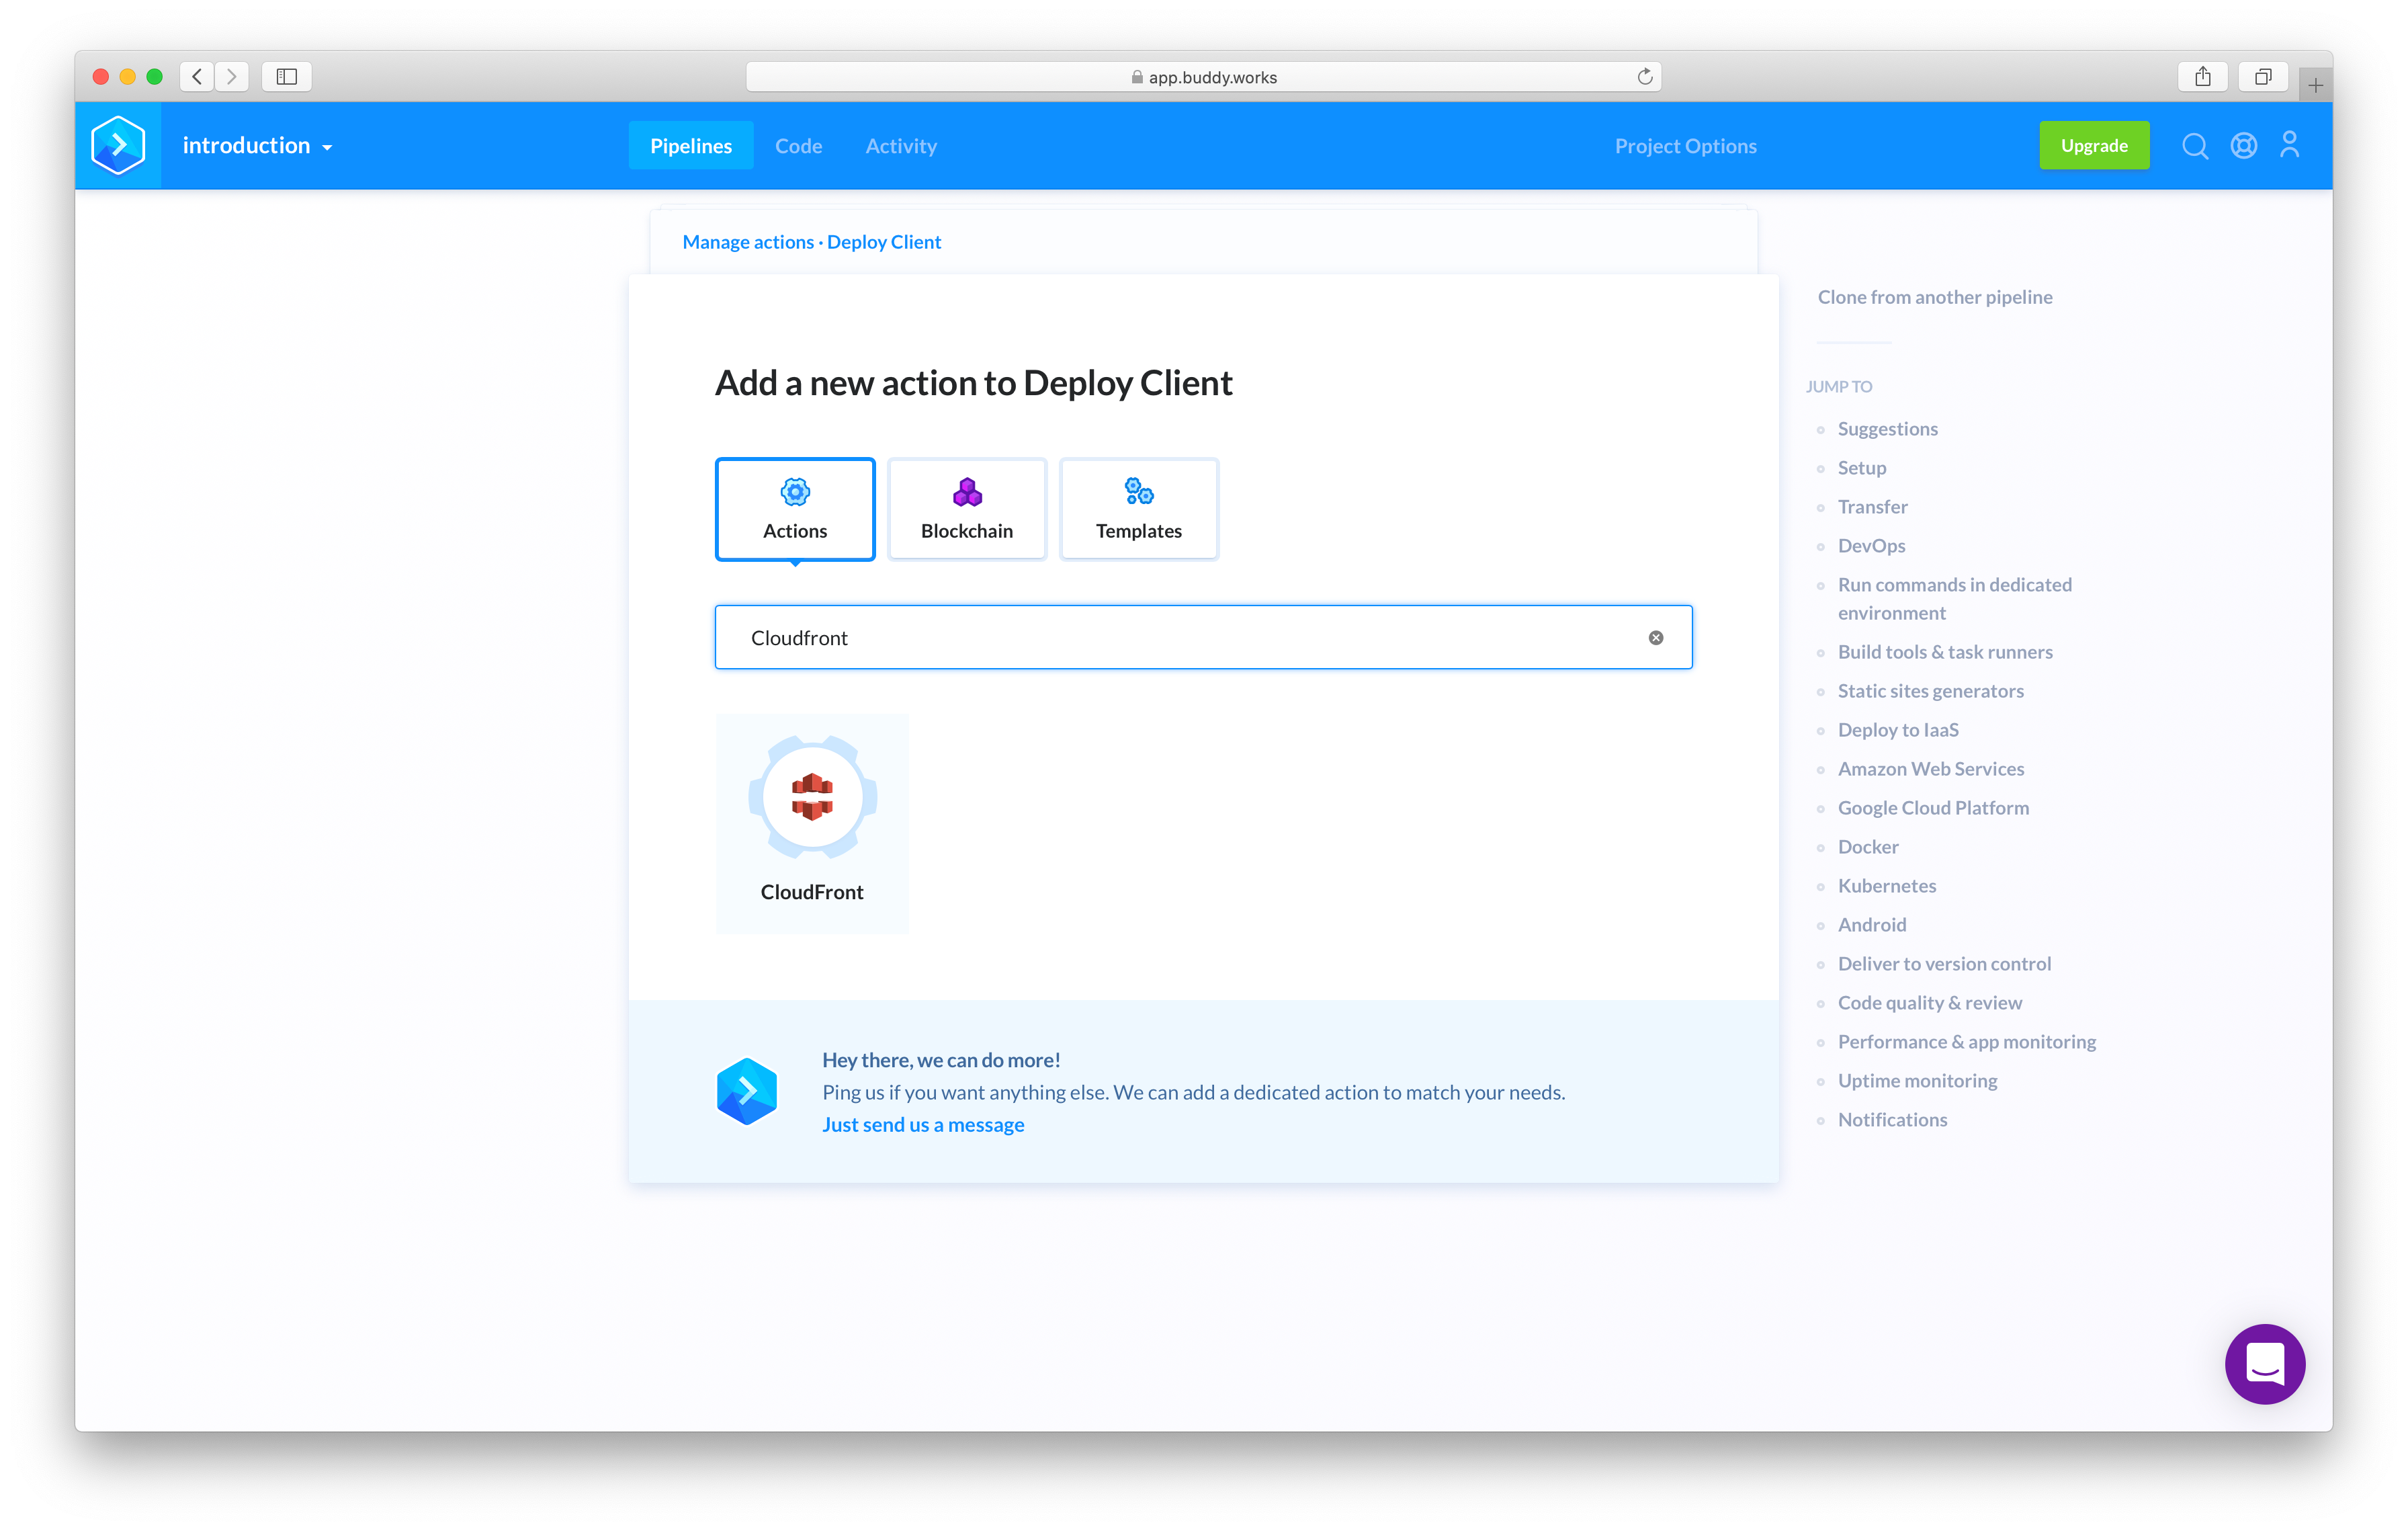
Switch back to buddy so that we can add a final action to your pipeline. Search for ‘CloudFront’
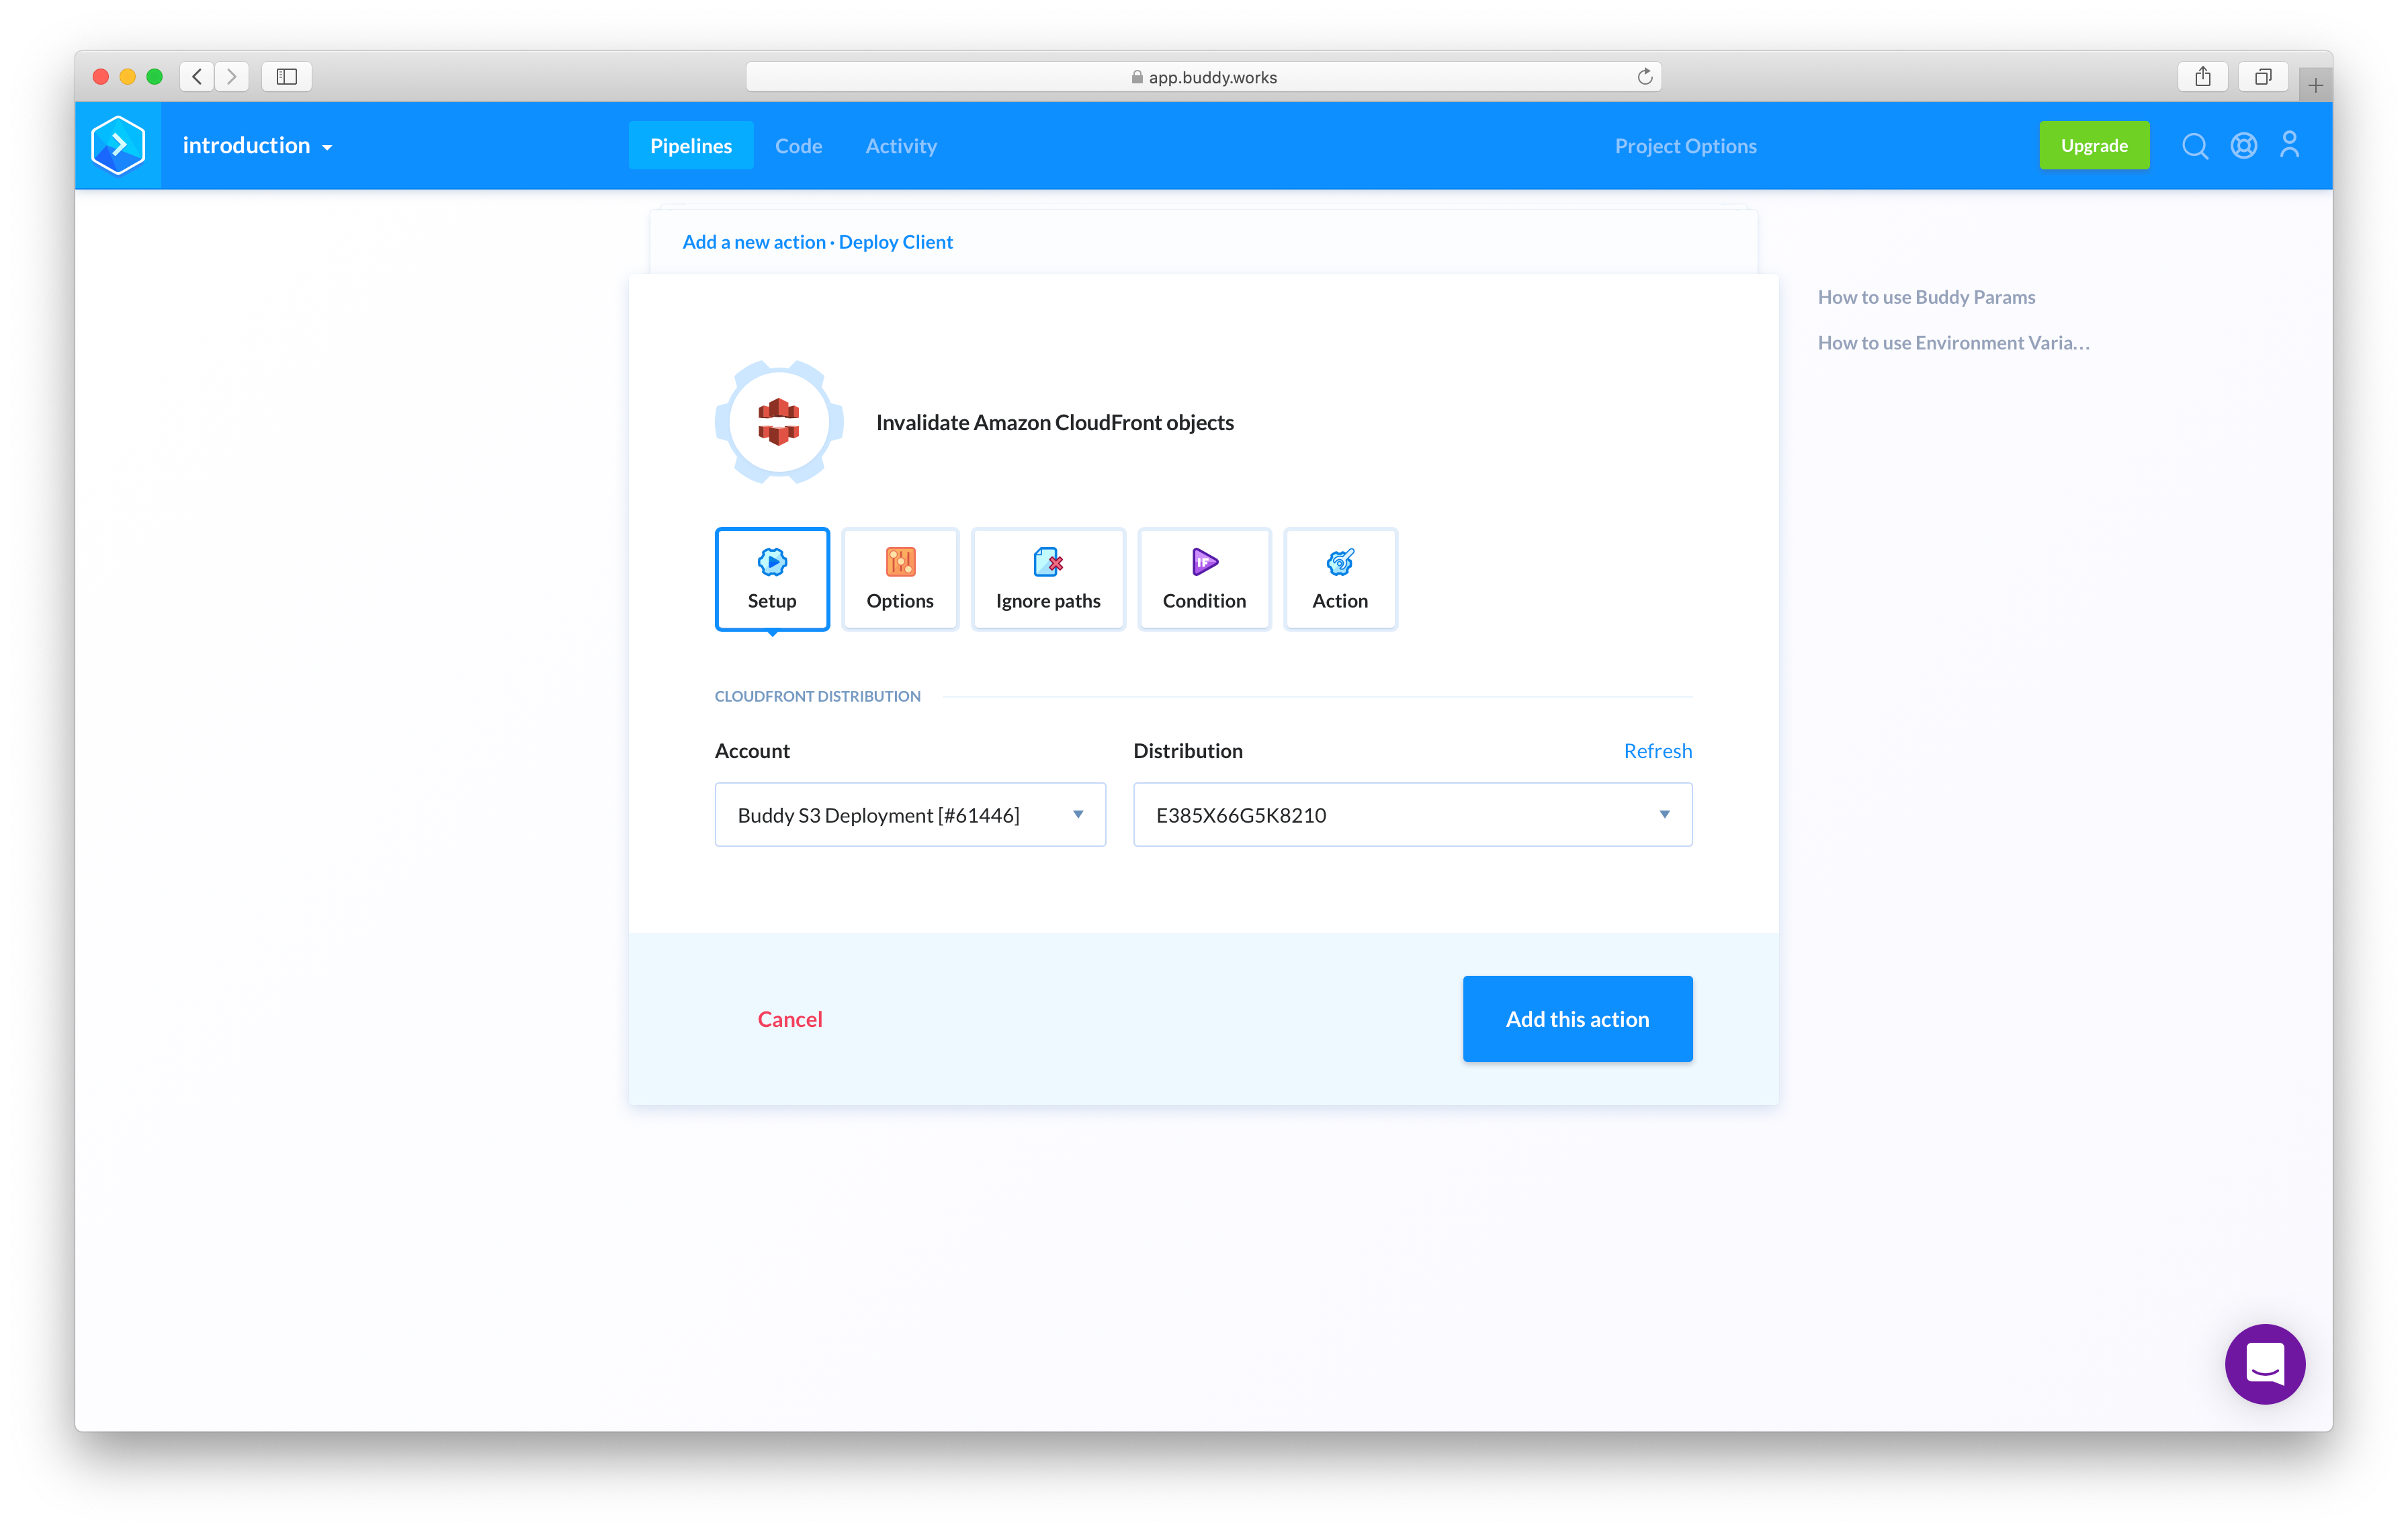
If Buddy does indeed have access, you should be able to select the Distribution you wish to purge:
Your final pipeline should look like this:
Conclusion
If you have made it this far, congratulations!
Thanks for reading ❤
If you liked this post, share it with all of your programming buddies!
Follow us on Facebook | Twitter
Further reading about React
☞ React - The Complete Guide (incl Hooks, React Router, Redux)
☞ Modern React with Redux [2019 Update]
☞ Best 50 React Interview Questions for Frontend Developers in 2019
☞ JavaScript Basics Before You Learn React
☞ Microfrontends — Connecting JavaScript frameworks together (React, Angular, Vue etc)
☞ Reactjs vs. Angularjs — Which Is Best For Web Development
☞ React + TypeScript : Why and How
☞ How To Write Better Code in React
#reactjs #aws #web-development #web-service