Building a Chatbots using AWS Lex and Nodejs
Learn how to build a basic, but intelligent chatbot using Nodejs with AWS Lex and AWS Lambda.
Amazon and a lot of cloud vendors such as Microsoft and Google have services around machine learning (ML), artificial intelligence (AI), and virtual assistants.
The concept around Alexa is simple. Provide the Alexa service some audio, have that audio converted into text or some other format that can be evaluated, execute some code, and respond with something to be spoken to the user. However, what if you didn’t necessarily want to use a virtual assistant with audio, but integrate as part of a chat application in the form of a chatbot?
In this tutorial we’re going to look at using Amazon Web Services (AWS) Lex, which is a service for adding conversational interfaces to your applications. If you’re coming from an Amazon Alexa background, the concepts will be similar as AWS Lex shares the same deep learning technologies.
The assumption going into this tutorial is that you have Node.js installed and configured and have an Amazon Web Services (AWS) account. Nothing we do will have any requirement beyond Amazon’s free tier for developers.
Configuring a Custom Bot with AWS Lex
Before we write any code, we’re going to want to configure our chatbot in the AWS portal. The configuration process will accomplish the following:
- Define our intents to execute application logic.
- Supply our sample utterances to make our chatbot smarter.
- Define any variables that are to be determined by the end user.
If you’ve worked with Alexa before, some of the above terms might be familiar. Regardless of your Alexa experience, we’re going to explore each when working with AWS Lex.
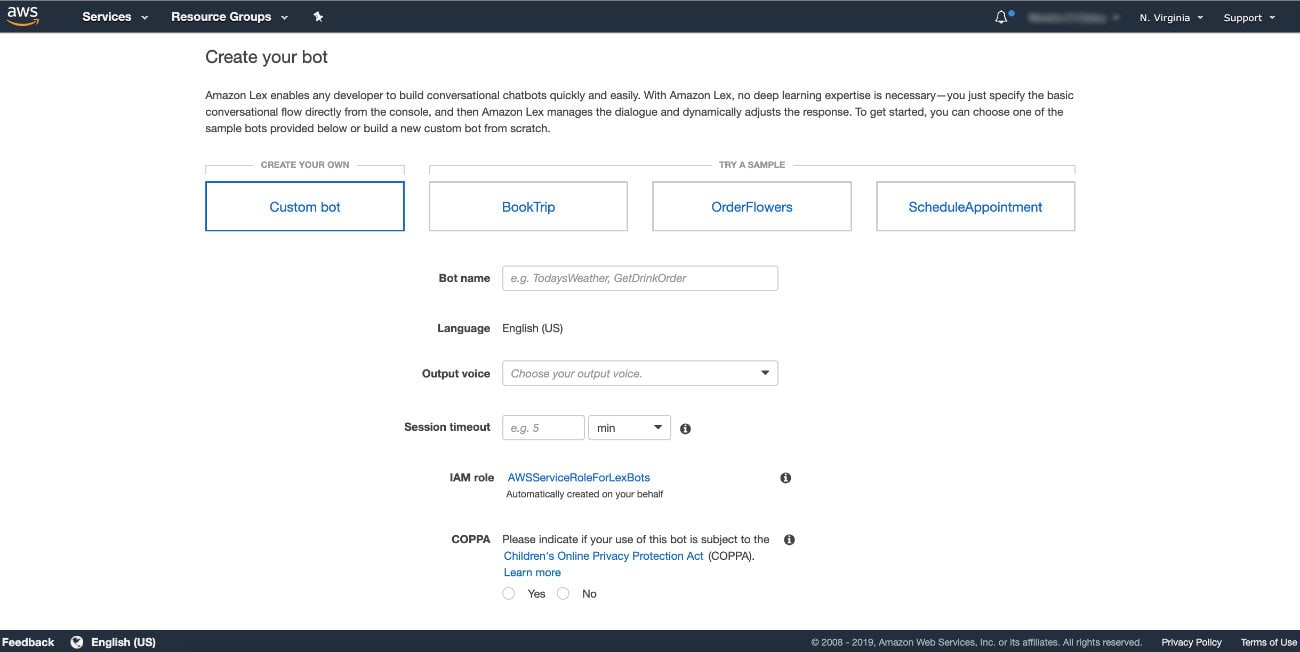
Before we can configure our chatbot, we need to create it. From the AWS Lex landing page, choose to create a custom bot.

When creating a custom bot, give it a name, choose text only output, and a short timeout of maybe a minute. Pretty much only use the defaults for this particular example.
After the custom bot has been created, we need to create a new intent.

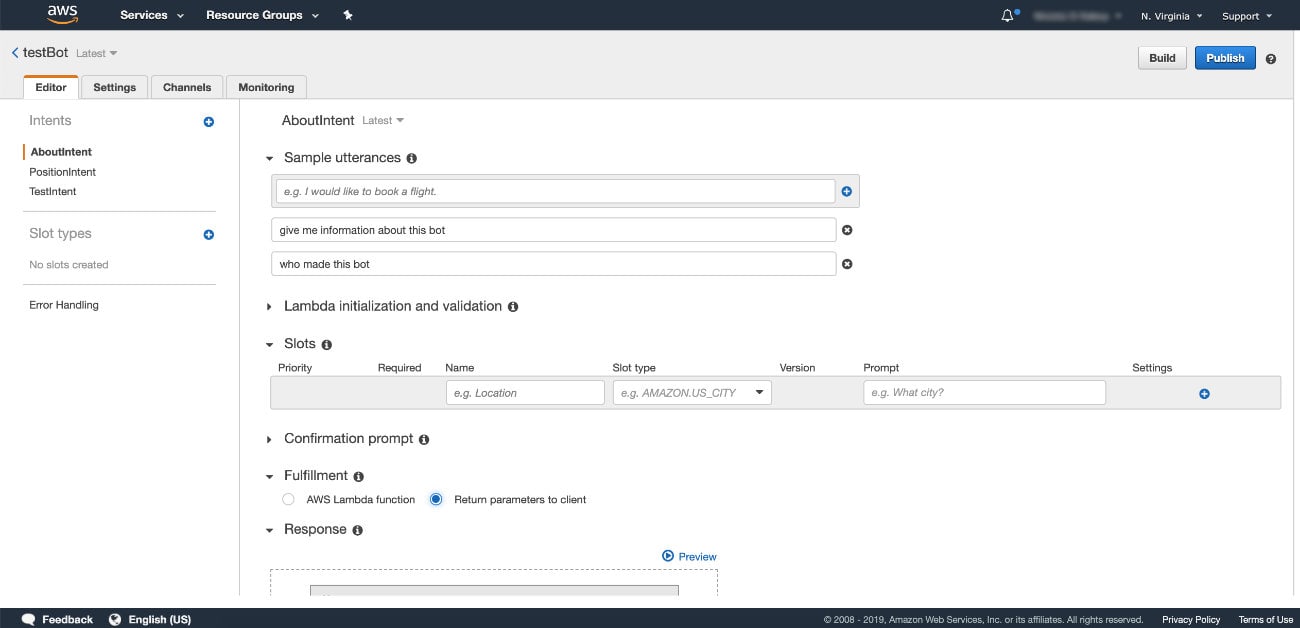
To start, we’re going to create something basic with the sole purpose of telling users who designed the chatbot. Let’s name this AboutIntent, even though the name isn’t too important. In the AboutIntent, we’re going to need to define some sample utterances, also known as sample phrases. These phrases are the possible sentences that your users might use when interacting with the chatbot.
My sample utterances are as follows:
give me information about this bot
who made this bot
In a perfect world, you’re going to want as many sample utterances as you can think up, so probably something more than 20. AWS Lex is smart and can actually learn from your sample utterances. This means the more you have, the more likely AWS Lex can fill in the blanks if the user provides a message that is similar, but doesn’t quite exist in the list.
Because we don’t have AWS Lambda hooked up yet, we should probably choose Return parameters to client before saving. This will essentially show us which intent was chosen, but not actually perform any logic.
If you haven’t figured it out, an intent is an outlet to performing logic. You can have many intents, each with their own sample utterances. When AWS Lex receives a phrase, it determines which intent to execute, which later gets passed to your AWS Lambda function.
Let’s see another example of an intent. Something a little more than just a basic example.
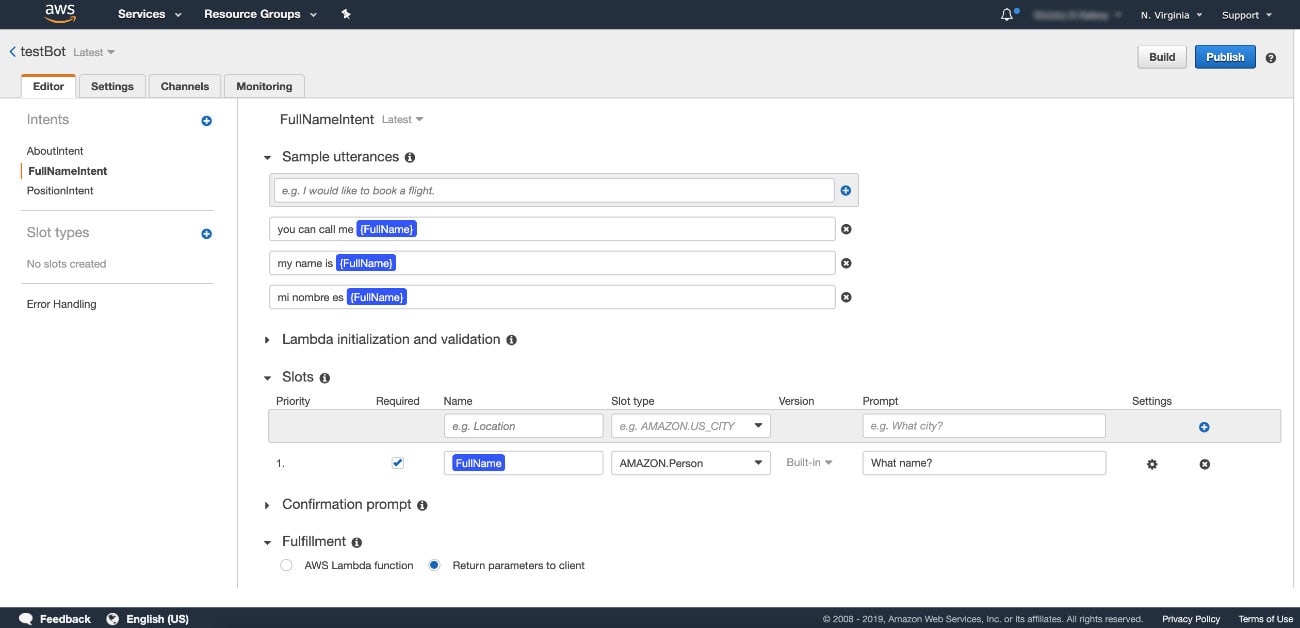
Create another intent, but this time name it FullNameIntent. Again, the name isn’t too important as long as we’re consistent when we reach the AWS Lambda step.

The goal of this intent is to show how we can use slot data which are variables to be defined by the end user.
This is just a simple example, but we’re going to allow the user to provide their full name. Of course this full name will be different on a per user basis. To make a slot, name it and then choose AMAZON.Person as the type. It doesn’t really matter the name as long as you’re consistent.
Then in your sample utterances, include the slot in your utterance. Defining a word as a slot variable versus a regular word can be handled by using curly brackets.
Now that we have two different intents, we can focus on some actual logic.
Developing the Chatbot Logic with AWS Lambda and Node.js
When it comes to defining the chatbot logic, there isn’t much to it. We’re going to be creating an AWS Lambda function that receives JSON data as input. That JSON input will contain information such as the intent that was triggered, any available slot data, etc., and as a response we’re going to provide JSON data that meets the AWS Lex specification. What happens in-between is up to us.
Let’s start by creating a simple Node.js application. Create and open an index.js file on your computer:
const dispatcher = (event) => {
    let response = {
        sessionAttributes: event.sessionAttributes,
        dialogAction: {
            type: "Close",
            fulfillmentState: "",
            message: {
                "contentType": "PlainText",
                "content": ""
            }
        }
    };
    switch(event.currentIntent.name) {
        default:
            response.dialogAction.fulfillmentState = "Failed";
            response.dialogAction.message.content = "I don't know what you're asking...";
            break;
    }
    return response;
}

exports.handler = (event, context) => {
    return dispatcher(event);
}
The above code is our starting point. When the function is executed, the dispatcher function will be used. The event parameter will contain the request data that AWS Lex provides. It will look something like this:
{
    "messageVersion": "1.0",
    "invocationSource": "NicTest",
    "userId": "Nic",
    "sessionAttributes": {},
    "bot": {
        "name": "LexTest",
        "alias": "$LATEST",
        "version": "$LATEST"
    },
    "outputDialogMode": "Text",
    "currentIntent": {
        "name": "AboutIntent",
        "slots": {},
        "confirmationStatus": "None"
    }
}
Of course the above request is just an example, but the format is what matters. The JSON will include the intent name and any slot information. Inside the dispatcher function of our code, we start formatting a response. The response is completed after looking at a switch statement or some other conditional statement. We want to figure out what intent is sent before responding.
To make our code more functional, we can add the following to our dispatcher function:
const dispatcher = (event) => {
    let response = {
        sessionAttributes: event.sessionAttributes,
        dialogAction: {
            type: "Close",
            fulfillmentState: "",
            message: {
                "contentType": "PlainText",
                "content": ""
            }
        }
    };
    switch(event.currentIntent.name) {
        case "AboutIntent":
            response.dialogAction.fulfillmentState = "Fulfilled";
            response.dialogAction.message.content = "Created by Nic Raboy";
            break;
        case "FullNameIntent":
            response.dialogAction.fulfillmentState = "Fulfilled";
            response.dialogAction.message.content = "Hello " + event.currentIntent.slots.FullName + "!";
            break;
        default:
            response.dialogAction.fulfillmentState = "Failed";
            response.dialogAction.message.content = "I don't know what you're asking...";
            break;
    }
    return response;
}
Notice that now we’re checking for the AboutIntent as well as the FullNameIntent.
Now that our index.js file is complete for this particular example, it can be added to AWS Lambda. Choose to create a new AWS Lambda function with Node.js. It doesn’t really matter what you call it, but after you create the function, add the Node.js code inline.
With the code added, you can go back to AWS Lex and change the Fulfillment option of each intent to be AWS Lambda function instead. Choose the Lambda function you wish to use and you’ll be good to go.
Save each of your intents, then build the chatbot. You should be able to test each of your intents to see if they behave as expected.
Conclusion
You just saw how to build a simple chatbot using AWS Lex, AWS Lambda, and simple JavaScript. While we didn’t hook this chatbot up to any services like Slack or Twitter, we could have and it would have been awesome! Essentially what we did was define our intents for logic, our sample utterances of what users could ask, any variables for our intents, and then the logic on Lambda.
#aws #chatbot #node #nodejs
